Home>Production & Technology>Audio Interface>How To Connect Audio Interface To Macbook

Audio Interface
How To Connect Audio Interface To Macbook
Published: February 4, 2024
Learn how to easily connect your audio interface to your Macbook for high-quality sound recording and production. Find step-by-step instructions and troubleshooting tips.
(Many of the links in this article redirect to a specific reviewed product. Your purchase of these products through affiliate links helps to generate commission for AudioLover.com, at no extra cost. Learn more)
Table of Contents
Introduction
An audio interface is an essential tool for musicians, podcasters, and content creators who want to achieve professional-quality sound recordings. It acts as a bridge between your computer and various audio devices, allowing you to connect microphones, instruments, and speakers while ensuring high-quality audio transfer.
If you own a MacBook and are looking to connect an audio interface, you’ve come to the right place. In this article, we will guide you through the steps of connecting an audio interface to your MacBook, ensuring that you can take full advantage of its capabilities.
Whether you’re a novice or experienced user, this article will provide you with the necessary information and steps to establish a solid connection and optimize your audio interface’s performance.
Before we dive into the step-by-step process, it’s important to note that different audio interfaces may have varying connection methods and compatibility with MacBooks. Therefore, it’s crucial to check the specifications and requirements of your particular audio interface model.
Now, let’s get started on connecting your audio interface to your MacBook!
Step 1: Check Compatibility
The first step in connecting an audio interface to your MacBook is to ensure compatibility between the two devices. MacBooks are generally compatible with a wide range of audio interfaces, but it’s important to confirm that your interface is specifically designed to work with macOS.
Here are a few things to consider when checking compatibility:
- Operating System: Ensure that your MacBook is running a compatible version of macOS. Check the system requirements of your audio interface to see which versions of macOS are supported.
- Interface Connectivity: Check the physical connection options of your audio interface and see if they align with the available ports on your MacBook. Most audio interfaces use either USB or Thunderbolt connections.
- Power Requirements: Some audio interfaces require external power sources, while others can be powered through the USB or Thunderbolt connection. Make sure your MacBook has the necessary power capacity to support the interface.
- Driver Support: Confirm that the audio interface manufacturer provides drivers or software specifically for macOS. These drivers are necessary for the interface to communicate effectively with your MacBook.
By verifying compatibility, you can avoid any potential issues during the setup process and ensure a smooth connection between your audio interface and MacBook.
If your audio interface meets the compatibility requirements, you can proceed to the next step of installing the necessary drivers onto your MacBook.
Step 2: Install Drivers
Installing the appropriate drivers is a crucial step in ensuring the seamless integration of your audio interface with your MacBook. The drivers enable the interface to communicate with your operating system effectively and optimize its performance.
Here’s how to install the drivers for your audio interface:
- Check the Manufacturer’s Website: Visit the website of the audio interface manufacturer and navigate to the support or downloads section. Look for the drivers specifically designed for macOS.
- Download the Drivers: Locate the correct drivers for your audio interface model and download them to your MacBook.
- Run the Installer: Once the drivers are downloaded, double-click on the installer file to start the installation process. Follow the on-screen instructions to complete the installation. You may need to enter your administrator password to authorize the installation.
- Restart Your MacBook: After the installation is complete, it is recommended to restart your MacBook. This ensures that the newly installed drivers are properly loaded into the system.
- Check Driver Settings: After restarting, go to the System Preferences on your MacBook and locate the section related to audio or sound settings. Make sure that the newly installed drivers are selected as the default audio input and output devices.
By installing the correct drivers, you will establish a strong connection between your audio interface and your MacBook, enabling smooth and efficient communication between the two.
Once the drivers are successfully installed, you can proceed to the next step of physically connecting your audio interface to your MacBook.
Step 3: Connect the Audio Interface
Now that you have ensured compatibility and installed the necessary drivers, it’s time to physically connect your audio interface to your MacBook.
Here are the steps to connect the audio interface:
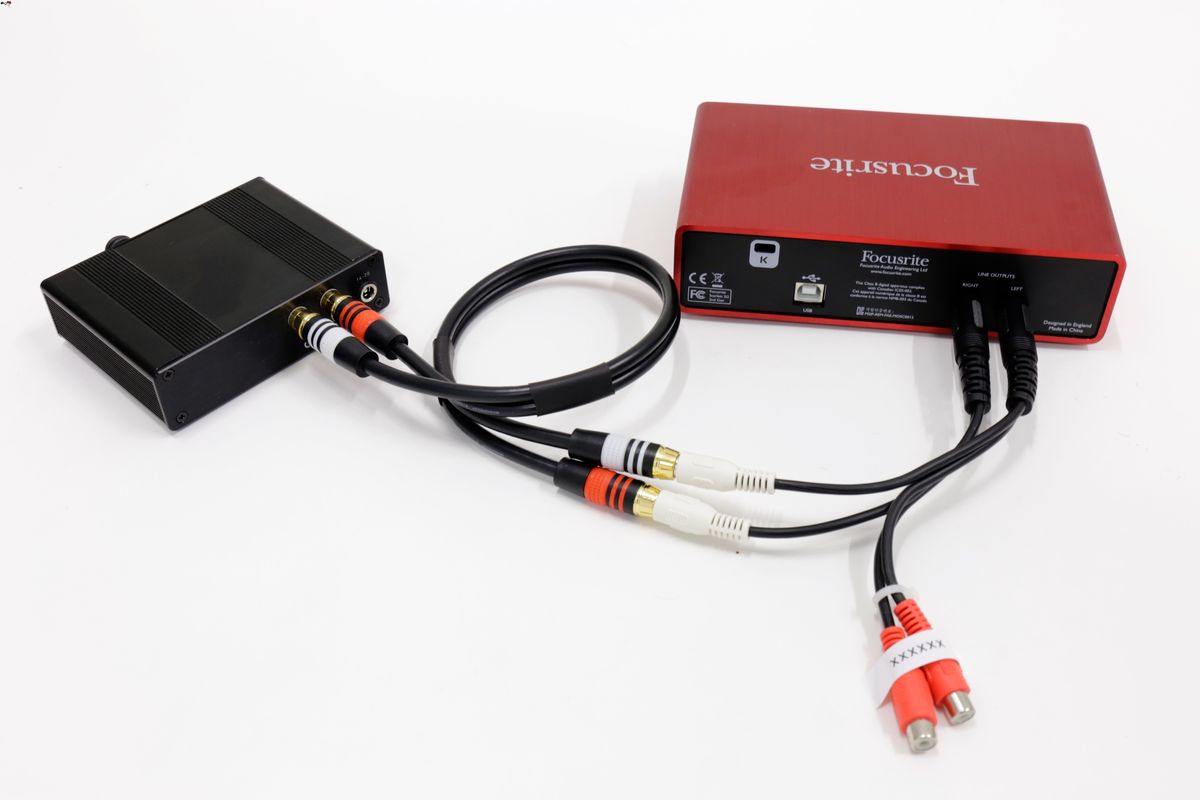
- Choose the Correct Cable: Depending on the connectivity options of your audio interface and MacBook, select the appropriate cable. USB and Thunderbolt cables are commonly used for connecting audio interfaces to MacBooks.
- Plug in the Cable: Locate the corresponding port on your audio interface and connect one end of the cable to it. Then, plug the other end into an available USB or Thunderbolt port on your MacBook.
- Power on the Interface: If your audio interface requires external power, ensure that it is properly connected and turned on. Some audio interfaces can be powered through the USB or Thunderbolt connection, eliminating the need for external power.
- Wait for Recognition: Your MacBook should automatically recognize the connected audio interface. Give it a few moments to detect and establish the connection.
Once the audio interface is successfully connected to your MacBook, you can move on to the next step of configuring the audio settings.
It’s important to note that if your audio interface requires additional connection options, such as connecting microphones or instruments, refer to the interface’s user manual for detailed instructions.
Step 4: Configure Audio Settings
After connecting your audio interface to your MacBook, it’s time to configure the audio settings to optimize its performance and ensure seamless audio recording and playback.
Here’s how to configure the audio settings:
- Open System Preferences: Click on the Apple logo on the top left corner of your screen and select “System Preferences” from the drop-down menu.
- Select Sound: In the System Preferences window, locate and click on the “Sound” icon. This will open the Sound settings panel.
- Select the Audio Interface: In the Sound settings panel, navigate to the “Output” and “Input” tabs and select your audio interface from the drop-down menus. This will set the audio interface as the default input and output device for your MacBook.
- Adjust Input and Output Levels: Adjust the input and output volume levels according to your preferences. You can use the slider bars to increase or decrease the volume.
- Configure Sample Rate and Buffer Size: Depending on your audio interface and specific requirements, you may need to adjust the sample rate and buffer size settings. These settings can affect the latency and overall performance of your audio interface.
It’s recommended to consult the user manual or documentation provided by the audio interface manufacturer for specific recommendations on sample rate and buffer size settings.
Once you have configured the audio settings to your liking, you can proceed to the final step of testing the audio connection.
Step 5: Test the Connection
Now that you have connected and configured your audio interface with your MacBook, it’s time to test the connection and ensure that everything is functioning correctly.
Here are the steps to test the connection:
- Open a Recording or Audio Application: Launch your preferred recording or audio application on your MacBook. This could be software like GarageBand, Logic Pro, or any other digital audio workstation (DAW) of your choice.
- Select the Audio Interface: In the recording or audio application, navigate to the audio settings or preferences section and select your audio interface as the audio input and output device.
- Activate Monitoring: Enable the monitoring feature on your audio interface or within the recording application. This will allow you to hear the audio signal in real-time as you record or play back.
- Test Input and Output: Connect a microphone or instrument to your audio interface and speak or play something to test the input. Make sure the input levels are registering in the recording application. Likewise, play back a previously recorded audio track and ensure that you can hear the output through your speakers or headphones connected to the audio interface.
- Adjust Settings if Needed: If you encounter any issues during the testing process, such as low input levels or distorted sound, double-check your audio settings and adjust them accordingly. You may need to fine-tune the input gain, sample rate, or buffer size to achieve optimal results.
By testing the connection and ensuring that both input and output are functioning properly, you can have confidence in the performance of your audio interface with your MacBook.
If everything is working as expected, congratulations! You have successfully connected and tested your audio interface with your MacBook.
Now you’re ready to unleash your creativity and start capturing professional-quality audio recordings, whether it’s for music production, podcasting, voiceover work, or any other audio-related project.
Remember to refer to the user manual and documentation provided by your audio interface manufacturer for further details, troubleshooting tips, and additional features of your specific audio interface model.
Conclusion
Connecting an audio interface to your MacBook allows you to harness the power of professional-grade audio recording and playback. By following the steps outlined in this guide, you can easily connect your audio interface to your MacBook and optimize its performance.
We began by emphasizing the importance of checking compatibility and ensuring that your audio interface is designed to work with macOS. This step helps prevent any potential issues and ensures a smooth connection process.
Next, we discussed the installation of drivers, which are essential for effective communication between your audio interface and MacBook. The correct drivers ensure seamless integration and optimal performance.
Then, we moved on to physically connecting the audio interface to your MacBook, using the appropriate cables and confirming proper power supply. A secure physical connection ensures a stable and reliable audio connection.
Configuring the audio settings was the next step, where we adjusted the input and output levels, selected the audio interface as the default device, and fine-tuned sample rates and buffer sizes per your specific requirements.
Finally, we wrapped up the process by testing the connection using a recording or audio application. This step ensured that both input and output were working correctly, allowing you to confidently proceed with your audio projects.
Remember, troubleshooting and additional features may vary depending on your specific audio interface model. Therefore, we encourage you to consult the user manual and documentation provided by your audio interface manufacturer for further details and support.
Now that you have successfully connected and tested your audio interface with your MacBook, you’re ready to embark on your creative journey. Enjoy capturing professional-quality sound and exploring the endless possibilities that your audio interface can offer!