Home>Devices & Equipment>Microphone>How To Connect A Microphone To IPhone
Microphone
How To Connect A Microphone To IPhone
Modified: February 17, 2024
Learn how to easily connect a microphone to your iPhone and enhance your audio recording quality. Follow these simple steps to get started.
(Many of the links in this article redirect to a specific reviewed product. Your purchase of these products through affiliate links helps to generate commission for AudioLover.com, at no extra cost. Learn more)
Table of Contents
- Understanding the Basics of Connecting a Microphone to Your iPhone
- Exploring the Diversity of Microphones Suited for iPhone Compatibility
- Step-by-Step Guide to Establishing a Wired Microphone Connection
- Streamlining the Connection Process for Wireless Microphones
- Optimizing Audio Settings for Seamless Microphone Integration
- Ensuring Seamless Functionality and Audio Performance
- Navigating Potential Challenges in Microphone Integration with iPhone
- Unlocking the Full Potential of Your iPhone’s Audio Capabilities
Introduction
Understanding the Basics of Connecting a Microphone to Your iPhone
Are you ready to unleash the full potential of your iPhone by connecting a microphone to it? Whether you're a content creator, podcaster, musician, or simply someone who wants to enhance the audio quality of your recordings, knowing how to connect a microphone to your iPhone can significantly elevate your audio game. With the vast array of microphones available today, finding the right one for your needs and understanding how to seamlessly integrate it with your iPhone is crucial.
In this comprehensive guide, we'll delve into the various types of microphones that are compatible with iPhones, the step-by-step process of connecting both wired and wireless microphones, and essential tips for setting up and testing your microphone. Additionally, we'll explore common troubleshooting techniques to address any potential issues that may arise during the setup process.
By the end of this article, you'll have a clear understanding of how to connect different types of microphones to your iPhone, allowing you to capture high-quality audio for your creative endeavors or professional pursuits. So, let's embark on this journey to unlock the full potential of your iPhone's audio capabilities!
Types of Microphones Compatible with iPhone
Exploring the Diversity of Microphones Suited for iPhone Compatibility
When it comes to selecting a microphone compatible with your iPhone, you’ll encounter a diverse range of options tailored to different recording needs and preferences. Understanding the various types of microphones available can help you make an informed choice based on your specific requirements. Here are some common types of microphones that seamlessly integrate with iPhones:
- Lavalier Microphones: These compact and discreet microphones, also known as lapel mics, are ideal for hands-free operation and are commonly used in interviews, presentations, and vlogging. Lavalier microphones designed for iPhones typically feature a TRRS connector for direct compatibility.
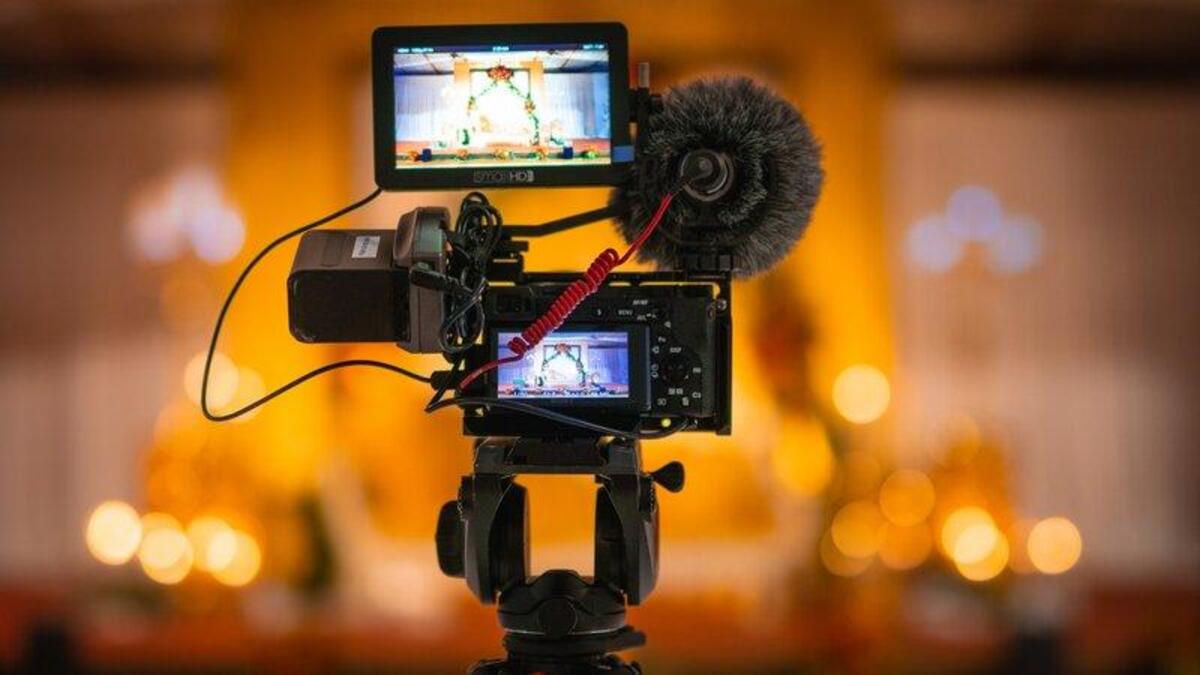
- Shotgun Microphones: Known for their directional pickup pattern, shotgun microphones are excellent for capturing targeted sound sources while minimizing background noise. With the availability of shotgun microphones equipped with lightning connectors, iPhone users can achieve professional audio quality for video recordings and outdoor environments.
- USB Microphones: While primarily designed for computer use, USB microphones can be connected to iPhones using compatible adapters. These microphones offer versatility and high-quality audio capture, making them suitable for podcasting, voiceovers, and music production on the go.
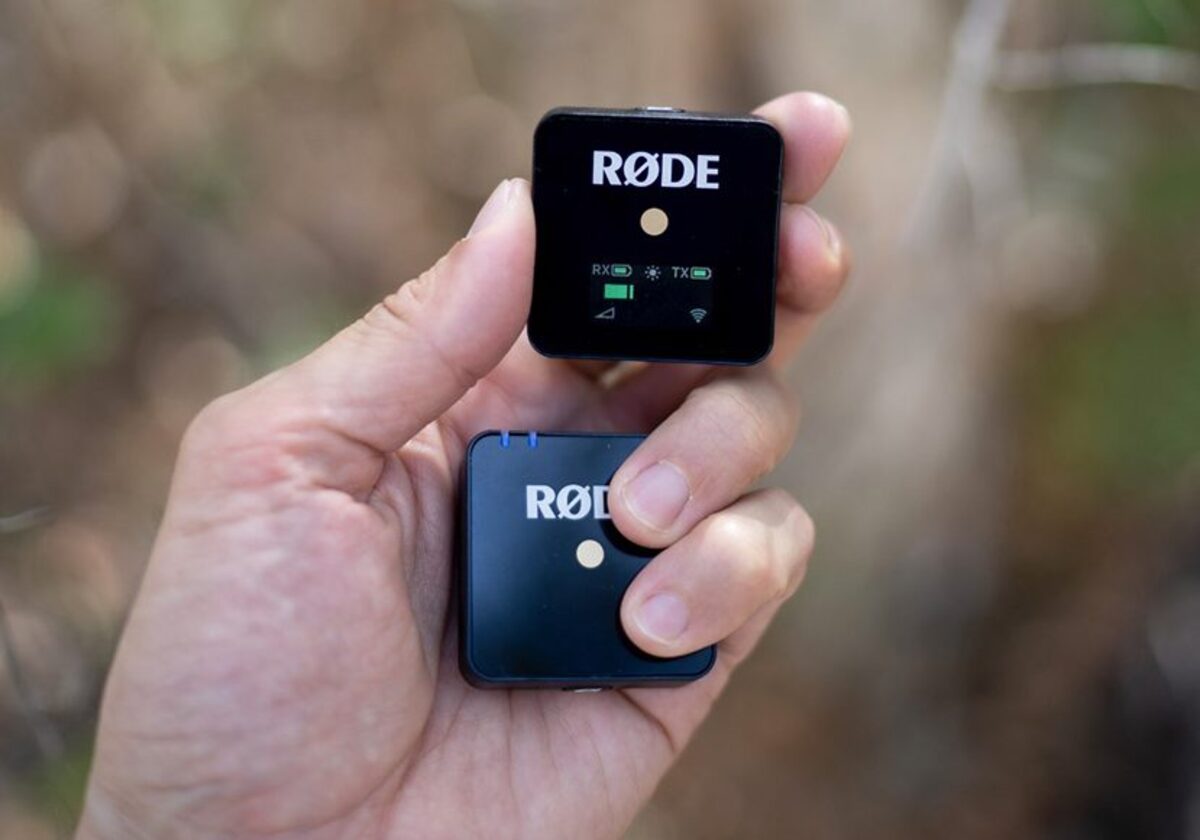
- Wireless Microphone Systems: Comprising wireless transmitters and receivers, these systems provide freedom of movement and are popular among performers, public speakers, and content creators. With the availability of wireless microphone systems compatible with iPhones, users can enjoy seamless connectivity and mobility during recordings and live performances.
By familiarizing yourself with these microphone types, you can identify the most suitable option for your intended applications and creative pursuits. Whether you prioritize portability, hands-free operation, or professional-grade audio performance, there’s a microphone tailored to meet your specific needs while seamlessly integrating with your iPhone.
Connecting a Wired Microphone to iPhone
Step-by-Step Guide to Establishing a Wired Microphone Connection
Connecting a wired microphone to your iPhone is a straightforward process that involves utilizing the appropriate adapters and ensuring seamless compatibility. Here’s a step-by-step guide to help you establish a reliable wired microphone connection with your iPhone:
- Choose the Right Adapter: Depending on the type of wired microphone you intend to use, select the appropriate adapter to connect it to your iPhone. For microphones featuring XLR or 3.5mm connectors, you may need a lightning to 3.5mm audio adapter or a lightning to USB camera adapter, respectively.
- Connect the Adapter: Once you have the necessary adapter, plug it into your iPhone’s lightning port. Ensure a secure connection to prevent any audio disruptions during recordings.
- Attach the Microphone: With the adapter in place, connect your wired microphone to the corresponding port on the adapter. Whether it’s an XLR or 3.5mm connection, make sure the microphone is securely attached to maintain a stable audio signal.
- Adjust Input Settings: Access the audio input settings on your iPhone to ensure that the connected microphone is recognized. This may involve selecting the appropriate input source within your recording or streaming app to enable the microphone for audio capture.
- Test the Connection: Before commencing your recording or live session, perform a quick audio test to verify that the wired microphone is functioning as expected. Speak into the microphone and monitor the audio levels on your iPhone to confirm a successful connection.
By following these steps, you can seamlessly connect a wired microphone to your iPhone, unlocking the potential for high-quality audio capture in various creative and professional scenarios. Whether you’re conducting interviews, recording vocals, or capturing ambient sounds, a wired microphone can significantly enhance the audio capabilities of your iPhone, empowering you to achieve exceptional recordings with ease.
Connecting a Wireless Microphone to iPhone
Streamlining the Connection Process for Wireless Microphones
Integrating a wireless microphone with your iPhone offers unparalleled mobility and flexibility, making it an ideal choice for dynamic recording and live performance scenarios. Here’s a comprehensive guide to help you seamlessly connect a wireless microphone to your iPhone:
- Choose a Compatible Wireless System: Select a wireless microphone system designed for iPhone compatibility, ensuring that it utilizes a connectivity method supported by your device, such as Bluetooth or dedicated iOS apps provided by the microphone manufacturer.
- Pair the Wireless Components: Follow the manufacturer’s instructions to pair the wireless microphone transmitter with the receiver. This typically involves activating the pairing mode on both devices and establishing a secure connection to ensure reliable audio transmission.
- Enable Bluetooth Connectivity: If your wireless microphone system utilizes Bluetooth technology for communication with your iPhone, enable Bluetooth on your device and initiate the pairing process by selecting the microphone system from the available devices list.
- Configure App-Based Connectivity: For wireless microphone systems that rely on dedicated iOS apps for connection and control, download and install the corresponding app from the App Store. Follow the app’s setup instructions to establish a seamless connection between the microphone and your iPhone.
- Verify Signal Reception: Once the wireless microphone is successfully connected to your iPhone, verify the signal reception and audio input within your recording or streaming app. Ensure that the microphone’s audio is being received and processed by your iPhone without any signal interference or dropouts.
By following these steps, you can effortlessly connect a wireless microphone to your iPhone, unlocking the freedom to move and perform without being tethered by cables. Whether you’re delivering a presentation, conducting on-the-go interviews, or engaging in live vocal performances, a wireless microphone system offers unmatched convenience and reliability, empowering you to elevate your audio recordings with ease.
Setting up the Microphone on iPhone
Optimizing Audio Settings for Seamless Microphone Integration
Once you’ve successfully connected your microphone to your iPhone, optimizing the audio settings is essential to ensure optimal performance and audio quality. Here’s a detailed guide to setting up the microphone on your iPhone:
- Access the Audio Input Settings: Navigate to the settings or preferences of your preferred recording or streaming app to access the audio input settings. Ensure that the connected microphone is selected as the primary audio input source to capture sound from the intended source.
- Adjust Gain and Levels: Depending on the microphone type and recording environment, adjust the input gain or microphone levels to optimize the audio signal. Avoid setting the levels too high to prevent distortion, while ensuring that the microphone captures clear and balanced sound.
- Enable Monitoring (If Available): If your recording app or microphone system supports real-time monitoring, enable this feature to listen to the captured audio through headphones or the iPhone’s built-in speaker. Monitoring allows you to assess the audio quality and make necessary adjustments during recordings or live sessions.
- Explore Additional Audio Enhancements: Some recording apps offer built-in audio processing features, such as EQ adjustments, noise reduction, and spatial effects. Experiment with these enhancements to tailor the microphone’s audio output to suit your specific preferences and creative vision.
- Save Preset Configurations: If your recording app allows for preset configurations or custom profiles, save the microphone settings and adjustments as presets for easy recall during future recording sessions. This streamlines the setup process and ensures consistent audio quality across different projects.
By meticulously setting up the microphone on your iPhone, you can harness the full potential of your audio recordings, whether you’re capturing vocals, instruments, ambient sounds, or spoken dialogue. Optimizing the microphone’s integration with your iPhone empowers you to achieve professional-grade audio results, elevating your creative endeavors and professional projects with unparalleled sound quality.
Testing the Microphone Connection
Ensuring Seamless Functionality and Audio Performance
After setting up your microphone on the iPhone, conducting thorough tests is crucial to confirm the reliability of the connection and the quality of the audio output. Here’s a comprehensive approach to testing the microphone connection:
- Check for Signal Reception: Begin by verifying that the iPhone recognizes the connected microphone as the primary audio input source. Access the audio input settings within your recording or streaming app to confirm that the microphone is receiving a signal and is ready for audio capture.
- Perform Sound Checks: Speak or produce sound into the microphone while monitoring the audio levels on your iPhone. Ensure that the microphone effectively captures the intended sound with clarity and appropriate volume levels, indicating a successful audio input.
- Assess Signal Consistency: Move around or adjust the microphone’s position to assess the consistency of the audio signal reception. Verify that the microphone maintains a stable connection with the iPhone, minimizing signal dropouts or interference during movement or positional adjustments.
- Test in Varied Environments: Conduct tests in different acoustic environments to evaluate the microphone’s performance across varying soundscapes. This includes quiet spaces, outdoor settings, and areas with ambient noise to gauge the microphone’s adaptability and sound-capturing capabilities.
- Record Sample Content: Initiate a brief recording session using your preferred app to capture sample audio content with the connected microphone. Listen to the recorded material to assess the overall audio quality, ensuring that it aligns with your expectations in terms of clarity, fidelity, and absence of unwanted noise.
By rigorously testing the microphone connection on your iPhone, you can confidently proceed with your creative or professional endeavors, knowing that the audio setup is reliable and capable of delivering exceptional results. Thorough testing not only validates the microphone’s functionality but also provides insights into its performance across diverse scenarios, empowering you to leverage its capabilities effectively.
Troubleshooting Common Issues
Navigating Potential Challenges in Microphone Integration with iPhone
While connecting and setting up a microphone on your iPhone is generally straightforward, encountering occasional issues is not uncommon. Understanding how to troubleshoot common problems can help you swiftly address any challenges that may arise. Here are some common issues and troubleshooting tips:
- Intermittent Audio Signal: If you experience intermittent audio signal or dropouts, ensure that the microphone’s connector and the iPhone’s port are clean and free from debris. Additionally, consider using a different adapter or cable to rule out potential connectivity issues.
- Low Audio Levels: In the event of low audio levels, verify that the microphone’s gain or input levels are appropriately adjusted within the recording app. Additionally, check for any obstructions or physical impediments that may affect the microphone’s sound capture capabilities.
- Compatibility Concerns: If you encounter compatibility issues, confirm that the microphone is explicitly designed for use with iPhones and that it supports the necessary connectivity standards, such as TRRS, lightning, or Bluetooth, depending on the microphone type.
- App-Specific Challenges: Certain recording or streaming apps may exhibit unique issues related to microphone integration. Stay updated with the latest app versions and review user forums or support resources for specific troubleshooting guidance related to your chosen app.
- Signal Interference: When using wireless microphones, be mindful of potential signal interference from nearby electronic devices or wireless networks. Relocate to a different area or adjust the microphone’s frequency settings to mitigate interference and ensure a stable connection.
By proactively addressing these common issues and applying the corresponding troubleshooting strategies, you can mitigate disruptions and optimize the functionality of your microphone when integrated with your iPhone. Additionally, staying informed about the latest firmware updates and compatibility guidelines from microphone manufacturers can further enhance the seamless integration and performance of your audio setup.
Conclusion
Unlocking the Full Potential of Your iPhone’s Audio Capabilities
In the realm of modern audio recording and content creation, the ability to seamlessly connect and integrate microphones with iPhones has revolutionized the way we capture and produce high-quality audio. Whether you’re a content creator, musician, podcaster, journalist, or simply an individual seeking to elevate your audio recordings, the versatility and portability of iPhone-compatible microphones offer a myriad of creative possibilities.
By understanding the diverse types of microphones compatible with iPhones, from lavalier and shotgun mics to wireless systems and USB options, you can tailor your microphone selection to suit your specific recording needs and preferences. The step-by-step guides provided in this article offer comprehensive insights into connecting both wired and wireless microphones to your iPhone, empowering you to harness the full potential of these audio tools.
Setting up and testing your microphone on the iPhone is a pivotal aspect of ensuring reliable performance and optimal audio quality. By meticulously configuring the audio settings, conducting thorough tests, and troubleshooting common issues, you can establish a robust audio setup that meets the demands of your creative or professional endeavors.
As you embark on your journey to integrate microphones with your iPhone, remember that the seamless fusion of technology and creativity opens doors to limitless possibilities. From capturing intimate vocals to conducting on-the-go interviews and delivering captivating live performances, the marriage of microphones and iPhones empowers you to express your artistry with unparalleled clarity and impact.
Embrace the ongoing advancements in microphone technology and iPhone compatibility, and stay attuned to the evolving landscape of audio innovation. By harnessing the capabilities of your iPhone and leveraging the diverse array of compatible microphones, you can embark on a transformative audio journey, amplifying your voice, music, and storytelling with precision and passion.