Home>Devices & Equipment>Earbuds>How To Connect Bose Earbuds To IPhone

Earbuds
How To Connect Bose Earbuds To IPhone
Modified: January 22, 2024
Learn how to connect your Bose earbuds to your iPhone easily and quickly. Enhance your audio experience with these step-by-step instructions.
(Many of the links in this article redirect to a specific reviewed product. Your purchase of these products through affiliate links helps to generate commission for AudioLover.com, at no extra cost. Learn more)
Table of Contents
Introduction
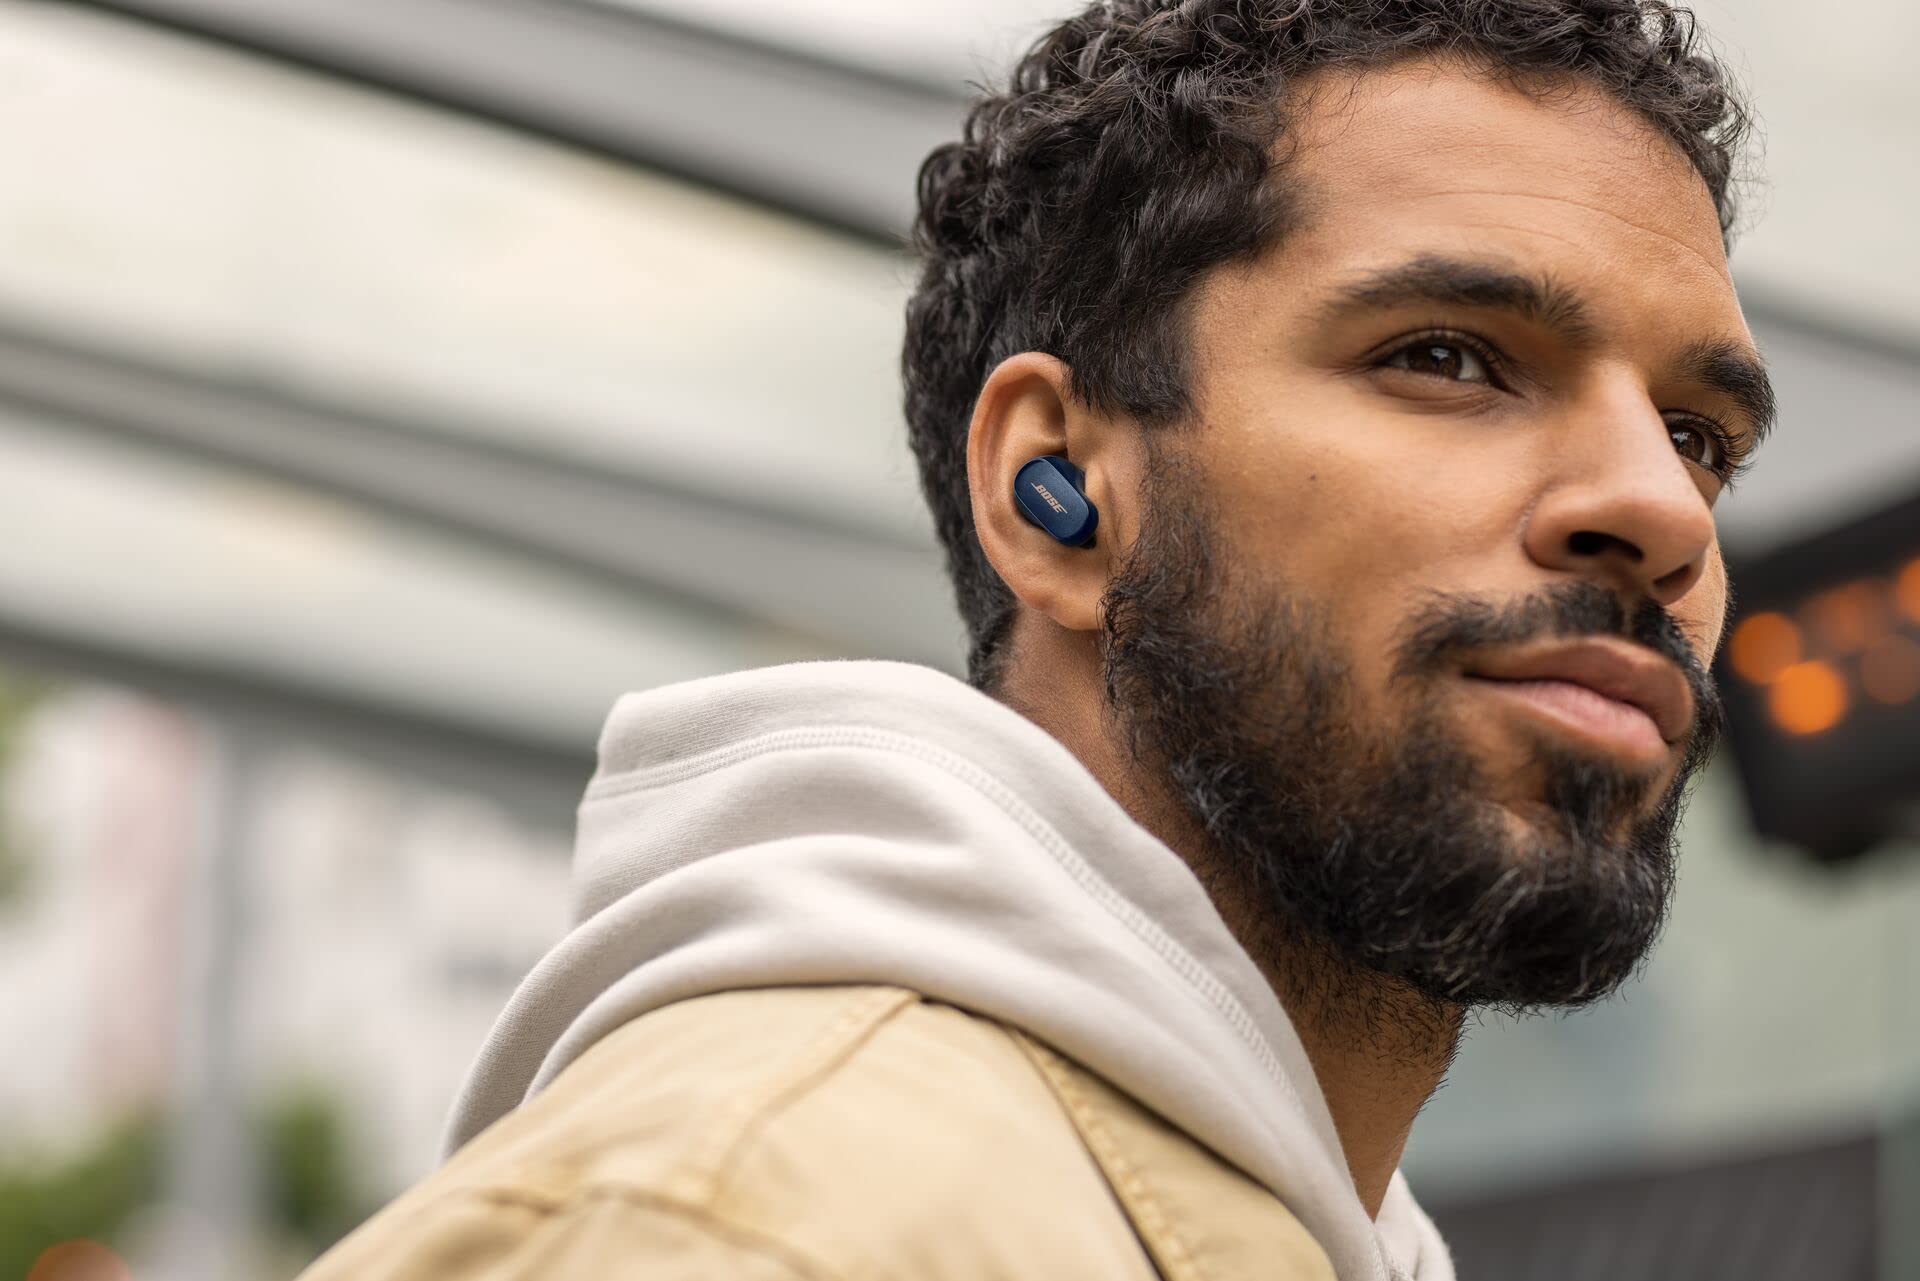
Connecting your Bose Earbuds to your iPhone allows you to enjoy your favorite music, podcasts, and calls wirelessly. With advancements in technology, wireless earbuds have become increasingly popular due to their convenience and portability.
In this guide, we will walk you through the step-by-step process of connecting your Bose Earbuds to your iPhone. Whether you have the Bose QuietComfort Earbuds, Bose Sport Earbuds, or any other model, the process remains relatively similar.
Before we proceed, it’s important to note that the specific steps may slightly vary depending on the model of your Bose Earbuds and the version of your iPhone’s operating system. However, the general instructions provided in this guide will guide you through the process and help you establish a seamless connection.
So, let’s dive in and learn how to connect your Bose Earbuds to your iPhone, ensuring you can experience high-quality audio on the go!
Step 1: Check Compatibility
Before attempting to connect your Bose Earbuds to your iPhone, it is crucial to ensure that they are compatible with each other. Compatibility plays a significant role in establishing a seamless connection and avoiding any potential issues.
To check the compatibility, make sure that your Bose Earbuds model is compatible with iPhones. Most Bose earbuds are designed to work with iPhones running iOS 10 or later. However, it’s always a good idea to refer to the user manual or visit the official Bose website for specific instructions regarding compatibility.
Additionally, ensure that your iPhone is updated to the latest iOS version. Software updates often introduce bug fixes and improvements for better connectivity and performance. To check for updates, go to Settings on your iPhone, select General, and then tap Software Update. If an update is available, follow the prompts to download and install it.
By confirming compatibility and updating your iPhone’s software, you are setting the foundation for a smooth connection process.
Step 2: Charge the Earbuds
Before you can connect your Bose Earbuds to your iPhone, it’s essential to ensure that they have sufficient battery power. Charging your earbuds will not only ensure a seamless connection but also allow you to enjoy longer usage without interruptions.
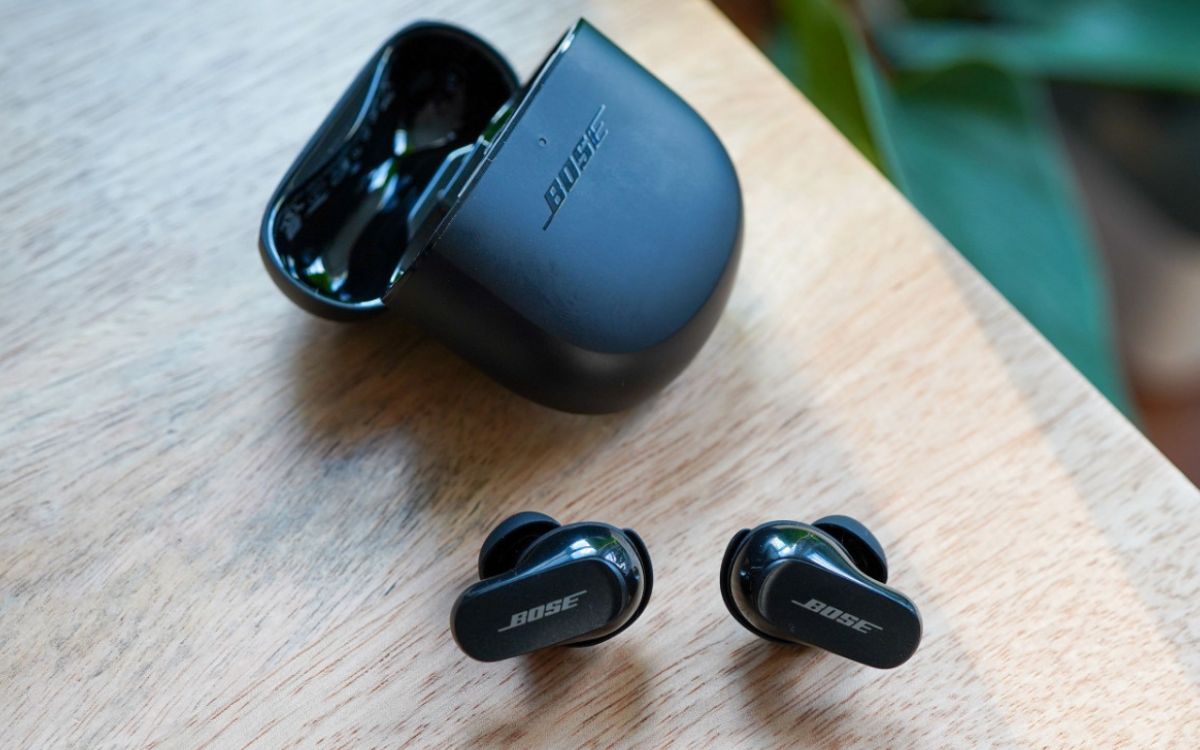
Start by locating the charging case that comes with your Bose Earbuds. Open the case and ensure that both the earbuds are securely placed in their respective charging slots.
Connect the charging case to a power source using the included USB cable. You can use a wall adapter or another power source like your laptop or computer. Once connected, a small LED light on the charging case should indicate that the earbuds are charging.
It’s important to note that the charging time may vary depending on the model of your Bose Earbuds and the current battery level. Refer to the user manual or the official Bose website for specific charging times.
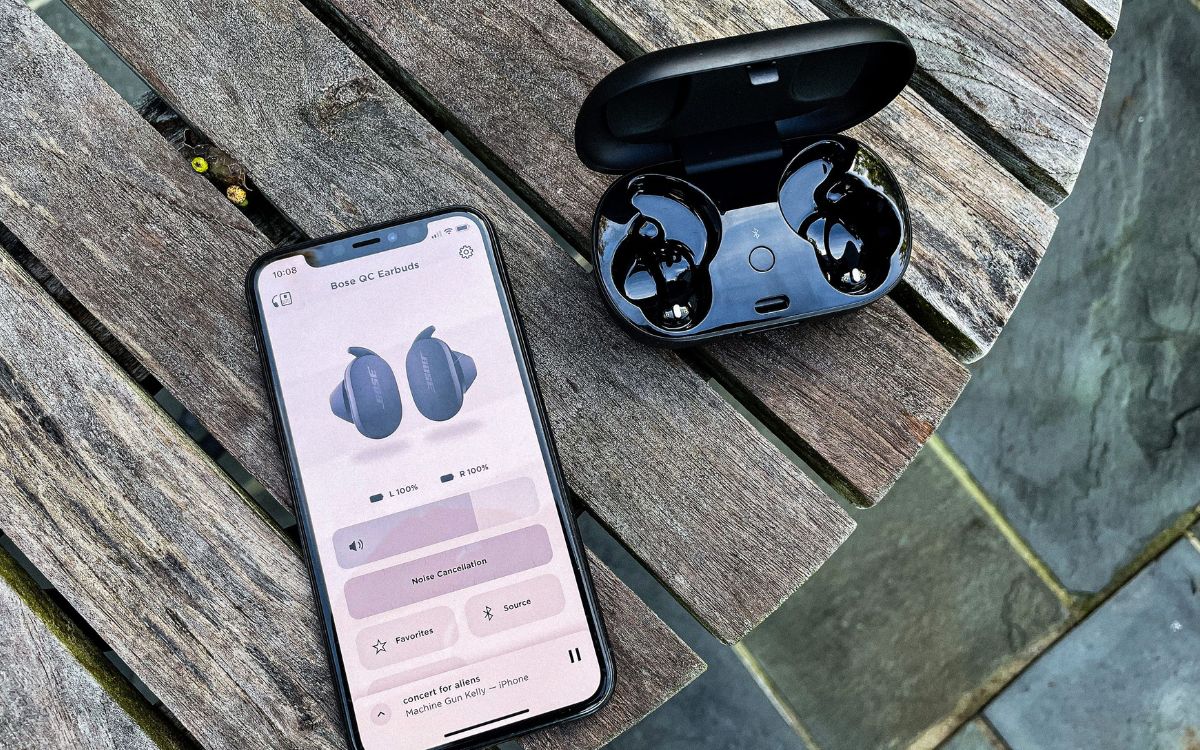
While the earbuds are charging, you can monitor the battery level on your iPhone. Open the Control Center by swiping down from the top-right corner of the screen (on newer iPhones) or swiping up from the bottom of the screen (on older iPhones). Here, you should see the battery status of your earbuds in the Now Playing widget.
Once your Bose Earbuds are fully charged, you are ready to proceed to the next step and establish a connection with your iPhone.
Step 3: Enable Bluetooth on iPhone
In order to connect your Bose Earbuds to your iPhone, you need to ensure that Bluetooth is enabled on your device. Bluetooth is the wireless technology that enables communication between your earbuds and your iPhone.
To enable Bluetooth on your iPhone, follow these steps:
- Unlock your iPhone and open the Settings app. The Settings app icon is a gray gear.
- Scroll down and tap on “Bluetooth.”
- On the next screen, toggle the switch to the right to turn on Bluetooth. The switch will turn green, indicating that Bluetooth is now enabled.
Once Bluetooth is enabled on your iPhone, it will start scanning for nearby devices. At this point, you will be ready to put your Bose Earbuds into pairing mode, which allows them to be discovered by your iPhone.
Make sure to keep your iPhone nearby and within range of the earbuds during the pairing process to ensure a stable connection.
Now that Bluetooth is enabled on your iPhone, let’s move on to the next step and put your Bose Earbuds into pairing mode.
Step 4: Put the Earbuds in Pairing Mode
In order to connect your Bose Earbuds to your iPhone, you’ll need to put the earbuds into pairing mode. Pairing mode allows your iPhone to discover and establish a connection with the earbuds.
To put your Bose Earbuds into pairing mode, follow these steps:
- Take the earbuds out of the charging case, making sure they are both powered on.
- Check the user manual or visit the official Bose website to determine the specific procedure for your model of earbuds.
- Typically, you can put the earbuds into pairing mode by pressing and holding a specific button on the earbuds themselves. This button is typically located on the side or the underside of the earbuds.
- After holding the button for a few seconds, you should see an LED light on the earbuds start flashing, indicating that they are in pairing mode.
It’s important to note that the exact procedure for entering pairing mode may vary depending on the model of your Bose Earbuds. If you’re unsure of the specific steps, consult the user manual or refer to the official Bose website for guidance.
Once your Bose Earbuds are in pairing mode, you are now ready to connect them to your iPhone. Let’s move on to the next step.
Step 5: Connect Bose Earbuds to iPhone
Now that your Bose Earbuds are in pairing mode, it’s time to connect them to your iPhone. Follow these steps to establish a Bluetooth connection:
- On your iPhone, go to the Settings app and tap on “Bluetooth.”
- Your iPhone will now start scanning for nearby Bluetooth devices. After a few seconds, you should see your Bose Earbuds appear in the list of available devices. They may appear as “Bose Earbuds” or a similar name.
- Tap on your Bose Earbuds in the list to initiate the connection.
- Once you tap on your earbuds, your iPhone will attempt to establish a connection. This may take a few seconds.
- Upon successful connection, you will see a confirmation message on your iPhone’s screen, indicating that your Bose Earbuds are now connected.
Congratulations! You have successfully connected your Bose Earbuds to your iPhone. Now, you can enjoy the freedom of wireless audio.
It’s important to note that once your Bose Earbuds are connected to your iPhone, they will automatically connect whenever they are in proximity to each other and Bluetooth is enabled on both devices. This allows for convenient and seamless audio playback without the need for manual reconnection each time.
Now that you’re connected, let’s move on to the next step and ensure that the connection is working correctly.
Step 6: Test the Connection
After connecting your Bose Earbuds to your iPhone, it’s important to test the connection to ensure that everything is working correctly. This will help you verify that audio playback, call functionality, and other features are functioning as expected.
Here are a few simple tests you can perform to ensure the connection is working properly:
- Play a song or audio clip on your iPhone. Verify that the audio is coming through the Bose Earbuds and not the iPhone’s built-in speakers.
- Adjust the volume using the controls on your Bose Earbuds. Ensure that the volume changes accordingly on your iPhone.
- If your Bose Earbuds support touch controls, test their functionality. Try tapping or swiping on the earbuds to adjust playback, skip tracks, or answer phone calls.
- Make or receive a phone call and talk through your Bose Earbuds. Check the microphone quality and ensure that you can hear the caller clearly.
- If your Bose Earbuds offer noise-canceling or ambient sound features, test them to see if they effectively reduce external noise or allow you to hear your surroundings.
If any issues arise during the testing phase, refer to the user manual or contact the Bose support team for troubleshooting assistance. They can provide specific guidance based on your earbuds model and help you resolve any connectivity or functionality issues.
Once you have tested the connection and verified that everything is working properly, you can confidently enjoy your audio and phone calls with your Bose Earbuds connected to your iPhone.
Now that you have successfully tested the connection, let’s explore some troubleshooting tips that can help you resolve common connectivity issues, if they arise.
Troubleshooting Tips
While connecting your Bose Earbuds to your iPhone is typically a straightforward process, you may encounter some common connectivity issues. Here are some troubleshooting tips that can help you resolve them:
- Restart both devices: Sometimes, a simple restart can resolve connectivity issues. Try turning off both your iPhone and Bose Earbuds, then turn them back on and attempt to establish the connection again.
- Ensure the earbuds are fully charged: Low battery levels can affect the stability of the connection. Make sure your Bose Earbuds are properly charged before attempting to connect them to your iPhone.
- Reset Bluetooth settings: If you’re experiencing persistent issues, try resetting your iPhone’s Bluetooth settings. Go to Settings > General > Reset, then tap on “Reset Network Settings.” Please note that this will also remove other saved Bluetooth devices, so be prepared to reconnect them.
- Keep devices within range: Bluetooth has a limited range, typically around 30 feet. Ensure that your iPhone and Bose Earbuds are within close proximity during the connection process and while using them.
- Remove interference: Bluetooth signals can be disrupted by other wireless devices or structures. Move away from Wi-Fi routers, microwaves, and other devices that may cause interference when trying to connect your earbuds to your iPhone.
- Check for firmware updates: Visit the official Bose website or use the Bose Connect app to check if there are any available firmware updates for your earbuds. Updating to the latest firmware can often resolve connectivity issues and improve performance.
- Reset the earbuds: If all else fails, you can try resetting your Bose Earbuds. Consult the user manual or visit the Bose website for instructions on performing a reset. Be aware that this will delete any personalized settings or saved devices.
If you’ve tried these troubleshooting tips and are still unable to establish a stable connection, it’s best to contact Bose customer support for further assistance. They have trained professionals who can provide specialized guidance based on the specific model of your earbuds and help you resolve any persistent issues.
By troubleshooting common connectivity issues, you can ensure a seamless and enjoyable audio experience with your Bose Earbuds connected to your iPhone.
Now, let’s wrap up this guide.
Conclusion
Connecting your Bose Earbuds to your iPhone allows you to experience the freedom of wireless audio and enjoy high-quality sound on the go. By following the steps outlined in this guide, you can establish a seamless Bluetooth connection and unlock the full potential of your earbuds.
We began by checking the compatibility between your Bose Earbuds and your iPhone, ensuring they are compatible and running the latest software. Then, we charged the earbuds to ensure they have sufficient power for uninterrupted usage.
Next, we enabled Bluetooth on your iPhone and put the Bose Earbuds into pairing mode. This allowed your iPhone to recognize and establish a connection with the earbuds. Once the connection was established, we tested the connection to ensure audio playback, call functionality, and other features were working correctly.
If you encounter any issues during the connection process, remember to refer to the troubleshooting tips provided in this guide. Restarting devices, resetting Bluetooth settings, and checking for firmware updates can often resolve common connectivity issues.
Now that you’ve successfully connected your Bose Earbuds to your iPhone and tested the connection, you can enjoy your favorite music, podcasts, and calls with the convenience and freedom of wireless audio.
Remember to consult the user manual or contact Bose customer support for further assistance if you encounter any persistent connectivity issues.
We hope this guide has been helpful in assisting you with connecting Bose Earbuds to your iPhone. Embrace the wireless experience and enjoy the immersive audio quality that your Bose Earbuds and iPhone combination can provide!

