Home>Devices & Equipment>Microphone>How To Connect Rode Microphone To IPhone
Microphone
How To Connect Rode Microphone To IPhone
Modified: February 17, 2024
Learn how to easily connect a Rode microphone to your iPhone for high-quality audio recording. Follow our step-by-step guide to set up your microphone hassle-free.
(Many of the links in this article redirect to a specific reviewed product. Your purchase of these products through affiliate links helps to generate commission for AudioLover.com, at no extra cost. Learn more)
Table of Contents
Introduction
In today's digital age, the demand for high-quality audio recording has surged, driven by the burgeoning popularity of podcasts, vlogging, and mobile journalism. As a result, the need for reliable, portable, and user-friendly microphones has become increasingly pronounced. Rode Microphones, a renowned industry leader, has consistently delivered top-notch recording solutions tailored to the evolving needs of content creators.
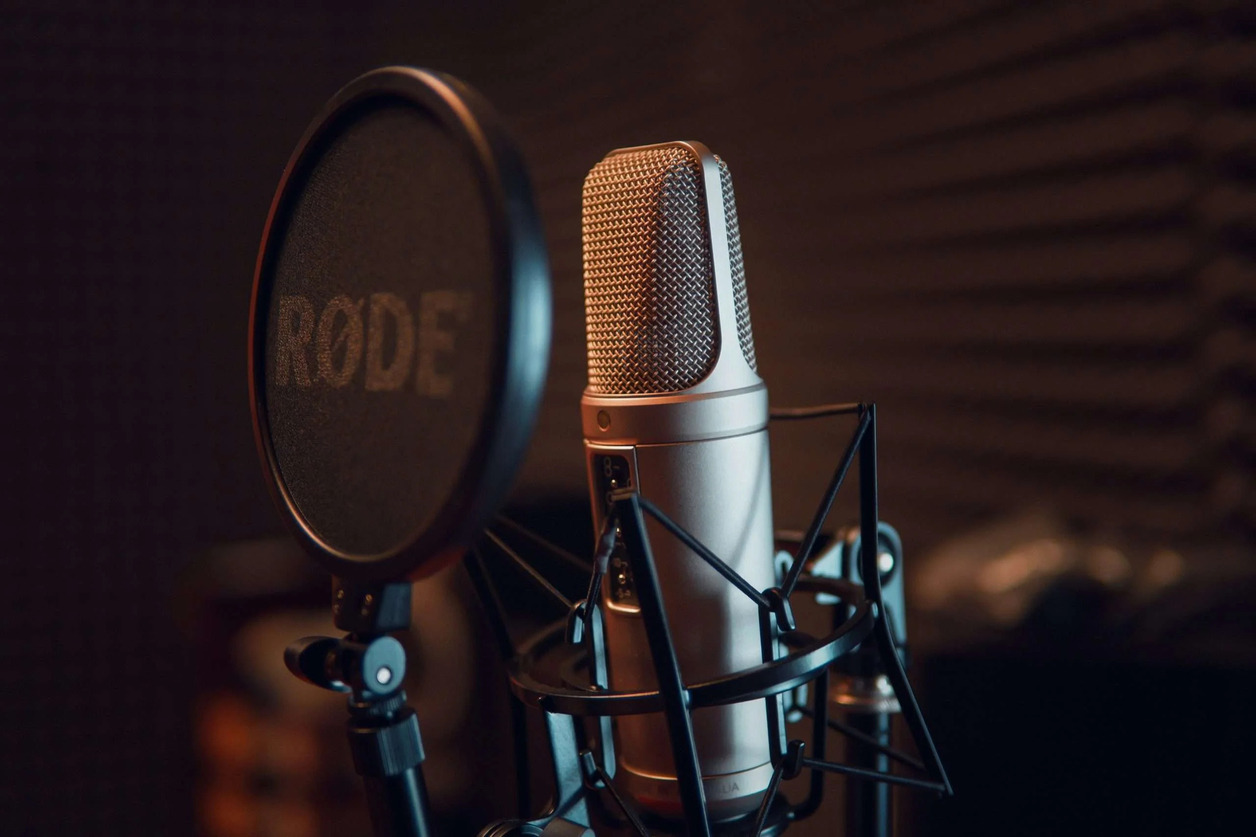
Rode Microphones are revered for their exceptional sound quality, durability, and versatility, making them a preferred choice for professionals and enthusiasts alike. With a diverse product line encompassing shotgun, lavalier, and USB microphones, Rode caters to a wide spectrum of recording requirements. Moreover, the brand's commitment to innovation is evident in its integration of cutting-edge technologies, ensuring that users can capture pristine audio in various environments.
One of the most appealing features of Rode Microphones is their compatibility with smartphones, including the ubiquitous iPhone. This seamless integration empowers users to elevate their audio recording capabilities, transcending the limitations of built-in smartphone microphones. By harnessing the power of Rode Microphones, content creators can achieve studio-quality sound on-the-go, enriching their productions and captivating audiences with crystal-clear audio.
In this comprehensive guide, we will delve into the intricacies of connecting a Rode Microphone to an iPhone, unlocking a world of possibilities for aspiring and seasoned audio enthusiasts. From understanding the nuances of Rode Microphones to navigating the setup process and troubleshooting common issues, this article aims to equip you with the knowledge and confidence to harness the full potential of your Rode Microphone with your iPhone. Whether you're a podcaster, filmmaker, musician, or content creator, mastering the art of connecting a Rode Microphone to your iPhone is a valuable skill that can significantly enhance the quality of your audio productions. Let's embark on this enlightening journey and unravel the wonders of seamless audio connectivity between Rode Microphones and iPhones.
Understanding Rode Microphones
Rode Microphones have earned a stellar reputation in the audio recording industry, revered for their exceptional performance, durability, and versatility. Before delving into the intricacies of connecting a Rode Microphone to your iPhone, it’s essential to grasp the diverse range of Rode Microphones available and their unique features.
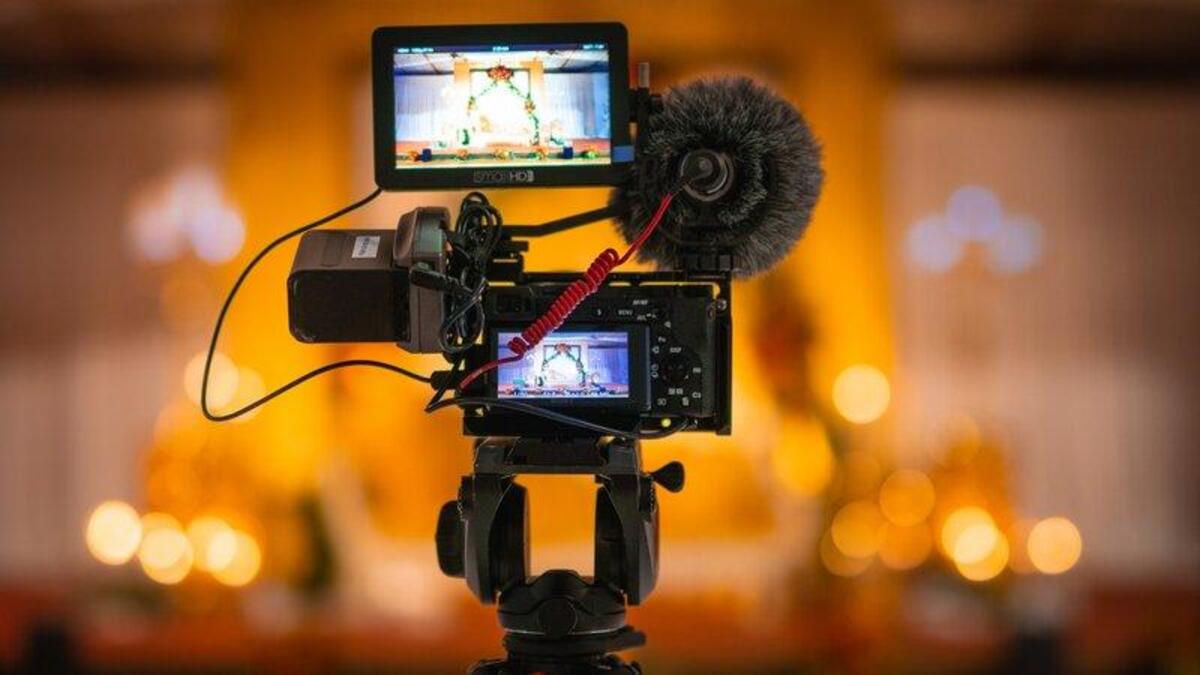
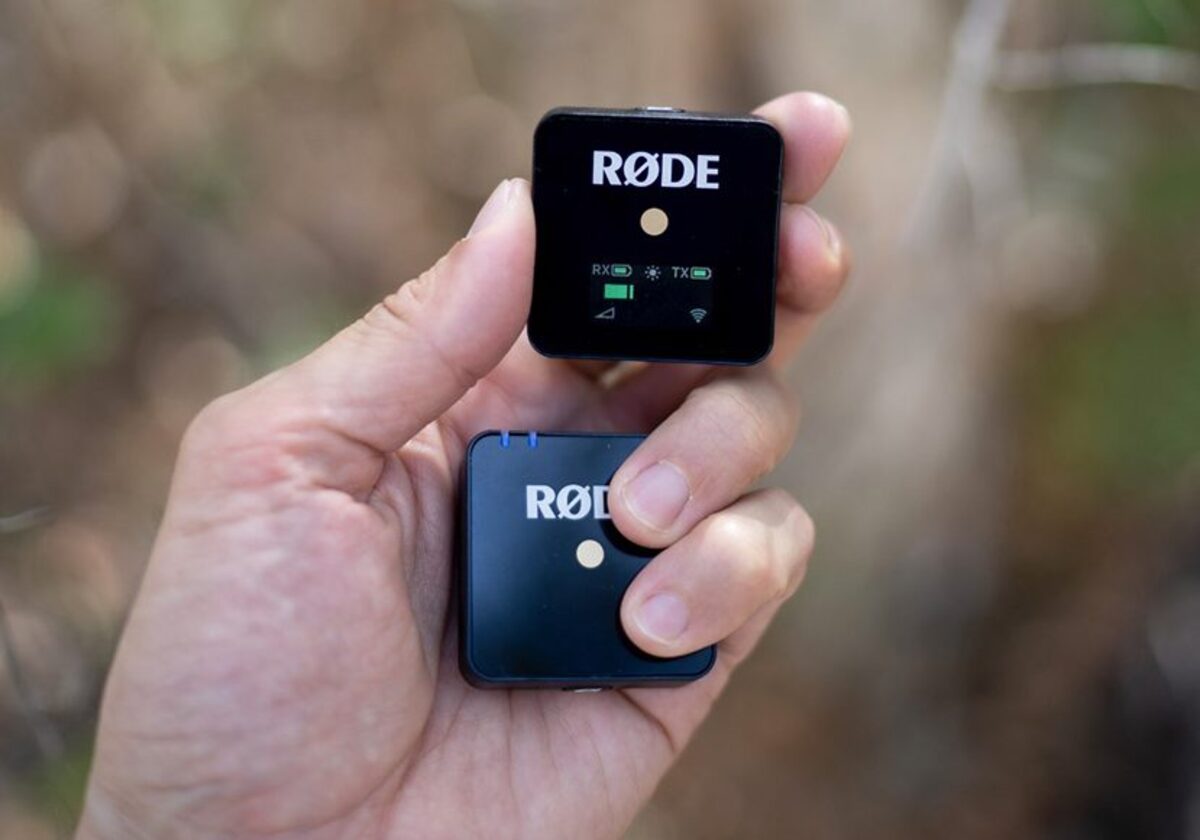
Rode offers a wide array of microphones tailored to different recording needs. From the iconic VideoMic series, renowned for its superior on-camera audio capture, to the innovative smartLav+ lavalier microphone designed for discreet and high-quality recording, Rode caters to a broad spectrum of applications. Additionally, the Rode NT-USB microphone stands out as a popular choice for studio-quality recording and podcasting, boasting a convenient USB connectivity feature for seamless integration with various devices, including iPhones.
One of the key distinguishing factors of Rode Microphones is their commitment to incorporating advanced technologies to enhance audio capture. For instance, the Rode VideoMic Pro+ boasts integrated digital switching, ensuring effortless control over high-pass filters, gain settings, and safety channel options. This level of technological sophistication empowers users to adapt to diverse recording scenarios with ease, resulting in pristine audio quality regardless of the environment.
Furthermore, Rode Microphones are engineered to withstand the rigors of professional use while remaining accessible to enthusiasts and aspiring content creators. The robust construction of Rode Microphones instills confidence in users, knowing that their recording equipment can endure demanding conditions without compromising on performance.
Understanding the nuances of each Rode Microphone model and its unique capabilities is pivotal in harnessing the full potential of these audio recording marvels. Whether you require a shotgun microphone for outdoor filming, a lavalier microphone for interviews, or a USB microphone for podcasting, Rode offers a comprehensive suite of solutions to cater to your specific recording needs.
By familiarizing yourself with the diverse offerings of Rode Microphones, you gain valuable insight into the capabilities and versatility of these recording devices. This knowledge forms the foundation for seamlessly integrating Rode Microphones with your iPhone, unlocking a world of creative possibilities and elevating the quality of your audio productions.
Connecting Rode Microphone to iPhone
Connecting a Rode Microphone to your iPhone opens up a realm of possibilities, empowering you to capture professional-grade audio with unparalleled convenience. Whether you’re a content creator, journalist, musician, or filmmaker, the ability to seamlessly integrate Rode Microphones with your iPhone can significantly elevate the quality of your recordings. Here’s a comprehensive guide to connecting your Rode Microphone to your iPhone, unlocking the full potential of your audio recording endeavors.
1. Selecting the Right Rode Microphone: Before embarking on the connection process, it’s crucial to ensure that the Rode Microphone you intend to use is compatible with your iPhone. Rode offers a diverse range of microphones, including models specifically designed for smartphone connectivity. The smartLav+ lavalier microphone and the VideoMic Me shotgun microphone are popular choices tailored for seamless integration with iPhones, ensuring optimal performance and ease of use.
2. Utilizing the Correct Adapters: Depending on the specific Rode Microphone model you’re using, you may need to utilize compatible adapters to establish a secure connection with your iPhone. For instance, the VideoMic Me microphone requires a TRRS to TRS adapter to interface with iPhones equipped with Lightning ports. Ensuring that you have the appropriate adapters on hand is essential for a smooth and reliable connection process.
3. Leveraging Smartphone Apps: To maximize the capabilities of your Rode Microphone and iPhone setup, consider utilizing dedicated smartphone apps designed to complement Rode Microphones. The Rode Reporter app, for example, offers enhanced control over audio recording parameters, enabling you to fine-tune settings and optimize audio capture based on your specific requirements. Exploring the compatibility of Rode Microphones with smartphone apps can enhance the versatility and functionality of your recording setup.
4. Establishing a Secure Connection: Once you have the requisite adapters and smartphone apps in place, it’s time to establish a secure connection between your Rode Microphone and iPhone. Carefully plug the microphone into the appropriate port, ensuring a snug fit to prevent any audio signal disruptions. With the connection established, you’re poised to harness the superior audio quality delivered by Rode Microphones, transcending the limitations of built-in smartphone microphones.
By following these steps and exercising diligence in selecting the right Rode Microphone, utilizing compatible adapters, exploring smartphone app integration, and ensuring a secure connection, you can seamlessly connect your Rode Microphone to your iPhone. This integration paves the way for unparalleled audio recording experiences, equipping you with the tools to capture pristine sound in diverse settings and unleash your creative potential.
Setting up the Rode Microphone
Once you have successfully connected your Rode Microphone to your iPhone, the next crucial step is setting up the microphone to ensure optimal performance and audio quality. Properly configuring your Rode Microphone enhances its functionality and empowers you to capture pristine audio recordings. Here’s a comprehensive guide to setting up your Rode Microphone for seamless integration with your iPhone, unlocking its full potential and delivering exceptional sound capture.
1. Positioning the Microphone: The positioning of your Rode Microphone plays a pivotal role in capturing high-quality audio. Depending on the type of microphone you’re using, such as a shotgun microphone or lavalier microphone, ensure that it is strategically positioned to capture sound effectively. For shotgun microphones, aim the microphone towards the sound source to achieve optimal audio pickup, while lavalier microphones should be discreetly positioned close to the sound source for clear and unobtrusive recording.
2. Adjusting Audio Settings: Explore the audio settings on your iPhone to optimize the recording parameters for your Rode Microphone. Depending on the recording environment and the specific characteristics of your Rode Microphone, consider adjusting settings such as input gain, wind noise reduction, and audio format to align with your recording objectives. Fine-tuning these settings ensures that your Rode Microphone delivers exceptional audio quality tailored to your unique requirements.
3. Monitoring Audio Levels: Utilize the monitoring capabilities of your iPhone to gauge and adjust audio levels while using your Rode Microphone. Monitoring audio levels in real-time enables you to identify and mitigate potential issues such as clipping or low recording levels, ensuring that your recordings maintain optimal audio fidelity. This proactive approach to monitoring audio levels safeguards against undesirable distortions and ensures that your recordings are pristine and professional.
4. Securing the Microphone: Once you have positioned and configured your Rode Microphone, it’s essential to secure it in place to prevent any unintended movement or interference during recording. Whether using a shock mount for a shotgun microphone or utilizing the included clips for lavalier microphones, ensuring the stability of the microphone safeguards against audio inconsistencies and maintains the integrity of your recordings.
By meticulously setting up your Rode Microphone, including strategic positioning, audio parameter adjustments, real-time audio monitoring, and securing the microphone in place, you optimize its performance and ensure that it seamlessly integrates with your iPhone for superior audio capture. This meticulous setup process lays the foundation for harnessing the full potential of your Rode Microphone, empowering you to produce professional-grade recordings with ease and confidence.
Testing the Connection
After connecting and setting up your Rode Microphone with your iPhone, it’s essential to conduct thorough testing to ensure that the audio connection is robust and the recording quality meets your expectations. Testing the connection encompasses various facets, from verifying the audio input to assessing the overall performance of the Rode Microphone with your iPhone. This critical step allows you to identify any potential issues and fine-tune the setup for optimal results. Here’s a comprehensive guide to testing the connection between your Rode Microphone and iPhone, enabling you to validate the audio connectivity and refine your recording setup.
1. Audio Input Verification: Begin by verifying that your iPhone recognizes the Rode Microphone as the audio input source. Access the audio input settings on your iPhone and ensure that the connected Rode Microphone is detected and selected for recording. This initial verification step is crucial in confirming that the iPhone successfully interfaces with the Rode Microphone, laying the groundwork for comprehensive testing.
2. Sound Capture Assessment: Record a sample audio clip using your Rode Microphone to assess the sound capture quality. Choose a diverse range of audio sources and environments to gauge the microphone’s performance across different scenarios. Pay attention to nuances such as clarity, background noise rejection, and overall audio fidelity, as these factors significantly impact the quality of your recordings.
3. Mobility and Flexibility Evaluation: Test the mobility and flexibility of your Rode Microphone setup with your iPhone by recording audio in various settings. Whether you’re in a controlled studio environment, outdoors amidst ambient noise, or on the move, evaluate how effectively the Rode Microphone adapts to different recording conditions. This assessment provides valuable insights into the microphone’s versatility and its ability to deliver consistent performance across diverse scenarios.
4. Compatibility with Recording Apps: If you’re utilizing dedicated recording apps in conjunction with your Rode Microphone and iPhone setup, thoroughly test the compatibility and functionality of these apps. Verify that the apps seamlessly integrate with the Rode Microphone, offering intuitive controls and enhancing the overall recording experience. Assessing app compatibility ensures that you can leverage the full potential of your Rode Microphone with tailored recording solutions.
5. Audio Playback and Analysis: Listen to the recorded audio clips on your iPhone to analyze the sound quality, ensuring that the recordings meet your desired standards. Pay attention to details such as tonal accuracy, dynamic range, and overall audio consistency. This critical listening phase allows you to identify any potential areas for improvement and refine your recording setup for optimal results.
By meticulously testing the connection between your Rode Microphone and iPhone, encompassing audio input verification, sound capture assessment, mobility and flexibility evaluation, compatibility with recording apps, and audio playback and analysis, you gain valuable insights into the performance and capabilities of your recording setup. This comprehensive testing process empowers you to fine-tune the connection, address any potential issues, and optimize your Rode Microphone and iPhone integration for exceptional audio recording experiences.
Troubleshooting
While connecting and utilizing a Rode Microphone with your iPhone can significantly enhance your audio recording capabilities, it’s important to be prepared to troubleshoot common issues that may arise during the setup and usage. Troubleshooting allows you to address potential challenges and ensure that your Rode Microphone and iPhone integration functions seamlessly, delivering exceptional audio quality. Here’s a comprehensive guide to troubleshooting common issues and optimizing the performance of your Rode Microphone with your iPhone, empowering you to overcome obstacles and achieve professional-grade recordings.
1. Audio Distortion or Clipping: If you encounter audio distortion or clipping in your recordings, consider adjusting the input gain settings on your Rode Microphone and iPhone. Lowering the input gain can mitigate distortion while preserving audio fidelity, ensuring that your recordings maintain optimal quality without undesirable artifacts.
2. Connectivity Issues: In the event of connectivity issues between your Rode Microphone and iPhone, inspect the connection points and adapters to ensure a secure and stable interface. Clean the connection ports and adapters to remove any debris or impediments that may hinder the audio signal transmission, restoring reliable connectivity between the devices.
3. Background Noise Interference: If background noise interference affects your recordings, explore the use of windshields or pop filters to attenuate unwanted noise and ensure clear audio capture. Additionally, adjusting the microphone’s positioning and utilizing noise reduction features on your recording app can help mitigate background noise, enhancing the overall recording quality.
4. App Compatibility Issues: Should you encounter compatibility issues between your Rode Microphone and recording apps on your iPhone, ensure that the apps are updated to the latest versions and are compatible with the specific model of Rode Microphone you are using. Updating the recording apps and verifying their compatibility with your microphone can resolve potential software-related issues.
5. Monitoring and Playback Concerns: If you experience challenges with real-time audio monitoring or encounter playback issues, inspect the audio output settings on your iPhone and ensure that the monitoring devices, such as headphones or speakers, are functioning correctly. Verifying the audio output configuration and the functionality of monitoring devices can address monitoring and playback concerns effectively.
By proactively troubleshooting common issues such as audio distortion, connectivity issues, background noise interference, app compatibility issues, and monitoring and playback concerns, you can optimize the performance of your Rode Microphone with your iPhone. This troubleshooting approach empowers you to address challenges swiftly and ensures that your recording setup operates seamlessly, allowing you to focus on capturing pristine audio and unleashing your creative potential with confidence.
Conclusion
As we conclude this comprehensive guide to connecting and utilizing Rode Microphones with iPhones, it’s evident that the seamless integration of these audio recording marvels unlocks a world of creative possibilities and elevates the quality of audio productions. By understanding the nuances of Rode Microphones, navigating the connection process, setting up the microphone for optimal performance, testing the connection, and troubleshooting common issues, you have embarked on a journey to harness the full potential of your Rode Microphone with your iPhone.
The versatility and reliability of Rode Microphones empower content creators, journalists, musicians, and filmmakers to capture studio-quality audio on-the-go, transcending the limitations of built-in smartphone microphones. Whether you’re conducting interviews, recording podcasts, capturing live performances, or documenting compelling stories, the seamless connectivity between Rode Microphones and iPhones equips you with the tools to deliver exceptional sound capture in diverse environments.
Moreover, the meticulous setup and testing processes outlined in this guide enable you to fine-tune your recording setup, ensuring that your Rode Microphone and iPhone integration operates seamlessly and delivers professional-grade recordings. By troubleshooting common issues and addressing potential challenges, you are poised to overcome obstacles and achieve consistent audio excellence with confidence.
Ultimately, the synergy between Rode Microphones and iPhones represents a convergence of innovation, portability, and uncompromising audio quality. It empowers you to unleash your creativity, capture captivating soundscapes, and engage your audience with immersive audio experiences. As technology continues to evolve, the seamless connectivity between Rode Microphones and iPhones exemplifies the democratization of high-quality audio recording, placing powerful creative tools in the hands of aspiring and seasoned audio enthusiasts alike.
Embrace the boundless potential of your Rode Microphone and iPhone integration, and let your passion for audio storytelling and expression flourish. With the knowledge and insights gained from this guide, you are primed to embark on a captivating audio recording journey, capturing moments, emotions, and narratives with unparalleled clarity and depth. Seize the opportunity to elevate your audio productions, amplify your creativity, and leave a lasting impression through the art of seamless audio connectivity between Rode Microphones and iPhones.