Home>Devices & Equipment>Earbuds>How To Pair Beats Earbuds To Android Phone

Earbuds
How To Pair Beats Earbuds To Android Phone
Published: November 13, 2023
Learn how to easily pair Beats earbuds with your Android phone. Step-by-step guide to connect your earbuds for a seamless audio experience.
(Many of the links in this article redirect to a specific reviewed product. Your purchase of these products through affiliate links helps to generate commission for AudioLover.com, at no extra cost. Learn more)
Table of Contents
- Introduction
- Step 1: Ensure Bluetooth is enabled on your Android phone
- Step 2: Put your Beats earbuds in pairing mode
- Step 3: Open the Bluetooth settings on your Android phone
- Step 4: Scan for available Bluetooth devices
- Step 5: Select your Beats earbuds from the list of available devices
- Step 6: Complete the pairing process
- Step 7: Test the connection
- Conclusion
Introduction
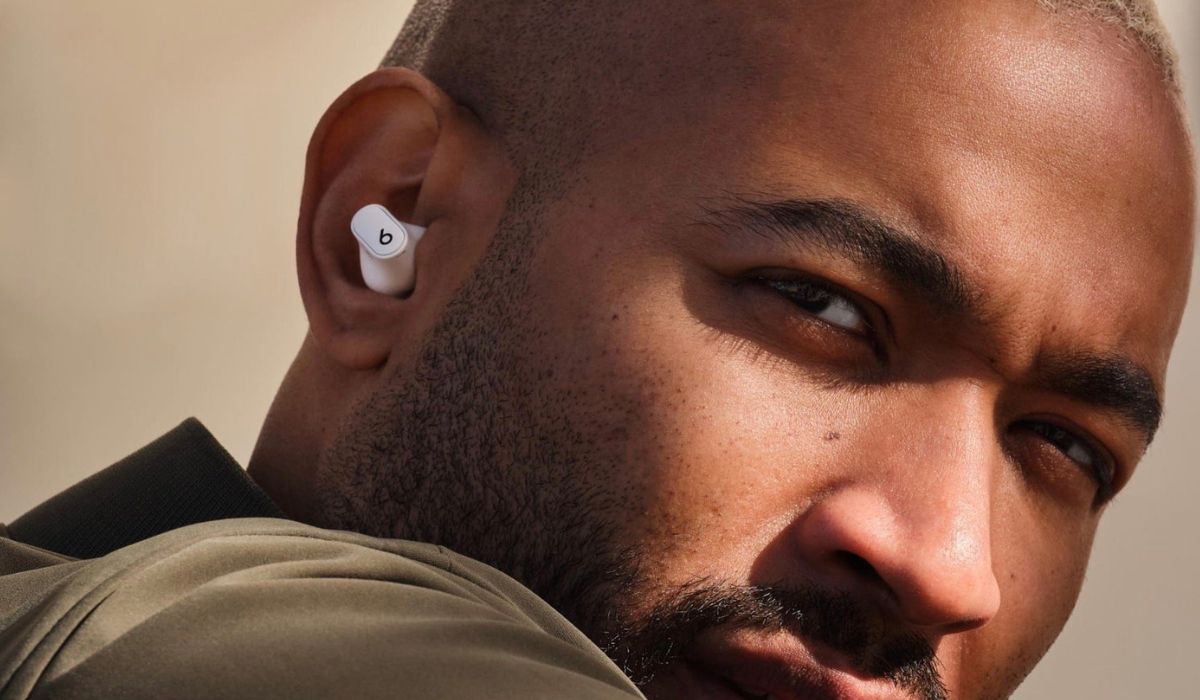
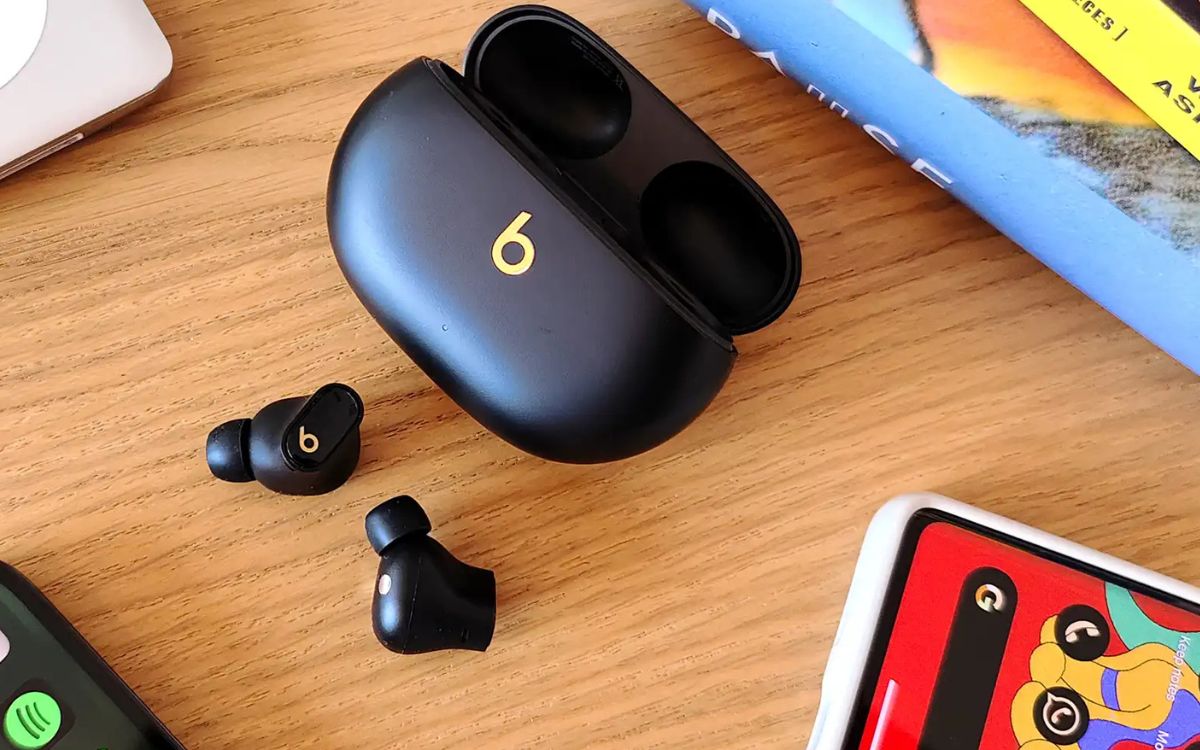
Welcome to the world of Beats earbuds, where style meets superior sound quality. These sleek and compact wireless headphones are the perfect accessory for music lovers on the go. Whether you’re commuting, working out, or simply enjoying your favorite tunes, Beats earbuds provide an immersive audio experience that will elevate your listening pleasure.
Pairing your Beats earbuds with your Android phone is a simple process that allows you to enjoy your music without the hassle of tangled wires. With just a few steps, you’ll be able to connect your earbuds and start enjoying your favorite audio content.
In this article, we will guide you through the process of pairing Beats earbuds to your Android phone. We’ll cover everything from enabling Bluetooth on your phone to completing the pairing process and testing the connection. So, grab your Beats earbuds and let’s get started!
Before we begin, it’s worth noting that the specific steps may vary slightly depending on the model of your Beats earbuds and the version of Android on your phone. However, the general principles remain the same, and we’ll provide you with the necessary guidance to pair your Beats earbuds with ease.
Step 1: Ensure Bluetooth is enabled on your Android phone
The first step in pairing your Beats earbuds with your Android phone is to ensure that the Bluetooth feature is enabled on your device. Bluetooth allows for wireless communication between devices, making it essential for connecting your earbuds to your phone.
To enable Bluetooth on your Android phone, follow these simple steps:
- Open the Settings app on your Android phone. You can usually find it by swiping down from the top of the screen and tapping the gear icon.
- Scroll through the settings and locate the “Bluetooth” option. It is usually represented by a stylized Bluetooth icon.
- Tap on the Bluetooth option to access the Bluetooth settings.
- Toggle the switch at the top of the Bluetooth settings to turn Bluetooth on. You’ll know Bluetooth is enabled when the switch turns blue or shows the word “On.”
Once Bluetooth is enabled on your Android phone, you’re ready to move on to the next step of pairing your Beats earbuds.
Note: Some Android phones may have different settings layouts or variations in terminology. If you can’t find the Bluetooth option in your settings, try using the search function within the Settings app to locate it.
Step 2: Put your Beats earbuds in pairing mode
Before you can connect your Beats earbuds to your Android phone, you need to put them in pairing mode. Pairing mode allows your earbuds to be discovered by other devices, such as your Android phone, for a seamless connection.
The process of entering pairing mode may vary slightly depending on the model of your Beats earbuds. Here’s a general guide on how to put your Beats earbuds in pairing mode:
- Make sure your Beats earbuds are turned off. If they are already on, power them down by holding the power button or following the manufacturer’s instructions.
- Locate the Bluetooth pairing button on your Beats earbuds. The location of this button may vary depending on the model, so refer to the user manual if you’re unsure.
- Press and hold the Bluetooth pairing button for a few seconds until you see a light indicator or hear a sound confirming that your earbuds are in pairing mode. The specific indication may vary depending on the model of your Beats earbuds.
Once your Beats earbuds are in pairing mode, they are ready to be discovered by your Android phone.
Note: If you have previously connected your Beats earbuds to another device, make sure to unpair them before proceeding with the pairing process on your Android phone. Refer to the user manual or the manufacturer’s website for instructions on how to unpair your earbuds.
Step 3: Open the Bluetooth settings on your Android phone
Now that your Beats earbuds are in pairing mode, it’s time to open the Bluetooth settings on your Android phone. This will allow your phone to search for and discover your earbuds to establish a connection.
To open the Bluetooth settings on your Android phone, follow these steps:
- Unlock your Android phone and navigate to the home screen.
- Swipe down from the top of the screen to access the notification panel.
- Look for the Bluetooth icon. It may be located in the quick settings panel or may require expanding the panel by swiping down again or tapping on an arrow icon.
- Tap on the Bluetooth icon to open the Bluetooth settings.
Alternatively, you can also access the Bluetooth settings by following these steps:
- Open the Settings app on your Android phone. You can usually find it by tapping on the gear icon in the app drawer or the quick settings panel.
- Scroll through the settings and locate the “Bluetooth” option. It is usually represented by a stylized Bluetooth icon.
- Tap on the Bluetooth option to access the Bluetooth settings.
Once you are in the Bluetooth settings of your Android phone, you are ready to search for your Beats earbuds and establish a connection.
Note: The exact steps to access Bluetooth settings may vary slightly depending on the version of Android you are using or any customizations made by the manufacturer. However, the general process remains the same across most Android devices.
Step 4: Scan for available Bluetooth devices
Now that you have opened the Bluetooth settings on your Android phone, it’s time to scan for available Bluetooth devices, including your Beats earbuds.
Follow these steps to scan for Bluetooth devices:
- In the Bluetooth settings on your Android phone, make sure that Bluetooth is turned on if it’s not already.
- Look for the option to “Scan” or “Search” for nearby devices. This may be represented by an icon or a button within the Bluetooth settings.
- Tap on the “Scan” or “Search” option to initiate the scanning process.
Your Android phone will now start scanning for nearby Bluetooth devices, including your Beats earbuds. The scanning process may take a few moments, so be patient as your phone searches for available devices.
During the scanning process, you may see a list of available devices appearing on your phone’s screen. These devices are the ones that your Android phone has detected. Your Beats earbuds should appear in this list if they are in pairing mode and within range of your phone.
Please note that the appearance and organization of the device list may vary depending on the version of Android you are using. However, you should be able to identify your Beats earbuds by their model name or a similar identifier.
Once your Beats earbuds are detected by your Android phone, you can proceed to the next step and establish a connection.
Step 5: Select your Beats earbuds from the list of available devices
Once the scanning process is complete and your Android phone has detected your Beats earbuds, it’s time to select them from the list of available devices.
Follow these steps to select your Beats earbuds:
- In the list of available devices on your Android phone, look for your Beats earbuds. They should be listed by their model name or a similar identifier.
- Tap on the name of your Beats earbuds to select them. This will initiate the pairing process between your phone and the earbuds.
After selecting your Beats earbuds, your Android phone will attempt to establish a connection. During this process, you may be prompted to enter a passcode or confirm a pairing request. Follow the on-screen instructions and enter the necessary information if prompted.
It’s important to note that some Beats earbud models may have specific pairing requirements or additional steps to complete the connection. Refer to the user manual or the manufacturer’s website for any model-specific instructions.
Once the pairing process is complete, your Android phone will display a confirmation message, and your Beats earbuds will be connected. The Bluetooth icon on your phone’s status bar may also indicate a successful connection.
Now that you have successfully connected your Beats earbuds to your Android phone, it’s time to move on to the next step and complete the pairing process.
Step 6: Complete the pairing process
Now that you have selected your Beats earbuds from the list of available devices, it’s time to complete the pairing process and finalize the connection between your Android phone and your earbuds.
Follow these steps to complete the pairing process:
- After selecting your Beats earbuds, wait for a few moments as your Android phone establishes a connection with the earbuds.
- You may see a notification or confirmation message on your phone indicating a successful pairing. Follow any on-screen instructions or prompts.
- Once the pairing process is complete, the status of your Beats earbuds in the Bluetooth settings on your Android phone should change to “Connected” or a similar indicator.
At this point, your Android phone and your Beats earbuds are successfully paired and connected. You can now enjoy your favorite music, podcasts, or any other audio content wirelessly through your Beats earbuds.
It’s worth mentioning that every time you power on your Beats earbuds, they will automatically attempt to connect to your Android phone if Bluetooth is enabled. This means that you won’t have to go through the pairing process again unless you manually remove the earbuds from your phone’s Bluetooth settings or unpair them.
With the pairing process complete, you’re ready to move on to the final step and test the connection between your Android phone and your Beats earbuds.
Step 7: Test the connection
After completing the pairing process between your Android phone and your Beats earbuds, it’s essential to test the connection to ensure everything is working correctly. This step allows you to verify that the audio is playing through your earbuds and that you have a stable and reliable connection.
Follow these steps to test the connection between your Android phone and your Beats earbuds:
- Play a piece of audio on your Android phone, such as a song or a podcast episode.
- Put your Beats earbuds on and make sure they are securely in your ears.
- Listen for the audio output. You should hear the sound playing through your earbuds instead of the phone’s speaker.
- Adjust the volume on your Android phone to ensure it is at a comfortable level.
- Move around the room or take a few steps away from your phone to test the range of the Bluetooth connection. The connection should remain stable and uninterrupted within a reasonable distance.
If you hear the audio playing through your Beats earbuds and experience a stable connection, congratulations! You have successfully paired and connected your Beats earbuds to your Android phone. You can now enjoy your favorite audio content with the freedom and convenience of wireless listening.
However, if you encounter any issues during the testing process, such as audio not playing through the earbuds or a weak connection, try the following troubleshooting steps:
- Make sure your Beats earbuds are charged. Low battery levels can affect the performance of the earbuds.
- Restart your Android phone and repeat the pairing process.
- Move your Android phone and your Beats earbuds closer together to improve the Bluetooth signal.
- Reset your Beats earbuds by following the manufacturer’s instructions for your specific model.
- If the problem persists, refer to the user manual or contact the Beats customer support for further assistance.
By testing the connection between your Android phone and your Beats earbuds, you can ensure a seamless and enjoyable wireless listening experience.
Conclusion
Congratulations! You have successfully paired your Beats earbuds with your Android phone. By following the step-by-step instructions in this guide, you have unlocked the world of wireless audio, allowing you to enjoy your favorite music and audio content with the freedom of movement.
Pairing your Beats earbuds with your Android phone is a straightforward process that involves enabling Bluetooth, putting your earbuds in pairing mode, and connecting them through the Bluetooth settings on your phone. Once the connection is established, you can enjoy high-quality audio without the hassle of wires.
Remember, the specific steps may vary slightly depending on the model of your Beats earbuds and the version of Android on your phone. However, the general principles remain the same, and the guidelines provided in this article should help you through the pairing process.
If you encounter any difficulties or have any questions, consult the user manual that came with your Beats earbuds or reach out to the Beats customer support for further assistance.
Now that your Beats earbuds are paired with your Android phone, it’s time to indulge in your favorite music, podcasts, or any other audio content. Enjoy the convenience and the immersive sound experience that your Beats earbuds bring to your everyday life.
Thank you for reading this guide, and happy listening!

