Home>Devices & Equipment>Earbuds>How To Pair Earbuds To TV


Earbuds
How To Pair Earbuds To TV
Modified: January 22, 2024
Learn how to easily pair your earbuds to your TV and enjoy your favorite shows and movies with immersive sound. Discover step-by-step instructions and troubleshooting tips.
(Many of the links in this article redirect to a specific reviewed product. Your purchase of these products through affiliate links helps to generate commission for AudioLover.com, at no extra cost. Learn more)
Table of Contents
Introduction
Earbuds have become an essential accessory for anyone looking to enhance their audio experience. Whether you enjoy listening to music, watching movies, or playing video games, having a pair of high-quality earbuds can make a significant difference in your overall enjoyment. While using earbuds with your smartphone or tablet is a straightforward process, many people wonder if it’s possible to pair them with a TV.
In this article, we will guide you through the steps to pair earbuds to a TV. Thanks to advancements in technology, many modern TVs are equipped with Bluetooth functionality, making it easier than ever to connect wireless earbuds. Whether you want to watch your favorite shows without disturbing others or immerse yourself in the sound of a movie, pairing earbuds to your TV opens up a world of possibilities.
Before we dive into the step-by-step process, it’s important to note that not all TVs have built-in Bluetooth capability. Some older models may require additional accessories, such as a Bluetooth transmitter, to enable wireless connectivity. So, before attempting to pair your earbuds, ensure that your TV is Bluetooth-compatible or that you have the necessary equipment to establish a connection.
Now, let’s explore the process of pairing your earbuds to a TV, starting with the first step: checking for Bluetooth compatibility.
Step 1: Check for Bluetooth Compatibility
The first step in pairing your earbuds to a TV is to check if your TV has built-in Bluetooth capabilities. Most modern TVs come with this feature, but it’s always a good idea to double-check. To determine if your TV supports Bluetooth, follow these simple steps:
- Refer to the TV’s user manual: The user manual is a valuable resource that provides information about the specifications and features of your TV. Look for any mention of Bluetooth or wireless connectivity to confirm if your TV is Bluetooth-compatible. If you don’t have the manual handy, you can usually find it online on the manufacturer’s website.
- Check the TV’s settings: On some TVs, you can check for Bluetooth functionality directly in the settings menu. Navigate to the settings on your TV and look for a section related to connections or wireless devices. If you find a Bluetooth option, it’s a good indication that your TV supports Bluetooth connectivity.
- Research online: If you’re still unsure about your TV’s Bluetooth compatibility, you can do some online research. Look up your TV model and check the manufacturer’s website or customer reviews to see if Bluetooth connectivity is mentioned. You may also find forums or online communities where users discuss their TV’s features and compatibility.
If you determine that your TV does not have built-in Bluetooth capabilities, don’t worry! There are still solutions available to connect your earbuds wirelessly. You can use a Bluetooth transmitter, which acts as a bridge between your TV and the earbuds. The transmitter plugs into the audio output of your TV and pairs with your earbuds, allowing you to enjoy a wireless audio experience.
Once you have confirmed that your TV is Bluetooth-compatible or have acquired a Bluetooth transmitter, you are ready to move on to the next step: putting the earbuds in pairing mode.
Step 2: Put the Earbuds in Pairing Mode
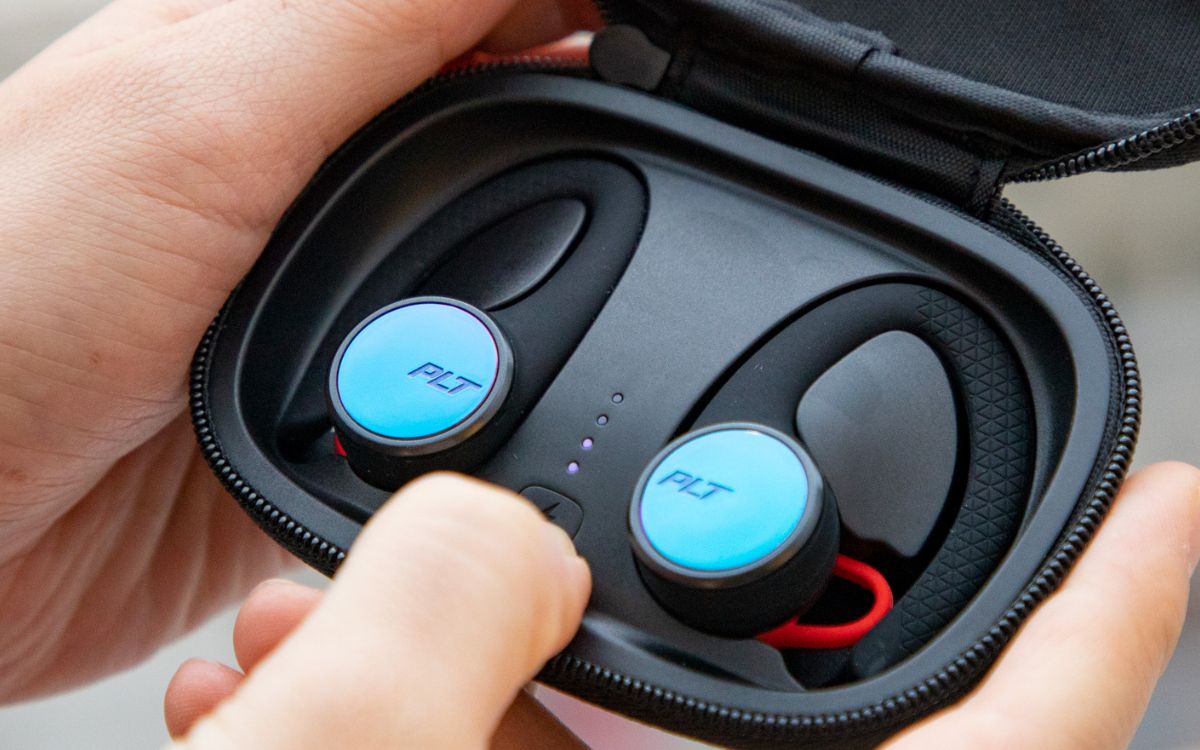
Before you can connect your earbuds to the TV, you need to put them in pairing mode. Pairing mode is a state in which the earbuds are actively searching for a device to connect to. The exact method for entering pairing mode may vary depending on the brand and model of your earbuds, but here are some general steps to follow:
- Power on your earbuds: Ensure that your earbuds have sufficient battery power and turn them on.
- Enter pairing mode: Consult the user manual or manufacturer’s instructions for the specific method to enter pairing mode. Commonly, you may need to press and hold a designated button on the earbuds or access the pairing mode through a dedicated app.
- Wait for the earbuds to indicate pairing mode: Once in pairing mode, the earbuds may emit a blinking LED light or a specific audio prompt to indicate that they are ready to connect.
It’s important to note that some earbuds automatically enter pairing mode when they are powered on, while others require manual activation. Checking the user manual or conducting an online search for your specific earbuds model will provide the exact instructions.
Remember, each pair of earbuds has its own unique method for entering pairing mode. If you’re having trouble, refer to the user manual or reach out to the manufacturer’s customer support for assistance. Once your earbuds are in pairing mode, you’re ready to move on to the next step: enabling Bluetooth on the TV.
Step 3: Enable Bluetooth on the TV
Now that your earbuds are in pairing mode, it’s time to enable Bluetooth on your TV. Enabling Bluetooth allows your TV to search for and connect to nearby Bluetooth devices, including your earbuds. The exact steps to enable Bluetooth may vary depending on the TV model, but here are some general guidelines:
- Access the TV’s settings menu: Using your TV’s remote control, navigate to the settings menu. This is typically indicated by an icon that looks like a gear or a menu.
- Find the Bluetooth settings: Within the settings menu, locate the option for Bluetooth or connectivity. Depending on your TV, it may be listed under a different name, such as “Wireless” or “Network.”
- Enable Bluetooth: Once you’ve found the Bluetooth settings, toggle the option to turn it on. The TV will begin scanning for nearby Bluetooth devices.
It’s important to note that some older TVs may have a separate wireless module that needs to be connected or inserted into a designated slot to enable Bluetooth functionality. If you’re unsure, consult your TV’s user manual or conduct an online search for instructions specific to your TV model.
After enabling Bluetooth on your TV, it should start searching for available devices to pair with. This leads us to the next step: searching and connecting your earbuds to the TV.
Step 4: Search and Connect
With Bluetooth enabled on your TV, it’s time to search for and connect your earbuds. Follow these steps to establish a connection:
- Access the Bluetooth pairing menu: Using your TV’s remote control, navigate to the Bluetooth settings menu. This is where you will find the list of available devices to pair with.
- Initiate a search for devices: In the Bluetooth pairing menu, select the option to search for nearby devices or to scan for devices. Your TV will start scanning for compatible Bluetooth devices.
- Select your earbuds: Once the scan is complete, you should see a list of available devices. Look for your earbuds in the list and select them to initiate the pairing process. The TV may prompt you to enter a PIN or confirm the connection.
- Complete the pairing process: Follow the on-screen instructions to complete the pairing process. This may involve entering a PIN, confirming the connection, or following any additional prompts specific to your earbuds or TV.
It’s important to keep in mind that the pairing process may vary depending on the TV model and the earbuds you are using. It’s always a good idea to consult the user manuals for both devices or reach out to customer support if you encounter any difficulties during the process.
Once the pairing process is complete, your earbuds should be successfully connected to your TV. However, it’s important to note that the audio output may still need to be redirected to the earbuds. Some TVs have a dedicated audio output setting that allows you to select the output device. This can usually be accessed through the TV’s settings or audio menu. Ensure that the audio output is set to your earbuds to ensure sound is transmitted correctly.
With the earbuds successfully connected and the audio output redirected, you’re ready for the final step: testing the connection.
Step 5: Test the Connection
After successfully connecting your earbuds to your TV, it’s important to test the connection to ensure that everything is working as expected. Follow these steps to test the connection:
- Play audio on your TV: Start playing your favorite movie, TV show, or any other audio content on your TV.
- Listen for audio through your earbuds: Put on your earbuds and listen for the audio coming from your TV. Ensure that the volume is at an appropriate level and that the sound quality is clear.
- Verify synchronization: Pay attention to the synchronization between the audio and video. If there is a noticeable delay between what you see on the screen and what you hear in your earbuds, you may need to adjust the settings on your TV or earbuds to improve synchronization.
If you experience any issues with the audio quality, synchronization, or connection stability, here are a few troubleshooting tips:
- Ensure that your earbuds are charged: Low battery levels can affect the audio quality and connection stability. Make sure your earbuds have enough power.
- Keep the earbuds close to the TV: Maintaining a close proximity between your earbuds and the TV can help ensure a strong and stable Bluetooth connection.
- Check for interference: Other devices or signals in close proximity to your earbuds or TV may cause interference. Move away from other electronic devices or wireless signals to minimize interference.
- Restart the devices: If all else fails, try restarting both your earbuds and your TV. Sometimes, a simple reboot can resolve connectivity or audio issues.
By testing the connection and troubleshooting any potential issues, you can ensure that you’re getting the best audio experience possible with your earbuds and TV pairing.
Congratulations! You have successfully completed the process of pairing your earbuds to your TV. Now you can enjoy your favorite shows, movies, and games with the convenience and immersive sound provided by your wireless earbuds.
Conclusion
Pairing your earbuds to your TV opens up a new world of audio possibilities, allowing you to enjoy your favorite entertainment with enhanced sound quality and convenience. While the process may vary depending on your specific earbuds and TV model, the general steps outlined in this guide provide a solid foundation to get you started.
By checking for Bluetooth compatibility, putting your earbuds in pairing mode, enabling Bluetooth on your TV, searching and connecting your devices, and testing the connection, you can successfully establish a wireless connection between your earbuds and TV. With the connection established, you can immerse yourself in an audio experience that is tailored to your preferences.
It’s important to remember to consult the user manuals for both your earbuds and TV for specific instructions and troubleshooting tips. Additionally, keep in mind that not all TVs have built-in Bluetooth capabilities, but you can still use a Bluetooth transmitter as an alternative solution.
Now that you have learned how to pair your earbuds to your TV, it’s time to sit back, relax, and enjoy your favorite movies, TV shows, and games in a whole new way. Experience the freedom and convenience of wireless audio as you immerse yourself in the world of entertainment.
Happy pairing!

