Home>Production & Technology>Background Music>How To Get The Yeti Microphone To Have Vocals And Background Music At The Same Time

Background Music
How To Get The Yeti Microphone To Have Vocals And Background Music At The Same Time
Modified: January 22, 2024
Learn how to use the Yeti microphone to achieve clear vocals and incorporate background music simultaneously. Enhance your audio recordings with this step-by-step guide.
(Many of the links in this article redirect to a specific reviewed product. Your purchase of these products through affiliate links helps to generate commission for AudioLover.com, at no extra cost. Learn more)
Table of Contents
Introduction
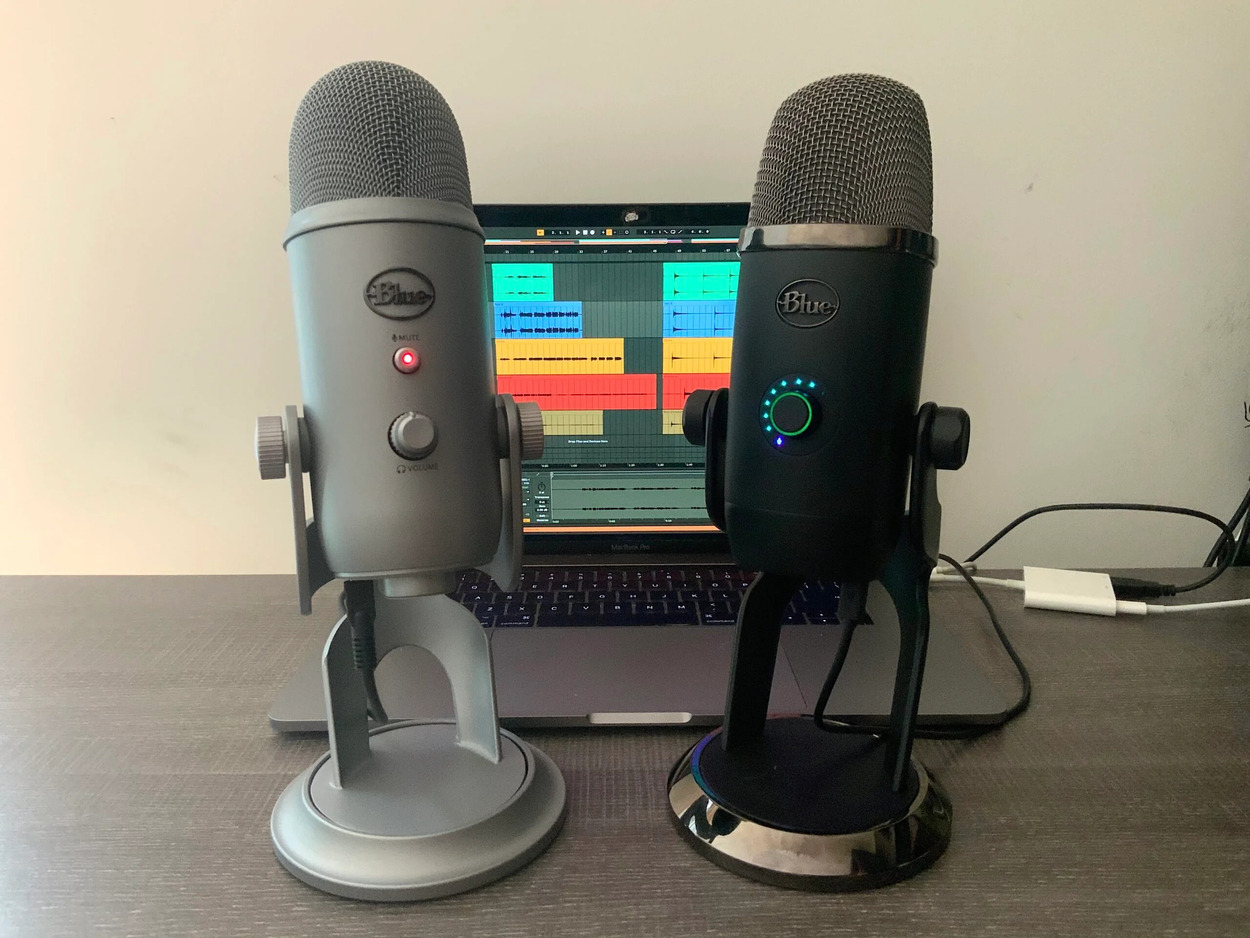
Are you looking to enhance your vocal recordings by adding background music? If you’re using the Yeti microphone, you’re in luck! The Yeti is a versatile and high-quality microphone that allows you to capture clear and professional-sounding vocals. By following a few simple steps, you can easily set up your Yeti microphone to have vocals and background music at the same time.
Having background music accompanying your vocals can add depth and richness to your recordings, making them more engaging and enjoyable for your listeners. Whether you’re a vocalist, podcaster, YouTuber, or simply someone who loves recording their voice, this guide will help you achieve that perfect balance between vocals and background music using the Yeti microphone.
Before we dive into the steps, it’s essential to have the necessary equipment. Make sure you have your Yeti microphone, a computer or audio interface with USB connectivity, and the background music tracks you want to play simultaneously with your vocals. With these elements in place, let’s get started on setting up your Yeti microphone for vocals and background music!
Step 1: Connecting the Yeti Microphone
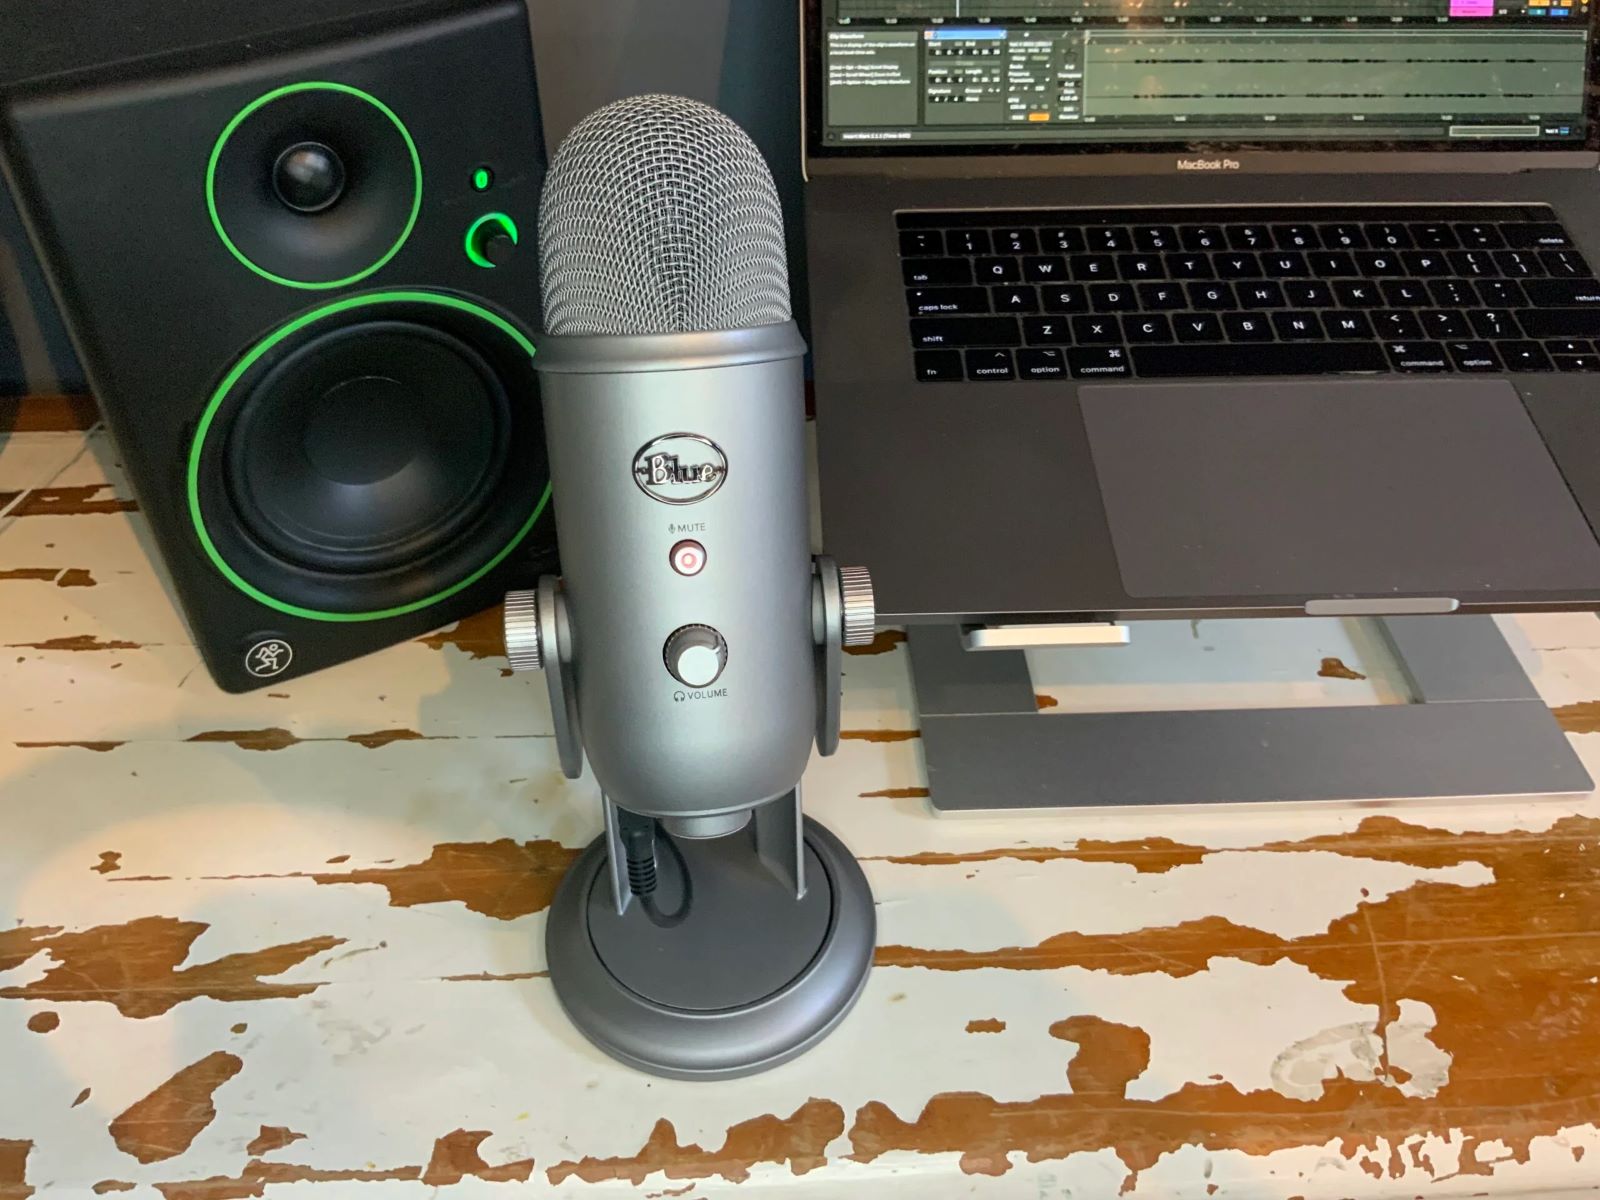
The first step in achieving vocals and background music at the same time is to properly connect your Yeti microphone to your computer or audio interface. The Yeti microphone uses a USB connection, making it compatible with most computers and audio devices.
To begin, locate the USB port on your Yeti microphone. It is usually located at the bottom of the microphone or on the back panel. Next, take the USB cable that came with your Yeti and plug one end into the USB port on the microphone. Then, connect the other end of the USB cable to an available USB port on your computer or audio interface.
Once the Yeti microphone is connected, your computer or audio interface should recognize it as an audio input device. This allows you to use the microphone for recording vocals and capture sound from other sources, such as background music. It’s important to ensure that the connection is secure to avoid any interruptions or audio issues during your recordings.
If you’re using an audio interface, make sure that it is properly connected to your computer as well. Refer to the user manual of your audio interface for specific instructions on connecting it to your computer.
Now that your Yeti microphone is successfully connected to your computer or audio interface, you’re ready to move on to the next step of setting up your audio interface to accommodate vocals and background music.
Step 2: Setting up the Audio Interface
If you’re using an audio interface to connect your Yeti microphone, the next step is to set it up properly to accommodate vocals and background music. An audio interface acts as a bridge between your microphone and your computer, allowing you to adjust various audio settings and route different audio sources.
Start by connecting your audio interface to your computer using a USB cable. Once connected, ensure that the audio interface is recognized by your computer. Depending on the model of your audio interface, you may need to install specific drivers or software provided by the manufacturer.
Once your audio interface is connected and recognized, open your preferred digital audio workstation (DAW) software. Examples of popular DAWs include Pro Tools, Logic Pro, Ableton Live, and FL Studio. In your DAW, select the audio interface as the input device for recording.
Within your DAW, you’ll find various settings that allow you to configure input levels, sample rates, and monitor mix. Adjust the input level for your Yeti microphone to achieve the desired sensitivity for your vocal recordings. It’s recommended to set the sample rate to 44.1kHz or 48kHz for high-quality recordings.
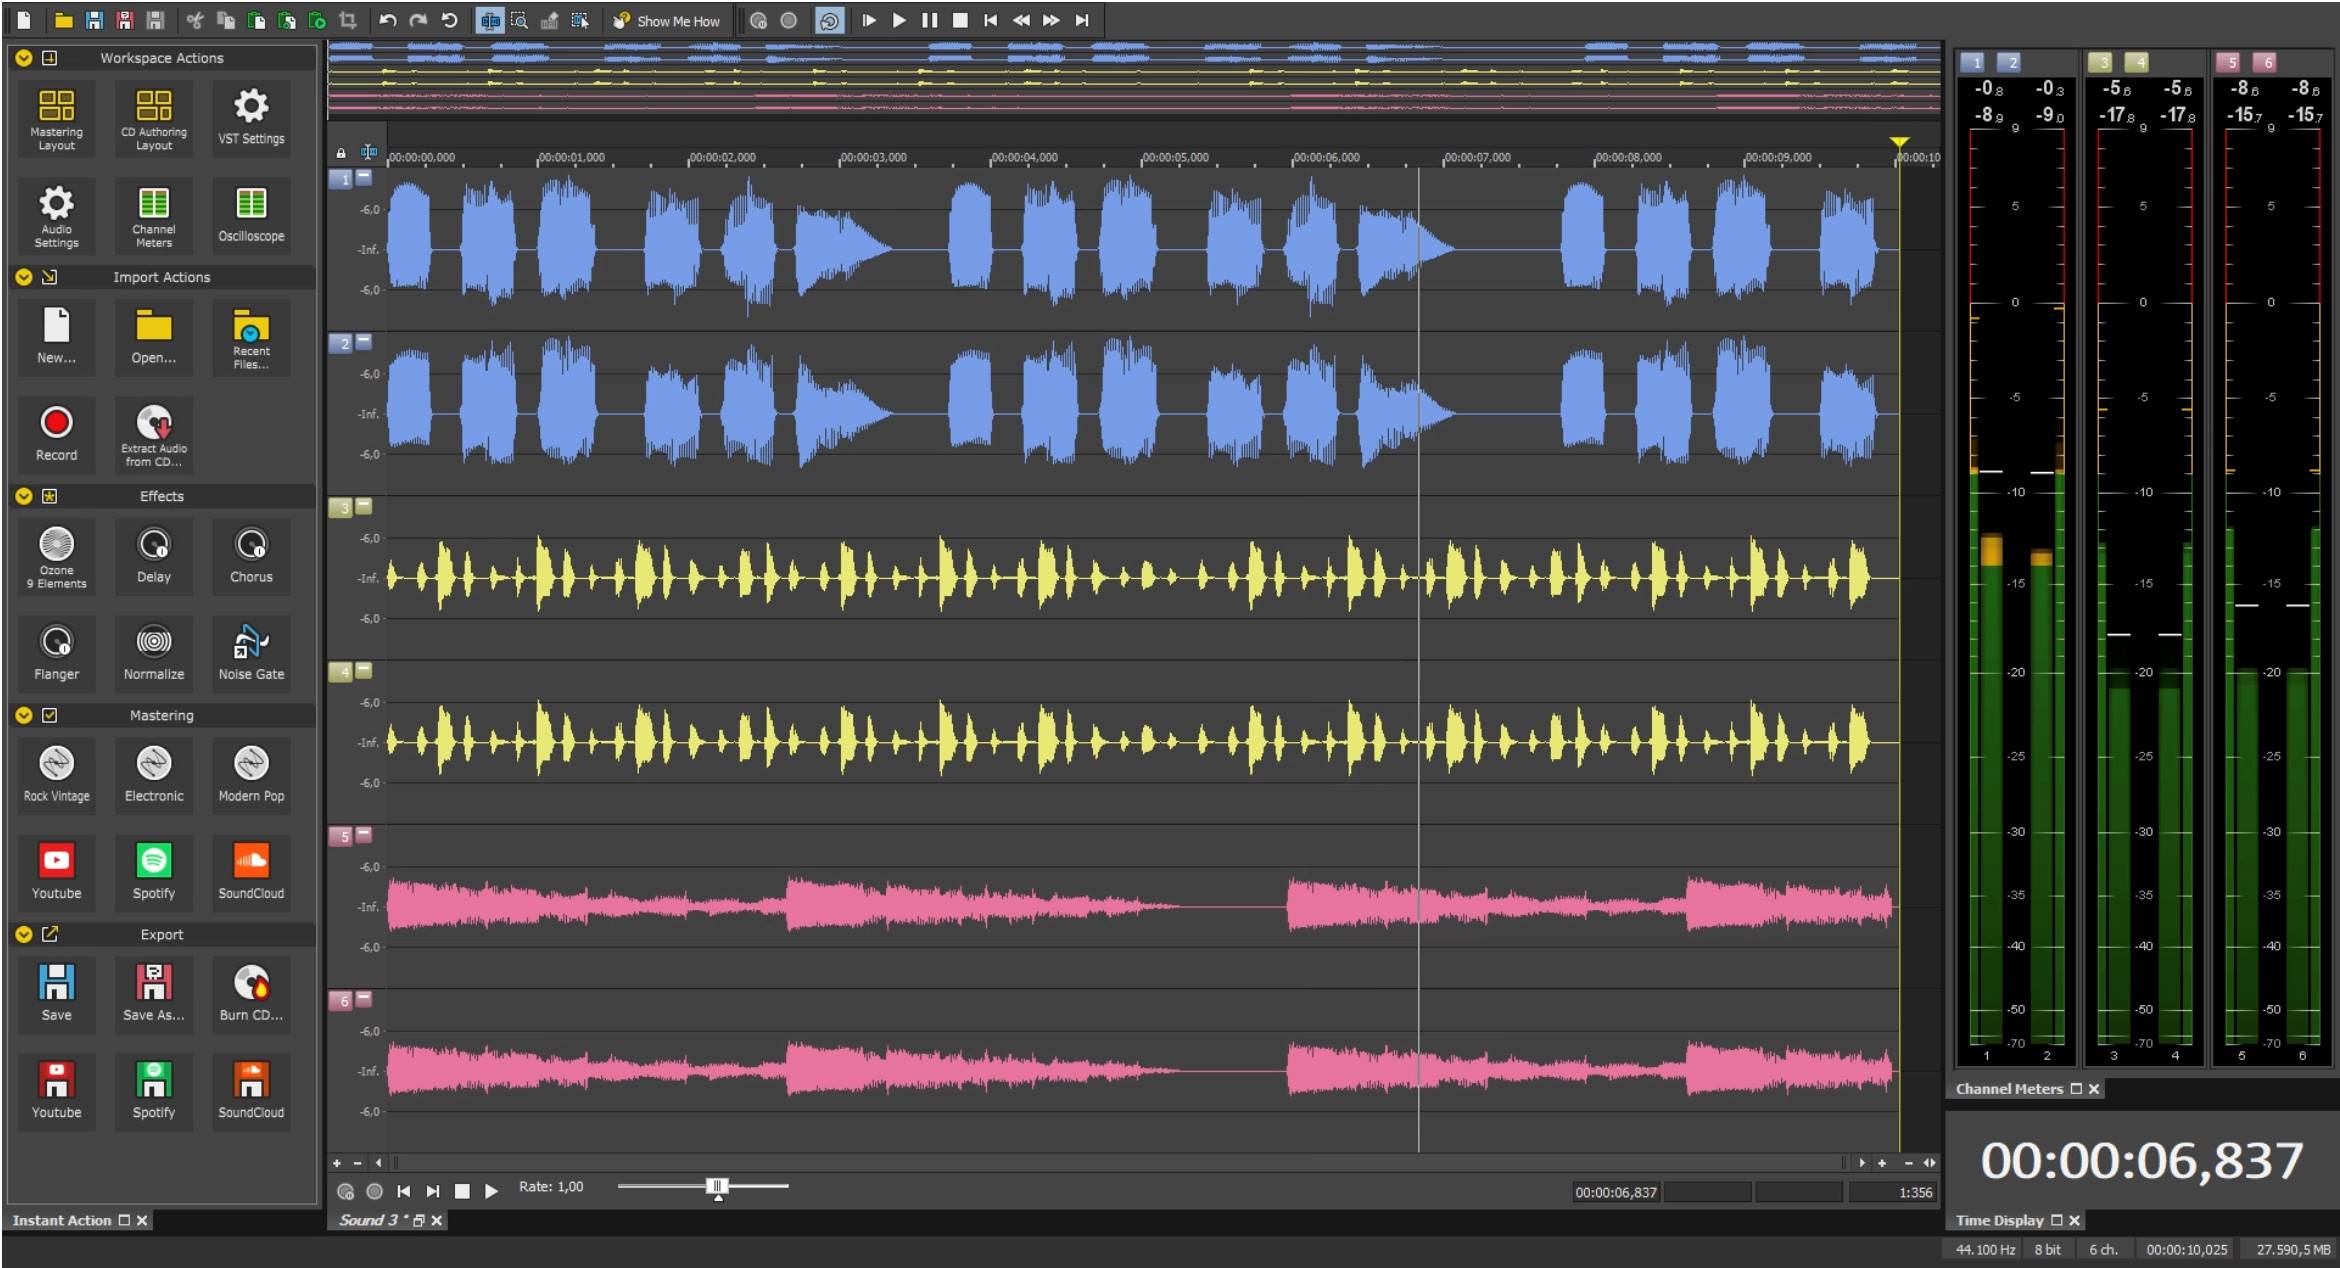
To ensure that both your vocals and background music are captured, you’ll need to set up multiple audio tracks in your DAW. Create a new audio track for your vocals and another track for your background music. This allows you to control the volume and balance between the two sources independently.
In the track settings, assign the input source for your vocal track to the Yeti microphone and the input source for the background music track to the appropriate audio input on your audio interface. Ensure that the input levels for both tracks are properly adjusted to avoid clipping or distortion.
By properly configuring your audio interface within your DAW, you’re now ready to proceed to the next step of adjusting the microphone settings for optimal recording quality.
Step 3: Adjusting Microphone Settings
Now that you have your Yeti microphone connected and your audio interface set up, it’s time to adjust the microphone settings to ensure optimal recording quality for your vocals. The goal is to capture clear and balanced vocals while maintaining a good balance with the background music.
Start by accessing the settings for your Yeti microphone. Depending on your computer’s operating system, you can usually find the microphone settings in the sound control panel or system preferences. Look for the Yeti microphone and open its settings.
Within the microphone settings, you’ll have options to adjust the microphone gain, polar pattern, and headphone volume. The gain control determines how sensitive the microphone is to sound. Start by setting the gain to a moderate level and adjust it based on your voice and recording environment. Aim for a level where your vocals are clear without any distortion or background noise.
Next, consider the polar pattern of your Yeti microphone. The Yeti offers different polar patterns such as cardioid, stereo, bidirectional, and omnidirectional. The cardioid polar pattern is commonly used for vocal recordings as it focuses on capturing sound from the front and minimizing noise from the sides and rear. Select the appropriate polar pattern based on your recording needs.
Additionally, adjust the headphone volume on your Yeti microphone. This allows you to monitor your vocals and background music in real-time without latency or audio delay. Set the headphone volume to a comfortable level, ensuring that you can hear both your vocals and the background music clearly.
As you make adjustments to the microphone settings, it’s important to test and monitor the results in your DAW. Record a short sample of your vocals while playing the background music simultaneously. Listen back to the recording and make any necessary adjustments to the gain, polar pattern, or headphone volume to achieve the desired balance between vocals and background music.
By fine-tuning the microphone settings, you can ensure that your vocals are captured accurately and blend well with the accompanying background music. Once you’re satisfied with the microphone settings, you can proceed to the next step of configuring the background music for a seamless recording experience.
Step 4: Configuring Background Music
Now that your Yeti microphone and microphone settings are optimized, it’s time to configure the background music in your recording setup. This step involves selecting the right audio source for your background music and ensuring it’s properly mixed with your vocals.
Start by selecting the audio source for your background music. You have a few options here, depending on your preference and available resources. You can use a separate audio player or software on your computer to play the background music, or you can import the music directly into your DAW.
If you decide to use a separate audio player, make sure it’s connected to your audio interface or computer’s audio input. This can be done through a direct 3.5mm audio cable connection or by using an audio interface as a bridge.
On the other hand, if you prefer to import the background music into your DAW, simply locate the music files on your computer and import them onto a dedicated audio track. Make sure that the track is properly routed to the main output and is set at an appropriate volume level.
To achieve a balanced mix between your vocals and the background music, you may need to make some adjustments. Start by adjusting the volume levels of both your vocal track and the background music track. This allows you to find the right balance where your vocals are clear and prominent, while the background music enhances the overall sound without overpowering your voice.
In addition to volume adjustments, you can also apply EQ and effects to enhance the blending of the vocals and background music. For example, you could add a slight reverb or delay effect to the vocals to create a more cohesive and immersive sound.
Experiment with different EQ settings and effects to find the right combination that suits the style and mood of your recording. Keep in mind that subtlety is key; the goal is to enhance the vocals and complement them with the background music, rather than to overpower one another.
Once you have configured the background music to your liking and achieved a balanced mix with your vocals, you’re ready to move on to the next step to adjust the volume and balance of your recording for a polished final result.
Step 5: Adjusting Volume and Balance
In this step, we will focus on fine-tuning the volume and balance between your vocals and the background music. Achieving the perfect volume and balance ensures that your recordings sound professional and polished, capturing the essence of your vocals and the richness of the background music.
Start by listening to a playback of your recording, paying close attention to the relative loudness of your vocals and the background music. You want the vocals to be clear and easily discernible, while having the background music complement and support your voice without overpowering it.
Adjust the volume levels of both the vocal track and the background music track to create the desired balance. Typically, the vocals should be slightly higher in volume compared to the background music, allowing them to take center stage. However, it ultimately depends on the style and genre of your recording.
As you make volume adjustments, take note of any sections where the vocals or the background music might need additional attention. Use automation or volume envelopes to make slight changes to specific parts of the recording, ensuring that the overall balance remains consistent throughout.
In addition to adjusting the volume, consider the panning or stereo placement of both your vocals and the background music. By spreading out the sound across the stereo field, you can create a more immersive and three-dimensional listening experience. Experiment with panning settings to find a balance that suits your recording.
Remember to listen to your recording on different devices, such as headphones and speakers, to ensure that the volume and balance remain consistent across various playback systems. This step helps you guarantee that your vocals and background music are well-balanced and intelligible regardless of how they are being listened to.
Once you have adjusted the volume and balance to your satisfaction, take some time to listen to the final result and make any minor tweaks if necessary. It’s always a good practice to trust your ears and make the necessary adjustments to achieve the best possible mix of your vocals and background music.
With the volume and balance dialed in, you’re ready for the final step: testing your setup and ensuring everything is working as expected before recording your vocals with background music.
Step 6: Testing the Setup
Before you start recording your vocals with background music, it’s crucial to test your setup and ensure that everything is working as expected. This final step helps you identify any potential issues or adjustments that need to be made before your recording session.
Begin by doing a test recording with a short sample of your vocals and the background music playing simultaneously. Pay attention to the overall sound quality, volume balance, and any potential audio artifacts or interference. Listen back to the recording to ensure that your vocals are clear and the background music is well-integrated without any distortion or unwanted noise.
During the playback, also make sure that there is no latency or delay between your vocals and the background music. If you notice any timing issues, check your audio settings and adjust the buffer size or latency settings in your DAW or audio interface accordingly.
In addition to the technical aspects, evaluate the emotional impact of your recording. Does the background music support and enhance the mood and message of your vocals? Is the overall combination pleasing to the ear? Make any necessary adjustments to volume, panning, or EQ to achieve the desired emotional impact and cohesiveness of the recording.
It’s also beneficial to listen to your test recording on different playback systems or headphones to ensure that the mix translates well across different devices. This step allows you to identify any discrepancies or imbalances that may arise in different listening environments and make the necessary corrections.
Once you’re satisfied with the test recording, and everything sounds cohesive and balanced, you’re ready to proceed with recording your vocals with the background music. The process will be much smoother now that you have thoroughly tested and fine-tuned your setup.
Remember, practicing and experimenting with your setup and settings will help you become more comfortable and proficient in achieving great results with your Yeti microphone and background music combination. Don’t be afraid to make adjustments and iterate as you continue to refine your recording process.
By following these steps and taking the time to testing your setup, you can confidently record your vocals with background music using the Yeti microphone. Enjoy the creative freedom and possibilities this setup offers, and let your voice soar alongside the captivating sounds of the background music.
Conclusion
Congratulations! You have successfully learned how to set up your Yeti microphone to have vocals and background music at the same time. By following the six steps outlined in this guide, you can now effortlessly achieve a professional and balanced recording with the perfect blend of your vocals and background music.
From connecting your Yeti microphone and setting up the audio interface to adjusting microphone settings, configuring background music, and fine-tuning volume and balance, each step has been carefully designed to help you produce high-quality recordings that captivate your audience.
Remember to take the time to test your setup and make any necessary adjustments before starting your recording session. This ensures that all elements are in sync, creating a seamless recording experience without any technical glitches or interruptions.
As you continue to explore your creative journey with the Yeti microphone and background music, don’t be afraid to experiment and try different settings to achieve your desired sound. The possibilities are endless, allowing you to explore various genres and styles while expressing yourself through your vocals.
Whether you’re a singer, podcaster, content creator, or anyone seeking to improve their vocal recordings, the combination of the Yeti microphone and background music opens up a whole new world of possibilities. Enhance the depth and richness of your vocal recordings, create engaging podcasts, or deliver captivating audio for your YouTube videos.
Remember, practice makes perfect. The more you experiment and work with your setup, the better you will become at fine-tuning and producing incredible recordings. Trust your ears, embrace your creativity, and have fun as you embark on this exciting audio journey.
Now, armed with the knowledge and understanding of how to get the Yeti microphone to have vocals and background music at the same time, it’s time to start capturing stunning and immersive recordings that leave a lasting impression.

