Home>Devices & Equipment>Radio>How To Make A Ham Radio

Radio
How To Make A Ham Radio
Modified: January 22, 2024
Learn how to make a ham radio from scratch and start communicating with other enthusiasts. Discover the ins and outs of building your own radio.
(Many of the links in this article redirect to a specific reviewed product. Your purchase of these products through affiliate links helps to generate commission for AudioLover.com, at no extra cost. Learn more)
Table of Contents
Introduction
Welcome to the exciting world of ham radio! Ham radio, also known as amateur radio, is a hobby that allows individuals to communicate with others around the world using radio waves. Unlike other forms of communication, such as cell phones or the internet, ham radio offers a unique and hands-on experience that can be both educational and enjoyable.
Building your own ham radio from scratch can be a rewarding project that not only helps you understand the inner workings of radio technology but also gives you the ability to communicate over long distances with fellow amateur radio enthusiasts. In this article, we will guide you through the step-by-step process of making your own ham radio.
Before diving into the construction process, it is important to note that ham radio operation requires a license issued by the appropriate regulatory authorities in your country. Obtaining a license ensures that you have the necessary knowledge to operate your ham radio equipment safely and responsibly. Make sure to familiarize yourself with the regulations and requirements in your jurisdiction.
Now that you have a basic understanding of what ham radio is and the importance of obtaining a license, let’s get started on your journey to creating your very own ham radio!
Step 1: Gathering the Materials
Before you can begin constructing your ham radio, you’ll need to gather all the necessary materials. Here’s a list of key components you’ll need:
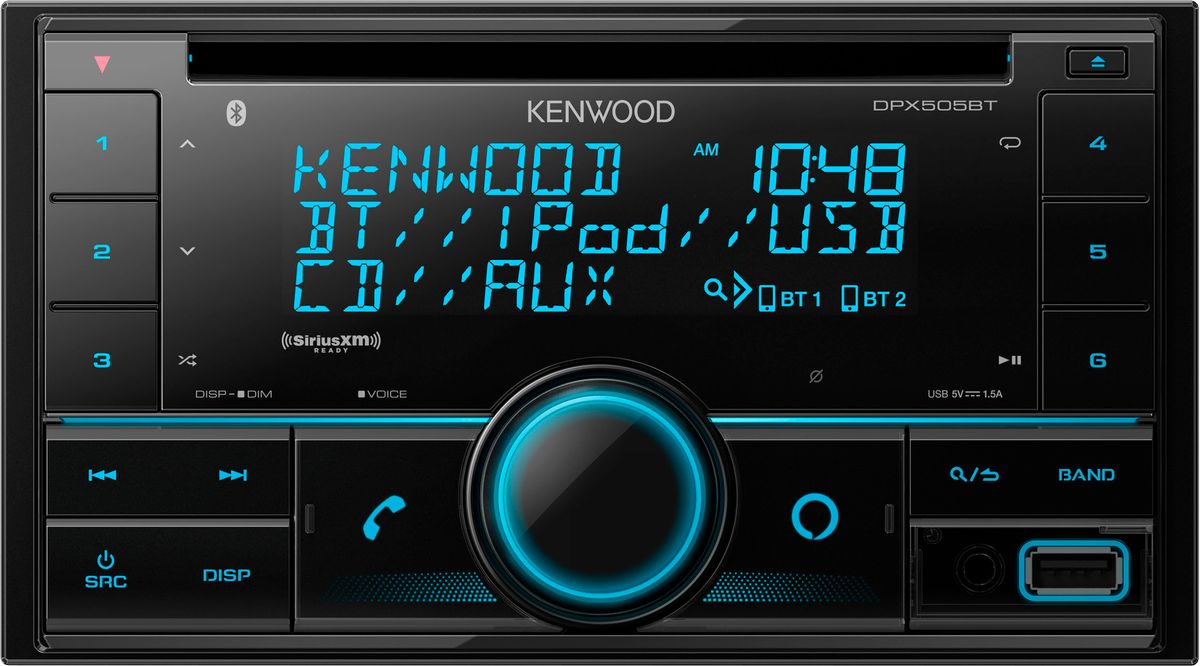
- A ham radio transceiver: This is the main unit that sends and receives radio signals. Look for a transceiver that meets your needs and budget. There are plenty of options available, both new and used.
- An antenna: The antenna is crucial for transmitting and receiving radio signals. You can either purchase a pre-made antenna or build one yourself.
- Coaxial cable: This type of cable is used to connect the transceiver to the antenna. Make sure to choose a cable with the appropriate impedance for your setup.
- A power supply: Your ham radio will require a power source to operate. Depending on the transceiver you choose, you may need a specific type of power supply.
- Audio equipment: You’ll need a headset or speakers and a microphone for clear communication.
- Tools: Gather essential tools such as wire cutters, soldering iron, pliers, and screwdrivers.
- Electrical components: Depending on the type of radio you plan to build, you may need additional electrical components such as resistors, capacitors, and transistors.
Once you’ve collected all the necessary materials, double-check that you have everything you need before moving on to the next step. It’s also a good idea to have a work area set up with ample space and good lighting. Having a clean and organized workspace will make the construction process much more efficient and enjoyable.
Remember, the quality and compatibility of the materials you choose will greatly affect the performance and durability of your ham radio. It’s worth investing in high-quality components to ensure a reliable and efficient setup.
Step 2: Building the Antenna
The antenna is a critical component of your ham radio setup as it allows for the transmission and reception of radio signals. Building your own antenna can be a cost-effective and rewarding project. Here’s how you can build a basic wire dipole antenna:
- Choose the right location: Find a suitable location for your antenna. Ideally, it should be high and away from obstructions such as buildings or trees.
- Measure and cut the wire: Determine the desired frequency range for your antenna and cut two lengths of wire to half-wavelength for the target frequency. For example, if you want to operate on the 20-meter band (14 MHz), each wire should be approximately 5 meters long.
- Strip the wire ends: Strip about 1-2 inches of insulation from each end of the wire to expose the bare copper conductor.
- Connect the wires: Connect the two wires at the center with a feedline connector, ensuring a secure and reliable connection. This will serve as the feedpoint for the antenna.
- Elevate the antenna: Attach the antenna to a suitable mast or support structure, making sure it is elevated as high as possible.
- Tune the antenna: Use an antenna analyzer or SWR meter to tune the antenna for optimal performance. Adjust the length of the wires slightly if needed, and recheck the SWR readings.
- Secure the wires: Once you are satisfied with the tuning, secure the wires in place using insulators or other means to prevent them from sagging or touching nearby objects.
Remember, there are various types of antennas available, and the specific type you choose will depend on factors like frequency range, available space, and personal preference. It’s always a good idea to research different antenna designs and consult experienced ham radio operators for guidance.
Building your own antenna allows you to customize and optimize its performance for your specific needs. It’s a great way to gain hands-on experience and enhance your understanding of antenna theory.
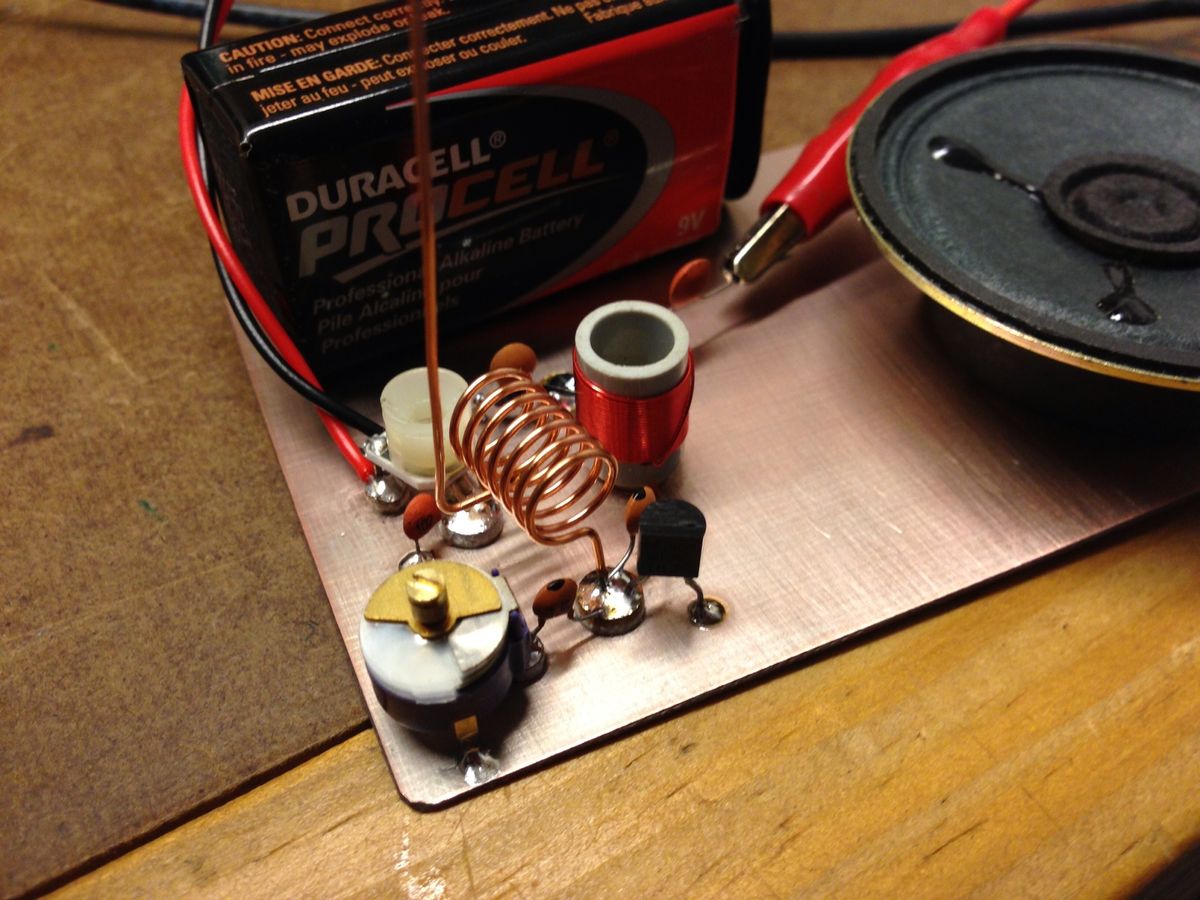
Step 3: Assembling the Transmitter
The transmitter is the heart of your ham radio setup, responsible for converting audio signals into radio waves for transmission. Here’s a step-by-step guide on how to assemble the transmitter:
- Start with a kit or schematic: If you’re new to ham radio or electronics, it’s recommended to begin with a transmitter kit or follow a detailed schematic. This will ensure that you have all the necessary components and minimize the chances of errors.
- Organize your components: Lay out all the components in an organized manner, making it easier to identify and work with each one.
- Mount the components on a circuit board: Carefully solder each component onto the circuit board according to the manufacturer’s instructions. Take your time to ensure clean and secure connections.
- Install the power supply: Connect the power supply to the circuit board, making sure to observe the correct polarity. Double-check that the voltage requirements match the transmitter’s specifications.
- Connect the audio equipment: Install the microphone or audio input jack onto the circuit board to enable audio input. Follow the manufacturer’s instructions for proper connection.
- Attach the antennas: Connect the output of the transmitter circuit to the antenna using the appropriate coaxial cable. Ensure secure connections and proper impedance matching.
- Double-check your work: Carefully inspect all solder joints and connections to ensure everything is properly secured and there are no solder bridges or cold joints.
It’s crucial to follow the instructions provided with your transmitter kit or schematic to ensure proper assembly and avoid damage to the components. If you encounter any difficulties during the assembly process, don’t hesitate to seek help from experienced ham radio operators or electronics enthusiasts.
Once the transmitter is fully assembled, perform a comprehensive check to verify that all connections are secure, components are properly installed, and there are no visible issues. With the transmitter assembled, you’re one step closer to having your own functioning ham radio station!
Step 4: Connecting the Components
Now that you have assembled the transmitter and built the antenna, it’s time to connect all the components together to create a complete ham radio setup. Follow these steps to connect the components:
- Connect the antenna: Take the coaxial cable that is connected to your antenna and connect it to the output port on the transmitter. Ensure a secure and snug connection to minimize signal loss.
- Connect the power supply: Take the power supply cable and plug it into the designated power input on the transmitter. Make sure the voltage and current ratings match the requirements of your specific transmitter.
- Connect the audio equipment: If you are using a headset or external speaker, plug it into the audio output jack on the transmitter. If you’re using a microphone, plug it into the audio input jack on the transmitter.
- Check the connections: Once all the components are connected, double-check all the connections to ensure they are secure and properly seated. This is crucial to prevent any signal loss or interference during operation.
While connecting the components, it is important to pay attention to the polarities, impedance matching, and proper grounding techniques. Following the manufacturer’s instructions and guidelines for your specific equipment will help ensure that you have a correctly connected and well-functioning ham radio system.
Once all the components are connected, you are ready to power up your ham radio and test its functionality. However, before doing so, it is advisable to consult the user manual or seek guidance from experienced operators to ensure that you have accurately followed all the necessary steps for a successful connection.
By connecting the various components of your ham radio setup, you are one step closer to enjoying the world of amateur radio and communicating with fellow operators around the globe!
Step 5: Testing and Tuning
Once you have connected all the components of your ham radio setup, it’s time to test and tune the system for optimal performance. Here are the steps to follow:
- Power on the transmitter: Turn on the power supply and the transmitter. Ensure that all indicators and displays are functioning properly.
- Check SWR: Use an SWR meter or antenna analyzer to measure the Standing Wave Ratio (SWR) of your antenna. Adjust the length of the antenna if necessary to achieve the desired SWR readings for efficient transmission.
- Test transmission and reception: Use a radio receiver to check if you can hear your own transmissions. You can also try making a test call to another ham radio operator and ask for a signal report to verify the quality of your transmissions.
- Experiment with different frequencies: Explore different frequencies and bands to see which ones provide the best signal quality and range. Adjust the frequency on your transmitter to tune into various amateur radio bands.
- Seek advice and feedback: Connect with other ham radio operators, join local amateur radio clubs, or participate in online forums to seek advice and feedback on your setup. They may provide valuable insights and suggestions for improving your system.
- Make adjustments: As you test and experiment, you may discover areas where improvements can be made. It could be adjusting the position of the antenna, fine-tuning the transmitter settings, or adding filters to reduce interference. Continuously assess and make adjustments to optimize the performance of your ham radio system.
Testing and tuning your ham radio setup is an ongoing process. As you gain experience and become more familiar with the capabilities and limitations of your equipment, you’ll be able to fine-tune your system for better performance.
Remember to always operate within the legal limits and regulations set by your country’s amateur radio licensing authority. Be respectful of other radio operators and strive to maintain good operating practices.
By thoroughly testing and tuning your ham radio, you will ensure that it is capable of delivering clear and reliable communications, allowing you to fully enjoy the exciting world of amateur radio.
Step 6: Adding Accessories
Once you have successfully tested and tuned your ham radio setup, you can consider adding accessories to enhance your operating experience and expand your capabilities. Here are some popular accessories you might want to consider:
- External speakers: Adding an external speaker can improve the audio quality and clarity of received signals, making it easier to understand conversations.
- Antenna tuners: An antenna tuner allows you to effectively match your antenna system to the transmitter, ensuring maximum power transfer and minimizing signal loss.
- Amplifiers: Amplifiers can boost the transmission power of your ham radio, allowing you to reach distant stations and communicate more effectively.
- CW key or paddle: If you’re interested in Morse code (CW) operations, you can add a CW key or paddle to your setup to facilitate smooth and precise keying.
- Filters: Filters help reduce unwanted interference from nearby strong signals or electrical noise, allowing you to focus on the intended signals and improve overall reception quality.
- Logging software: Using logging software on your computer or smartphone can help you keep track of your contacts, log important information, and manage your ham radio activities more efficiently.
- Antenna rotator: An antenna rotator allows you to remotely control the direction and orientation of your antenna, helping you reach stations in different directions without physically adjusting the antenna itself.
When choosing accessories, consider your specific interests, operating goals, and budget. Research different options, read reviews, and seek recommendations from experienced operators to ensure compatibility and optimal performance.
Adding accessories to your ham radio setup allows you to customize and expand its capabilities, making your operating experience even more enjoyable and versatile. Remember to thoroughly read the instructions and follow proper installation procedures for each accessory to ensure safe and efficient operation.
With the addition of carefully selected accessories, your ham radio station can become a powerful and versatile communication tool.
Conclusion
Congratulations on building your very own ham radio! By following the steps outlined in this guide, you’ve gained valuable knowledge and experience in constructing and setting up a functional ham radio station. Through this process, you’ve not only deepened your understanding of radio technology but also unlocked the door to a vibrant community of amateur radio enthusiasts from around the world.
Remember, ham radio is more than just a hobby. It offers a unique means of communication that can be educational, thrilling, and deeply rewarding. As you continue to explore this fascinating world, you’ll have the opportunity to participate in contests, engage in emergency communications, and experiment with different modes of operation.
Always remember to operate your ham radio station responsibly, respecting the regulations and guidelines set forth by your licensing authority. Strive for good operating practices, and treat your fellow operators with respect and courtesy.
Continue to learn and expand your knowledge by joining local amateur radio clubs, attending workshops, and engaging with the wider ham radio community. There’s always something new to discover and explore, whether it’s experimenting with different antennas, trying out digital modes, or engaging in long-distance DX (long-distance) contacts.
Building your own ham radio station is just the beginning of an exciting journey. Enjoy the camaraderie, the thrill of making contacts, and the satisfaction of mastering the art of radio communication.
So, fire up your new ham radio station, explore the bands, and make connections with fellow operators around the world. Embrace the adventure and enjoy the endless possibilities that ham radio offers!