Home>Devices & Equipment>Radio>How To Fix A Radio

Radio
How To Fix A Radio
Published: November 11, 2023
Learn how to fix a radio with our step-by-step guide. Troubleshoot common issues and repair your radio effortlessly. Expert tips and techniques for improving your radio's performance.
(Many of the links in this article redirect to a specific reviewed product. Your purchase of these products through affiliate links helps to generate commission for AudioLover.com, at no extra cost. Learn more)
Table of Contents
Introduction
Welcome to this guide on how to fix a radio. If you’re experiencing issues with your radio, whether it’s a crackling sound, poor reception, or complete silence, don’t worry! Troubleshooting and fixing common radio problems can be easier than you think. By following the steps outlined in this guide, you’ll be able to get your radio up and running again in no time.
Before we delve into the specific troubleshooting steps, it’s essential to remember that radios come in various types and models, from portable radios to car radios. While the basic principles of repairing a radio apply to most devices, some steps may vary depending on the type of radio you have.
In this guide, we’ll cover the fundamental aspects of fixing a radio, providing you with a comprehensive overview to help you diagnose and resolve common issues. Whether you’re a beginner or have some experience in electronics, this guide is designed to be accessible to all levels of expertise.
Before we begin, it’s worth mentioning that if your radio is still under warranty, you should check with the manufacturer or retailer first. Attempting to repair it yourself might void the warranty. However, if your warranty has expired, or you prefer the satisfaction of fixing things yourself, then let’s get started!
Tools and Materials Needed
Before you start troubleshooting and fixing your radio, it’s essential to gather a few tools and materials that will aid you in the process. Having these items on hand will make the repair process smoother and more efficient. Here are the tools and materials you’ll need:
- Screwdriver set: A set of screwdrivers with various sizes and types will allow you to remove the screws holding the radio casing together. Make sure to have both flathead and Phillips screwdrivers.
- Multimeter: A multimeter is a versatile tool that measures voltage, current, and resistance. It will help you test your radio’s power supply and identify any electrical faults.
- Tweezers or needle-nose pliers: These small tools are handy for manipulating small components and wires inside the radio.
- Electrical tape: Electrical tape can be used to secure loose wires and provide insulation when necessary.
- Replacement parts (if necessary): Depending on the issue you’re facing, you may need to replace certain components in your radio. It’s helpful to have replacement parts on hand, such as capacitors, resistors, or even a new antenna, in case you need them.
- Clean cloth and cleaning solution: Sometimes, your radio may simply need a good cleaning to improve its performance. Having a clean cloth and a suitable cleaning solution will help you remove any dirt, dust, or grime that might be affecting the performance of your radio.
By having these tools and materials readily available, you’ll be prepared to tackle a wide range of radio issues. Remember to always exercise caution when working with electronic devices and ensure that your radio is unplugged before attempting any repairs. Now that you have everything you need, let’s move on to the troubleshooting steps!
Step 1: Assess the Problem
The first step in fixing a radio is to assess the problem accurately. By identifying the specific issues your radio is facing, you’ll be able to narrow down the potential causes and determine the appropriate course of action. Here’s how you can assess the problem:
- Observe the Symptoms: Take note of the specific symptoms your radio is exhibiting. Is it completely silent? Are there crackling or distorted sounds? Is the reception poor or non-existent? Understanding the symptoms will help you pinpoint the underlying issue.
- Test Different Stations or Frequencies: Tune your radio to various stations or frequencies to see if the issue persists across all of them. If the problem is limited to certain stations or frequencies, it may indicate a problem with the antenna or tuner.
- Check the Power Source: Ensure that your radio is properly connected to a power source and that the power supply is functioning correctly. If the radio is battery-operated, try replacing the batteries with fresh ones to see if that resolves the issue.
- Inspect the Antenna: Examine the antenna for any visible damage or loose connections. A damaged or poorly connected antenna can cause poor reception or no reception at all.
- Try Different Speakers or Headphones: If your radio has external speakers or a headphone jack, try connecting different speakers or headphones to see if the issue lies with the audio output.
By assessing the problem carefully, you’ll be equipped with the necessary information to proceed with the troubleshooting process. Remember to note down any observations or specific symptoms as they will be helpful in the subsequent steps. Now that you’ve assessed the problem, let’s move on to step 2: checking the power source.
Step 2: Check Power Source
When your radio is not functioning properly, one of the first things to check is the power source. Whether it’s a battery-operated radio or one that plugs into an electrical outlet, issues with the power supply can greatly impact its performance. Follow these steps to check the power source:
- Verify Power Connection: If your radio is plugged into an outlet, make sure the power cord is securely connected both to the radio and the outlet. Check for any frayed wires or loose connections that may be causing a lack of power.
- Replace Batteries: If your radio is battery-operated, try replacing the batteries with fresh ones. Sometimes, weak or depleted batteries can result in low power output or no power at all.
- Test Outlet: If your radio is not turning on and you suspect an issue with the power outlet, try plugging another device into the same outlet to see if it works. If the other device works fine, the problem may lie within the radio itself.
- Check Fuse: Some radios have a fuse that can blow out and render the device inoperable. Consult your radio’s user manual to locate and inspect the fuse. If the fuse is blown, replace it with a new one of the same type and rating.
- Use a Multimeter: If you have a multimeter, you can use it to measure the voltage output of the power source. Disconnect the power supply from the radio and use the multimeter to check if the voltage meets the specifications indicated by the manufacturer.
By checking the power source, you can eliminate power-related issues as the cause of your radio problems. If you determine that the power source is not the issue, move on to step 3: inspecting the antenna.
Step 3: Inspect Antenna
The antenna plays a crucial role in receiving clear and consistent radio signals. If you’re experiencing poor reception or no reception at all, it’s essential to inspect the antenna for any issues. Follow these steps to inspect the antenna:
- Check for Physical Damage: Visually inspect the antenna for any visible damage such as bends, breaks, or corrosion. If you notice any damage, it may be necessary to replace the antenna.
- Ensure Proper Connection: Make sure the antenna is securely connected to the radio. If the antenna connection is loose or damaged, it can result in weak or no reception.
- Adjust Antenna Position: If you have an adjustable antenna, try repositioning it to different angles and orientations. Sometimes, simply changing the position of the antenna can improve reception.
- Consider External Antenna: If you’re using an indoor radio, consider using an external antenna to improve reception. External antennas are designed to capture stronger signals and can significantly enhance the performance of your radio.
- Clean the Antenna: Over time, dirt, dust, or corrosion can accumulate on the antenna, affecting its ability to pick up signals. Using a clean cloth and a suitable cleaning solution, gently wipe the antenna to remove any debris that may be hindering its performance.
By inspecting the antenna, you can address potential issues that may be affecting your radio’s reception. If you’ve determined that the antenna is not the source of the problem, proceed to step 4: checking the speakers.
Step 4: Check Speakers
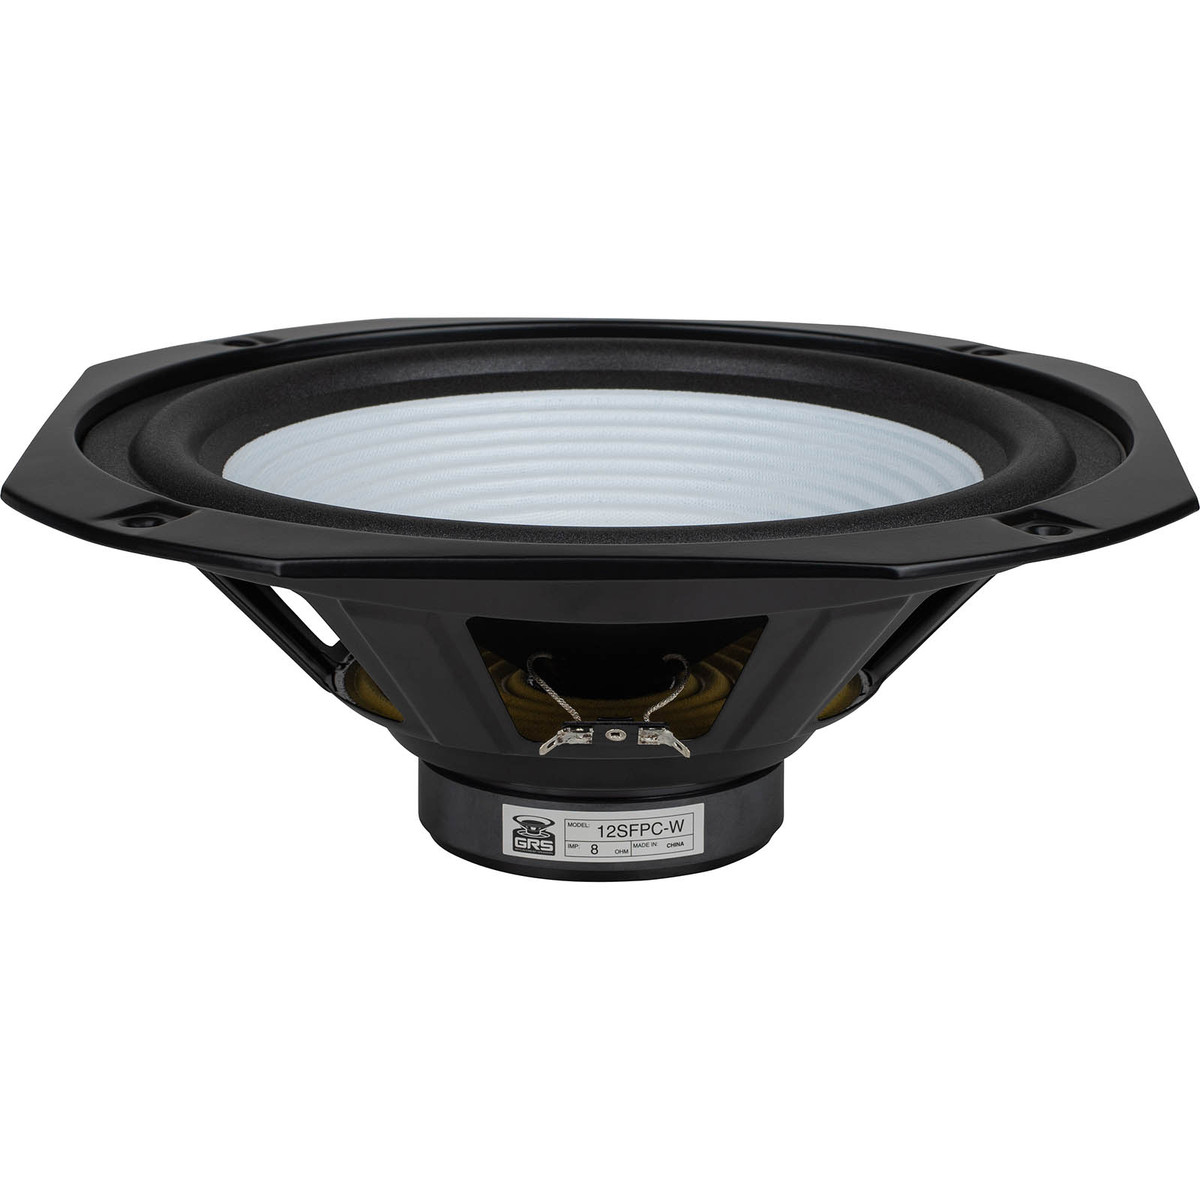
When troubleshooting a radio, it’s important to examine the speakers to ensure they are functioning properly. Speakers play a vital role in producing the audio output, and issues with them can result in distorted or no sound. Follow these steps to check the speakers:
- Verify Speaker Connections: Ensure that the speaker wires are securely connected to the radio. Loose or disconnected wires can cause a lack of sound output.
- Test with Different Audio Sources: Connect your radio to different audio sources, such as a smartphone or MP3 player, using an auxiliary cable. If you can hear sound from the external device through the radio, it indicates that the speakers are functioning correctly, and the issue may lie elsewhere.
- Inspect for Physical Damage: Examine the speakers for any visible physical damage such as tears in the speaker cone or damaged speaker grilles. Physical damage can affect the quality of sound reproduction.
- Check for Blocked Speakers: Ensure that there are no obstructions blocking the speakers. Objects placed in front of or too close to the speakers can muffle the sound or cause distortion.
- Clean the Speakers: Use a clean, dry cloth to gently remove any accumulated dust or debris from the speakers. Build-up on the speakers can interfere with their performance.
By checking the speakers, you can determine if they are functioning properly or if they need repair or replacement. If you find that the speakers are in good condition, move on to step 5: examining the wiring connections.
Step 5: Examine Wiring Connections
The wiring connections in your radio play a crucial role in ensuring proper functionality. Loose or faulty connections can result in various issues, such as intermittent sound, static, or a complete lack of function. Follow these steps to examine the wiring connections:
- Unplug the Radio: Before examining the wiring connections, make sure the radio is unplugged from the power source to avoid any electrical hazards.
- Remove the Casing: Use a screwdriver to remove the screws holding the radio casing together. Carefully lift the casing to expose the internal components.
- Inspect the Wiring Connections: Take a close look at the wiring connections inside the radio. Ensure that all wires are securely connected and not frayed or damaged. Make sure there are no loose or disconnected wires.
- Check for Loose Components: Examine any components attached to the wiring, such as capacitors or resistors. Ensure that they are firmly connected to the circuit board and not loose or damaged.
- Repair or Replace Damaged Wiring: If you find any damaged or frayed wiring, repair or replace it accordingly. Use electrical tape to secure any loose connections or reattach any disconnected wires.
- Reassemble the Radio: Once you have examined and made any necessary repairs to the wiring connections, carefully reassemble the radio casing and tighten the screws.
By examining the wiring connections, you can identify and address any issues that may be affecting the functionality of your radio. If the wiring connections are not the source of the problem, move on to step 6: troubleshooting the tuner.
Step 6: Troubleshoot Tuner
The tuner is responsible for selecting and tuning in to different radio stations. If you’re experiencing issues with station reception or tuning accuracy, it’s time to troubleshoot the tuner. Follow these steps to troubleshoot the tuner:
- Perform Manual Tuning: Try manually tuning the radio across different frequencies or stations. If you can’t tune in to any stations or the tuning is inconsistent, it may indicate a problem with the tuner.
- Reset the Tuner: Some radios have a reset function for the tuner. Consult the user manual of your radio to find out how to execute a tuner reset. Performing a reset can sometimes resolve tuning issues.
- Check Tuning Knob/Buttons: If your radio has a tuning knob or buttons, make sure they are functioning properly. Sometimes, faulty tuning controls can cause inaccurate tuning or difficulty in tuning to specific frequencies.
- Inspect the Tuner Circuit Board: Carefully examine the tuner circuit board for any visible damage or loose connections. Look for any burnt components or signs of overheating, as these can affect the tuner’s performance.
- Consult a Professional: If you’re unable to troubleshoot the tuner on your own or don’t have experience working with circuit boards, it may be best to seek the assistance of a professional technician who specializes in radio repairs.
Troubleshooting the tuner can help resolve issues related to station reception, tuning accuracy, and overall performance. If you’re unable to troubleshoot the tuner successfully or determine that the tuner is not the cause of the problem, move on to step 7: repairing or replacing specific parts of the radio.
Step 7: Repair or Replace Parts
If you’ve determined that specific parts of your radio are causing the issues, such as a malfunctioning capacitor or a faulty resistor, it’s time to consider repairing or replacing those parts. Here’s how you can proceed:
- Identify the Problematic Part: Based on your assessment and troubleshooting steps, determine which specific part or component is causing the issue. It could be a capacitor, resistor, transistor, or any other electrical component.
- Order Replacement Parts: If you need to replace a faulty part, order the appropriate replacement component. Make sure to match the specifications and ratings of the original part to ensure compatibility.
- Prepare for Repair: Gather the necessary tools, such as a soldering iron, solder, and desoldering pump (if required) to perform the repairs. Ensure you have a clean, well-lit workspace to work in.
- Remove the Faulty Part: Carefully desolder or remove the faulty part from the circuit board. Take note of its position and orientation to ensure proper installation of the replacement part.
- Install the Replacement Part: Position the replacement part correctly and solder it into place. Double-check that all connections are secure and that no excess solder or loose wires are present.
- Test the Repaired Radio: Once you have replaced the faulty part, reassemble the radio and test it to ensure the issue has been resolved. Pay attention to the specific problem you were experiencing, such as sound quality, reception, or tuning accuracy.
Repairing or replacing specific parts can be a more advanced step that requires some knowledge of electronics and soldering. If you’re unsure or uncomfortable performing the repairs yourself, it’s best to consult a professional technician who can assist you with the process.
Remember, the goal of this step is to address specific faulty components that have been identified through the troubleshooting process. By repairing or replacing these parts, you can restore your radio’s functionality and improve its overall performance.
If the repairs or component replacements have been successful, move on to step 8: reassembling the radio.
Step 8: Reassemble the Radio
After successfully repairing or replacing the faulty parts of your radio, it’s time to reassemble it. Proper reassembly ensures that all components are securely in place and that the radio is ready for testing. Follow these steps to reassemble your radio:
- Organize the Components: Gather all the components, screws, and tools you used during the repair process. Arrange them in a neat and organized manner to make the reassembly process smoother.
- Position the Circuit Board: Carefully place the circuit board back into the designated area inside the radio’s casing. Ensure that it fits properly and aligns with any screw holes or connectors.
- Attach the Wires: Reconnect any wires that were disconnected during the troubleshooting and repair process. Double-check that they are securely attached and in the correct positions.
- Secure the Casing: Align the radio casing with the circuit board and gently press it into place. Use the appropriate screws and tighten them securely but not excessively to avoid damaging the radio or its components.
- Double-Check Connections: Before finishing the reassembly process, visually inspect the connections and components to ensure everything is in the correct position. Verify that no loose wires or screws are left behind.
By following these steps, you can ensure that your radio is reassembled properly and that all components are securely in place. Now that your radio is reassembled, it’s time to move on to the final step: testing the radio to ensure it is functioning correctly.
Step 9: Test the Radio
Now that you have completed the repairs and reassembled your radio, it’s time to test it to ensure it is functioning correctly. Testing the radio will help you verify that the issues have been resolved and that it is performing as expected. Follow these steps to test your radio:
- Connect the Power: Plug in your radio or ensure it has a fresh set of batteries, depending on its power source.
- Power On the Radio: Turn on the radio and listen for any sounds or indications that it is receiving power.
- Tune in to Stations: Test the tuning mechanism by trying to tune in to different stations across the frequency range. Check for accurate tuning and clear sound quality.
- Adjust Volume and Controls: Test the volume control and other function buttons or knobs to ensure they are operating smoothly and without any issues.
- Test Speakers: Listen to the audio output from the speakers and verify that the sound is clear, without distortions or abnormalities.
- Test Additional Features: If your radio has additional features, such as auxiliary inputs, Bluetooth connectivity, or preset stations, test these features to ensure they are functioning correctly.
During the testing process, pay attention to any unexpected behaviors or issues that may still persist. If you notice any problems, revisit the troubleshooting steps or consult a professional for further assistance.
By thoroughly testing your radio after repairs, you can confirm that it has been successfully fixed and is now functioning optimally. Congratulations on completing the repair process!
As a final note, remember to regularly maintain and care for your radio to prevent issues from arising in the future. Keep it clean, avoid exposing it to excessive heat or moisture, and handle it with care.
With your radio now in working order, you can once again enjoy your favorite music, news, and entertainment. Happy listening!
Conclusion
Repairing a radio can be a rewarding and cost-effective solution when faced with issues like poor reception, distorted sound, or complete malfunction. By following the steps outlined in this guide, you can diagnose and fix common problems with your radio. Here’s a recap of the steps:
- Assess the Problem
- Check Power Source
- Inspect Antenna
- Check Speakers
- Examine Wiring Connections
- Troubleshoot Tuner
- Repair or Replace Parts
- Reassemble the Radio
- Test the Radio
Throughout the process, it’s important to exercise caution, follow safety guidelines, and consult a professional if you’re unsure or uncomfortable with any steps. Remember, always unplug the radio before working on it and refer to the user manual or seek assistance when needed.
By applying the knowledge shared in this guide, you can bring your radio back to life and enjoy its full functionality once again. Repairing your own radio not only saves you money but also gives you a deeper understanding of its inner workings.
However, if you encounter challenges that you’re unable to resolve or if the issues persist, it may be necessary to consult a professional technician or contact the manufacturer for further assistance. They have the expertise and resources to diagnose and repair complex issues.
Remember to regularly maintain your radio, keep it clean, and handle it with care to prolong its lifespan. With proper care, your radio can continue to provide you with hours of entertainment, news, and music for years to come.
Thank you for reading this guide on how to fix a radio. We hope it has been helpful in your repair journey. Now, go forth and enjoy the wonderful world of radio!


