Home>Devices & Equipment>Subwoofer>How To Tune A Sealed Subwoofer Box
Subwoofer
How To Tune A Sealed Subwoofer Box
Modified: January 22, 2024
Learn how to properly tune a sealed subwoofer box for optimal bass performance. Increase the impact of your subwoofer with these expert tips and techniques.
(Many of the links in this article redirect to a specific reviewed product. Your purchase of these products through affiliate links helps to generate commission for AudioLover.com, at no extra cost. Learn more)
Table of Contents
Introduction
Welcome to the exciting world of subwoofers! If you’re looking to enhance your audio system with deep, powerful bass, then you’ve come to the right place. In this article, we will guide you through the process of tuning a sealed subwoofer box for optimal performance.
A subwoofer is a specialized speaker designed to handle low-frequency sounds, typically in the range of 20Hz to 200Hz. It’s the key component responsible for producing those heart-thumping bass notes in your favorite music, movies, and video games. Tuning a subwoofer box is crucial to ensure that it delivers accurate and impactful bass response while avoiding distortions or muddy sound.
Understanding how to tune a sealed subwoofer box involves a combination of technical knowledge and careful adjustments. It’s essential to choose the right subwoofer box, prepare it properly, and optimize the settings to get the best possible sound output. So, whether you’re a car audio enthusiast or a home theater buff, let’s dive into the step-by-step process of tuning a sealed subwoofer box.
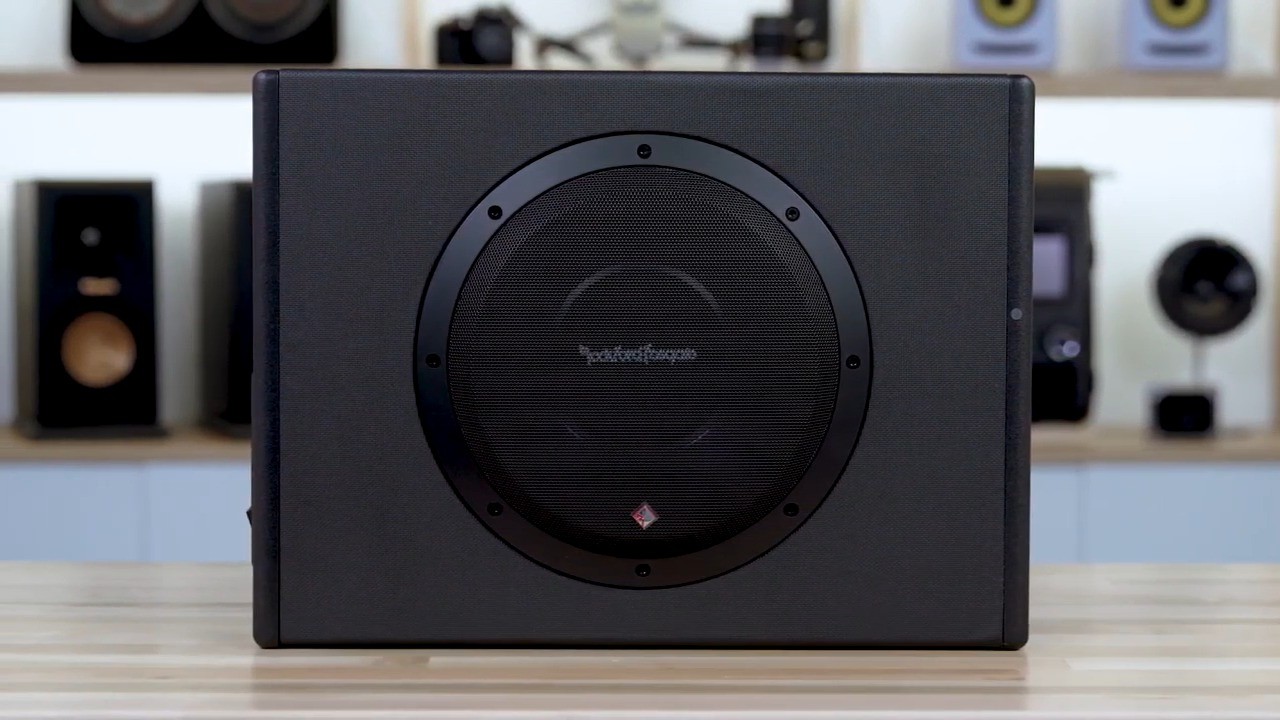
Step 1: Choosing the Right Subwoofer Box
Choosing the right subwoofer box is the first and most crucial step in tuning your subwoofer for optimal performance. The type of box you select will greatly impact the sound quality and overall output of your subwoofer. There are a few different types of subwoofer boxes to consider, including sealed, ported, and bandpass boxes.
For this article, we will focus on tuning a sealed subwoofer box. A sealed box is essentially a fully enclosed enclosure with no openings or vents. It provides a tight and accurate bass response, making it a popular choice for those seeking precise and controlled bass.
When choosing a sealed subwoofer box, there are a few factors to consider:
- Volume: The box’s internal volume should match the requirements of your subwoofer. Check the specifications provided by the manufacturer to determine the optimal volume range.
- Material: The box should be constructed from a sturdy and acoustically inert material, such as medium-density fiberboard (MDF), to minimize vibrations and resonances.
- Size and Shape: The dimensions of the box should fit your intended installation location. Consider the available space in your vehicle or room to ensure a proper fit.
It’s worth noting that the size of the subwoofer itself also plays a role in box selection. Larger subwoofers typically require larger boxes to accommodate their increased air displacement and lower frequency response.
Once you’ve chosen the right sealed subwoofer box for your setup, it’s time to move on to the next step: preparing the box for installation.
Step 2: Preparing the Subwoofer Box
Now that you have chosen the right sealed subwoofer box, it’s time to prepare it for installation. Proper preparation ensures optimal performance and helps minimize any potential issues or resonance problems.
Here are a few key steps to follow when preparing your subwoofer box:
- Seal any air leaks: It’s crucial to seal any gaps, cracks, or leaks in the box. Use silicone sealant or a specialized subwoofer box sealant to ensure airtightness. This helps prevent air leakage and unnecessary vibrations that can affect the sound quality.
- Reinforce the box: To minimize vibrations and resonance, reinforce the internal walls of the box using internal bracing. This involves adding sturdy panels or braces inside the box to enhance its structural integrity.
- Dampen internal reflections: Applying a layer of sound-dampening material, such as polyfill or acoustic foam, can help absorb internal reflections and reduce standing waves within the box. This aids in achieving a cleaner and more accurate bass response.
- Secure the subwoofer: Ensure that the subwoofer is securely mounted in the box. Use screws or brackets provided by the manufacturer to fix it in place. This helps prevent any unwanted movement or vibrations that can affect the sound output.
By properly preparing your sealed subwoofer box, you create an optimal environment for your subwoofer to perform at its best. A well-prepared box will help deliver clean, tight, and impactful bass, enhancing your overall listening experience.
With the subwoofer box prepared, it’s time to move on to the next step: placing the subwoofer in the box.
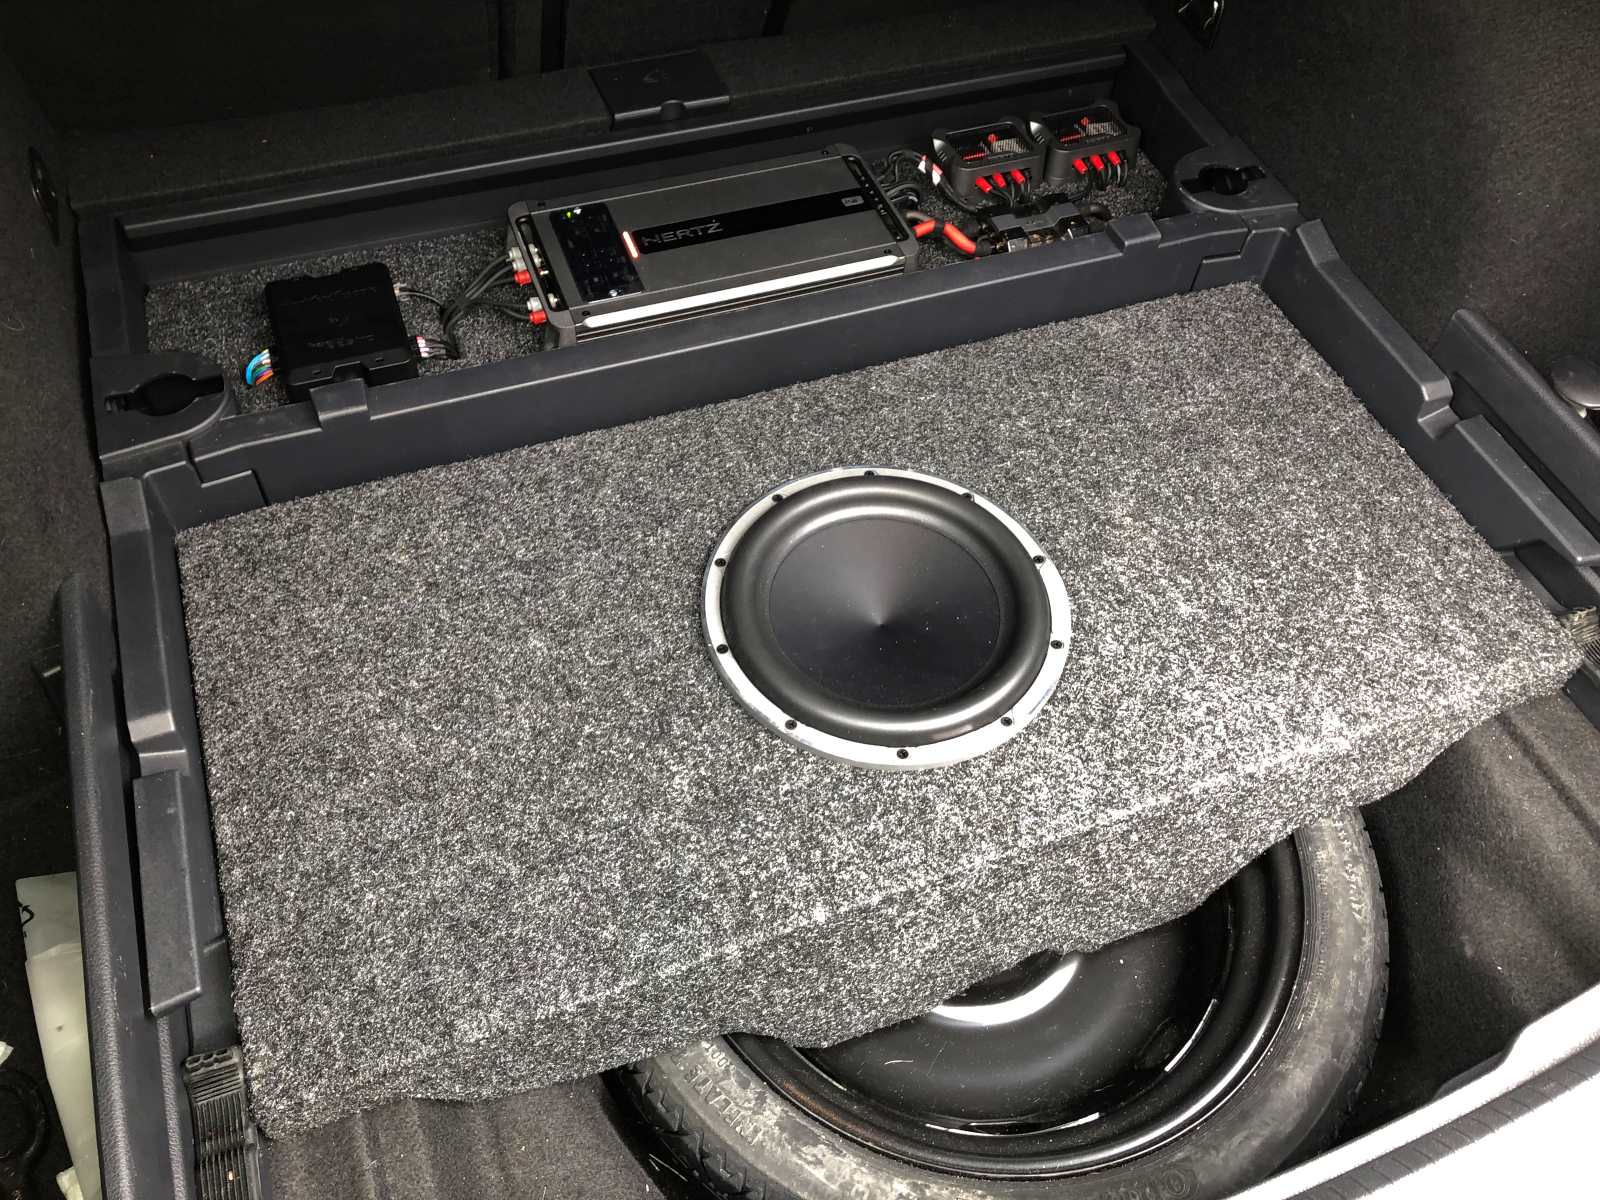
Step 3: Placing the Subwoofer in the Box
Now that you have your sealed subwoofer box properly prepared, it’s time to carefully place the subwoofer inside. This step ensures that the subwoofer is securely mounted and properly aligned for optimal sound performance.
Here’s how to place the subwoofer in the box:
- Positioning: Determine the ideal position for mounting the subwoofer in the box. This may vary depending on the design of your subwoofer and the recommendations provided by the manufacturer. Typically, the subwoofer should be positioned centrally within the box to ensure even distribution of sound waves.
- Wire connection: Connect the speaker wires to the terminals on the subwoofer. Make sure to follow the instructions provided by the manufacturer to ensure a secure and proper connection. This will ensure that the subwoofer functions correctly and delivers the desired bass response.
- Mounting: Use the recommended mounting method provided by the manufacturer to secure the subwoofer in place. This may involve using screws, brackets, or a mounting ring. Ensure that the subwoofer is firmly attached to prevent any unwanted vibrations.
- Alignment: Align the subwoofer with the opening in the box. Check that it sits flush with the surface, ensuring a proper seal. This helps maintain an airtight enclosure and prevents any air leaks that can affect the subwoofer’s performance.
Properly placing the subwoofer in the box ensures that it operates efficiently and produces accurate bass response. Taking the time to carefully position and secure the subwoofer will contribute to a well-tuned and immersive audio experience.
Now that the subwoofer is securely mounted, we can move on to the next step: adjusting the gain and frequency settings.
Step 4: Adjusting the Gain and Frequency
Once the subwoofer is properly placed in the sealed box, it’s time to fine-tune the gain and frequency settings. These adjustments allow you to optimize the subwoofer’s performance and ensure it blends seamlessly with the rest of your audio system.
Here’s how to adjust the gain and frequency settings:
- Gain adjustment: The gain controls the input level of the subwoofer’s amplifier. Start by setting the gain to the lowest level and gradually increase it until the desired bass level is achieved. Be careful not to push the gain too high, as it can result in distorted or overpowering bass.
- Frequency adjustment: Adjusting the frequency settings determines the range of frequencies that the subwoofer will reproduce. Start by setting the frequency knob to its midpoint and play a variety of music or movie clips that contain deep bass. Slowly rotate the knob to find the point where the subwoofer blends seamlessly with the main speakers. This ensures a balanced and cohesive sound.
- Crossover settings: If your audio system includes a separate crossover, adjust its settings to direct the low-frequency signals to the subwoofer. The crossover prevents the main speakers from reproducing bass frequencies that the subwoofer can handle more effectively.
During the adjustment process, take the time to listen carefully and make incremental changes until you achieve the desired sound. Small adjustments can have a significant impact, so be patient and experiment to find the sweet spot.
Remember, every audio system is unique, and the ideal gain and frequency settings may vary depending on the room acoustics, speaker configuration, and personal preferences. It’s a process of trial and error, so don’t be afraid to experiment and make adjustments until you’re satisfied with the results.
Now that you’ve fine-tuned the gain and frequency settings, it’s time to put your subwoofer to the test and move on to the final step: testing and fine-tuning the subwoofer.
Step 5: Testing and Fine-Tuning
After adjusting the gain and frequency settings of your subwoofer, it’s time to put it to the test and fine-tune it further. This step allows you to evaluate the sound output and make any necessary adjustments to achieve the best possible performance.
Here’s how to test and fine-tune your subwoofer:
- Play different types of content: Test your subwoofer by playing various types of music, movies, or audio clips that contain a range of bass frequencies. Listen closely and pay attention to the clarity, impact, and balance of the bass. Adjust the gain and frequency settings as needed to achieve a desirable sound.
- Room placement: Experiment with different placements for the subwoofer within the room. Small changes in positioning can affect the bass response. Try placing the subwoofer in different corners or along walls to find the optimal spot where the bass sounds most balanced and natural.
- Subwoofer positioning: Fine-tune the positioning of the subwoofer within the sealed box. Small adjustments in its placement can produce noticeable changes in sound quality. Try repositioning the subwoofer and listen for any improvements or adjustments needed.
- Volume adjustments: Once you’ve found the optimal gain and frequency settings, fine-tune the subwoofer’s volume level to blend smoothly with the rest of your audio system. Make sure the bass doesn’t overpower the main speakers or disappear into the background.
During the testing and fine-tuning process, trust your ears and make adjustments based on what sounds best to you. Everyone has different preferences and room acoustics, so it’s important to find the balance that suits your specific setup.
Lastly, don’t be afraid to seek the input of others or consult with audio professionals for additional guidance. They can offer valuable insights and suggestions that can help you further refine and optimize the performance of your subwoofer.
With the testing and fine-tuning complete, you can now enjoy your properly tuned sealed subwoofer and immerse yourself in the deep, thunderous bass that enhances your audio experience.
Congratulations on successfully tuning your sealed subwoofer box!
Conclusion
Congratulations! You’ve reached the end of our guide on tuning a sealed subwoofer box. By following the steps outlined in this article, you’ve learned how to choose the right subwoofer box, prepare it for installation, place the subwoofer, adjust the gain and frequency settings, and fine-tune the sound output.
Tuning a sealed subwoofer box is a meticulous process that requires attention to detail and patience. However, the results are well worth the effort. A properly tuned subwoofer delivers accurate and impactful bass, enhancing your audio experience whether you’re listening to music, watching movies, or playing video games.
Remember, each audio system is unique, and the optimal settings may vary based on factors such as room acoustics and personal preferences. It’s important to experiment, trust your ears, and make adjustments until you’re satisfied with the sound quality.
Furthermore, don’t overlook the importance of proper maintenance and regular testing. Over time, you may need to revisit the settings and fine-tune your subwoofer to account for any changes in your audio system or room setup.
We hope this guide has provided you with valuable insights and guidance on how to tune a sealed subwoofer box. Now, go ahead and enjoy the rich, deep bass that will bring your favorite music and movies to life!