Home>Devices & Equipment>Subwoofer>How To Make Custom Subwoofer Box

Subwoofer
How To Make Custom Subwoofer Box
Modified: January 22, 2024
Learn how to make a custom subwoofer box for enhanced sound quality and powerful bass. Step-by-step guide for building the perfect enclosure.
(Many of the links in this article redirect to a specific reviewed product. Your purchase of these products through affiliate links helps to generate commission for AudioLover.com, at no extra cost. Learn more)
Table of Contents
- Introduction
- Step 1: Gathering Materials and Tools
- Step 2: Measuring and Designing the Subwoofer Box
- Step 3: Cutting and Preparing the Wood Panels
- Step 4: Assembling the Subwoofer Box
- Step 5: Sealing and Reinforcing the Box
- Step 6: Installing the Subwoofer in the Box
- Step 7: Testing and Fine-tuning the Subwoofer Box
- Conclusion
Introduction
Are you a true audiophile seeking to take your car audio system to the next level? A custom subwoofer box may be just what you need. Subwoofers are crucial components of a car audio system, as they are responsible for delivering deep bass frequencies that add richness and impact to your music. While factory-installed subwoofer enclosures may be sufficient for some, a custom subwoofer box allows for better control over sound quality, maximizing the potential of your subwoofer.
In this article, we will guide you through the process of creating your very own custom subwoofer box. Building a custom subwoofer box offers several advantages, including tailoring the dimensions and shape of the enclosure to match the specific subwoofer you are using, as well as your vehicle’s available space. This customization allows for a tighter and more accurate bass response.
Building a subwoofer box requires some basic woodworking skills, but it can be a rewarding and cost-effective project. With a little patience and attention to detail, you can create a custom subwoofer box that not only enhances the sound quality but also fits perfectly in your vehicle.
Before we dive into the step-by-step process of building a custom subwoofer box, let’s gather the materials and tools you will need for this project.
Step 1: Gathering Materials and Tools
Before you start building your custom subwoofer box, it’s essential to gather all the necessary materials and tools. Having everything prepared beforehand will ensure a smooth and efficient construction process. Here are the materials and tools you will need:
- MDF (Medium-Density Fiberboard) or plywood: This will be used to construct the box. MDF is commonly preferred due to its density and sound-dampening properties.
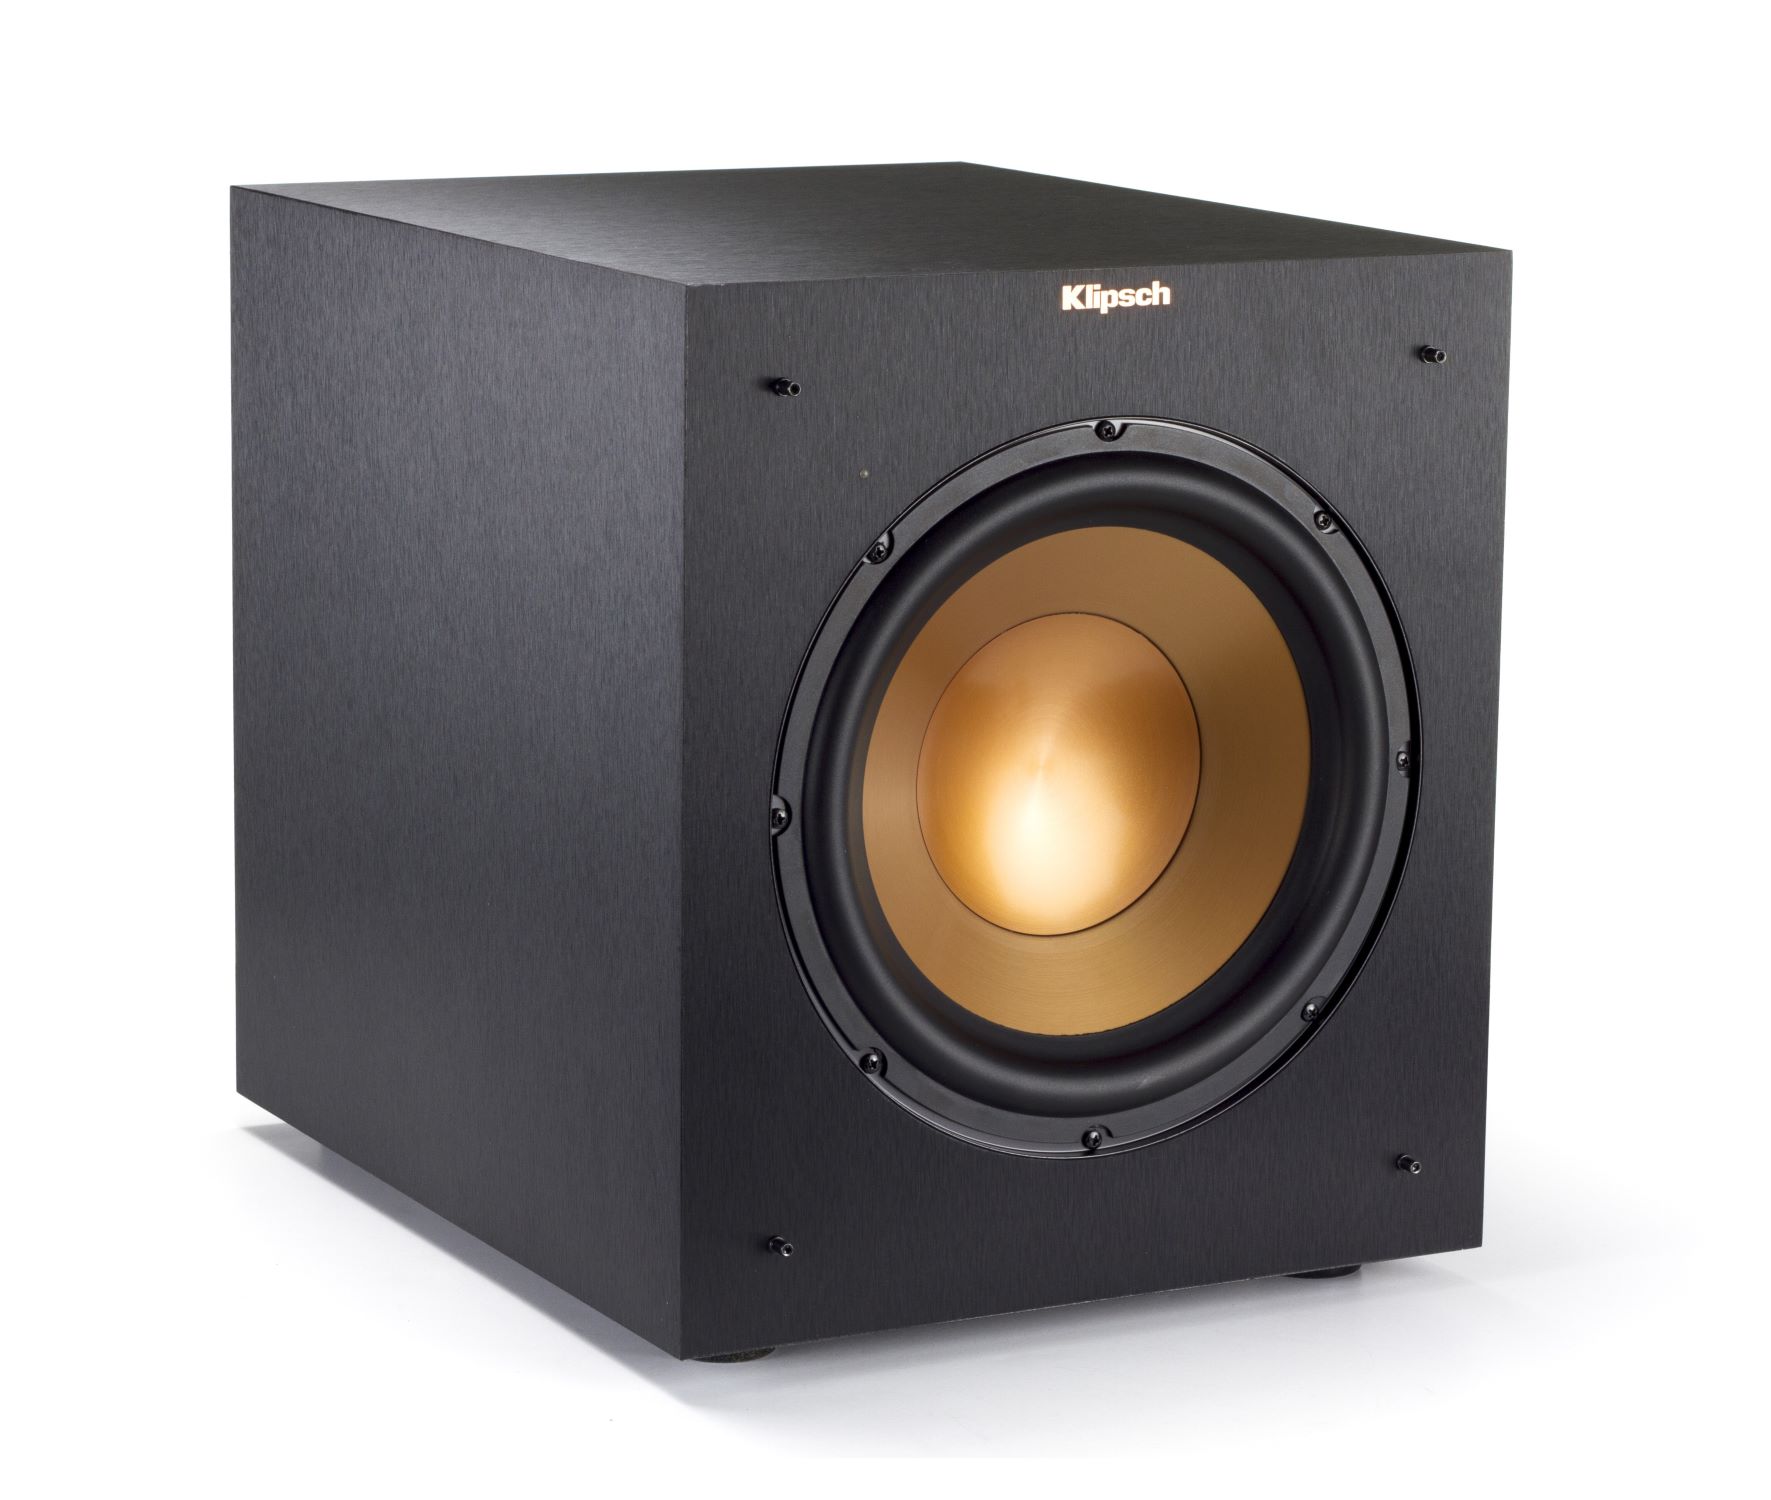
- Subwoofer: Choose a high-quality subwoofer that suits your audio preferences and power requirements.
- Speaker terminals: These will be used to connect the subwoofer wires to the amplifier.
- Speaker wire: Choose a high-quality wire with the appropriate gauge to ensure optimal performance.
- Screws and wood glue: To securely fasten the panels of the subwoofer box.
- Circular saw or jigsaw: To cut the wood panels to the desired dimensions.
- Screwdriver: To drive the screws into the wood panels.
- Tape measure: To accurately measure the dimensions of the subwoofer box.
- Carpenter’s square: To ensure the corners of the box are perfectly perpendicular.
- Sandpaper or sanding block: To smooth out any rough edges and ensure a professional finish.
- Router (optional): To create rounded edges or decorative designs on the box.
- Safety equipment: Gloves, safety goggles, and a dust mask to protect yourself during the construction process.
Once you have gathered all the necessary materials and tools, you are ready to move on to the next step: measuring and designing the subwoofer box.
Step 2: Measuring and Designing the Subwoofer Box
Measuring and designing the subwoofer box is a crucial step in building a custom enclosure that will provide optimal sound quality. The dimensions and design of the box will depend on the specifications of your subwoofer and the available space in your vehicle. Follow these steps to measure and design your subwoofer box:
- Start by determining the volume requirements of your subwoofer. You can find this information in the subwoofer’s manual or by researching the manufacturer’s specifications. The volume, expressed in cubic feet, will guide you in choosing the appropriate dimensions for the box.
- Measure the available space in your vehicle where you plan to install the subwoofer box. Take into account any obstructions or limitations, such as seat backrests or vehicle equipment.
- Based on the calculated volume and available space, design the shape of the box. Common box types include sealed (airtight) boxes, ported (vented) boxes, and bandpass boxes. Each has its own advantages and considerations, so research which type best suits your subwoofer and audio preferences.
- If opting for a rectangular box, determine the height, width, and depth of the box. Ensure that the box will fit in the available space in your vehicle without obstructing other components or compromising safety.
- Account for the thickness of the wood panels when calculating the internal dimensions of the box. For example, if using ¾-inch thick MDF, subtract 1.5 inches from the desired dimensions to accommodate for both the top and bottom panels.
- Consider adding bracing inside the box to increase its structural integrity and reduce vibrations.
- Once you have finalized the box dimensions and design, create a detailed diagram or plan of the box, labeling each panel and measurement. This will serve as a reference during the construction process.
Remember to double-check your measurements and design before proceeding to the next step. Accurate measurement and careful planning will ensure a well-fitting and acoustically optimized subwoofer box.
Step 3: Cutting and Preparing the Wood Panels
With the measurements and design of your custom subwoofer box finalized, it’s time to move on to cutting and preparing the wood panels that will form the enclosure. This step requires precision and attention to detail to ensure a proper fit and professional finish. Follow these steps to cut and prepare the wood panels:
- Using a circular saw or jigsaw, carefully cut the MDF or plywood according to the measurements determined during the design phase. It is important to make clean and straight cuts to maintain the integrity of the box.
- Take extra care when cutting the holes for the subwoofer and speaker terminals. Use a jigsaw or hole saw of the appropriate size and follow the markings made in the design plan.
- After cutting the panels, use sandpaper or a sanding block to smooth out any rough edges or splinters. This will ensure a professional and clean-looking finish.
- If desired, use a router to create rounded edges or decorative designs on the wood panels. This step is optional but can add a touch of customization and aesthetics to your subwoofer box.
- Before moving on to the assembly step, it is important to prime and paint the wood panels. This step will not only enhance the appearance but also protect the wood from moisture and damage. Use a high-quality primer and paint that is suitable for MDF or plywood.
Remember to always follow proper safety precautions when working with power tools and wear protective equipment, such as safety goggles and gloves.
Once you have cut and prepared the wood panels, you are now ready to assemble the subwoofer box. Follow the next step to learn how to bring all the components together.
Step 4: Assembling the Subwoofer Box
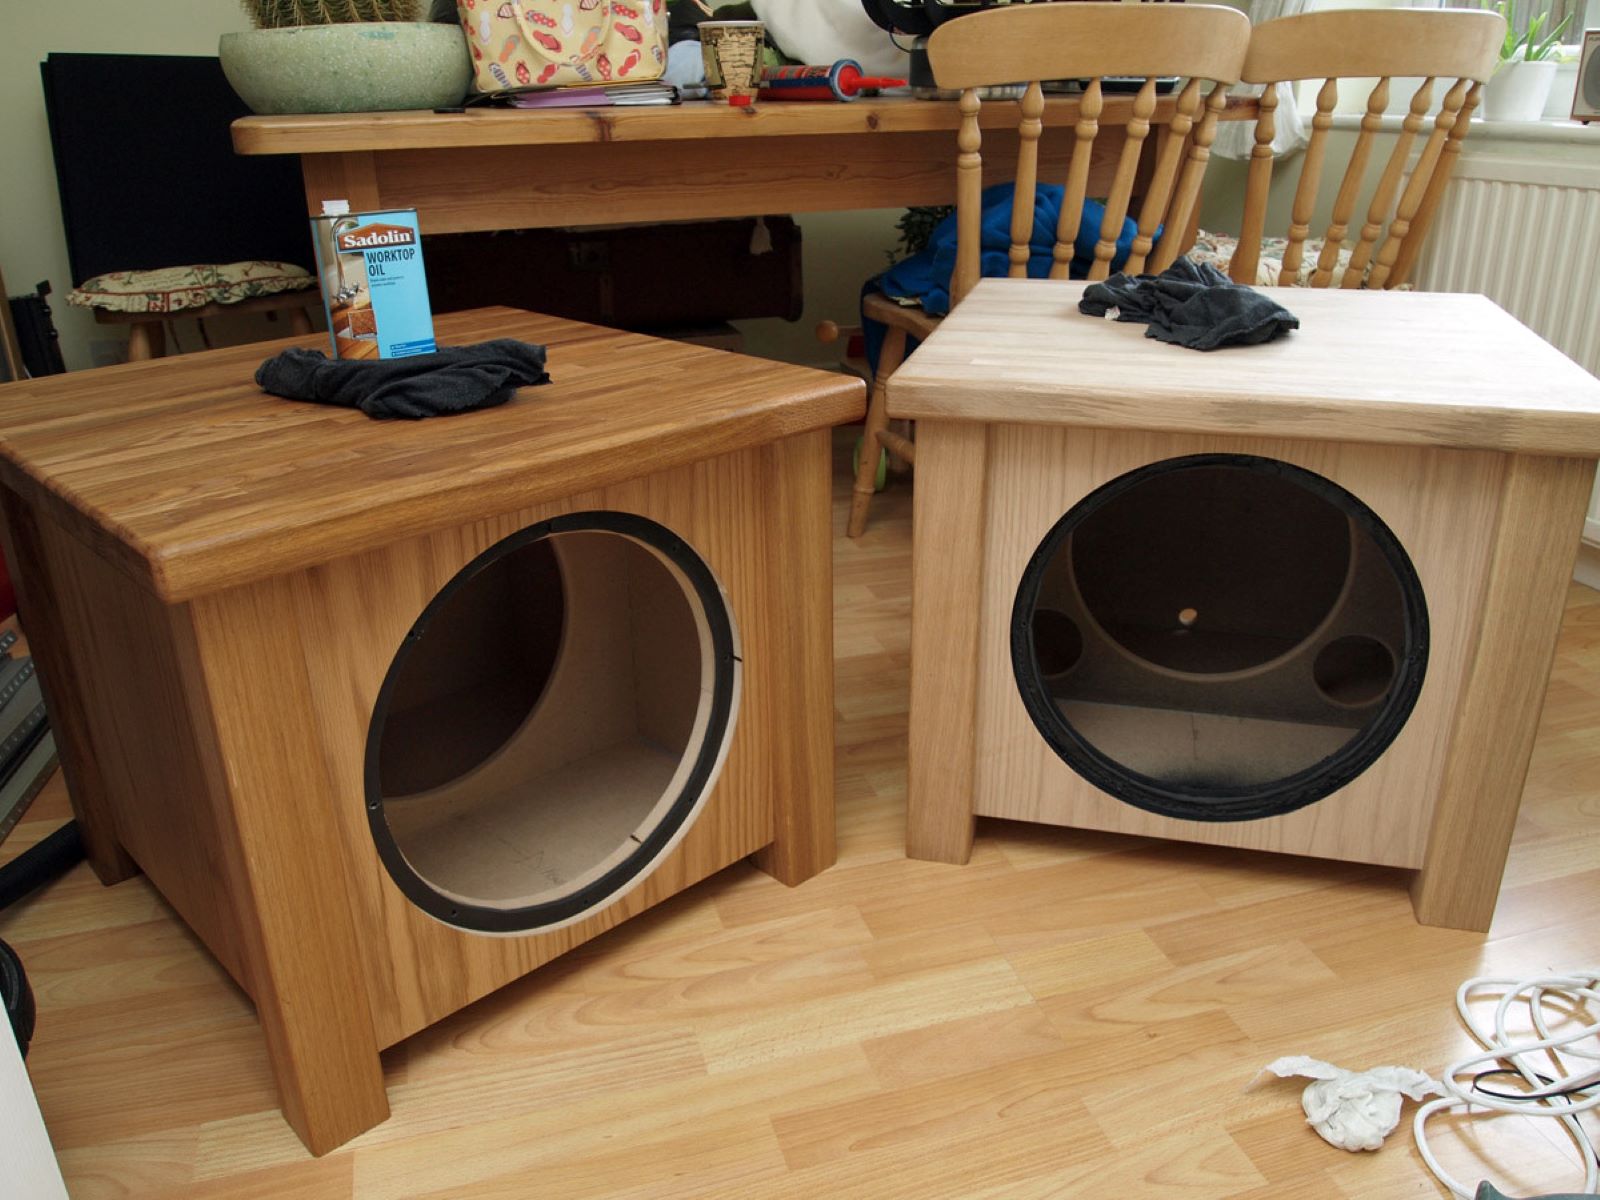
Now that you have cut and prepared the wood panels, it’s time to assemble the subwoofer box. The assembly process requires careful attention to detail to ensure a sturdy and well-constructed enclosure. Follow these steps to assemble the subwoofer box:
- Start by applying a thin layer of wood glue along the edges of the panels that will be connected. This will help create a strong bond between the panels.
- Align the panels according to the design plan, ensuring that they are flush and squared. Use clamps to hold the panels in place while the glue dries.
- Insert screws through pre-drilled pilot holes to further secure the panels together. Place the screws approximately every 4-6 inches along the edges for added stability.
- Continue this process until all the panels have been assembled to form the main structure of the subwoofer box.
- For added reinforcement, consider adding internal bracing. This can be done by cutting additional pieces of MDF or plywood and attaching them to the inside of the box using wood glue and screws.
- Once the glue has dried, remove the clamps and sand any visible seams or excess glue to achieve a smooth and seamless finish.
Ensure that the subwoofer box is solid and free from any gaps or loose connections. This will ensure optimal sound quality and prevent air leaks that could affect the performance of the subwoofer.
With the subwoofer box assembled, you are ready to move on to the next step: sealing and reinforcing the box to enhance its performance.
Step 5: Sealing and Reinforcing the Box
Sealing and reinforcing the subwoofer box is a crucial step to ensure optimal performance and minimize unwanted vibrations. By properly sealing the box and adding reinforcement, you can achieve a tighter and more accurate bass response. Follow these steps to seal and reinforce the subwoofer box:
- Start by inspecting the assembled box for any visible gaps or openings. Use wood filler or caulk to fill in these gaps and create an airtight seal. Pay close attention to the corners and joints of the box.
- Smooth out the filled areas with sandpaper to ensure a seamless finish.
- Consider adding internal bracing to strengthen the subwoofer box. This can be done by cutting additional pieces of MDF or plywood and attaching them to the inside of the box using wood glue and screws. This will help reduce vibrations and improve the overall structural integrity of the box.
- Apply a layer of acoustic dampening material, such as foam or damping pads, to the interior walls of the subwoofer box. This material helps absorb and reduce unwanted resonances or vibrations, resulting in cleaner bass reproduction.
- Seal any remaining internal seams or joints with silicone caulk to further enhance the box’s airtightness.
- Lastly, secure the speaker terminals in place by attaching them to the designated holes on the box using screws.
By sealing and reinforcing the subwoofer box, you are ensuring that there are no air leaks or loose components that could negatively impact the sound quality. This step is crucial for achieving optimal bass response and overall performance from your custom subwoofer enclosure.
With the box sealed and reinforced, you are now ready to move on to the next step: installing the subwoofer in the box.
Step 6: Installing the Subwoofer in the Box
Installing the subwoofer in the box is an exciting step as it brings your custom subwoofer enclosure closer to completion. Properly installing the subwoofer will ensure optimal sound output and performance. Follow these steps to install the subwoofer in the box:
- Start by inserting the subwoofer into the designated opening in the box. Ensure a snug fit, and align the screw holes on the subwoofer with the corresponding holes on the box.
- Secure the subwoofer in place by driving screws through the screw holes. Be careful not to overtighten the screws, as this can damage the subwoofer or the box.
- Connect the positive and negative wires from the subwoofer to the corresponding terminals on the speaker terminals inside the box. Ensure a secure connection by tightening the terminals.
- Verify that all the connections are secure and double-check the polarity of the wires. Proper polarity ensures that the subwoofer moves in sync with the rest of the audio system.
- If needed, use a wire harness or cable management system to keep the wires organized and prevent them from rattling or interfering with the subwoofer’s performance.
Once the subwoofer is securely installed in the box and all the connections are properly made, you can proceed to the final step: testing and fine-tuning the subwoofer box to achieve the desired sound quality.
Remember to exercise caution when handling the subwoofer and avoid touching the speaker cone to prevent any damage. Take your time during the installation process to ensure everything is done correctly.
Step 7: Testing and Fine-tuning the Subwoofer Box
After all the hard work of building and installing your custom subwoofer box, it’s time to test and fine-tune its performance. This step is crucial to ensure that you achieve the desired sound quality and maximize the potential of your subwoofer. Follow these steps to test and fine-tune your subwoofer box:
- Connect the subwoofer box to your car audio system and power it on.
- Play a variety of music tracks that feature different bass frequencies and levels. This will allow you to gauge the performance of the subwoofer and identify any potential issues.
- Listen carefully to the sound output and assess the overall clarity, depth, and impact of the bass frequencies.
- If necessary, make adjustments to the subwoofer settings on your car audio system or amplifier. These adjustments may include the crossover frequency, gain, phase, and equalization settings.
- Depending on the type of subwoofer box you have built (sealed, ported, or bandpass), you may need to fine-tune the box by adjusting its internal volume or port dimensions. This can be done by adding or removing internal bracing or altering the positioning of the subwoofer within the enclosure.
- Continue to test and fine-tune the subwoofer box until you are satisfied with the sound quality and performance. Take note of any adjustments made and how they impact the overall sound.
- Consider seeking input from experienced car audio enthusiasts or professionals who can provide valuable advice and guidance in fine-tuning your subwoofer box.
Regularly testing and fine-tuning your subwoofer box is essential to ensure that you are getting the best performance out of your audio system. It allows you to make adjustments and optimize the box’s design to match your audio preferences and vehicle’s acoustics.
Remember to always exercise caution when making adjustments to the subwoofer settings and handle the audio equipment with care.
Congratulations! You have successfully built, installed, and fine-tuned your custom subwoofer box. Enjoy the enhanced bass response and immersive audio experience that your custom subwoofer box brings to your car audio system!
Conclusion
Building a custom subwoofer box is a rewarding endeavor that allows you to take your car audio system to new heights. By following the steps outlined in this guide, you have learned how to create a custom subwoofer box that matches your specific audio preferences and vehicle’s available space.
A custom subwoofer box offers numerous advantages over factory-installed enclosures. It allows for precise control over the dimensions, shape, and design of the box, resulting in better sound quality and a more immersive listening experience. With a properly constructed and fine-tuned subwoofer box, you can enjoy deep, impactful bass that enhances the overall quality of your music.
Throughout the process, you have learned the importance of gathering the right materials and tools, measuring and designing the box accurately, cutting and preparing the wood panels with precision, assembling and reinforcing the box to ensure a sturdy structure, installing the subwoofer properly, as well as testing and fine-tuning the box for optimal sound performance.
Remember to always prioritize safety when working with power tools and wear the appropriate protective equipment. Take your time during each step and pay attention to the details to achieve the best results.
Now that you have completed the construction of your custom subwoofer box, it’s time to enjoy the improved bass response and immersive audio experience it brings to your car audio system. Sit back, relax, and revel in the deep, impactful sound that only a custom subwoofer box can provide.
Whether you’re a passionate audiophile or just enjoy high-quality sound while on the road, building a custom subwoofer box allows you to unleash the true potential of your car audio system. So, get ready to experience music like never before with your custom-built subwoofer box!