Home>Devices & Equipment>Subwoofer>How To Build A Truck Subwoofer Box

Subwoofer
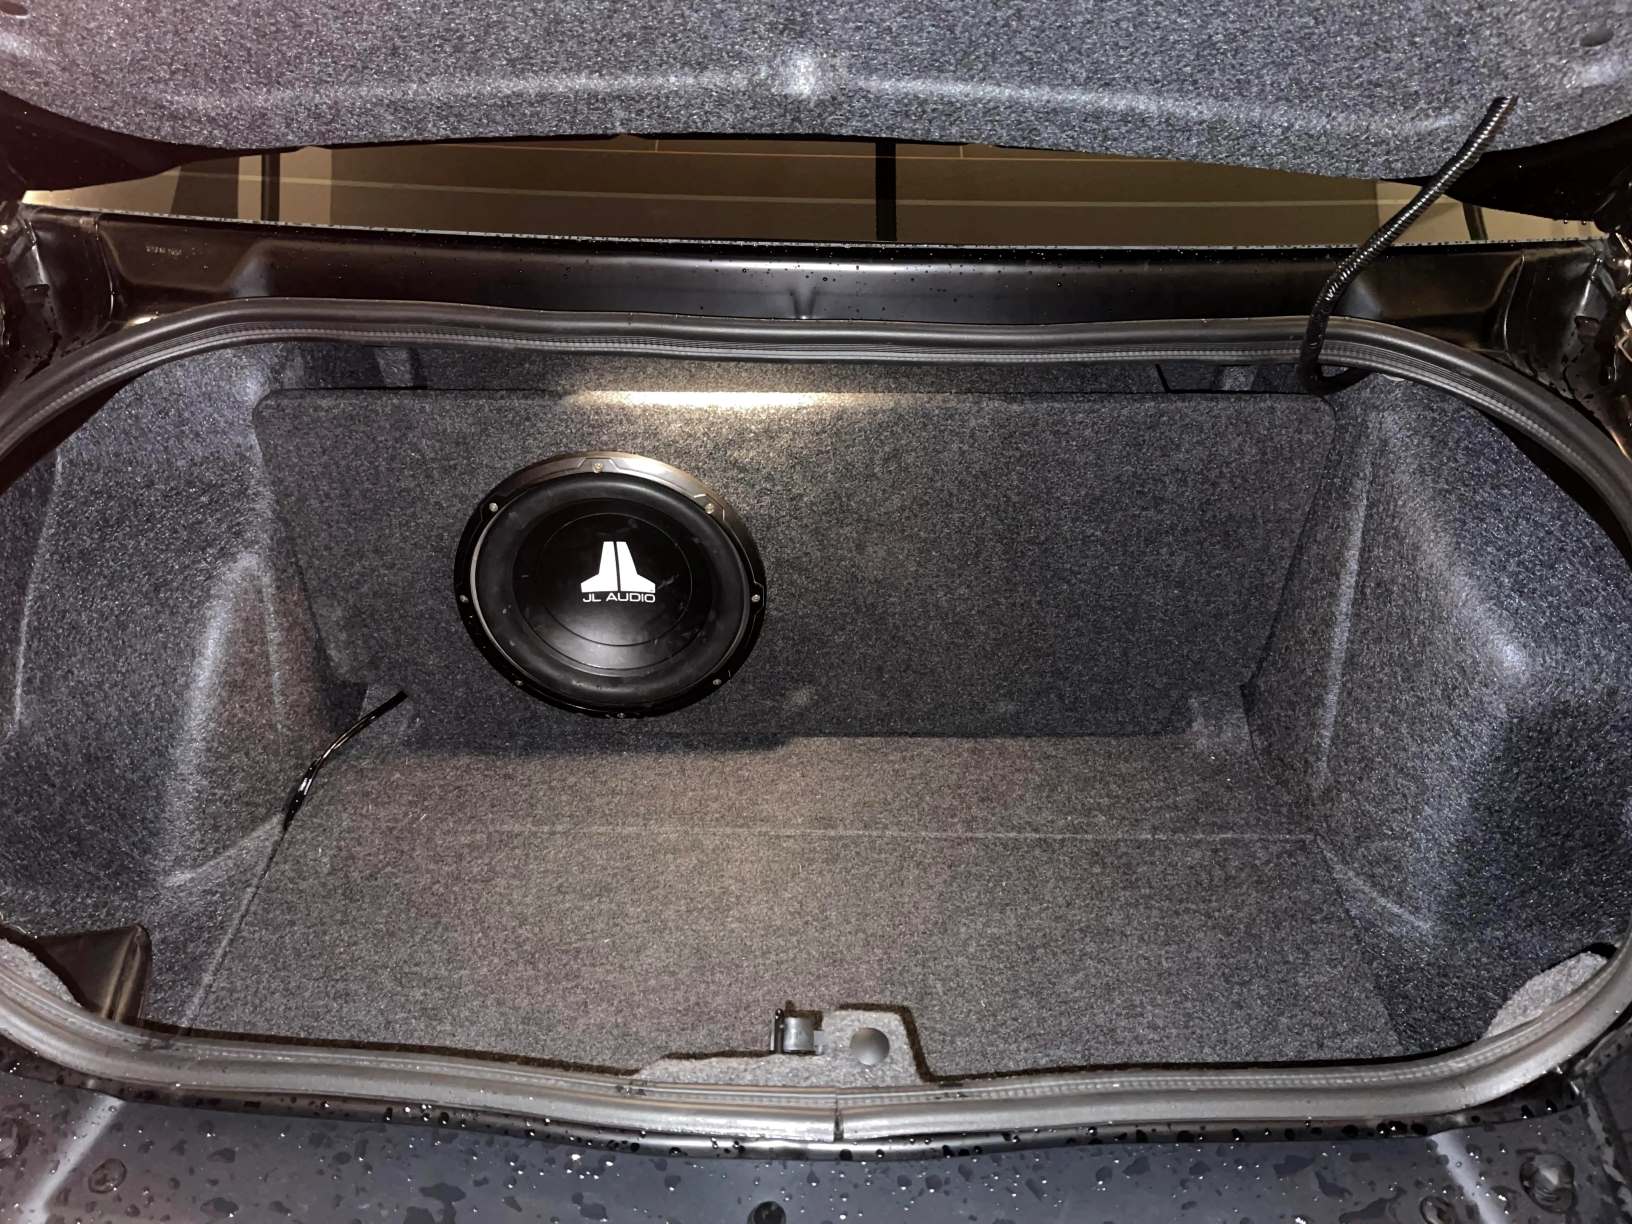
How To Build A Truck Subwoofer Box
Modified: January 22, 2024
Learn how to build a custom subwoofer box for your truck to enhance your audio experience. Step-by-step guide for DIY enthusiasts.
(Many of the links in this article redirect to a specific reviewed product. Your purchase of these products through affiliate links helps to generate commission for AudioLover.com, at no extra cost. Learn more)
Table of Contents
- Introduction
- Step 1: Gather Materials and Tools
- Step 2: Measure the Truck’s Interior Space
- Step 3: Design the Subwoofer Box
- Step 4: Cut and Prepare the Wood Panels
- Step 5: Assemble the Subwoofer Box
- Step 6: Install the Subwoofer Inside the Box
- Step 7: Secure the Subwoofer Box in the Truck
- Step 8: Connect the Subwoofer to the Audio System
- Conclusion
Introduction
Welcome to the world of booming bass and earth-shaking sound! A truck subwoofer box is an essential accessory for any audiophile looking to enhance their in-vehicle audio experience. Whether you’re a music enthusiast, a lover of deep bass, or a seasoned car audio enthusiast, building a custom subwoofer box for your truck can take your sound system to the next level.
With a well-designed subwoofer box, you can not only improve the low-frequency response of your audio system but also maximize the overall sound quality. A properly constructed and installed subwoofer box will ensure that the bass remains tight, punchy, and distortion-free.
In this article, we will take you through a step-by-step guide on how to build a truck subwoofer box. From gathering the necessary materials and tools to assembling the box and connecting it to your audio system, we will cover all the essential aspects to help you create a custom subwoofer enclosure to suit your truck’s specific needs.
Before we dive into the construction process, it’s important to note that building a subwoofer box requires a basic understanding of carpentry and woodworking skills. If you’re new to DIY projects or feel unsure about handling power tools, it’s always wise to seek assistance from a professional or someone with experience in the field. Safety should be your top priority when undertaking any construction project.
Now, let’s roll up our sleeves and get started on building your very own truck subwoofer box! Get ready to feel the bass like never before.
Step 1: Gather Materials and Tools
Before you begin constructing your truck subwoofer box, it’s crucial to gather all the necessary materials and tools for the job. Here’s a list of what you’ll need:
- Wood panels: Choose high-quality medium-density fiberboard (MDF) or plywood. The thickness of the panels will depend on the size and power of your subwoofer.
- Subwoofer driver: Select a subwoofer that suits your audio requirements and fits within your truck’s available space.
- Screws and nails: Opt for screws and nails that are appropriate for woodworking, ensuring they are long enough to securely fasten the wood panels.
- Wood glue: Invest in a strong wood glue to reinforce the joints of the subwoofer box.
- Carpet or upholstery fabric: This will be used to cover the exterior of the subwoofer box, providing a polished and professional look.
- Terminal cups: These are essential for connecting the subwoofer wires to your audio system.
- Sealing caulk: Choose a high-quality caulk to seal any potential air leaks within the subwoofer box.
- Power drill: A power drill will make the assembly process much easier and faster.
- Table saw or circular saw: This will be used to cut the wood panels to the desired dimensions.
- Measuring tape: Accurate measurements are crucial to ensure a proper fit for the subwoofer box in your truck.
- Safety equipment: Don’t forget to prioritize safety by wearing protective gear, such as goggles and gloves, when working with power tools.
Once you have gathered all the necessary materials and tools, you’ll be ready to move on to the next step of measuring your truck’s interior space. Proper measurements are vital to ensure that your subwoofer box fits snugly and doesn’t interfere with any other components in your vehicle.
Remember, it’s always a good idea to double-check your measurements and materials before starting the construction process. This will help prevent any unnecessary setbacks or errors later on. Now that you have everything you need, let’s move on to the next step: measuring your truck’s interior space.
Step 2: Measure the Truck’s Interior Space
Accurate measurements are crucial when building a custom subwoofer box for your truck. Before you start cutting and assembling the wood panels, take the time to measure the interior space of your truck. Here’s how:
- Remove any existing components: If there are any existing components, such as seats or storage compartments, that may interfere with the placement of the subwoofer box, remove them temporarily. This will provide you with a clear and unobstructed space to work with.
- Position the subwoofer: Decide on the desired location for the subwoofer box inside your truck. Keep in mind factors such as accessibility, visibility, and the proximity to other components.
- Measure the available space: Use a measuring tape to carefully measure the width, height, and depth of the area where you plan to install the subwoofer box. Measure multiple times to ensure accuracy.
- Note any obstacles: Take note of any obstacles, such as protruding panels, wiring harnesses, or air vents, that may impact the design or placement of the subwoofer box. This will help you make any necessary adjustments during the design phase.
Once you have gathered the measurements, transfer them to a sketch or diagram. This will assist you in visualizing how the subwoofer box will fit into your truck’s interior space and allow you to make precise calculations for the dimensions of the wood panels.
Remember, the goal is to create a subwoofer box that seamlessly integrates into your truck’s interior while maximizing the available space. Taking accurate measurements upfront will ensure a proper fit and prevent any potential issues during the construction and installation process.
With the measurements in hand, you’re now ready to move on to the next step: designing the subwoofer box. This is where you can let your creativity shine and customize the box to your specific requirements. So, let’s dive into the design phase and create a subwoofer box that will rock your truck!
Step 3: Design the Subwoofer Box
Now that you have measured the interior space of your truck and have a clear understanding of the available dimensions, it’s time to design your subwoofer box. The design stage is where you can get creative and tailor the box to your specific preferences and audio requirements. Here’s how to design your subwoofer box:
- Choose the box type: There are various types of subwoofer box designs, including sealed, ported, and bandpass. Each has its own advantages and considerations, so do some research to determine which type will work best for your subwoofer and desired sound quality.
- Calculate the internal volume: The internal volume is crucial for achieving optimal sound performance. Use an online calculator or specialized software to calculate the recommended internal volume based on the specifications of your subwoofer. Ensure that the box’s dimensions are adjusted to accommodate this volume.
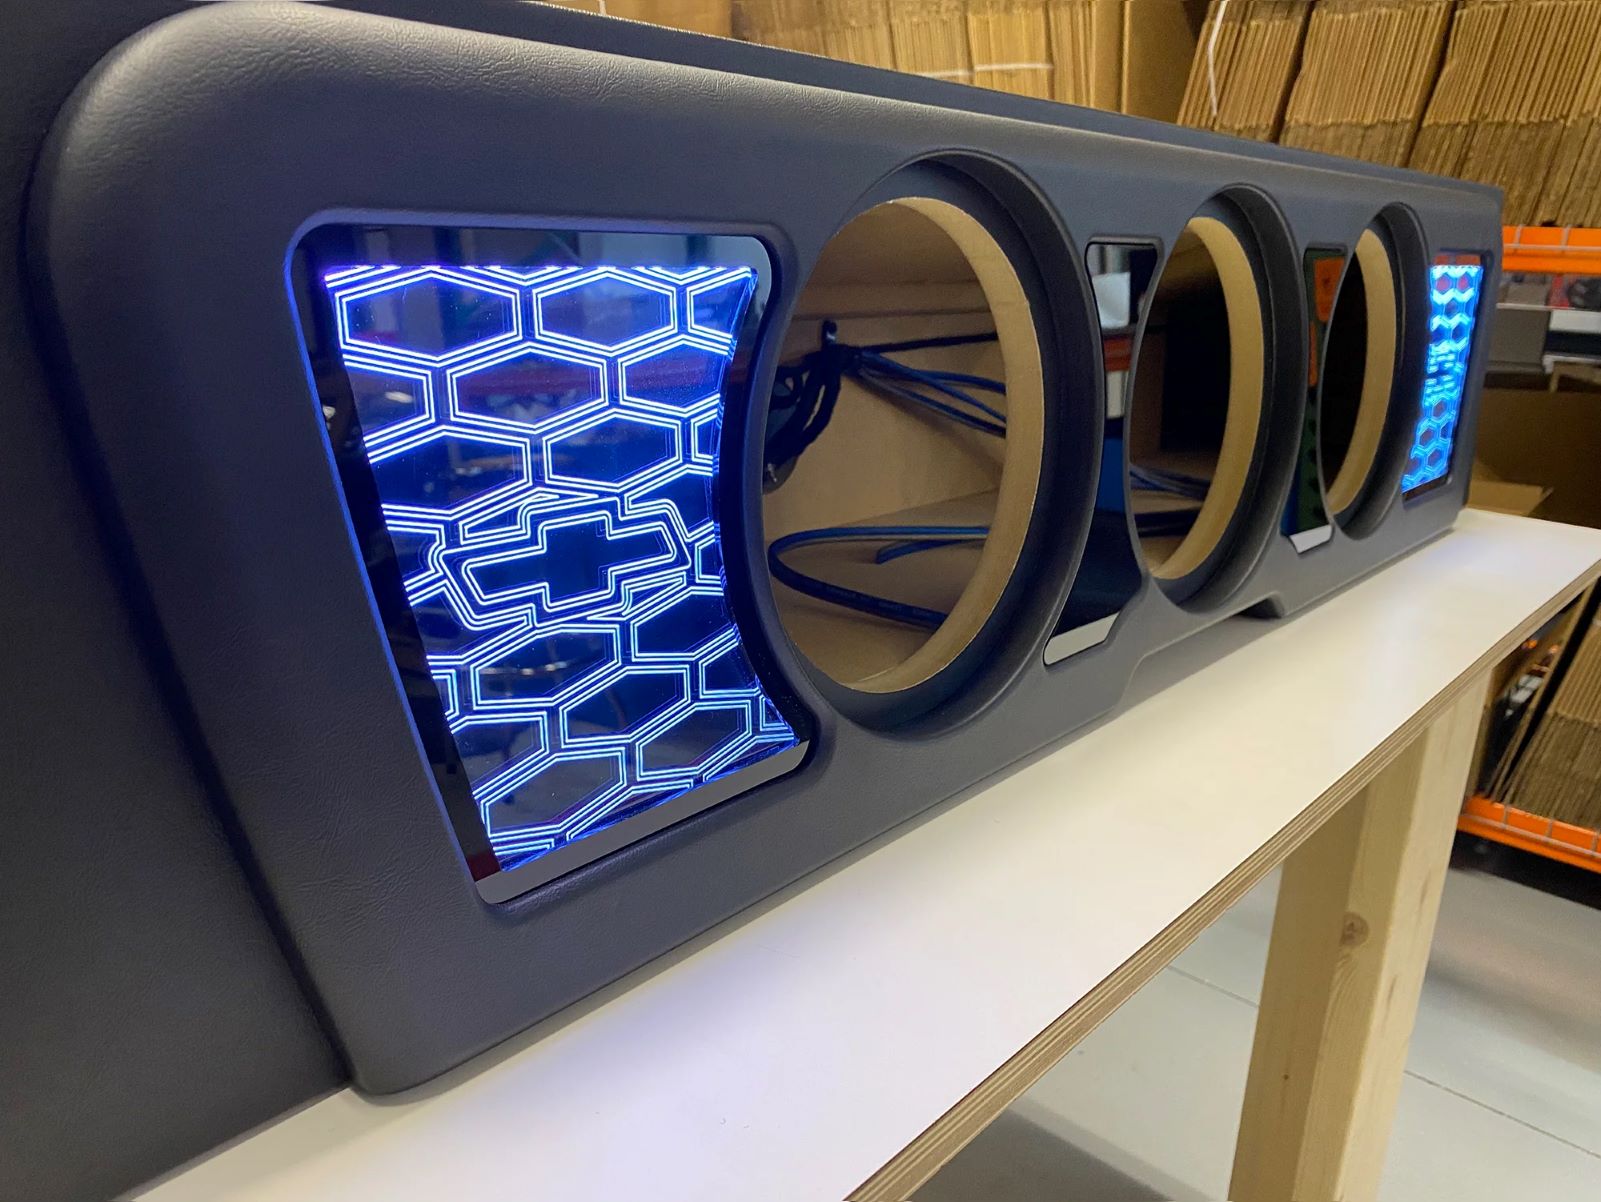
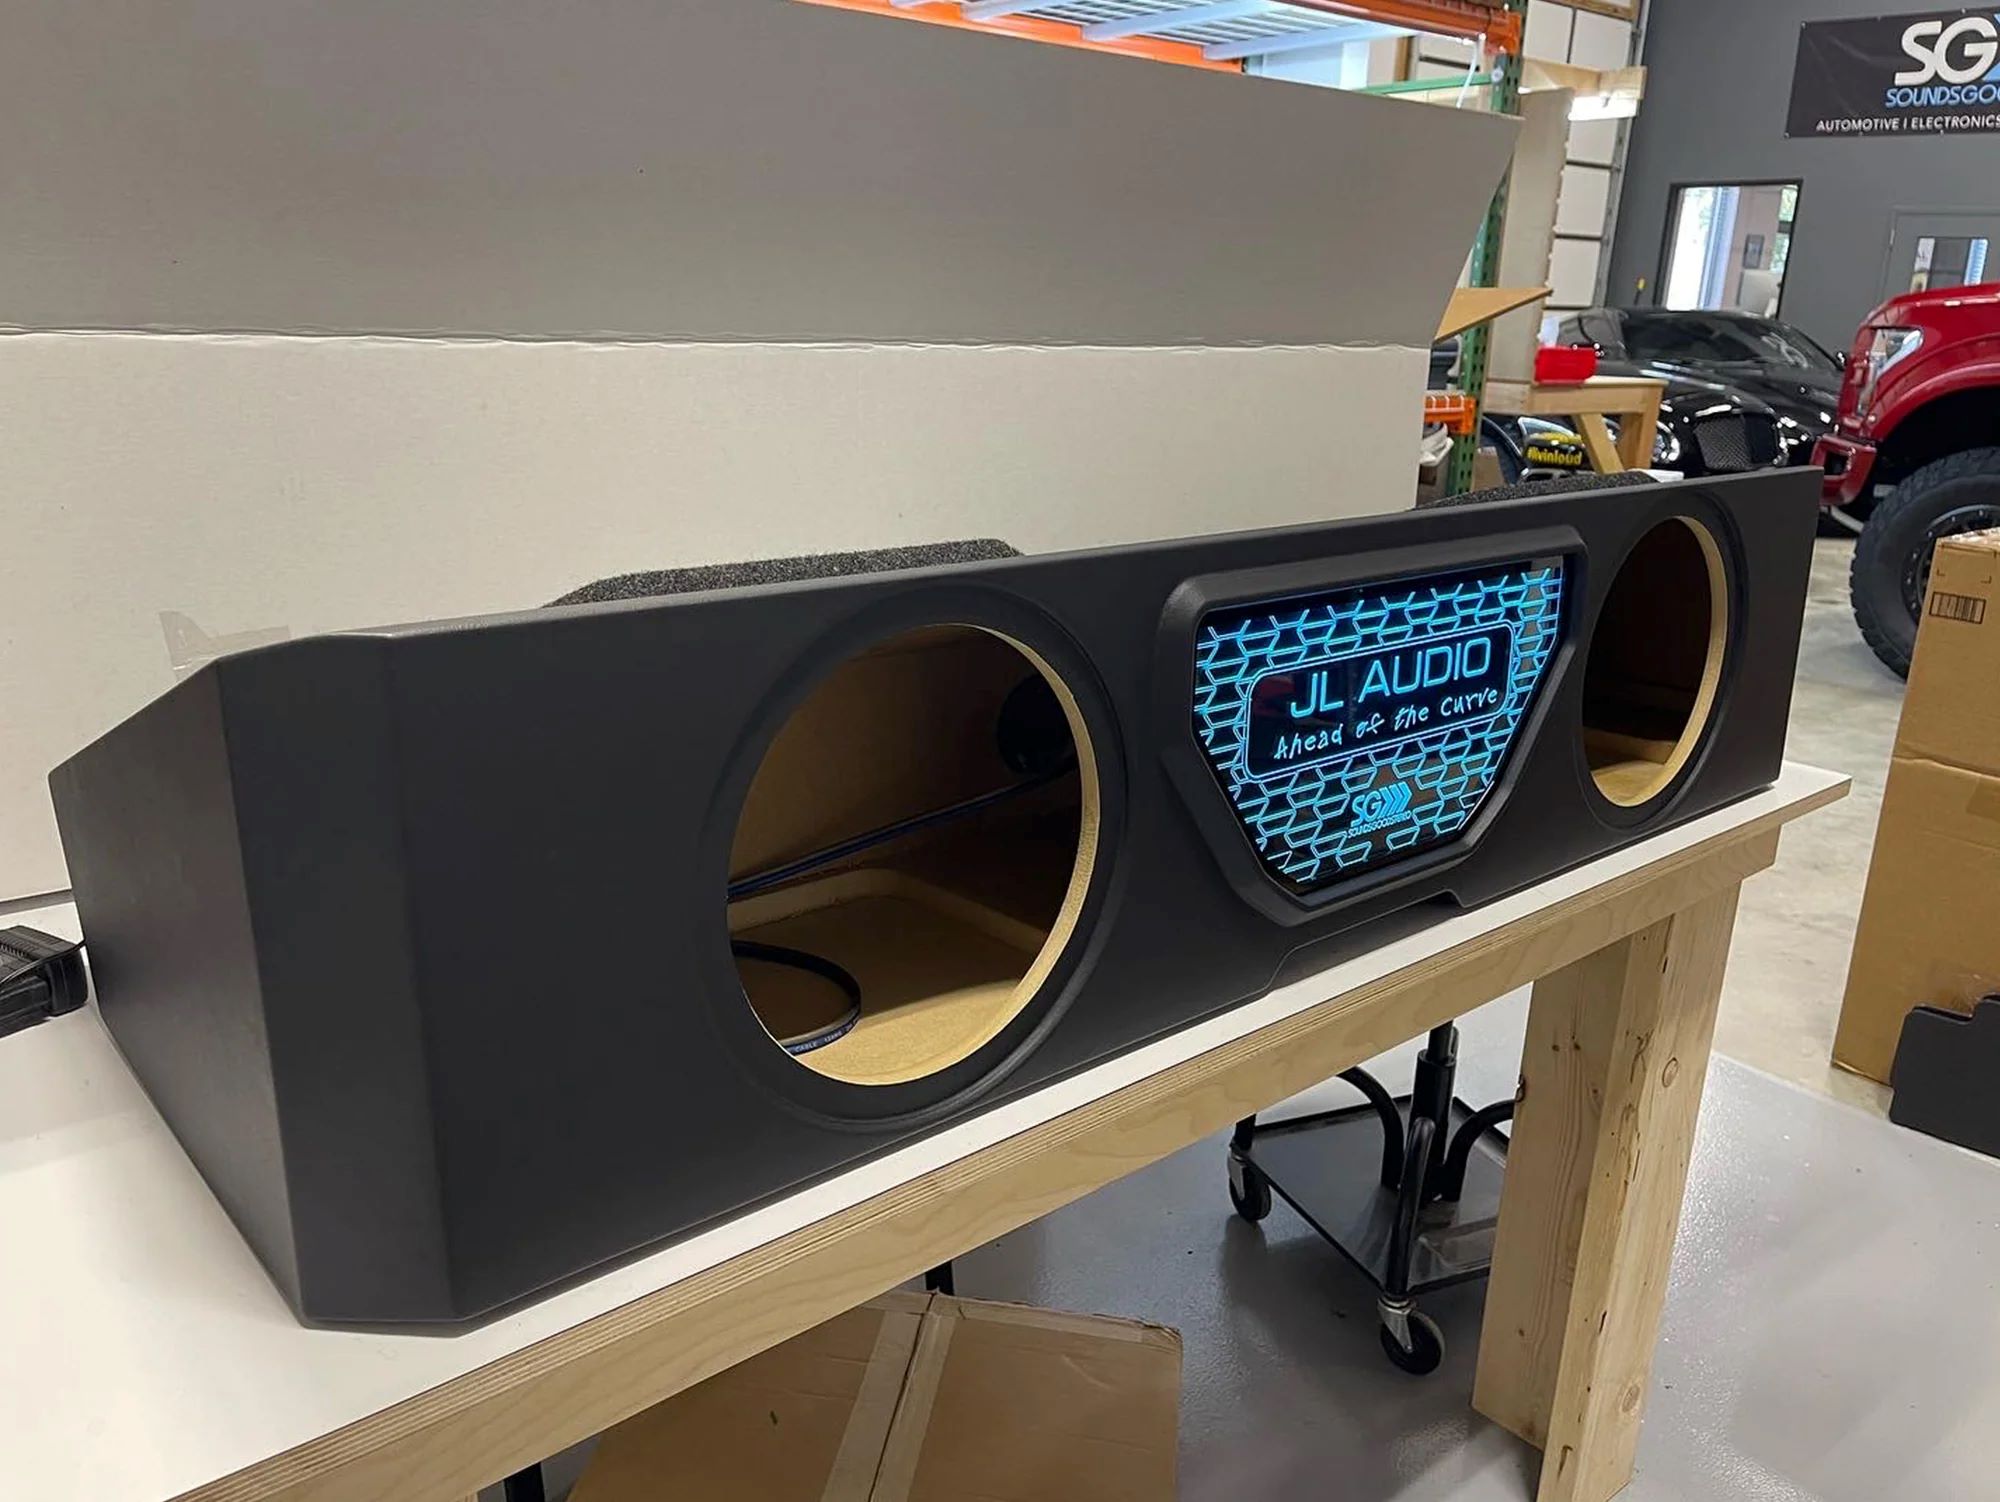
- Determine the box shape: Consider the available space in your truck and the dimensions of the subwoofer box. Decide on a box shape that not only fits within the designated space but also complements the aesthetics of your vehicle’s interior.
- Include bracing and insulation: To enhance the structural integrity and minimize vibrations, consider incorporating bracing within the subwoofer box design. Additionally, insulating the box with acoustic material can help improve the overall sound quality and reduce unwanted resonances.
- Account for subwoofer mounting: Take into account the specific mounting requirements of your subwoofer. Consider the mounting depth and diameter to ensure proper installation within the box.
- Design ventilation and airflow: If you’re opting for a ported or vented box design, take the time to plan the placement and sizing of the ports to optimize airflow and prevent unwanted noise or distortion.
Once you have finalized your subwoofer box design, create a detailed sketch or use specialized software to visualize the dimensions and components. Double-check all measurements and ensure that the design aligns with your truck’s interior space.
Remember, an efficiently designed subwoofer box will not only enhance the audio performance but also integrate seamlessly into your truck’s interior. So, take your time during the design process to ensure that you achieve both form and function.
With the subwoofer box design complete, it’s time to move on to the next step: cutting and preparing the wood panels. Get ready to bring your design to life!
Step 4: Cut and Prepare the Wood Panels
With your subwoofer box design finalized, it’s time to start turning your ideas into reality by cutting and preparing the wood panels. This step is crucial in ensuring that the subwoofer box is sturdy, well-constructed, and ready for assembly. Here’s how to cut and prepare the wood panels:
- Measure and mark the wood panels: Transfer the dimensions from your subwoofer box design onto the wood panels. Use a measuring tape, straight edge, and pencil to mark the required cuts accurately.
- Cut the wood panels: Using a table saw or circular saw, carefully cut along the marked lines to create the individual panels of the subwoofer box. Take your time to ensure clean and precise cuts.
- Smooth the edges: Use sandpaper or a router to smooth the edges of the wood panels. This will help create flush joints when assembling the box and prevent any rough edges.
- Create speaker cutout: If your subwoofer requires a cutout in one of the panels, carefully measure and mark the location. Use a jigsaw or router with a specialized bit to create a clean and accurate speaker cutout.
- Pre-drill screw holes: To prevent splitting or cracking of the wood panels, pre-drill small holes where screws will be inserted during assembly. This will make the construction process easier and help ensure a tight and secure fit.
- Apply wood glue: Before assembling the subwoofer box, apply a small amount of wood glue to the edges of the panels that will be joined together. This will provide additional strength and stability to the joints.
Throughout the cutting and preparation process, remember to prioritize safety by wearing protective gear, such as goggles and gloves. Take your time to ensure accurate measurements and precise cuts to achieve the best results.
Once the wood panels are cut, smoothed, and prepared, it’s time to move on to the exciting part: assembling the subwoofer box. Get ready to see your creation take shape as we enter the next step of the process.
Step 5: Assemble the Subwoofer Box
Now that you have cut and prepared the wood panels, it’s time to bring your subwoofer box to life by assembling the pieces together. Proper assembly is crucial in creating a sturdy and well-constructed box that will provide optimal sound performance. Here’s how to assemble the subwoofer box:
- Arrange the panels: Lay out the wood panels in the correct order according to your subwoofer box design. This will make the assembly process easier and more efficient.
- Apply wood glue: Apply a generous amount of wood glue to the edges of the wood panels that will be joined together. Ensure that the glue is evenly spread to create a strong bond between the panels.
- Align the panels: Carefully align the edges of the panels and press them firmly together. Use clamps or weights to hold the panels in place while the glue dries. Check for any gaps or misalignments and make adjustments as necessary.
- Secure with screws/nails: Once the glue has dried, reinforce the joints by screwing or nailing the panels together. Use screws or nails that are appropriate for woodworking, ensuring they are long enough to securely fasten the wood panels without splitting them.
- Attach bracing (if necessary): If you have included bracing in your subwoofer box design, now is the time to attach it. Measure and cut the bracing to fit within the box, then secure it in place with screws or nails.
- Seal the joints: To minimize air leaks and ensure optimal sound performance, apply sealing caulk to the joints of the subwoofer box. This will help prevent any unwanted vibrations or air leakage that can affect the bass response.
Throughout the assembly process, take your time to ensure proper alignment and a tight fit between the wood panels. Double-check the measurements and ensure that the box remains square and even. This will contribute to the overall stability and sound quality of the subwoofer box.
Once the subwoofer box is fully assembled and the caulk has dried, inspect it for any imperfections or gaps. Sand down any rough areas and ensure that the box is smooth and ready for the next step: installing the subwoofer.
Congratulations! You’re one step closer to experiencing powerful bass and incredible sound. With the subwoofer box assembled, it’s time to move on to the next step: installing the subwoofer inside the box. Get ready to unleash the audio beast!
Step 6: Install the Subwoofer Inside the Box
With the subwoofer box fully assembled, it’s time to install the subwoofer inside the box. Proper installation is essential to ensure that the subwoofer performs optimally and produces the desired bass response. Here’s how to install the subwoofer inside the box:
- Position the subwoofer: Determine the best placement for the subwoofer within the box. Consider factors such as mounting depth, clearance, and airflow. Ensure that the subwoofer is centered and aligned properly.
- Mark the screw holes: Use a pencil or marker to mark the locations of the screw holes on the wood panel that will be in contact with the subwoofer’s mounting flange or basket. These holes should align with the mounting holes on the subwoofer.
- Pre-drill screw holes: With the markings in place, use an appropriate-sized drill bit to pre-drill small pilot holes at the marked locations. Pre-drilling helps prevent the wood from splitting when inserting the screws.
- Attach the subwoofer: Place the subwoofer onto the pre-drilled holes and align it with the markings. Insert screws through the mounting holes and tighten them securely. Ensure that the subwoofer is firmly attached to the panel without any wobbling or movement.
- Double-check the wiring: Before proceeding, double-check the wiring connections on the subwoofer. Ensure that the wires are properly connected to the terminals on the subwoofer, following the manufacturer’s instructions.
- Inspect for air leaks: Inspect the edges and joints of the subwoofer box for any potential air leaks. Use your hand or a piece of tissue paper to feel for air escaping. If any leaks are detected, apply additional sealing caulk to seal them.
Properly installing the subwoofer inside the box is vital for achieving optimal sound performance. Make sure the subwoofer is securely mounted and the wiring is correctly connected to ensure a seamless audio experience.
Once the subwoofer is installed, give it a gentle shake or tap to check for any rattling or loose connections. If any issues are detected, tighten the screws, recheck the wiring, and make any necessary adjustments before proceeding.
With the subwoofer securely in place, the next step is to secure the subwoofer box inside your truck. This will ensure that the box remains stable and doesn’t shift during vehicle movements. So, let’s delve into the next step and learn how to properly secure the subwoofer box in your truck.
Step 7: Secure the Subwoofer Box in the Truck
Now that your subwoofer box is complete and the subwoofer is installed, it’s time to secure the subwoofer box in your truck. Properly securing the box will prevent it from moving or shifting during vehicle movement and ensure a stable and safe installation. Here’s how to secure the subwoofer box in your truck:
- Select a mounting location: Choose the optimal location within your truck to install the subwoofer box. Consider factors such as available space, accessibility, and the overall aesthetic impact.
- Prepare the mounting surface: Clean the mounting surface and remove any dirt, debris, or obstacles that may interfere with the box’s installation.
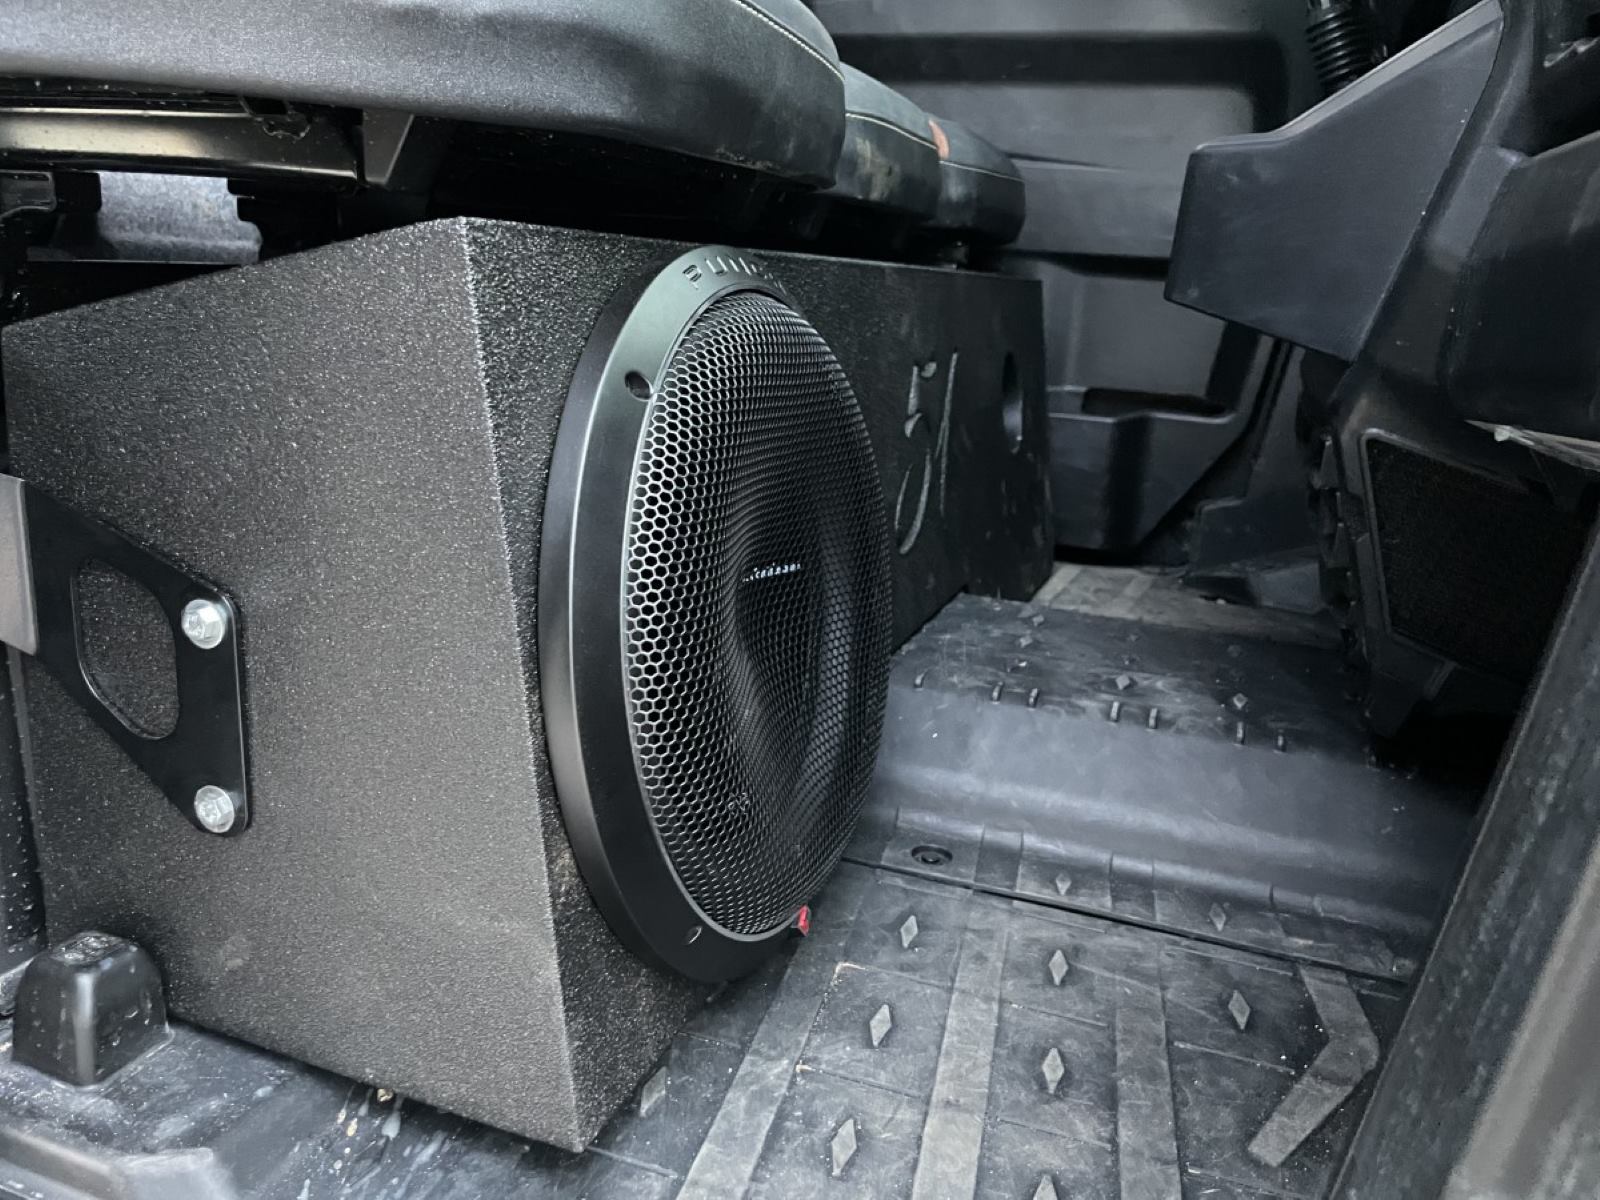
- Secure the box with brackets or straps: Depending on the available mounting options in your truck, use brackets or straps to secure the subwoofer box in place. Attach these to the box and the mounting surface of your truck, ensuring a tight and secure fit.
- Double-check stability: Once the subwoofer box is secured, give it a firm shake to check for any looseness or movement. Ensure that the box is stable and firmly mounted without any excessive vibrations or rattling.
It’s important to note that the specific mounting method will depend on your truck’s interior configuration and available attachment points. You may need to explore different options or consult a professional to find the best mounting solution for your specific vehicle.
During the installation, be cautious not to obstruct any other critical components or access points within your truck. The subwoofer box should be securely fastened while still allowing for necessary maintenance or adjustments in the future.
With the subwoofer box securely installed in your truck, you’re almost ready to start enjoying the enhanced audio experience. The final step is to connect the subwoofer to your audio system, allowing you to unleash the power of that deep, rumbling bass. So, let’s proceed to the next step and learn how to connect the subwoofer to your audio system.
Step 8: Connect the Subwoofer to the Audio System
With the subwoofer box securely installed in your truck, it’s time to connect the subwoofer to your audio system. Properly connecting the subwoofer ensures that it receives the correct signals and enables it to produce the desired bass response. Here’s how to connect the subwoofer to your audio system:
- Locate the audio system’s subwoofer output: Identify the subwoofer output on your audio system. This may be labeled as “subwoofer out” or “sub out” and is usually a dedicated RCA or speaker wire connection.
- Determine the type of connection: Depending on your audio system and subwoofer, determine the type of connection needed. Subwoofers typically use RCA or speaker wire connections.
- RCA connection: If your subwoofer has RCA input, use an RCA cable to connect the subwoofer output on your audio system to the RCA input on the subwoofer. Ensure a secure connection by firmly inserting the plugs into the corresponding jacks.
- Speaker wire connection: If your subwoofer has speaker wire input, you will need to use speaker wire to connect the subwoofer output on your audio system to the subwoofer. Strip a small portion of insulation from the ends of the speaker wires, then connect them to the corresponding terminals on the subwoofer.
- Configure the audio system settings: Access the audio system’s settings menu and configure the subwoofer settings. Adjust the subwoofer level, crossover frequency, and phase settings according to your preferences and the recommendations provided by the subwoofer manufacturer.
- Test the subwoofer: Once the connections are made and the settings are adjusted, play audio through your audio system and test the subwoofer. Listen for a balanced and powerful bass response and make any necessary fine-tuning adjustments to achieve the desired sound.
It’s important to consult the user manuals of both your audio system and subwoofer for specific instructions and recommendations regarding the connections and settings. Following the manufacturer’s guidelines will ensure optimal performance and prevent any potential damage to your audio equipment.
With the subwoofer properly connected to your audio system, you’re all set to enjoy the deep, thunderous bass that will enhance your in-vehicle audio experience. Sit back, relax, and immerse yourself in the rich and powerful sound as you hit the road.
Congratulations on successfully building and installing your own custom truck subwoofer box! By following the step-by-step process outlined in this guide, you’ve taken your audio system to the next level and created a setup that will elevate your music enjoyment on the go.
Remember to periodically check the subwoofer box for any signs of wear or damage, and make adjustments as necessary. Regular maintenance will ensure that your subwoofer box continues to perform at its best for years to come.
Now, turn up the volume and feel the bass. Happy listening!
Conclusion
Congratulations on completing the journey of building and installing your very own custom truck subwoofer box! By following the step-by-step guide outlined in this article, you have not only gained valuable knowledge but also created a setup that will elevate your in-vehicle audio experience to new heights.
A properly constructed subwoofer box enhances the low-frequency response of your audio system and improves the overall sound quality. With careful measurements, thoughtful design, precise cuts, and secure installation, you have created a subwoofer box that seamlessly integrates into your truck’s interior while delivering powerful and impactful bass.
Remember to regularly check your subwoofer box for any signs of wear or damage and perform necessary maintenance to keep it in top condition. This will ensure that you continue to enjoy the full potential of your custom subwoofer setup for years to come.
As you hit the road, be prepared to experience the thrill of deep, rumbling bass that will bring your music to life. Immerse yourself in the rich and dynamic sound that fills your cabin and enhances every driving journey.
Building a truck subwoofer box is not only a fun and rewarding DIY project, but it also allows you to customize your audio system to suit your specific needs and preferences. The knowledge and skills you have gained throughout this process can be applied to future projects and further enhance your audio expertise.
So, sit back, relax, and indulge yourself in the immersive audio experience that your custom truck subwoofer box has created. Feel the vibrations, embrace the power, and enjoy the music as it was meant to be heard.
Thank you for joining us on this subwoofer journey. Happy listening!

