Home>Devices & Equipment>Subwoofer>How To Make Plexiglass Subwoofer Box
Subwoofer
How To Make Plexiglass Subwoofer Box
Modified: January 22, 2024
Learn how to make a sturdy subwoofer box using plexiglass, perfect for enhancing your sound system. Follow our step-by-step guide to build the best subwoofer enclosure.
(Many of the links in this article redirect to a specific reviewed product. Your purchase of these products through affiliate links helps to generate commission for AudioLover.com, at no extra cost. Learn more)
Table of Contents
Introduction
Welcome to the world of bass! If you’re a fan of deep, rumbling low frequencies that can shake the ground beneath your feet, then you understand the importance of a quality subwoofer. While there are many subwoofer options available on the market, building your own subwoofer box can give you more control over the sound and performance.
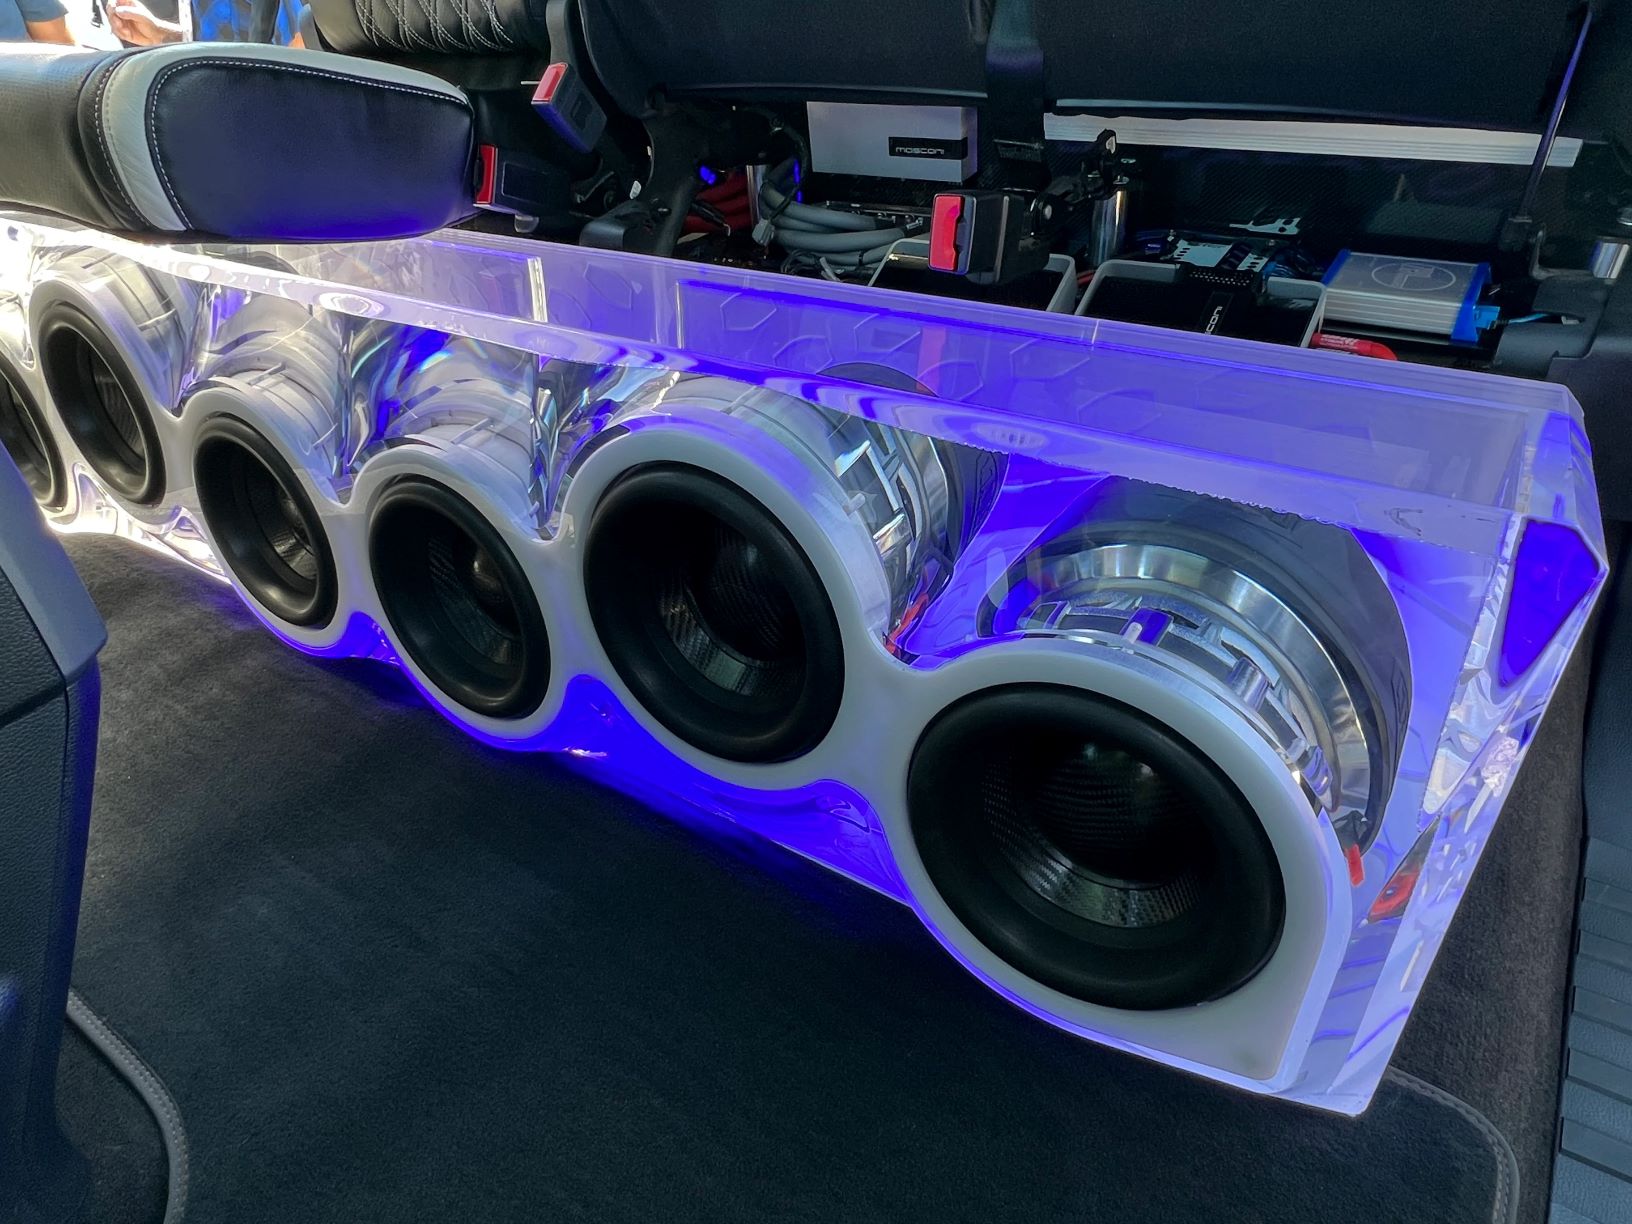
In this article, we will guide you through the process of making a plexiglass subwoofer box. Plexiglass is an excellent material choice for a subwoofer box as it is durable, lightweight, and allows for a visually appealing design.
Whether you’re an audio enthusiast looking to improve the sound quality in your car or a DIY enthusiast eager to showcase your skills, this step-by-step guide will help you create a custom plexiglass subwoofer box that not only enhances the audio experience but also adds a touch of style to your vehicle or home audio setup.
Before we dive into the details, let’s take a look at the materials you’ll need for this project.
Materials Needed
Before you get started, gather the following materials:
- Plexiglass sheets – Choose a thickness between 1/2 inch to 1 inch, depending on the size and power of your subwoofer.
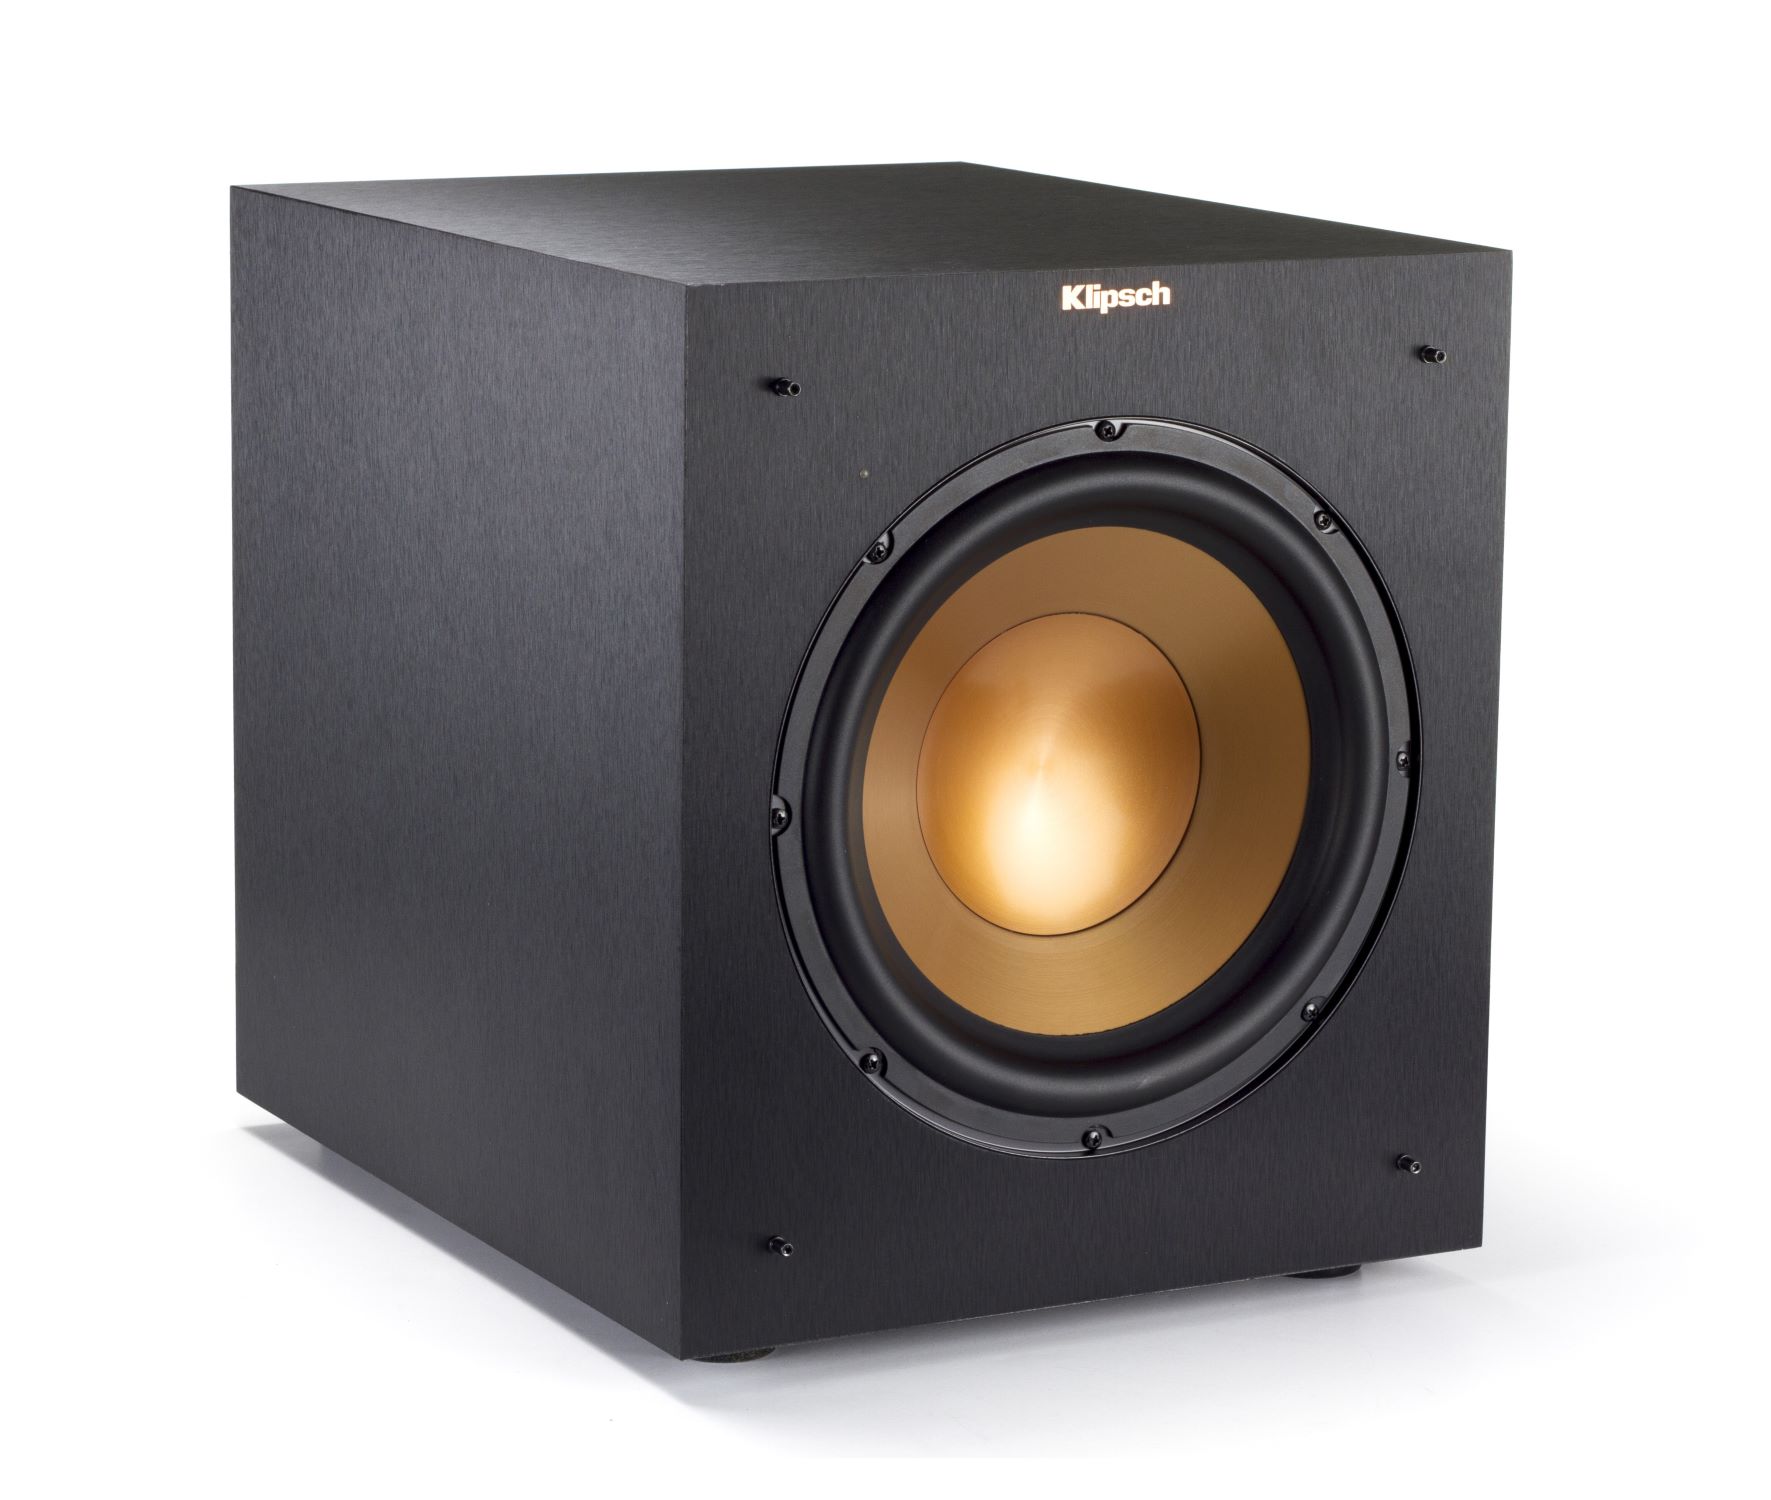
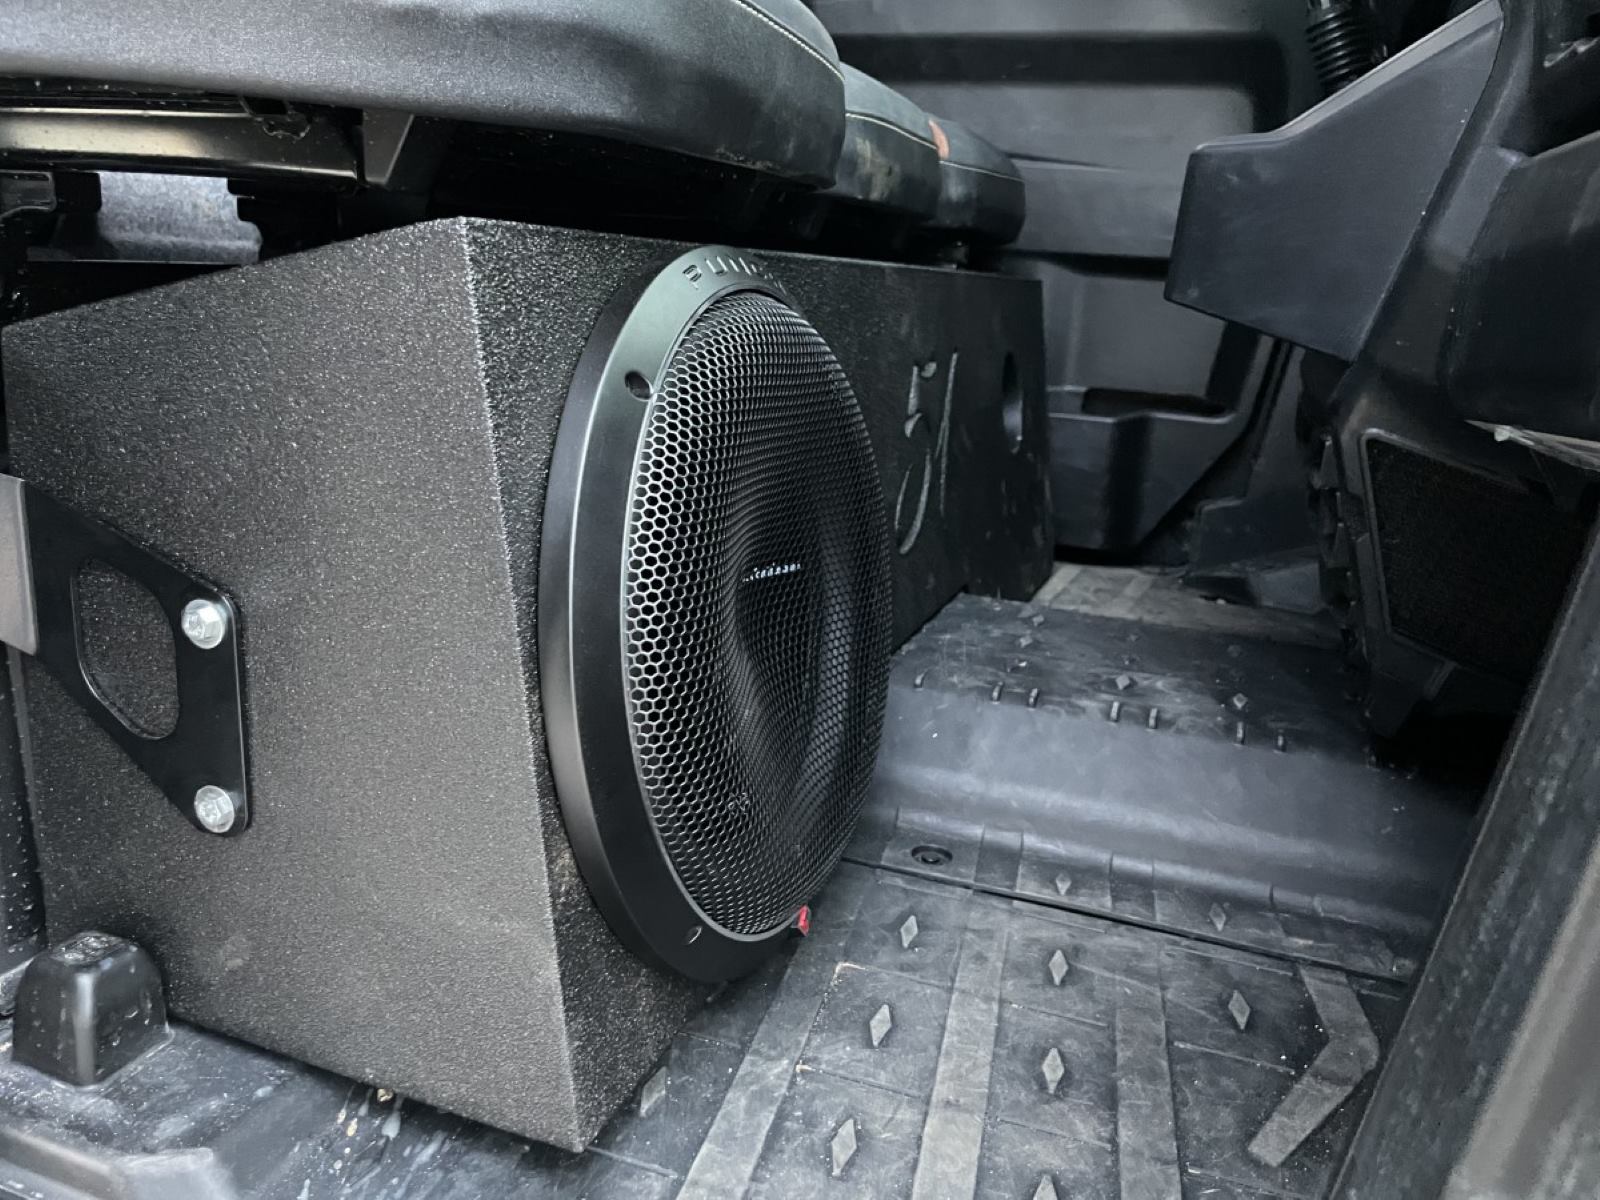
- Subwoofer – Select a subwoofer that fits your desired specifications and power handling.
- Measuring tape – Essential for taking accurate measurements of your subwoofer and the space where you plan to install it.
- Saw or CNC machine – To cut the plexiglass sheets to the appropriate size.
- Sandpaper – Used to smooth the edges of the plexiglass and provide a clean finish.
- Adhesive – Choose a strong adhesive that bonds well with plexiglass, such as acrylic cement or epoxy.
- Clamps – These will help hold the plexiglass pieces together while the adhesive dries.
- Silicone sealant – Used to seal the edges of the subwoofer box and prevent air leaks.
- Drill – Required for creating holes for mounting the subwoofer and wiring.
- Screws or bolts – Depending on your subwoofer’s mounting requirements, choose the appropriate hardware to secure it in place.
- Screwdriver or wrench – To tighten the screws or bolts.
Having these materials on hand will ensure a smooth and successful subwoofer box building process. Now that you’ve gathered everything you need, let’s move on to the first step – taking measurements.
Step 1: Taking Measurements
Accurate measurements are crucial to ensure that your plexiglass subwoofer box will fit perfectly and provide optimal sound performance. Follow these steps to take precise measurements:
- Measure the subwoofer dimensions: Start by measuring the length, width, and height of your subwoofer. Use a measuring tape to get the exact measurements. Note down these dimensions as they will determine the size of your subwoofer box.
- Determine the internal box dimensions: To calculate the internal dimensions of the subwoofer box, you need to account for the thickness of the plexiglass sheets. Subtract double the plexiglass thickness from each of the subwoofer dimensions. This will provide enough space to accommodate the thickness of the plexiglass and ensure a snug fit.
- Consider the subwoofer specifications: Check the subwoofer’s manual or specifications sheet for any additional requirements regarding box volume or port size. These specifications will help you design a box that is optimized for your specific subwoofer model.
- Measure the mounting depth: Measure the distance from the mounting surface to the furthest point on the subwoofer’s back. This measurement will determine how deep the box needs to be to accommodate the subwoofer installation.
- Check for space limitations: Take into account any space limitations in your vehicle or audio setup. Consider the available area and ensure that the subwoofer box will fit comfortably without obstructing other components or causing any interference.
Remember to double-check your measurements to avoid any errors. It’s always better to be precise at this stage to avoid potential issues during the assembly process. With your measurements in hand, you’re ready to move on to the next step – cutting the plexiglass sheets.
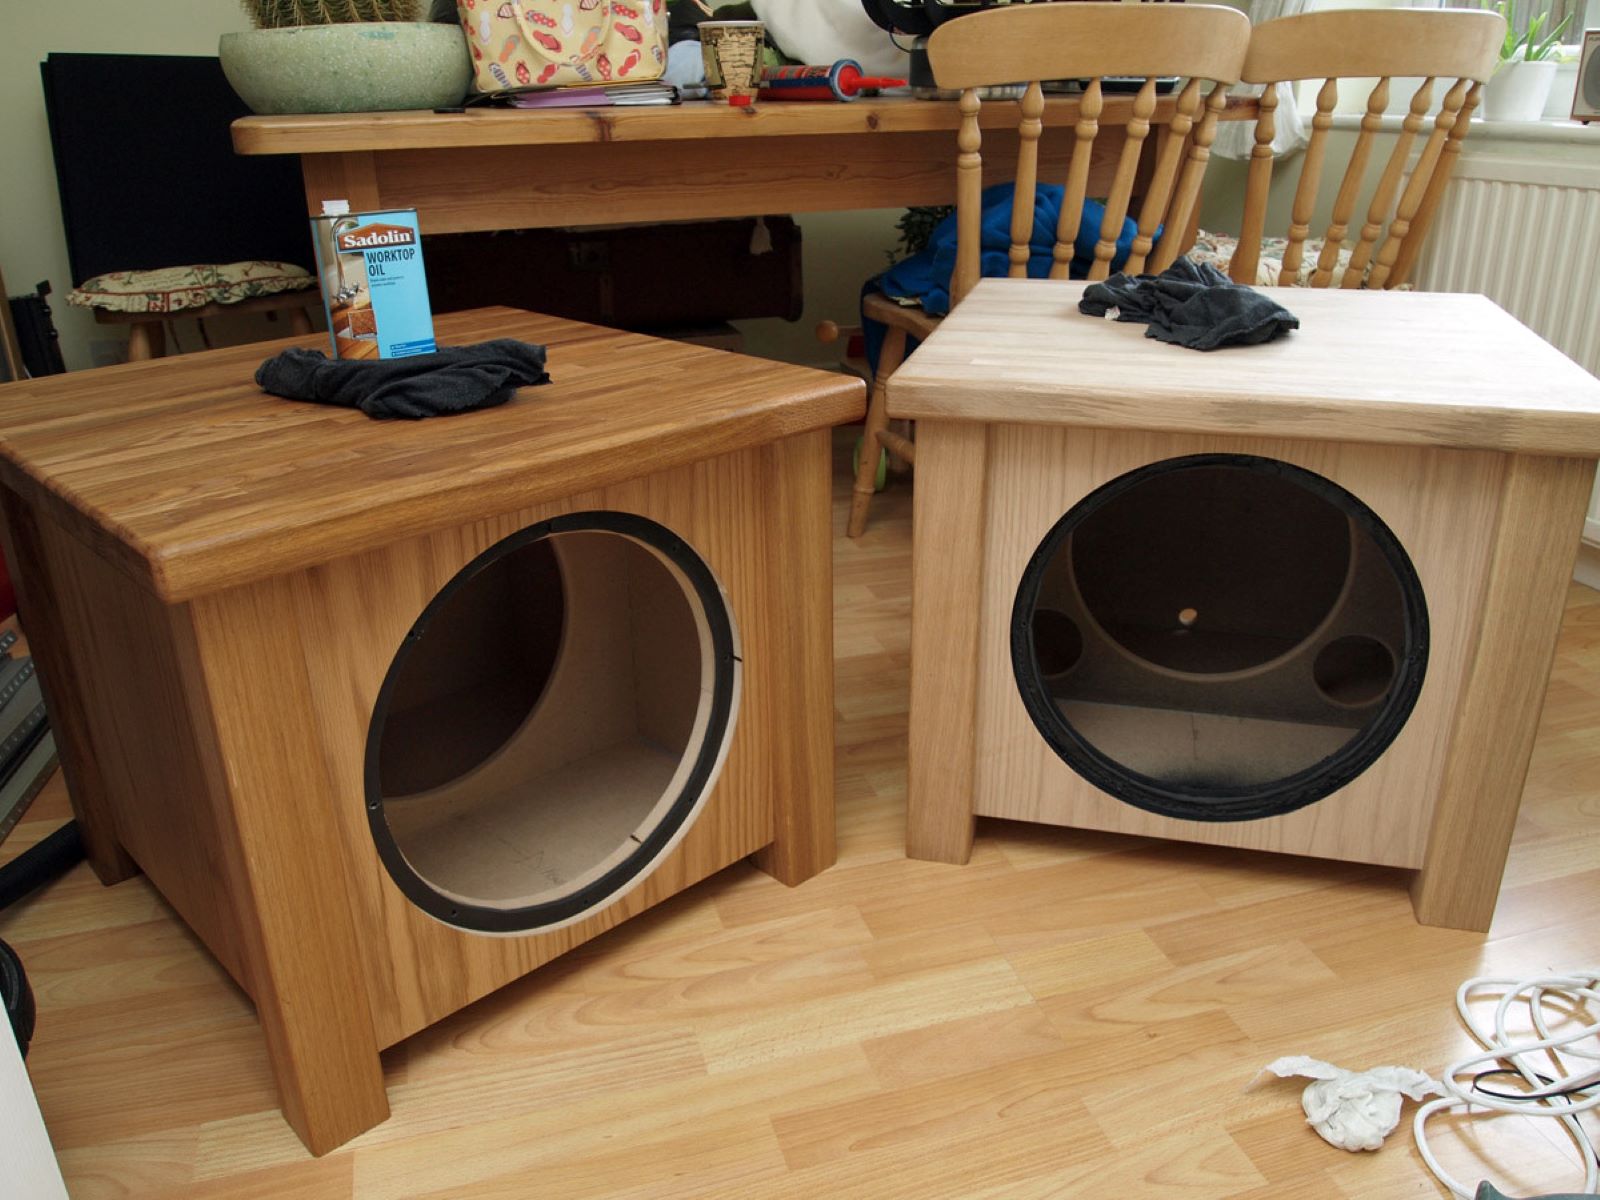
Step 2: Cutting Plexiglass
Now that you have the measurements for your subwoofer box, it’s time to cut the plexiglass sheets to the appropriate size. Follow these steps for accurate and clean cuts:
- Prepare your workspace: Find a clean and well-lit area to work in. Place a protective covering, such as a drop cloth or cardboard, on your work surface to prevent any damage to the plexiglass.
- Mark the measurements: Using a marker or tape, mark the dimensions of each piece of the subwoofer box on the plexiglass sheets. Double-check these measurements to ensure precision.
- Cut the plexiglass: There are different methods you can use to cut plexiglass, such as using a saw or a CNC machine. If using a saw, use a fine-toothed blade specifically designed for cutting plexiglass. Slowly and carefully cut along the marked lines. If using a CNC machine, import the measurements into the software and follow the machine’s instructions for cutting.
- Smooth the edges: After cutting, the edges of the plexiglass may be sharp. Use sandpaper to smooth the edges and create a clean, polished finish. Start with rough sandpaper to remove any rough edges, and then move to finer-grit sandpaper for a smoother finish.
- Wipe clean: Once you have finished cutting and sanding, wipe off any dust or debris from the plexiglass sheets using a clean cloth. This will ensure proper bonding during the assembly process.
Remember to take your time and be cautious when cutting the plexiglass. Precision is key to ensure that the pieces fit together perfectly. With the plexiglass sheets cut to size, you’re ready to move on to the next step – preparing and assembling the subwoofer box.
Step 3: Preparing and Assembling the Box
With the plexiglass sheets cut to size, you’re now ready to prepare and assemble the subwoofer box. Follow these steps to ensure a proper and secure assembly:
- Prepare the surfaces: Before applying adhesive, ensure that the surfaces of the plexiglass sheets are clean and free from any dust or debris. Use a clean cloth to wipe them down thoroughly.
- Apply adhesive: Apply a thin layer of adhesive, such as acrylic cement or epoxy, to one of the edges of a plexiglass sheet. Be careful not to use too much adhesive, as it can create messy joints or cause the plexiglass to deform.
- Join the pieces: Carefully align and press the adhesive-coated edge of one plexiglass sheet against the corresponding edge of another sheet. Hold the pieces together firmly for a few minutes to allow the adhesive to bond properly.
- Clamp the pieces: Once the pieces are aligned, use clamps to secure them in place while the adhesive dries. Place the clamps strategically along the edges of the subwoofer box to ensure even pressure distribution.
- Repeat the process: Continue applying adhesive, joining the remaining plexiglass sheets, and clamping them together until all the pieces are assembled to form the subwoofer box.
- Allow for drying time: Follow the manufacturer’s instructions regarding the drying time of the adhesive. It’s recommended to leave the clamps on for the recommended time to ensure a strong bond.
Remember to work slowly and carefully when applying adhesive and joining the plexiglass sheets. Allow sufficient time for the adhesive to dry before moving on to the next steps. Once the adhesive is dry and the subwoofer box is securely assembled, you can proceed to the next step – sealing the edges.
Step 4: Sealing the Edges
Sealing the edges of your plexiglass subwoofer box is essential to prevent any air leaks and ensure optimal bass performance. Follow these steps to properly seal the edges:
- Clean the edges: Use a clean cloth and a mild cleaner to wipe down the edges of the subwoofer box and remove any dirt or residue. This will help ensure a clean and effective seal.
- Apply silicone sealant: Apply a bead of silicone sealant along the inner edges of the subwoofer box. This will create a watertight and airtight seal. Be sure to use a silicone sealant that is compatible with plexiglass and suitable for audio applications.
- Smooth the sealant: Use a small brush or your finger, dipped in water, to smooth the silicone sealant along the edges. This will create a neater and more professional finish.
- Allow for drying time: Follow the manufacturer’s instructions regarding the drying time of the silicone sealant. Give it enough time to fully cure and create a solid seal.
- Inspect for any gaps: Once the sealant is dry, carefully inspect the edges of the subwoofer box for any gaps or areas that may not be adequately sealed. Apply additional sealant if necessary to ensure a complete seal.
Properly sealing the edges of your plexiglass subwoofer box will prevent any unwanted air leakage, which can compromise the sound quality and overall performance of your subwoofer. With the edges sealed, you’re ready for the final step – installing the subwoofer.
Step 5: Installing the Subwoofer
The final step in building your plexiglass subwoofer box is to install the subwoofer itself. Follow these steps to securely install your subwoofer:
- Choose the mounting location: Decide on the appropriate location inside your vehicle or audio setup to install the subwoofer. Ensure that there is enough space and clearance for the subwoofer to fit comfortably.
- Mark the mounting holes: Place the subwoofer on the desired location inside the subwoofer box. Use a marker or pen to mark the mounting holes on the plexiglass.
- Drill the mounting holes: Use a drill with a drill bit that matches the diameter of your mounting screws or bolts. Carefully drill the marked holes in the plexiglass, taking care not to crack or damage the material. Remove any sharp edges or debris resulting from drilling.
- Insert the subwoofer: Align the mounting holes on the subwoofer with the drilled holes on the plexiglass. Insert the mounting screws or bolts through the holes and tighten them securely using a screwdriver or wrench.
- Connect the wiring: Depending on your audio setup, you may need to connect the wiring to the subwoofer. Follow the manufacturer’s instructions for wiring the subwoofer correctly. Ensure all connections are secure and well-insulated.
- Test the subwoofer: Before fully sealing the subwoofer box, test the subwoofer to ensure it is functioning correctly. Play some audio with strong bass and listen for any distortions or vibrations. Make any necessary adjustments or fine-tuning.
Once you have successfully installed the subwoofer, you can proceed to fully seal the subwoofer box and enjoy the enhanced bass and audio experience it provides. Congratulations on building your custom plexiglass subwoofer box!
Conclusion
Congratulations on successfully building your own plexiglass subwoofer box! By following the steps outlined in this guide, you have created a custom subwoofer enclosure that not only enhances the sound quality but also adds a touch of style to your audio setup.
Remember, the key to a well-performing subwoofer box is accurate measurements, precise cuts, secure assembly, sealed edges, and proper subwoofer installation. Taking the time and effort to build your own subwoofer box allows you to optimize the performance according to your specific needs and preferences.
With your plexiglass subwoofer box in place, prepare to be immersed in powerful bass that brings your favorite music to life. Be sure to adjust the subwoofer settings and fine-tune the sound according to your preferences for the best audio experience.
We hope this guide has been informative and helpful in your subwoofer box building journey. Enjoy the deep, rumbling bass and the satisfaction of creating something with your own hands. Happy listening!