Home>Devices & Equipment>Subwoofer>How To Secure Subwoofer Box In Trunk
Subwoofer
How To Secure Subwoofer Box In Trunk
Published: January 22, 2024
Learn how to securely install a subwoofer box in your trunk with our step-by-step guide. Ensure the safety of your subwoofer while enjoying powerful bass on the road.
(Many of the links in this article redirect to a specific reviewed product. Your purchase of these products through affiliate links helps to generate commission for AudioLover.com, at no extra cost. Learn more)
Table of Contents
- Introduction
- Step 1: Assess Your Trunk Space
- Step 2: Choose the Right Subwoofer Box
- Step 3: Measure and Prepare the Trunk
- Step 4: Install Foam or Rubber Padding
- Step 5: Secure the Subwoofer Box with Straps or Bungee Cords
- Step 6: Attach Additional Security Measures (Optional)
- Step 7: Test the Security of the Subwoofer Box
- Step 8: Regularly Inspect and Maintain the Installation
- Conclusion
Introduction
Welcome to the world of subwoofers! If you’re a music enthusiast or a car audio aficionado, you probably know how important a subwoofer is in achieving that deep, powerful bass that can transform your listening experience. However, once you have selected the perfect subwoofer for your vehicle, the next step is to secure it properly in your trunk to prevent any potential damage or accidents.
Securing a subwoofer box in your trunk is crucial for a variety of reasons. Not only does it protect your investment, but it also ensures the safety of you and your passengers while driving. A loose or unstable subwoofer box can not only create distracting rattling noises, but it could potentially become a dangerous projectile in the event of a sudden stop or collision.
In this article, we will walk you through a step-by-step guide on how to securely install your subwoofer box in your trunk. From measuring and preparing the trunk space to using straps or bungee cords to secure the subwoofer box, we will cover all the essential tips and techniques to keep your subwoofer safe and sound.
Whether you are a seasoned car audio enthusiast or a newbie in the world of subwoofers, this article will provide you with the knowledge and guidance you need to ensure the proper installation and securement of your subwoofer box. So, let’s dive in and get started on making sure your subwoofer stays in place, delivering that booming bass you love!
Step 1: Assess Your Trunk Space
The first step in securing your subwoofer box in the trunk is to assess the available space. Trunk sizes can vary greatly depending on the make and model of your vehicle, so it’s essential to determine how much space you have to work with.
Start by removing any items or debris from your trunk to get a clear view of the space. Take measurements of the width, height, and depth of the trunk to have an accurate understanding of the available space for the subwoofer box.
Consider the shape and layout of your trunk as well. Some trunks may have irregular shapes or obstructions such as spare tires or battery compartments. Take note of these obstacles, as they may affect the positioning and installation of the subwoofer box.
Assessing your trunk space will also help you determine the size and type of subwoofer box that will fit best. There are different types of subwoofer boxes, including sealed, ported, and bandpass enclosures. Each type has its own advantages and space requirements.
Additionally, it’s important to consider the weight and dimensions of the subwoofer box. Some subwoofer boxes can be quite heavy, so you need to ensure that your trunk’s weight capacity can handle the additional load.
By thoroughly assessing your trunk space, you’ll have a clear idea of the limitations and possibilities for securely mounting your subwoofer box. This will allow you to make informed decisions throughout the installation process and ensure a proper fit that maximizes both sound quality and safety.
Step 2: Choose the Right Subwoofer Box
Choosing the right subwoofer box is crucial for achieving optimal sound performance and ensuring a secure installation in your trunk. There are various types of subwoofer boxes available, each with its own characteristics and benefits. Here are the main types:
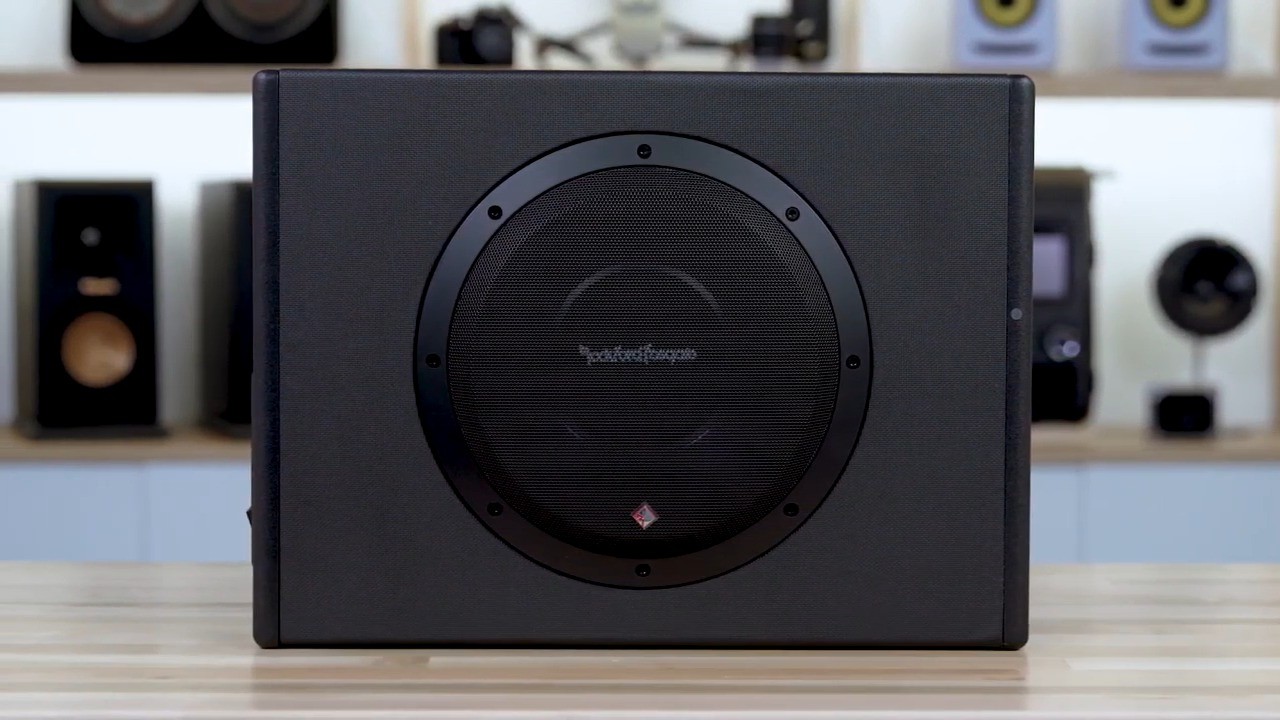
- Sealed Enclosure: These subwoofer boxes are airtight and provide precise and accurate bass reproduction. They are ideal for producing tight and controlled bass. Sealed enclosures are generally smaller in size, making them suitable for vehicles with limited trunk space.
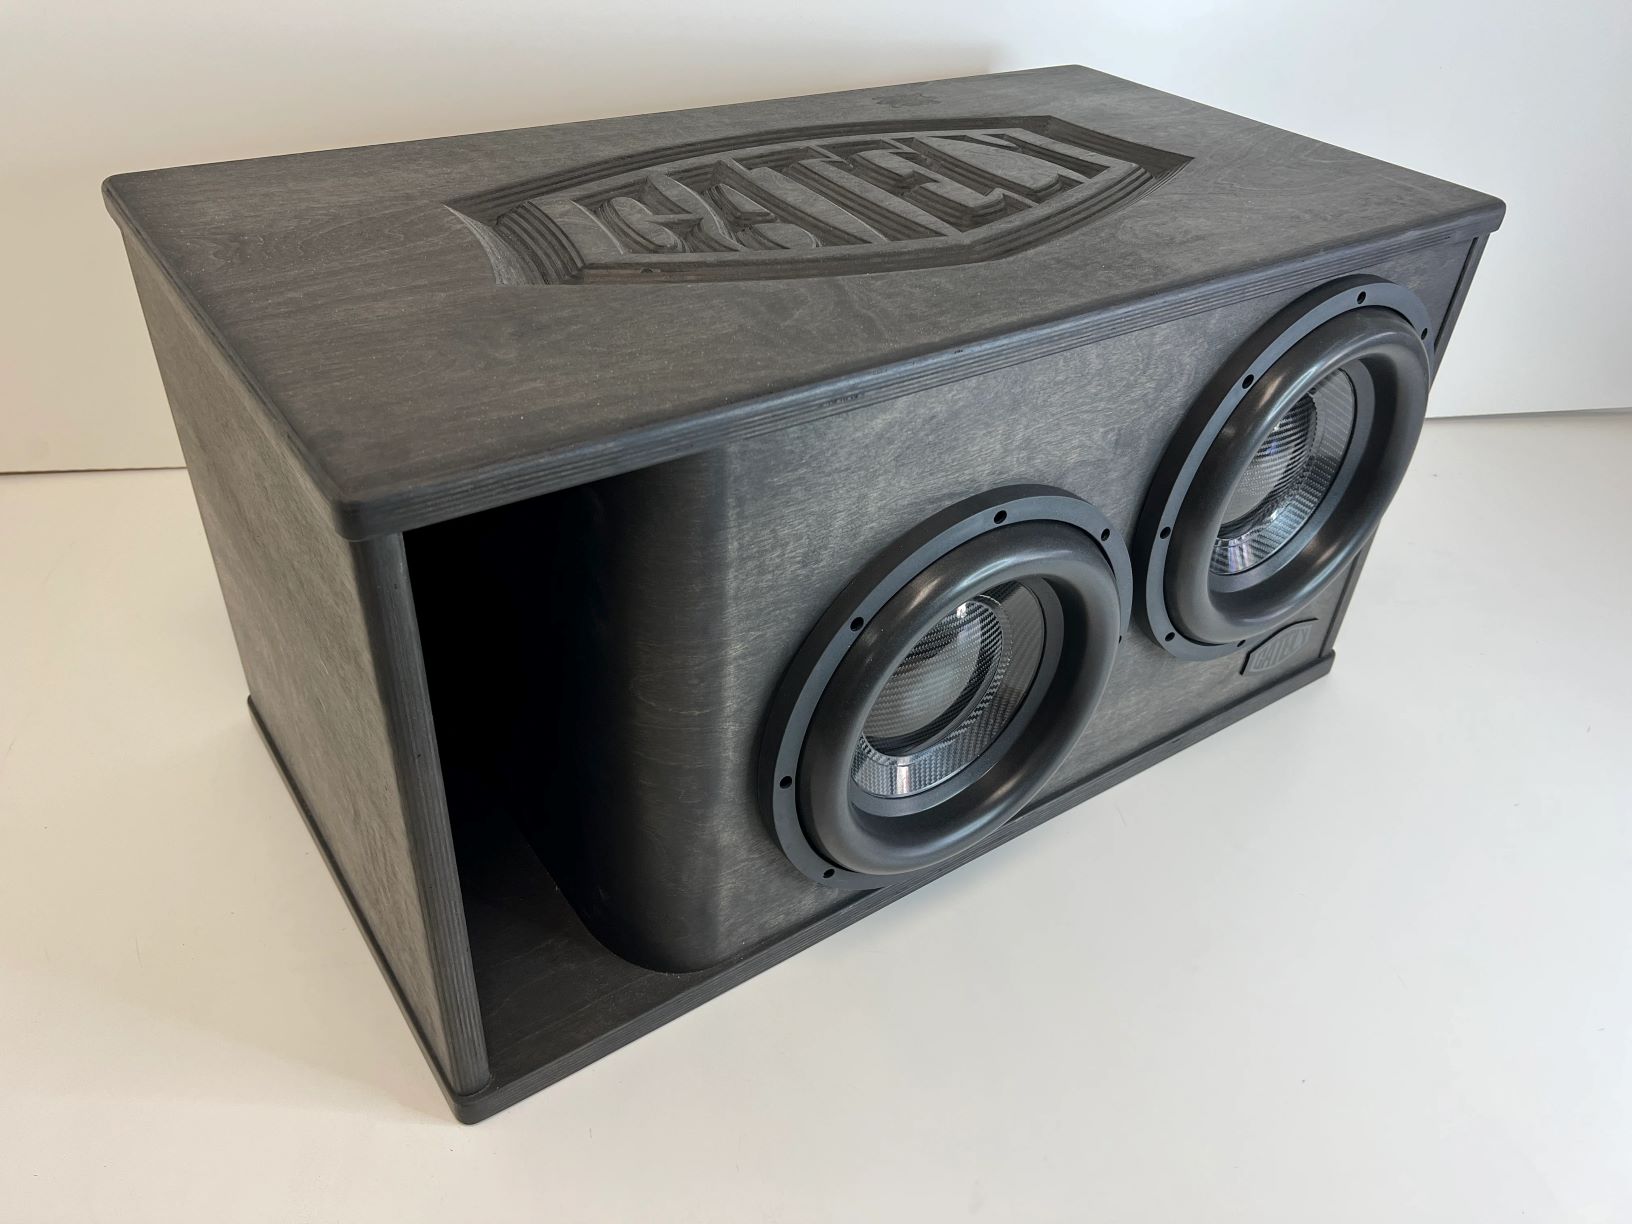
- Ported Enclosure: Ported subwoofer boxes have a vent or port that allows air to flow in and out. This design enhances low-frequency output and can produce louder and deeper bass compared to sealed enclosures. However, ported enclosures require more trunk space due to their larger size and the need for proper venting.
- Bandpass Enclosure: Bandpass enclosures feature two chambers – one sealed and one ported. They are designed to maximize the efficiency of a subwoofer’s output by filtering and boosting specific frequencies. Bandpass enclosures provide a combination of increased volume and deep bass, but they are larger and more complex to construct.
Consider the type of sound you prefer and the available trunk space when choosing a subwoofer box. If you prioritize precise and tight bass, a sealed enclosure may be suitable. For those seeking louder and deeper bass, a ported or bandpass enclosure could be the better choice.
Additionally, ensure that the subwoofer box is compatible with your subwoofer’s specifications, including the size, power handling, and mounting requirements. It’s important to select a subwoofer box that complements your subwoofer’s capabilities to achieve optimum sound quality.
Take your time to research and read reviews to find the right subwoofer box for your specific needs and preferences. Remember, choosing the right subwoofer box is essential for both audio performance and the secure installation of your subwoofer in the trunk.
Step 3: Measure and Prepare the Trunk
Once you have chosen the right subwoofer box, it’s time to measure and prepare your trunk for installation. This step ensures that the subwoofer box fits securely and allows for proper connections and wiring.
Start by measuring the dimensions of the subwoofer box and comparing them to the available trunk space. Use a tape measure to measure the width, height, and depth of the trunk, taking into account any obstructions or irregularities in the shape.
Next, clear out any debris or items from the trunk to create a clean and spacious area for the installation. Remove any trunk liners or carpeting that may need to be temporarily removed to access the trunk floor.
Inspect the trunk floor for any rust, damage, or sharp edges that could potentially damage the subwoofer box or wiring. If necessary, address any issues before proceeding with the installation.
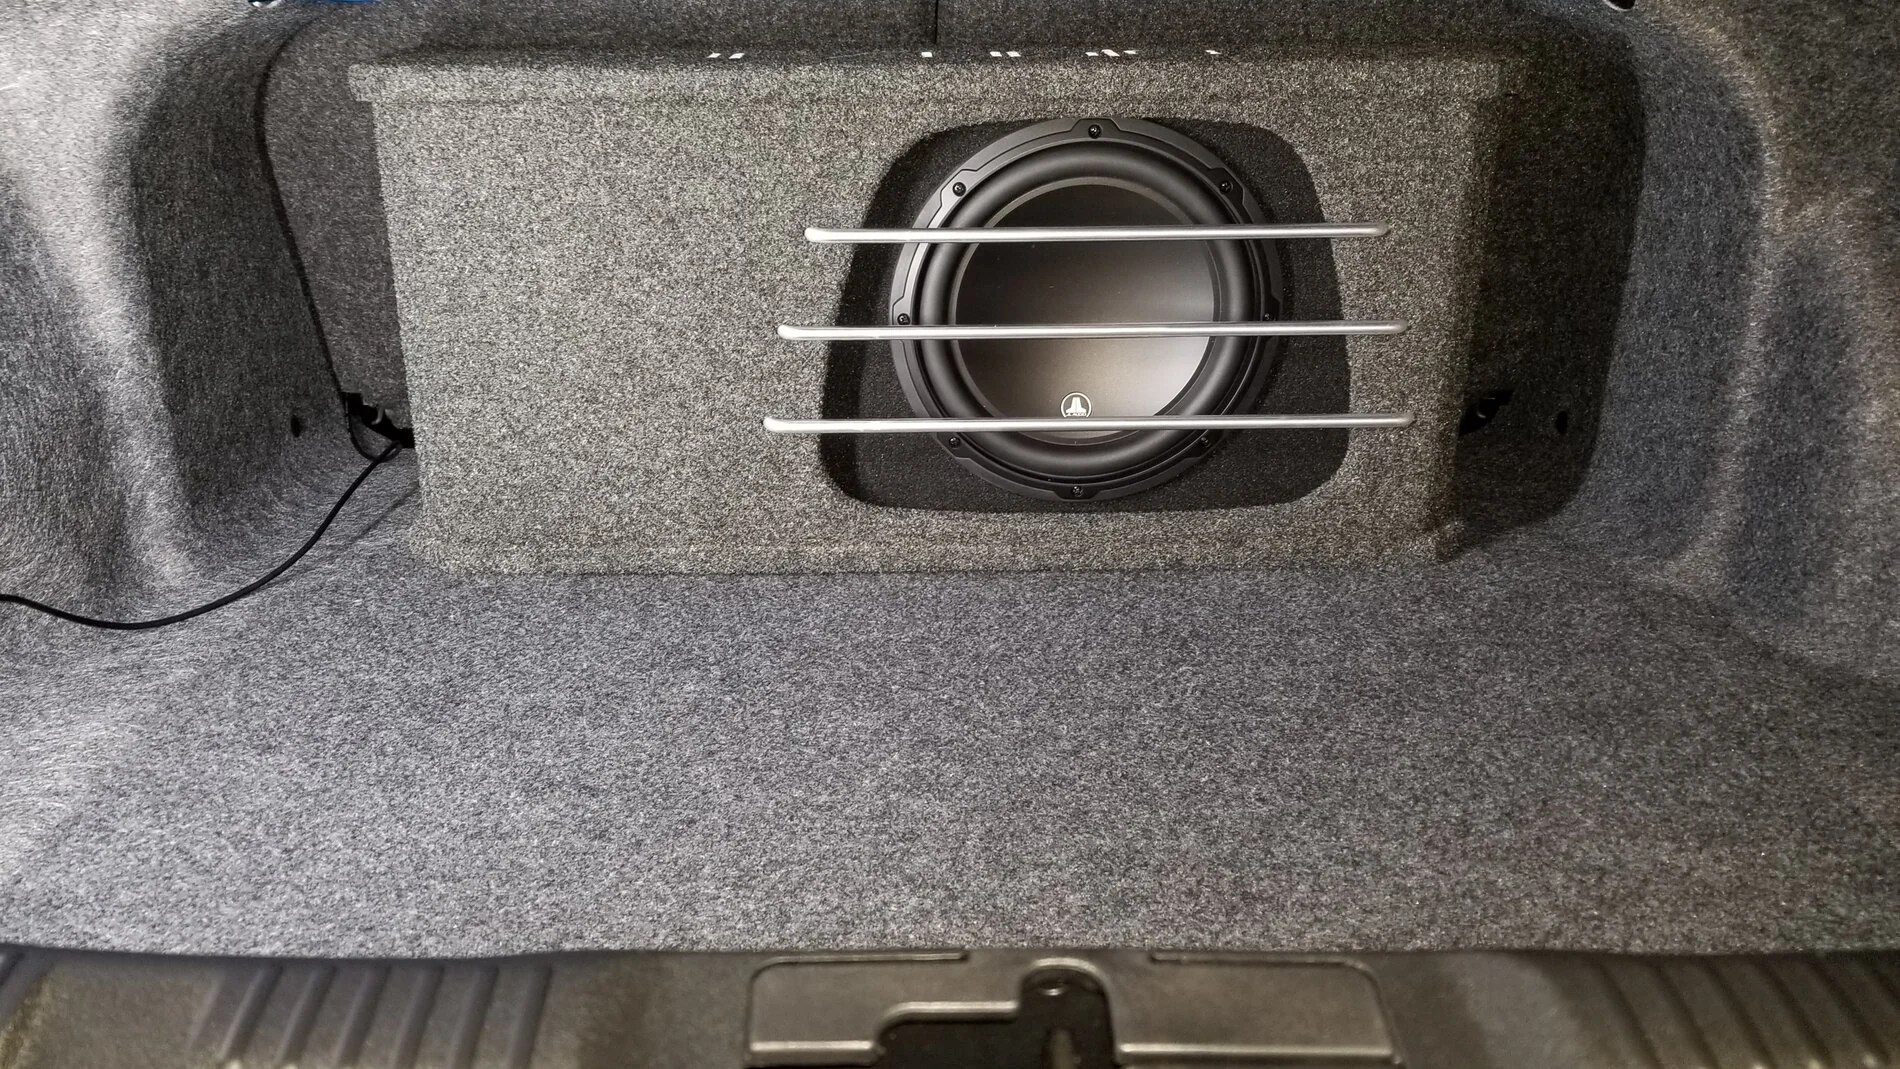
Consider the position of the subwoofer box within the trunk. To achieve optimal sound quality, it is generally recommended to place the subwoofer box closer to the back of the vehicle. This allows for better bass projection and prevents sound waves from canceling each other out when interacting with the trunk’s walls.
Additionally, ensure that the subwoofer box is positioned securely and does not block any access points or interfere with the operation of your vehicle. Consider factors such as the folding or removal of rear seats, access to the spare tire, or any other functionality that may be affected by the installation.
By carefully measuring and preparing your trunk, you create a solid foundation for the secure and efficient installation of your subwoofer box. This step ensures a proper fit, prevents any potential damage, and allows for easy access to connect and wire your subwoofer.
Step 4: Install Foam or Rubber Padding
Installing foam or rubber padding is an important step in securing your subwoofer box and preventing any unwanted movement or vibrations. The padding acts as a cushion and helps absorb shocks and vibrations that may occur while driving.
Start by selecting a high-quality foam or rubber padding that is suitable for automotive use. Look for padding specifically designed to reduce vibrations and provide insulation. Foam padding with adhesive backing is often the most convenient option, as it can be easily positioned and secured in the trunk.
Cut the padding into strips or pieces that fit the bottom and sides of the trunk area where the subwoofer box will be placed. Ensure that the padding covers the entire surface that will be in contact with the subwoofer box.
Before attaching the foam or rubber padding, clean the trunk surface thoroughly to remove any dirt or debris. This ensures better adhesion and a more secure attachment.
Once the trunk surface is clean, peel off the adhesive backing from the foam or rubber padding and press it firmly onto the trunk area. Make sure the padding is securely attached and there are no air bubbles or gaps.
When positioning the padding, pay attention to any obstructions or irregularities in the trunk that may affect the fit of the subwoofer box. It’s important to create a flat and even surface to support the subwoofer box properly.
The foam or rubber padding acts as a cushion and helps dampen vibrations, reducing the chances of any audible rattling noise. It also provides a level of protection against potential scratches or damage to both the subwoofer box and the trunk surface.
By installing foam or rubber padding, you create a stable and vibration-resistant base for your subwoofer box, ensuring a more enjoyable and secure listening experience while driving.
Step 5: Secure the Subwoofer Box with Straps or Bungee Cords
Securing the subwoofer box in the trunk is crucial to prevent it from moving around while driving. Using straps or bungee cords is an effective way to keep the subwoofer box in place and minimize any potential damage or safety hazards.
Start by placing the subwoofer box in the desired position in the trunk, ensuring it is centered and aligned. Wrap the straps or bungee cords around the subwoofer box, making sure they are snug but not overly tight. Avoid placing excessive pressure on the subwoofer box, as this can distort the sound quality.
Attach the ends of the straps or bungee cords to secure anchor points within the trunk. Look for sturdy points such as tie-downs, hooks, or metal brackets that are capable of withstanding the tension of the straps or bungee cords.
When attaching the straps or bungee cords, ensure that they are secure and will not come loose during normal driving conditions or sudden stops. Double-check the tightness and adjust as needed.
It’s important to distribute the tension evenly across the subwoofer box to maintain stability. Avoid concentrating the tension on one side, as this can cause the subwoofer box to shift or tilt, especially during sharp turns or quick maneuvers.
Additionally, make sure that the straps or bungee cords do not interfere with any wiring or connections for the subwoofer. Keep them clear of any sensitive components to avoid damaging the subwoofer or causing electrical issues.
By securely fastening the subwoofer box with straps or bungee cords, you ensure that it remains in place while you’re on the road. This reduces the risk of damage to both the subwoofer box and your vehicle, while also preventing any potential distractions or safety hazards caused by a loose subwoofer box.
Step 6: Attach Additional Security Measures (Optional)
In addition to using straps or bungee cords, you may choose to attach additional security measures to further enhance the stability and protection of your subwoofer box in the trunk. While not always necessary, these measures can provide extra peace of mind and ensure a secure installation.
One option is using hook and loop fasteners, such as Velcro, to secure the subwoofer box. Attach one side of the fastener to the trunk floor or trunk liner, and the corresponding side to the bottom of the subwoofer box. The hook and loop fasteners create a strong bond that helps keep the subwoofer box in place.
An alternative option is using heavy-duty adhesive pads or strips. These adhesive pads can be attached to both the trunk floor and the bottom of the subwoofer box, creating a strong and permanent bond. Ensure that the adhesive pads are high-quality and suitable for automotive use.
Additionally, you can utilize metal brackets or L-brackets to secure the subwoofer box to the trunk walls or floor. These brackets provide added support and prevent any movement or shifting of the subwoofer box during vehicle motion.
When attaching additional security measures, make sure they do not interfere with the functionality of your vehicle or impede access to any essential components or features. Consider any wiring or cables that may need to be routed around the security measures to maintain proper connections.
It’s essential to strike a balance between securing the subwoofer box and maintaining the integrity of the trunk space. Avoid making permanent modifications that may be difficult to reverse or could devalue your vehicle.
Ultimately, the decision to attach additional security measures is optional and depends on your specific needs and preferences. Assess the stability of the subwoofer box after implementing the previous steps and consider adding extra measures if you feel it is necessary for a more secure installation.
Step 7: Test the Security of the Subwoofer Box
After completing the installation and securing process, it’s important to thoroughly test the security of the subwoofer box in your trunk. This step ensures that the subwoofer box remains stable and securely in place during normal driving conditions.
Start by gently shaking and rocking the subwoofer box to simulate the motion it may experience while driving. Pay attention to any excessive movement or shifting. If you notice any instability, go back and check the tightness of the straps, bungee cords, or any additional security measures. Make any necessary adjustments to ensure a secure and stable installation.
While testing the security, also listen for any rattling or vibrating noises coming from the subwoofer box. These noises could indicate that the box is not tightly secured. If you hear any unusual sounds, investigate the source and address it accordingly. You may need to add more padding or adjust the positioning of the subwoofer box.
Take your vehicle for a test drive, paying attention to the performance of the subwoofer box. Assess whether the bass remains consistent and the subwoofer box remains secured even during turns, sudden stops, or bumpy roads. If you notice any issues, return to the installation process and make the necessary adjustments.
It’s crucial to test the security of the subwoofer box in various driving scenarios. Different road conditions and driving styles can impact the stability of the installation. Ensure that the subwoofer box remains securely in place even during dynamic driving situations.
Regularly re-test the security of the subwoofer box to check for any potential loosening or changes over time. Continuous monitoring and maintenance of the installation will help prevent any issues and ensure the long-term safety and performance of your subwoofer system.
By thoroughly testing the security of the subwoofer box, you can have confidence that your installation is stable and safe. This step provides peace of mind and allows you to fully enjoy the powerful bass and immersive audio experience that your subwoofer brings to your driving journey.
Step 8: Regularly Inspect and Maintain the Installation
Once you have successfully installed and secured your subwoofer box in the trunk, it’s important to regularly inspect and maintain the installation to ensure its long-term integrity and performance. By following these maintenance practices, you can prevent any potential issues and enjoy optimal sound quality.
First, visually inspect the subwoofer box and its attachments periodically. Look for any signs of wear, damage, or loose connections. Check the straps, bungee cords, or any additional security measures for any signs of fraying, stretching, or weakening. Replace any worn-out or damaged components promptly.
Listen for any changes in sound quality or noticeable rattling noises coming from the subwoofer box. These may indicate a need for readjustment or additional padding to reduce vibrations and ensure a tight fit. Address any sound-related issues promptly to maintain the desired audio performance.
Clean the subwoofer box and the surrounding trunk area regularly. Remove any dust, dirt, or debris that may accumulate around the subwoofer box. This helps prevent any potential damage caused by particles getting into the subwoofer or interfering with its performance.
Inspect the trunk space for any signs of rust, moisture, or water leakage. Moisture can damage the subwoofer box and its components, leading to performance issues or even failure. If you notice any signs of moisture, address the issue promptly to protect your equipment.
Additionally, periodically check the tension and tightness of the straps, bungee cords, or any other security measures. Over time, vibrations and regular use can cause these attachments to loosen. Re-tighten as necessary to maintain a secure and stable installation.
Follow the manufacturer’s recommendations for any specific maintenance procedures or intervals for your subwoofer system. This may include checking the wiring connections, inspecting amplifier settings, or replacing components as needed.
Remember to always prioritize your safety and the safety of your passengers. If you notice any significant issues with the subwoofer box installation or its performance, consult a professional or seek assistance to ensure proper resolution.
By regularly inspecting and maintaining the installation, you can prolong the life of your subwoofer system and ensure optimal sound quality. These maintenance practices will help you enjoy the powerful bass and immersive audio experience for years to come.
Conclusion
Securing your subwoofer box properly in the trunk is not only essential for protecting your investment but also ensuring the safety of you and your passengers while driving. By following the step-by-step guide outlined in this article, you can achieve a secure and stable installation that enhances your audio experience and eliminates any potential risks.
It all begins with assessing your trunk space and choosing the right type of subwoofer box that fits your vehicle and preferences. Measure and prepare the trunk, ensuring that any obstacles are accounted for and addressed. Install foam or rubber padding to provide cushioning and absorb vibrations.
Secure the subwoofer box with straps or bungee cords, distributing tension evenly and avoiding any interference with wiring or connections. Optionally, you can attach additional security measures such as hook and loop fasteners, metal brackets, or adhesive pads to further enhance stability.
Lastly, thoroughly test the security of the subwoofer box and regularly inspect and maintain the installation. Monitor for any signs of wear, rattling noises, or loose connections, and promptly address any issues that arise to maintain optimal performance.
By following these steps and performing regular maintenance, you can enjoy the deep, powerful bass of your subwoofer system while ensuring the longevity and safety of your investment. So, go ahead and secure that subwoofer box in your trunk and elevate your audio experience on the road!