Home>Devices & Equipment>Turntable>What Can I Use For A Turntable Ground Wire
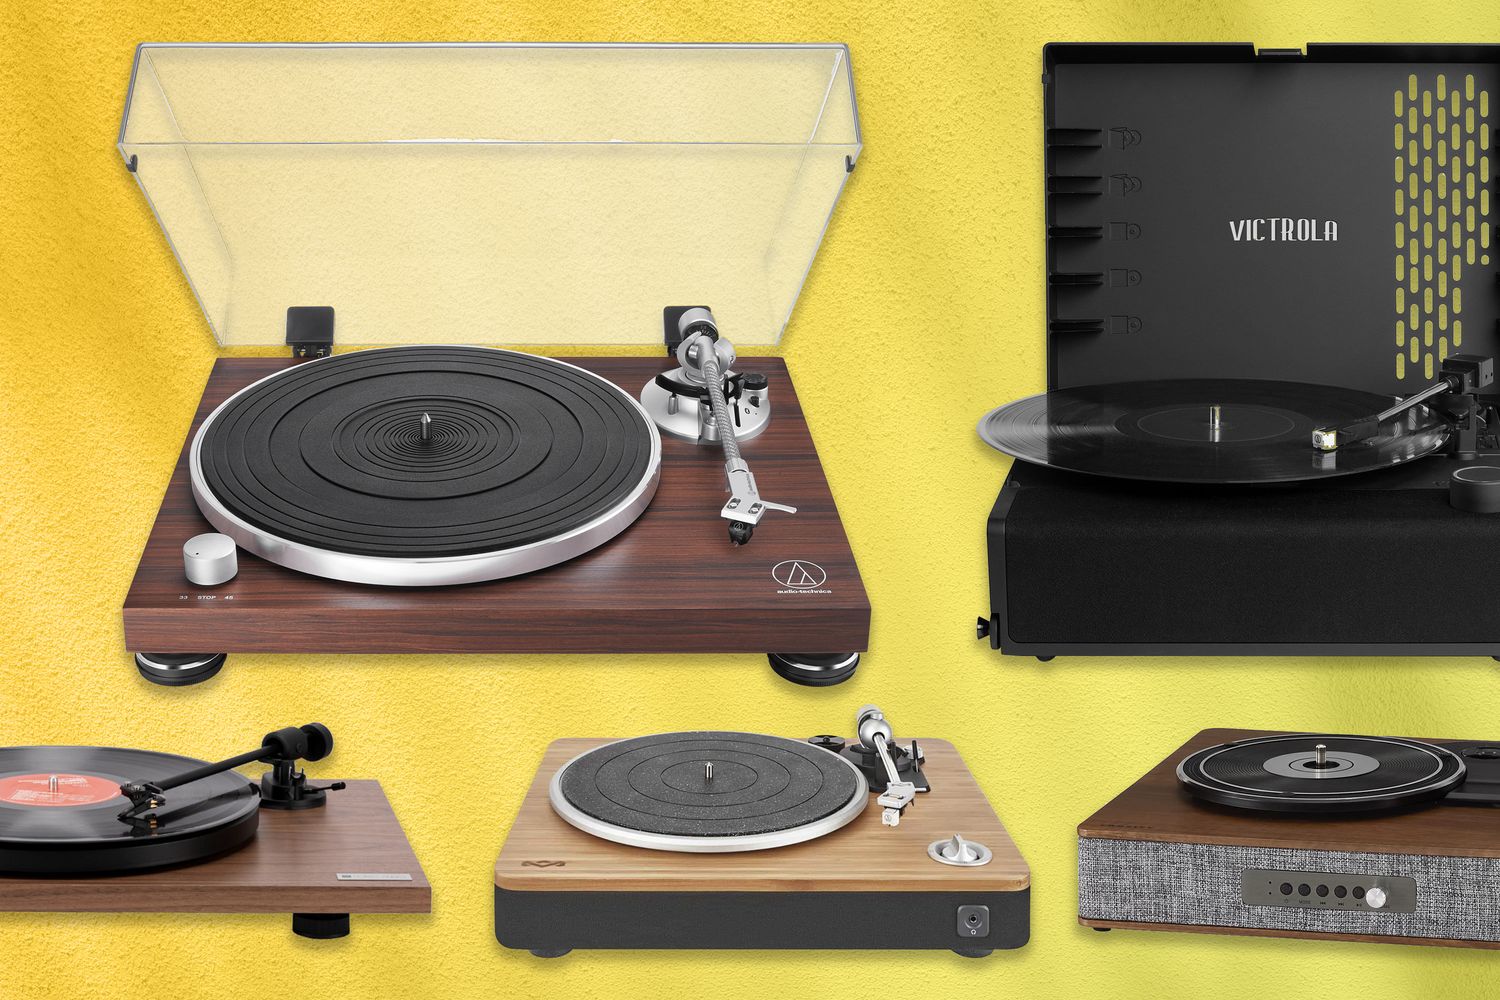
Turntable
What Can I Use For A Turntable Ground Wire
Modified: January 22, 2024
Looking for a turntable ground wire? Discover the best options for your turntable setup and ensure optimal audio quality.
(Many of the links in this article redirect to a specific reviewed product. Your purchase of these products through affiliate links helps to generate commission for AudioLover.com, at no extra cost. Learn more)
Table of Contents
Introduction
When it comes to enjoying vinyl records, having a properly grounded turntable is crucial for optimal sound quality and to prevent potential audio issues such as hums and buzzes. A turntable ground wire serves as a connection between the turntable and the grounding system of your audio setup or home electrical system.
The ground wire acts as a pathway to divert unwanted electrical interference, commonly known as “ground loop noise,” away from your turntable, resulting in cleaner and more accurate sound reproduction. Without a properly functioning ground wire, you might experience various audio problems that can greatly affect your vinyl listening experience.
In this article, we will explore the importance of a turntable ground wire and various options you can use to establish a reliable ground connection for your turntable. Whether you already have a dedicated ground wire or need to find an alternative solution, we’ve got you covered.
So, if you’re ready to elevate your vinyl listening experience and eliminate unwanted noise, let’s dive into the world of turntable ground wires and discover the best options for your setup.
Understanding the Importance of a Turntable Ground Wire
A turntable ground wire may seem like a small and insignificant component, but its role in a vinyl playback system is vital. The primary purpose of a ground wire is to provide a direct electrical connection between the turntable and the ground, ensuring any electrical interference is diverted away from the audio signal. Here’s why it’s essential:
- Elimination of Ground Loops: Ground loops occur when there are multiple paths to ground, causing electrical interference to enter the audio signal. This interference can manifest as a constant hum or buzz in your audio playback. A properly grounded turntable helps minimize or completely eliminate these ground loop issues.
- Noise Reduction: Turntables are susceptible to picking up unwanted electrical noise, which can result in distorted or muffled sound. By grounding your turntable, you provide a direct path for the electrical noise to flow safely to the ground, leaving your audio signal clearer and more defined.
- Protection for Your Equipment: In addition to improving audio quality, a turntable ground wire helps protect your equipment from power surges and static electricity. By establishing a solid ground connection, you create a safer operating environment for your turntable and other audio components.
Without a properly grounded turntable, you may experience a range of audio issues, including a persistent hum, buzzing sound, or even electrical shocks when touching the metal parts of your turntable. These issues can significantly compromise your listening experience, making it crucial to ensure your turntable is properly grounded.
Now that we understand why a turntable ground wire is essential, let’s explore the different options you can use to establish a reliable ground connection for your turntable.
What to Use as a Turntable Ground Wire
When it comes to finding the right turntable ground wire, you have several options available. The most common options include:
- Dedicated Ground Wire: Many turntables come with a dedicated ground wire that is designed to be connected directly to your amplifier or receiver’s grounding post. This option provides a simple and reliable way to establish a proper ground connection. If your turntable already includes a ground wire, all you need to do is connect it to the corresponding ground terminal.
- DIY Ground Wire: If your turntable did not come with a ground wire or you prefer a customized solution, you can create your own ground wire. This can be done by utilizing a length of wire with appropriate connectors at each end. One end can be connected to the grounding post on your amplifier or receiver, while the other end is attached to the designated grounding point on your turntable. Ensure that the wire you use is of sufficient gauge and quality to maintain a reliable connection.
- Alternative Grounding Methods: In some cases, you may encounter situations where a traditional ground wire is not possible or practical. However, there are alternative grounding methods available. For example, some turntables have a built-in ground lug or grounding screw that allows you to directly attach a wire to the turntable chassis. Another option is to use an external ground loop isolator, which helps eliminate ground loop noise by providing an alternative path for electrical interference to flow.
It’s important to note that the specific method you choose will depend on the design of your turntable and audio system. Be sure to consult your turntable’s user manual or seek guidance from the manufacturer to ensure that you are using the recommended grounding method for your particular setup.
By using a proper turntable ground wire, you can effectively minimize unwanted electrical interference and enjoy better sound quality from your vinyl records. Whether you opt for a dedicated ground wire, create your own DIY solution, or explore alternative grounding methods, establishing a reliable ground connection is paramount for optimal performance.
Now that we have explored the various options for a turntable ground wire, let’s discuss some additional grounding considerations and alternative grounding methods you can explore to enhance your vinyl listening experience.
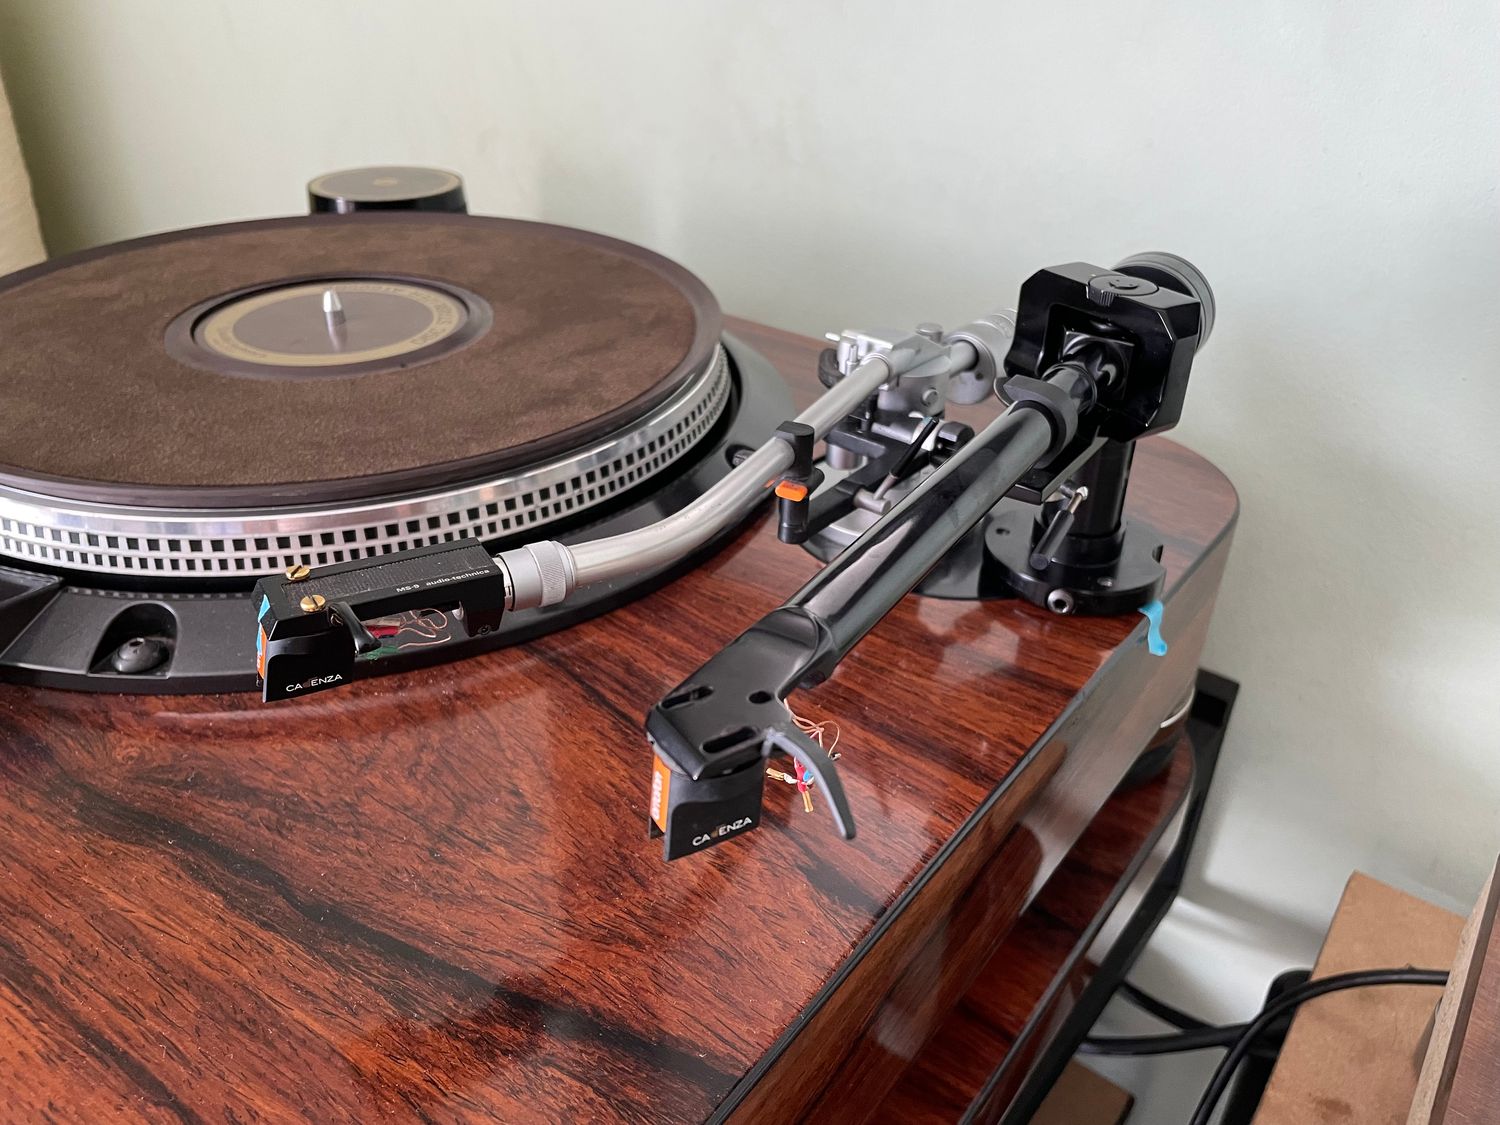
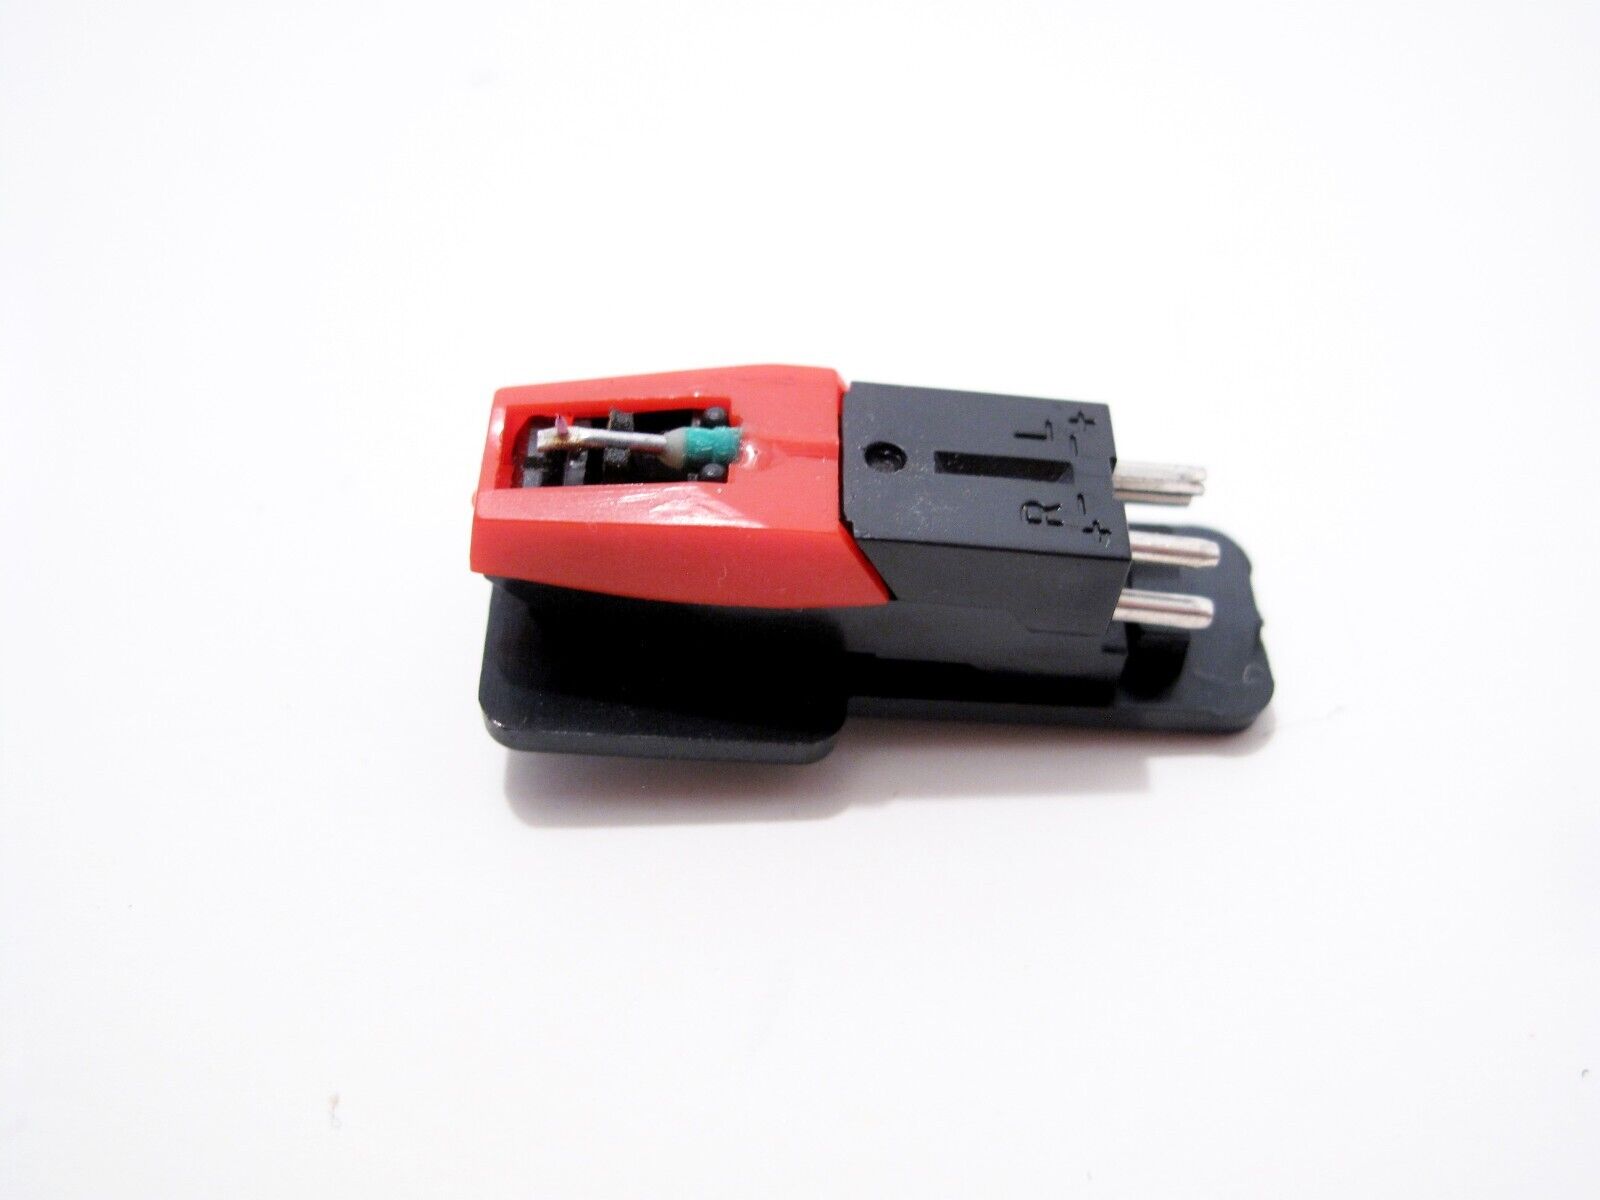
Option 1: Dedicated Ground Wire
A dedicated ground wire is one of the most common and straightforward options for establishing a reliable ground connection for your turntable. Many turntables come equipped with a built-in ground wire that is designed to be connected to the grounding post on your amplifier or receiver. Here’s how you can use a dedicated ground wire:
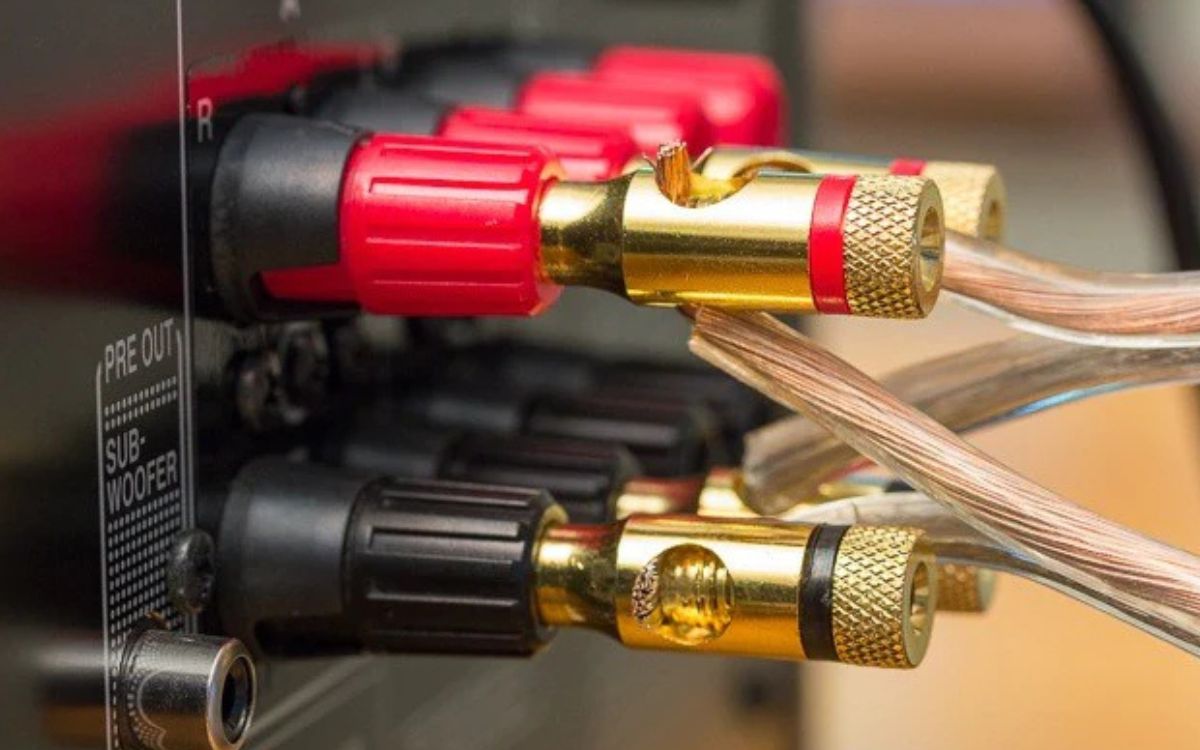
- Locate the grounding post on your amplifier or receiver. This post is typically labeled as “GROUND” or marked with a grounding symbol.
- Take the dedicated ground wire from your turntable. This wire is usually attached to the turntable’s chassis and has a connector at the end.
- Connect the end of the ground wire to the grounding post on your amplifier or receiver. Ensure that it is securely attached.
- If your turntable has a separate grounding point or lug, connect the other end of the ground wire to this point. This could be a screw or terminal on the turntable’s chassis specifically designated for grounding.
By using a dedicated ground wire, you establish a direct and reliable connection between your turntable and the grounding system of your audio setup. This helps divert any unwanted electrical interference away from the audio signal, resulting in cleaner and more accurate sound reproduction.
It’s important to note that not all turntables come with a dedicated ground wire. If your turntable does not have one, you can explore other options such as creating your own DIY ground wire or considering alternative grounding methods, which we will discuss further in the following sections.
Now that we have covered the dedicated ground wire option, let’s move on to exploring the DIY ground wire option for your turntable.
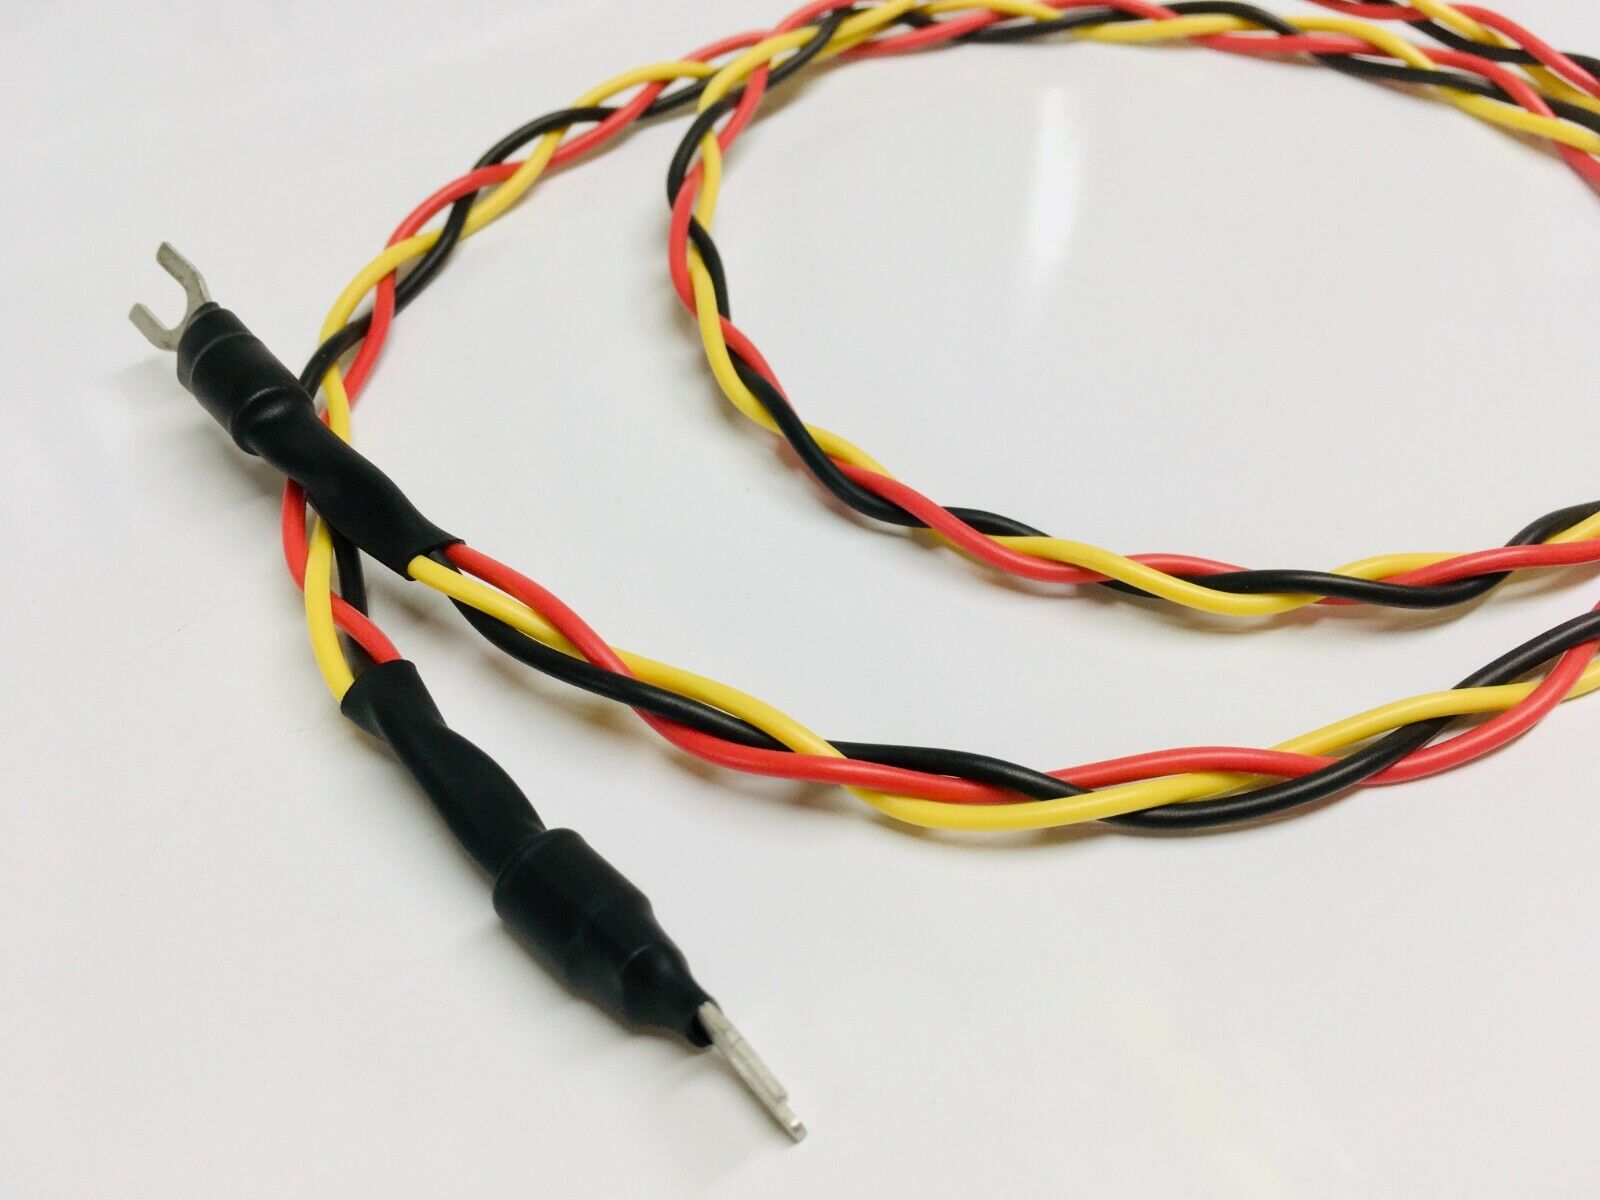
Option 2: DIY Ground Wire
If your turntable does not come with a dedicated ground wire or if you prefer a customized solution, you can create your own DIY ground wire. This option allows you to tailor the wire length and connectors to fit your specific setup. Here’s how you can create a DIY ground wire for your turntable:
- Start by choosing a suitable wire for your DIY ground wire. It is recommended to use a wire with a sufficient gauge to ensure a reliable connection. A wire with a thickness of 18-20 AWG (American Wire Gauge) should work well for most setups.
- Strip the insulation from both ends of the wire, exposing the bare copper strands.
- Attach one end of the wire to the grounding post on your amplifier or receiver. This post is typically labeled as “GROUND” or marked with a grounding symbol. Ensure that the wire is securely connected.
- If your turntable has a separate grounding point or lug, attach the other end of the wire to this point. This could be a screw or terminal on the turntable’s chassis specifically designated for grounding. Make sure the connection is secure.
Creating a DIY ground wire allows you to have control over the length and quality of the wire. Ensure that the wire you use is of sufficient quality to maintain a reliable ground connection and minimize the risk of signal loss. You can also consider using connectors such as spade terminals or banana plugs at the ends of the wire to make the connections more secure and convenient.
Remember to consult your turntable’s user manual or the manufacturer’s guidelines for any specific instructions or recommendations regarding DIY ground wires. The process may vary depending on the design of your turntable and audio system.
If you prefer not to create a DIY ground wire or if it’s not feasible for your setup, there are alternative grounding methods that you can explore. We will discuss these alternative methods in the next section.
Option 3: Alternative Grounding Methods
If a dedicated ground wire or DIY ground wire is not a feasible option for your turntable setup, there are alternative grounding methods that you can consider. These methods provide alternative pathways for electrical interference to flow, helping to reduce or eliminate ground loop noise. Here are a few alternative grounding methods:
- Built-in Ground Lug: Some turntables have a built-in ground lug or grounding screw on the chassis. This provides a convenient connection point for a ground wire. Simply connect a wire to the ground lug or screw and attach the other end to the grounding post on your amplifier or receiver.
- External Ground Loop Isolator: An external ground loop isolator can be used to eliminate ground loop noise. These devices typically have RCA connectors on both ends. Connect one end to the turntable’s output and the other end to the input of your amplifier or receiver. The ground loop isolator will help break the ground loop and minimize interference.
- Grounding Pad: Another alternative grounding method is to use a grounding pad. These pads are typically made of conductive materials and are placed under the turntable or between the turntable and the surface it sits on. The grounding pad provides a direct connection to the ground, helping to reduce electrical interference.
When considering alternative grounding methods, it is important to choose options that are compatible with your specific turntable and audio system. Consult the manufacturer’s guidelines or seek advice from audio experts to ensure proper usage and optimal performance.
Remember, the goal of alternative grounding methods is to provide a reliable pathway for electrical interference to flow away from the audio signal, reducing any potential disruptions and improving sound quality.
Now that we have explored the three main options for a turntable ground wire – dedicated ground wire, DIY ground wire, and alternative grounding methods – it’s time to wrap up our discussion and highlight the importance of establishing a reliable ground connection for your turntable.
Conclusion
A proper turntable ground wire is essential for ensuring optimal sound quality and minimizing electrical interference in your vinyl playback system. By establishing a reliable ground connection, you can eliminate ground loop noise, reduce unwanted electrical interference, and protect your equipment from power surges and static electricity.
In this article, we discussed the importance of a turntable ground wire and explored three main options: using a dedicated ground wire, creating a DIY ground wire, and utilizing alternative grounding methods.
If your turntable has a dedicated ground wire, simply connect it to the grounding post on your amplifier or receiver to establish a direct and reliable ground connection.
For those without a dedicated ground wire, creating a DIY ground wire allows you to customize the wire length and connectors to fit your specific setup. Ensure that you use a wire of sufficient gauge and quality for a reliable connection.
If neither of these options is possible or practical, alternative grounding methods, such as utilizing a built-in ground lug, using an external ground loop isolator, or employing a grounding pad, can offer an effective solution to divert electrical interference.
Remember to consult your turntable’s user manual or seek guidance from audio experts to ensure that you choose the appropriate grounding method for your specific setup.
Establishing a proper turntable ground connection is crucial in achieving the best possible sound quality from your vinyl records. Whether you opt for a dedicated ground wire, a DIY solution, or alternative grounding methods, taking the time to ensure a reliable ground connection is well worth the effort to enhance your vinyl listening experience.
So, go ahead, choose the best option for your turntable, and enjoy a clean, noise-free sound reproduction that brings your vinyl collection to life.