Home>Devices & Equipment>Turntable>How To Set Up A Turntable With Speaker Wire
Turntable
How To Set Up A Turntable With Speaker Wire
Modified: January 22, 2024
Learn how to properly set up your turntable with speaker wire to ensure optimal sound quality for your vinyl collection. Follow our step-by-step guide for a seamless setup experience.
(Many of the links in this article redirect to a specific reviewed product. Your purchase of these products through affiliate links helps to generate commission for AudioLover.com, at no extra cost. Learn more)
Table of Contents
Introduction
Welcome to the world of turntables! As a music enthusiast, you are about to embark on a journey that will take you back to the era of vinyl records. Whether you are a long-time collector or a beginner looking to dive into the world of analog music, setting up a turntable with speaker wire is an essential step to get started.
A turntable is a beautifully crafted piece of machinery that requires careful setup to ensure optimal sound quality. With the right equipment and a few simple steps, you can enjoy the warm and rich sound that vinyl records are known for.
In this article, we will guide you through the process of setting up a turntable with speaker wire. We will provide you with step-by-step instructions and helpful tips to make the setup process seamless and efficient.
Before we proceed, make sure you have all the necessary tools and equipment ready. This includes your turntable, speakers, speaker wire, RCA cables, and a grounding wire if required. Once you have everything prepared, let’s get started on setting up your turntable and immersing yourself in the world of vinyl!
Step 1: Gather the Necessary Tools and Equipment
Before you begin setting up your turntable with speaker wire, it is essential to gather all the necessary tools and equipment. Here’s a checklist of what you’ll need:
- Turntable: This is the heart of your setup, responsible for spinning the vinyl records.
- Speakers: Choose high-quality speakers that can deliver the best sound reproduction.
- Speaker Wire: You’ll need speaker wire to connect your turntable to the speakers.
- RCA Cables: RCA cables are used to connect the turntable to the amplifier or receiver.
- Grounding Wire (Optional): Some turntables have a grounding wire to reduce electrical interference.
Ensure that you have all these items readily available before you proceed with the setup. It’s also a good idea to read through the instruction manuals of your turntable and speakers to familiarize yourself with their specific requirements.
Next, find a clean and stable surface to place your turntable and speakers. A solid, level surface will help minimize vibrations and improve overall sound quality. It’s best to avoid surfaces that are prone to shaking or vibrating, such as speakers or subwoofers.
Once you have gathered all the necessary tools and equipment and have a suitable surface for setup, you are ready to move on to the next step.
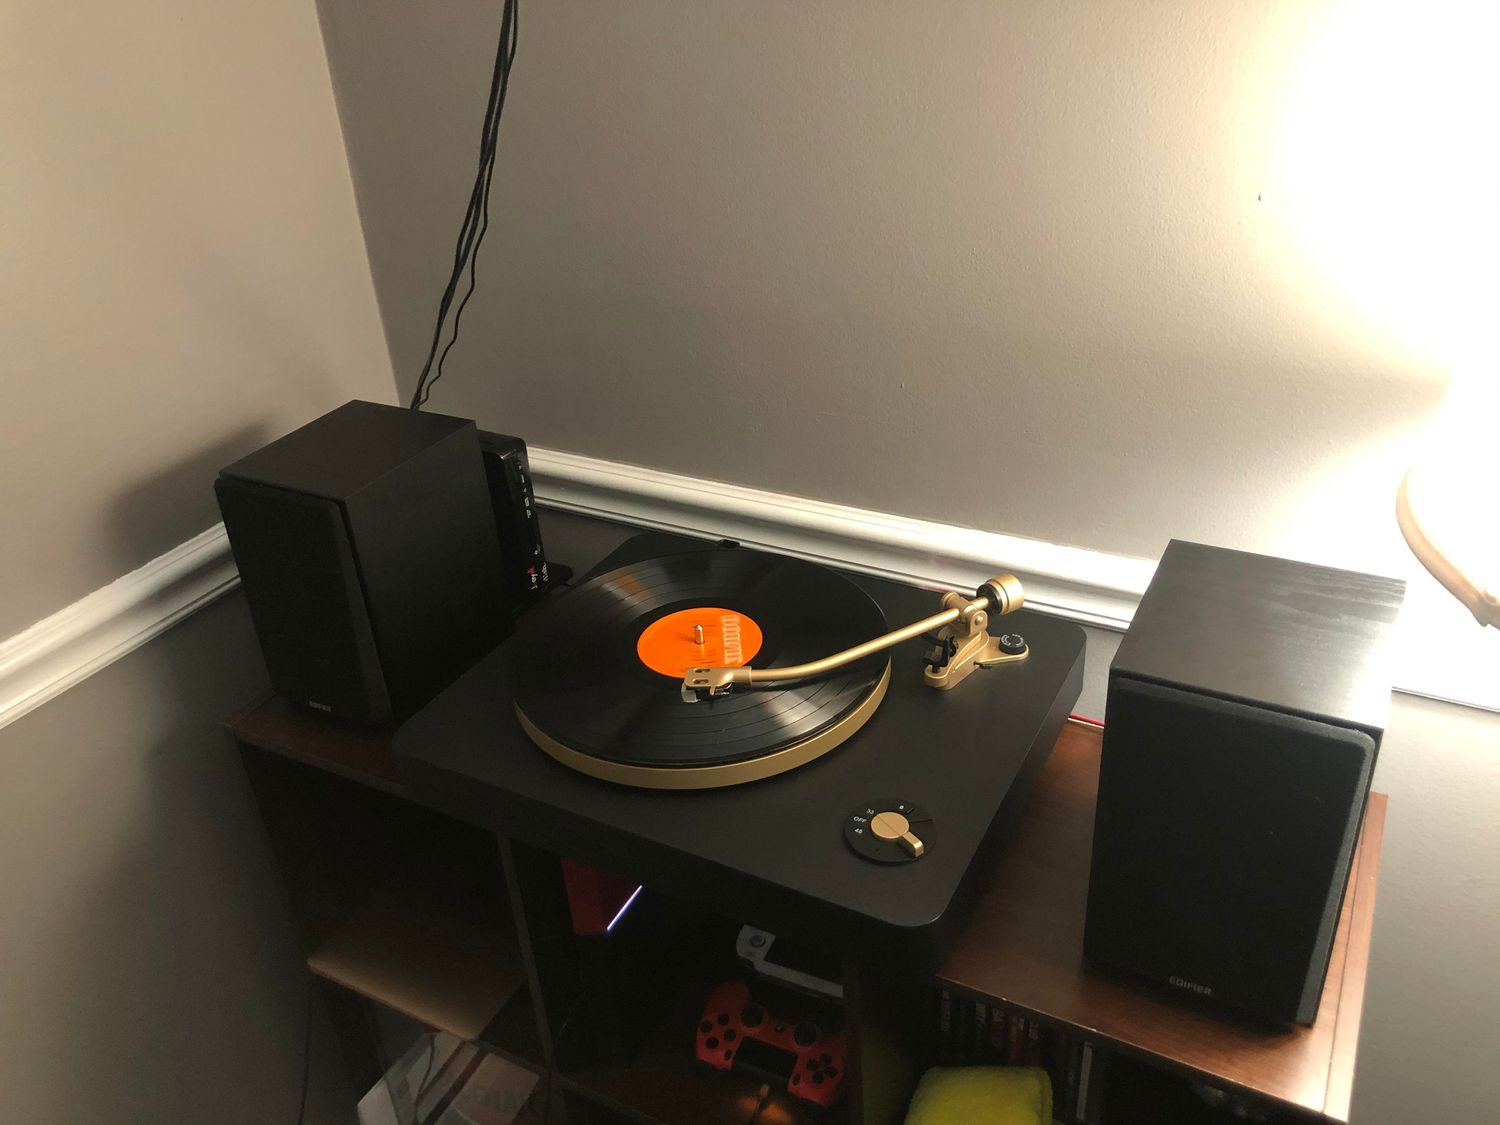
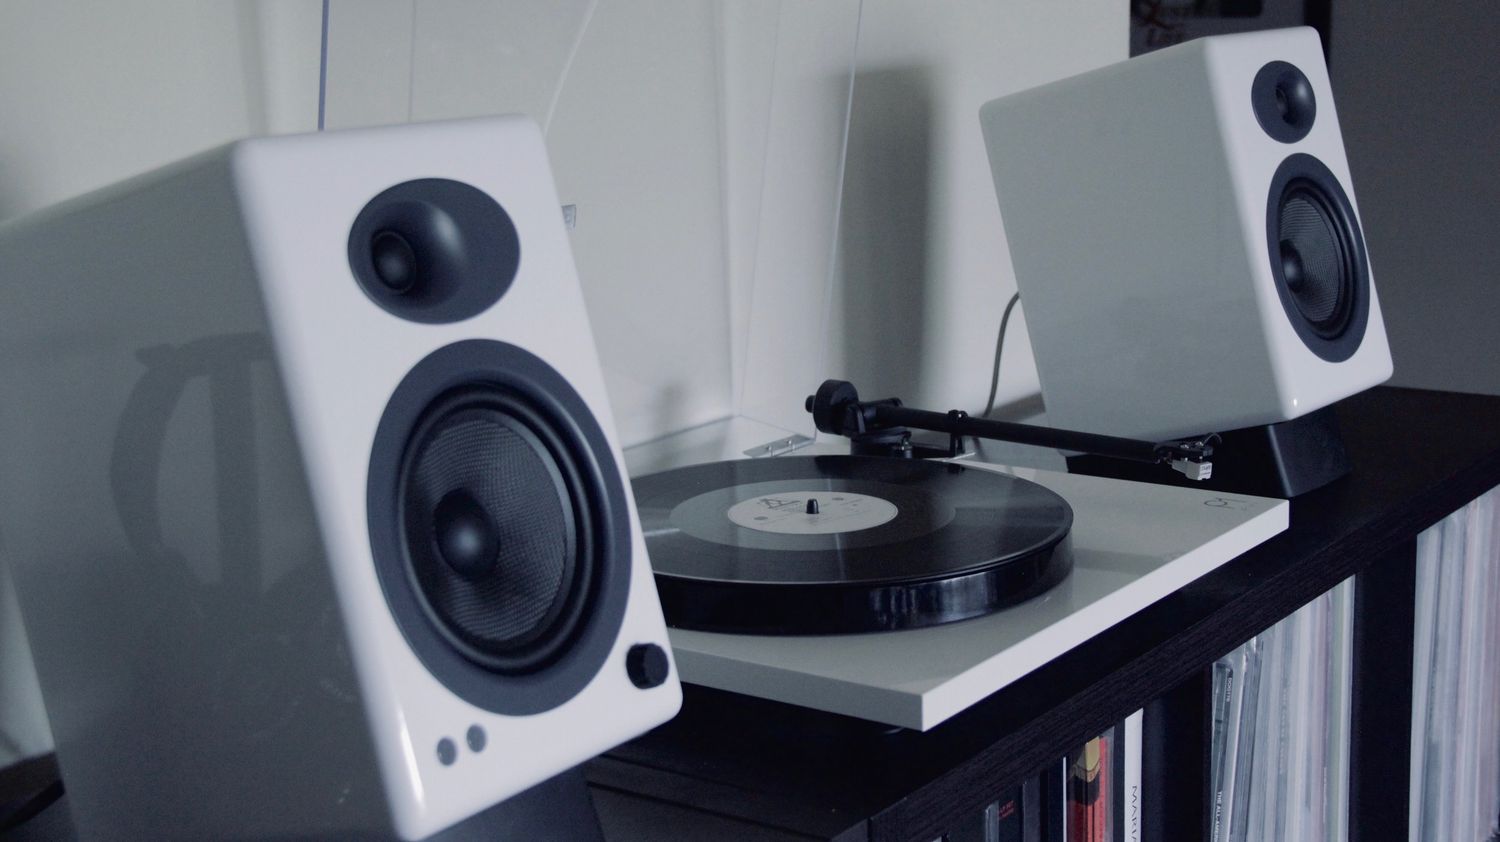
Step 2: Position the Turntable and Speaker
The positioning of your turntable and speakers plays a crucial role in the overall sound quality and listening experience. Here are some factors to consider when positioning them:
- Turntable Placement: Choose a location for your turntable that is sturdy and stable, preferably away from sources of vibration or foot traffic. Avoid placing it directly on speakers or subwoofers, as they can introduce unwanted vibrations that affect sound quality. Ideally, the turntable should be on a level surface to ensure proper operation.
- Speaker Placement: The position of your speakers can significantly impact the soundstage and stereo imaging. Place the speakers at an equal distance from the turntable, forming an equilateral triangle. Ensure that the speakers are at least a foot away from walls or furniture to minimize sound reflections. Experiment with different speaker placements to find the sweet spot that delivers the best sound quality in your listening space.
It’s important to note that placing your turntable and speakers on isolation pads or dedicated stands can help reduce vibrations and further enhance the sound quality. These accessories can help isolate your equipment from external vibrations, resulting in clearer and more accurate sound reproduction.
Once you have positioned your turntable and speakers, you are now ready to move on to the next step of connecting the ground wire.
Step 3: Connect the Ground Wire
Some turntables come equipped with a grounding wire, also known as an earth wire, that helps reduce electrical interference and hum noise. If your turntable has a grounding wire, follow these steps to connect it:
- Locate the grounding terminal on your turntable. It is typically a metal post labeled “GND” or “Ground.”
- Take the grounding wire and identify the grounding terminal on your amplifier or receiver. It is usually located near the phono input.
- Ensure that both the turntable and amplifier are turned off and unplugged from the power source to avoid any electrical mishaps.
- Take one end of the grounding wire and securely attach it to the grounding terminal on your turntable.
- Take the other end of the grounding wire and connect it to the grounding terminal on your amplifier or receiver.
- Ensure that the connections are tight and secure to establish a proper ground connection.
Once the grounding wire is securely connected, you can proceed to the next step of connecting the RCA cables.
It’s important to note that not all turntables require a grounding wire. If your turntable does not have a ground terminal or does not require a ground connection, simply skip this step and move on to the next.
Now, let’s move on to connecting the RCA cables in the next step!
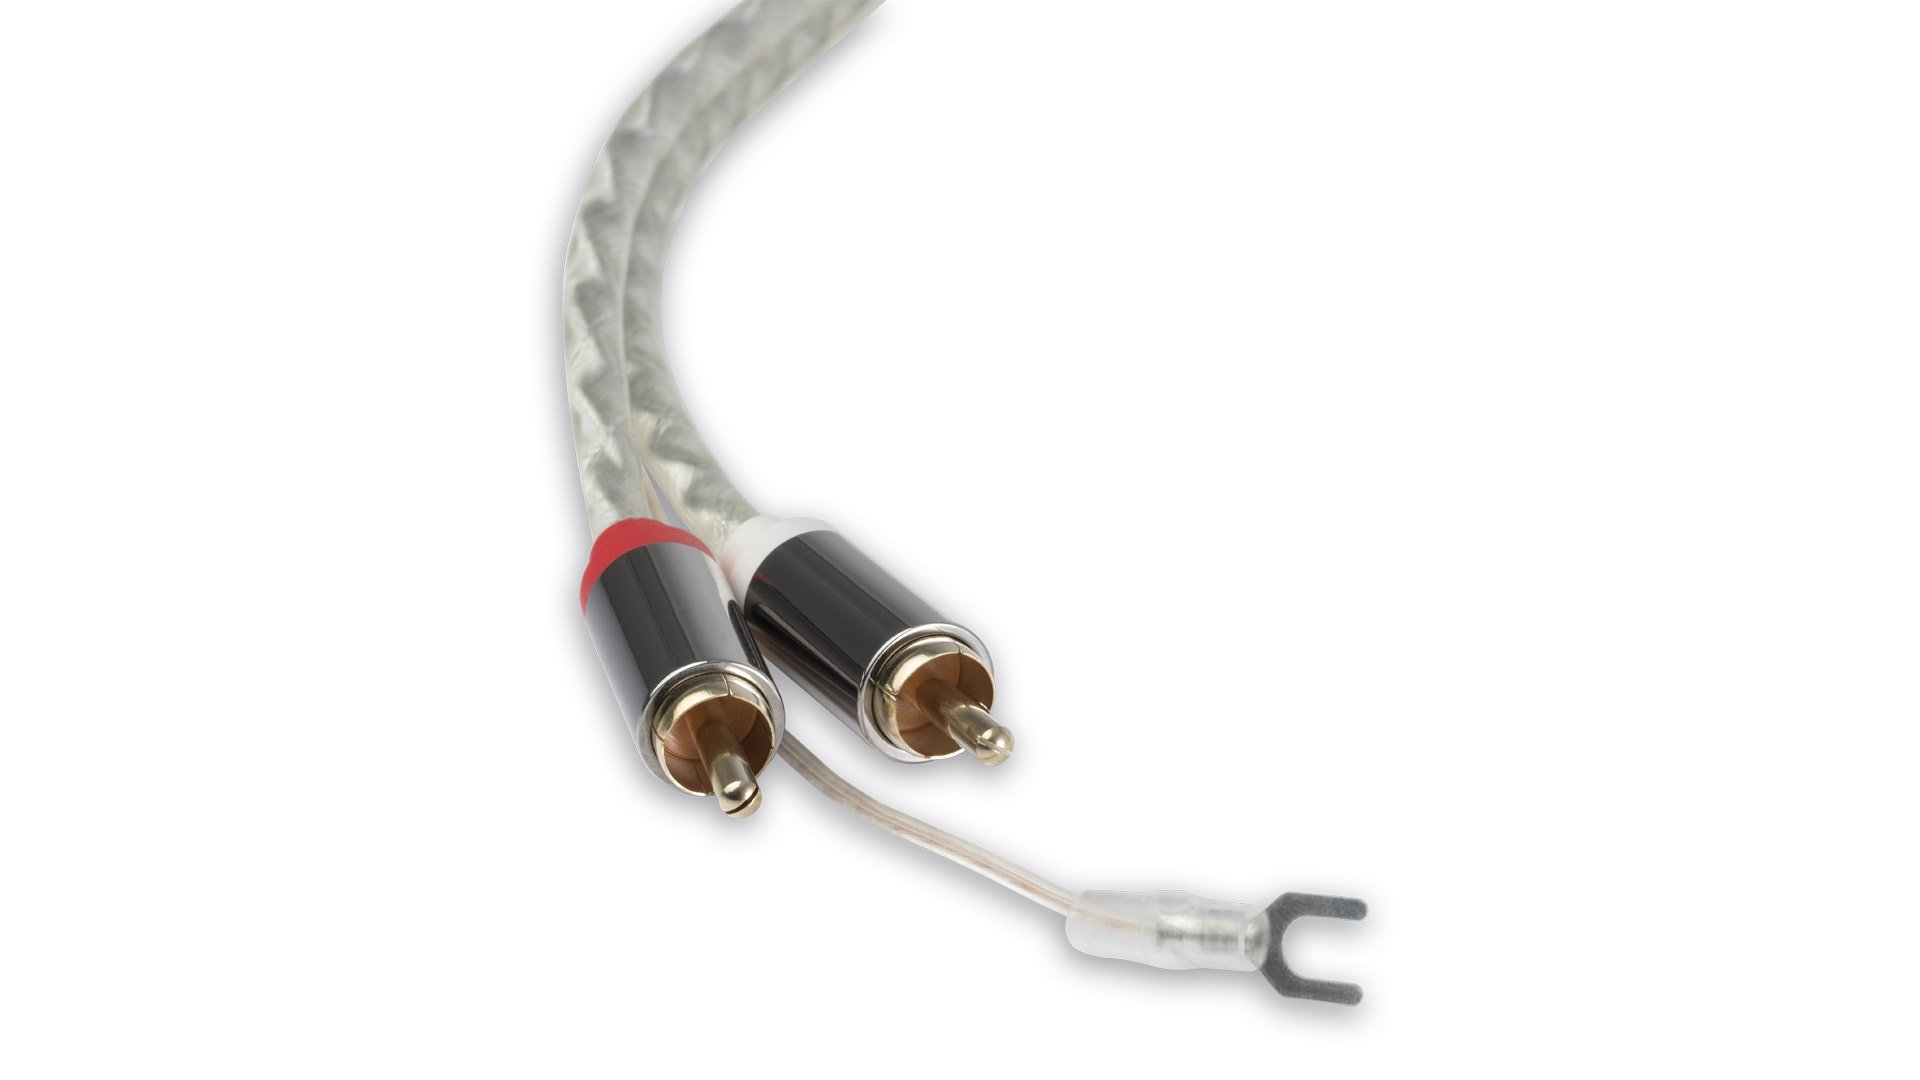
Step 4: Connect the RCA Cables
RCA cables are a standard audio connection method used to transmit the audio signal from the turntable to the amplifier or receiver. Follow these steps to connect the RCA cables:
- Locate the RCA output jacks on your turntable. These are usually color-coded as red and white.
- Take one end of the RCA cables and plug the red connector into the red output jack on the turntable.
- Plug the white connector into the white output jack on the turntable.
- Now, locate the RCA input jacks on your amplifier or receiver. These are also color-coded as red and white.
- Take the other end of the RCA cables and plug the red connector into the red input jack on the amplifier.
- Plug the white connector into the white input jack on the amplifier.
Ensure that the RCA connections are tight and secure to avoid any signal loss or interference. It’s also essential to connect the cables to the corresponding input and output jacks to maintain the correct stereo orientation.
If your turntable has a built-in preamp, you can connect the RCA cables directly to the line-level input jacks on your amplifier or receiver. However, if your turntable does not have a built-in preamp, you will need to connect the RCA cables to the dedicated phono input on your amplifier or receiver. This phono input is specially designed to amplify the low-level signal from the turntable.
Once the RCA cables are connected, you are now ready to move on to connecting the speaker wire to the turntable in the next step!
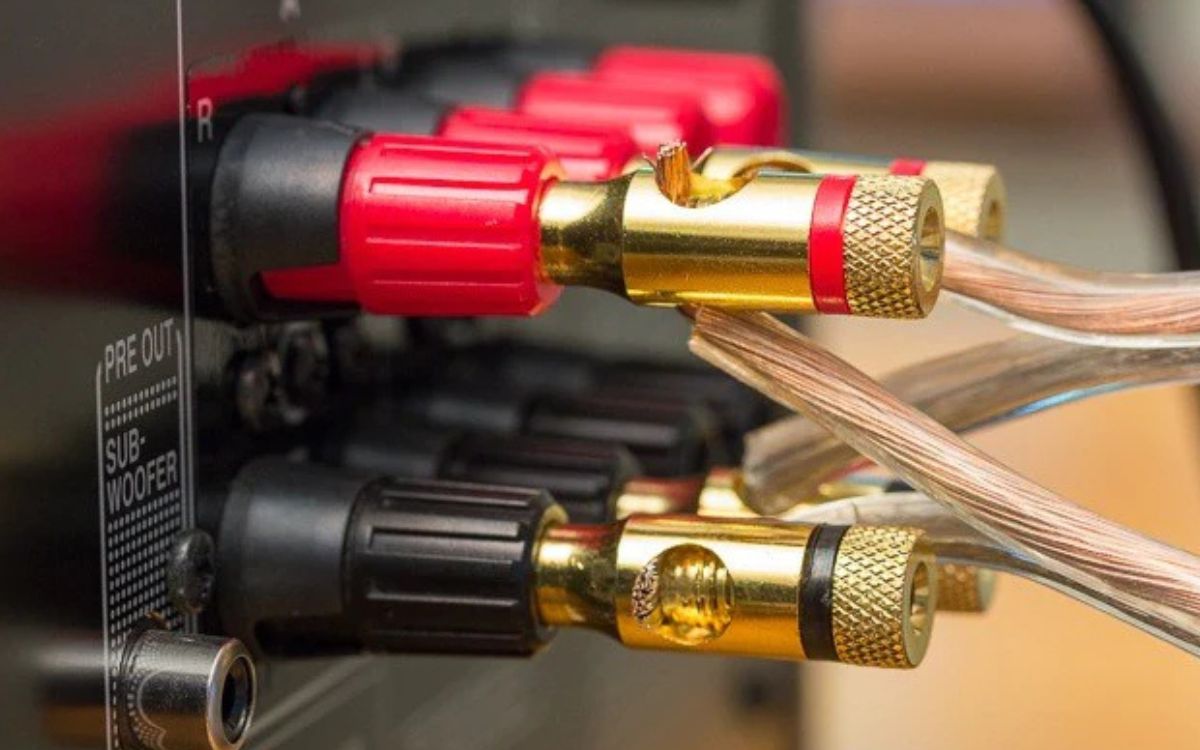
Step 5: Connect the Speaker Wire to the Turntable
Connecting the speaker wire to the turntable allows you to transmit the audio signal from the turntable to your speakers. Follow these steps to connect the speaker wire:
- Identify the speaker terminals on your turntable. These terminals are typically labeled as “+/-,” “L/R,” or have corresponding colors such as red for positive (+) and black for negative (-).
- Take one end of the speaker wire and strip off about half an inch of insulation from each wire end.
- Attach the stripped end of one wire to the positive (+) terminal on the turntable.
- Attach the stripped end of the other wire to the negative (-) terminal on the turntable.
- Repeat the above steps for the other channel, connecting the remaining wire ends to the corresponding terminals.
- Ensure that the connections are secure, with no loose or exposed wires.
It’s important to maintain proper polarity while connecting the speaker wire. The positive (+) wire should be connected to the positive terminal, and the negative (-) wire should be connected to the negative terminal. This ensures that the speakers produce the correct sound reproduction.
Once you have connected the speaker wire to the turntable, you can move on to the next step of adjusting the speaker settings.
Take note that the specific terminals and wire connections can vary slightly depending on the make and model of your turntable. Refer to your turntable’s manual for any specific instructions related to speaker wire connections.
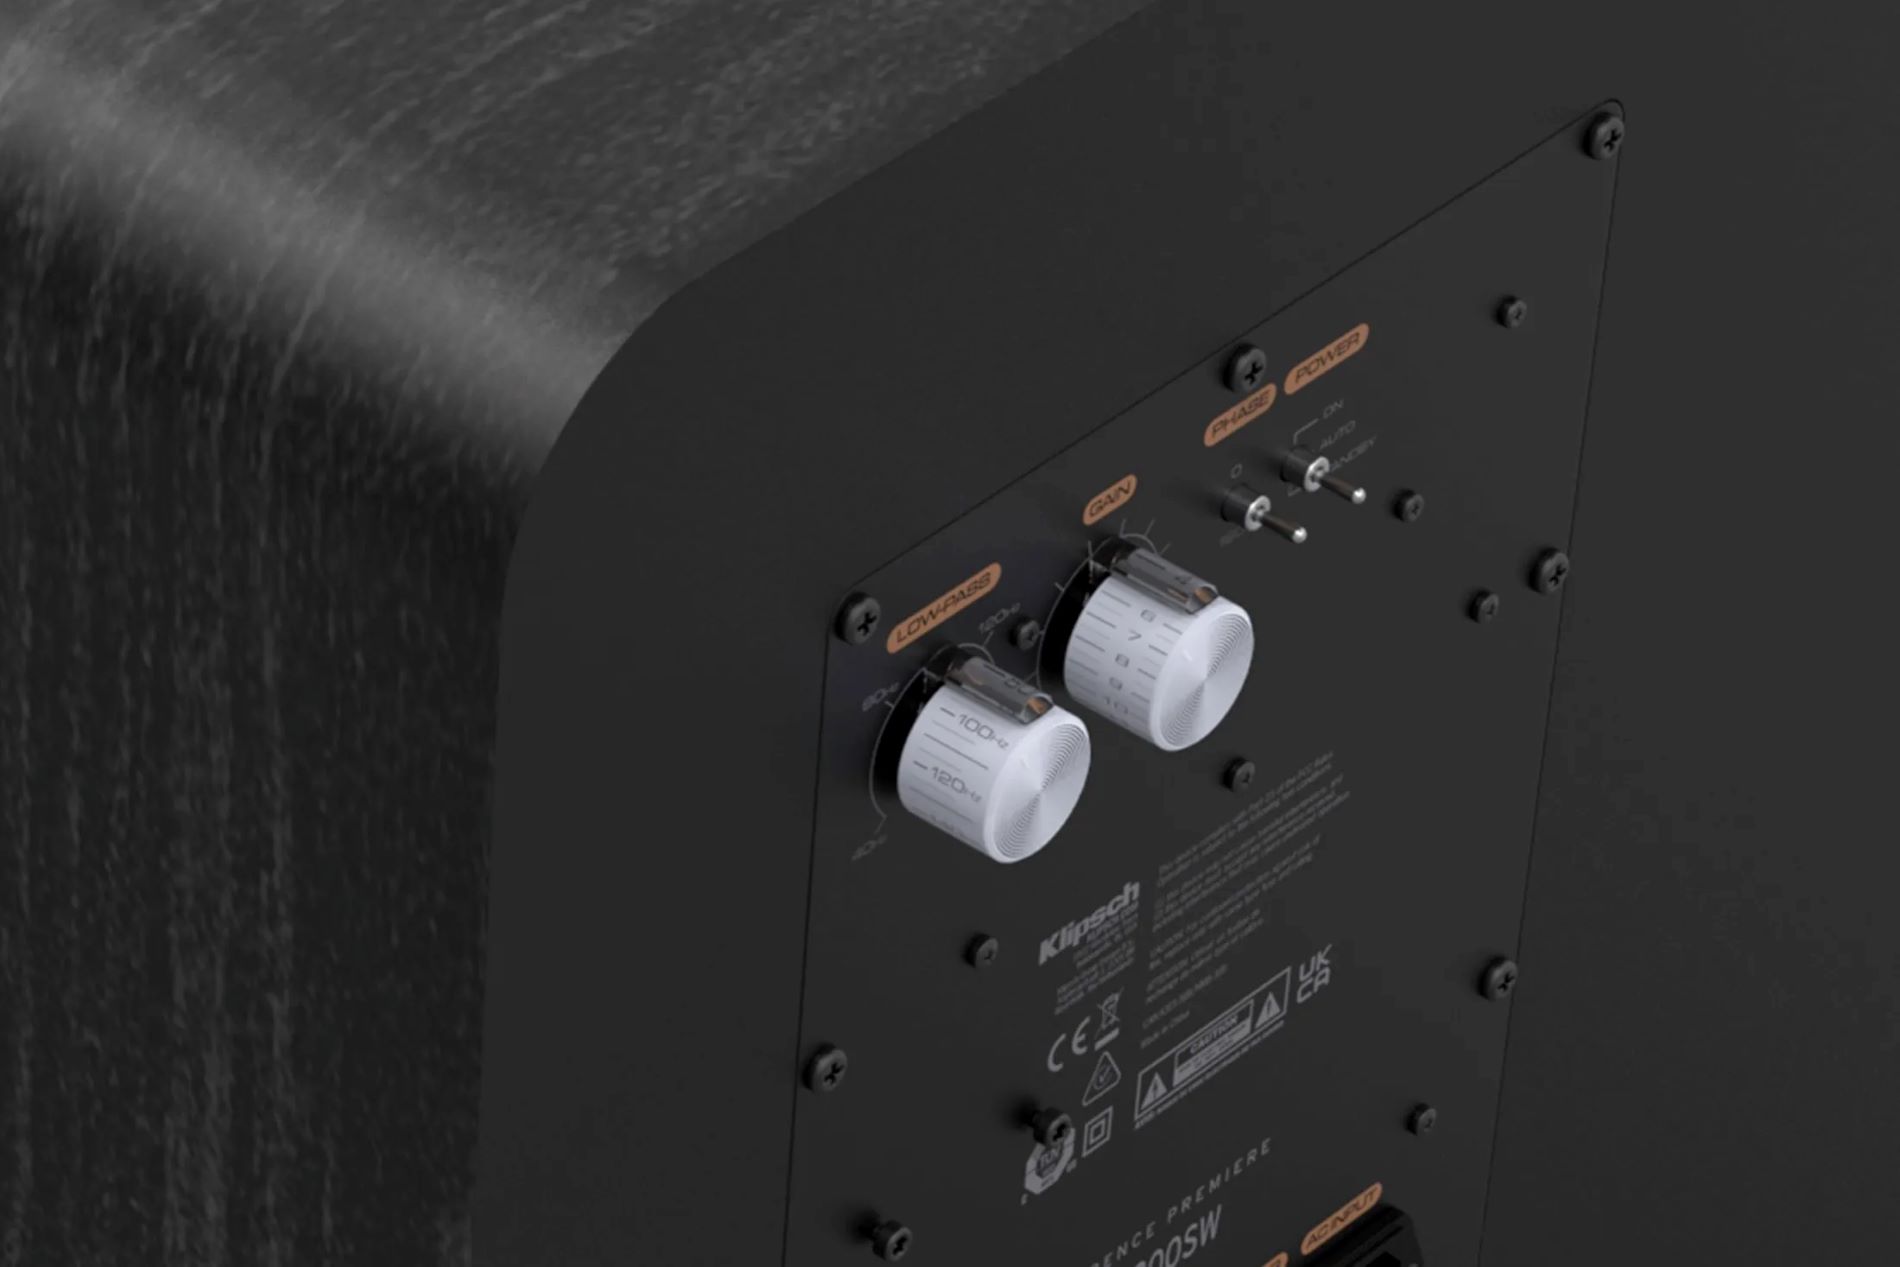
Step 6: Adjust the Speaker Settings
After connecting the speaker wire to the turntable, it’s important to adjust the speaker settings to ensure optimal sound quality. Follow these steps to fine-tune the speaker settings:
- Speaker Placement: Double-check the positioning of your speakers and make any necessary adjustments to optimize the soundstage. Experiment with different placements and angles to achieve the best sound balance and imaging.
- Volume and Balance: Set the volume level on your amplifier or receiver to a comfortable listening level. Ensure that the left and right speaker channels are balanced by adjusting the balance control. This ensures that the sound is evenly distributed between the speakers.
- Tone Controls: Most amplifiers or receivers have tone controls, including bass and treble adjustments. Use these controls to fine-tune the audio to your preference. However, it’s recommended to keep the tone controls at neutral settings to maintain the original sound quality of the vinyl records.
- Equalization: If your amplifier or receiver has an equalizer, experiment with different settings to enhance the audio frequencies according to your preference. Keep in mind that excessive equalization can alter the intended sound reproduction and may result in a less authentic listening experience.
- Room Acoustics: Consider the acoustic characteristics of your listening room. If you notice any unwanted resonance or echoes, you may need to add acoustic treatments, such as foam panels or rugs, to improve the sound quality and reduce reflections.
Take the time to fine-tune these speaker settings and explore different configurations to find the optimal sound quality that suits your personal taste and listening environment.
Once you have adjusted the speaker settings, it’s time to move on to the final step of testing the setup to ensure everything is working correctly.
Step 7: Test the Setup
Now that you have completed the setup process, it’s time to test your turntable setup to ensure that everything is working as intended. Follow these steps to test your setup:
- Power On: Turn on your amplifier or receiver and any other audio equipment that is part of your setup.
- Select Input: Set the input source on your amplifier or receiver to the appropriate input where the turntable is connected.
- Play a Record: Carefully place a vinyl record onto the turntable platter and gently lower the tonearm onto the record. Start the turntable motor and verify that the record is spinning correctly.
- Listen for Sound: Listen for the audio coming from the speakers when the turntable is playing. Ensure that the sound is clear, balanced, and free from any distortion, hum, or static noise.
- Check Stereo Separation: Test the stereo separation by playing a record with distinct left and right channel audio. This will help confirm that the speakers are properly connected and positioned, providing a wide and accurate stereo image.
- Check Volume Control: Adjust the volume control on your amplifier or receiver to confirm that it is working correctly, and the sound level can be adjusted to your preference.
During the testing phase, pay close attention to any abnormalities or issues that you may encounter. If you notice any distortion, humming, or audio dropouts, double-check the connections, grounding, and other settings to troubleshoot the problem.
Once you have confirmed that the setup is working correctly and delivering the desired sound quality, congratulations! You are now ready to sit back, relax, and enjoy the captivating sound of vinyl records through your turntable setup.
Remember to properly maintain and care for your turntable and speakers to prolong their lifespan and ensure continued optimal performance.
Enjoy your music journey, filled with the warmth and nostalgia that only vinyl records can provide!
Conclusion
Setting up a turntable with speaker wire is an exciting endeavor that allows you to experience the unique and captivating sound of vinyl records. By following the steps outlined in this guide, you can ensure a seamless and optimized setup process.
From gathering the necessary tools and equipment to positioning your turntable and speakers, connecting the ground wire, RCA cables, and speaker wire, adjusting the speaker settings, and testing the setup, every step is crucial in achieving the best sound quality possible.
Remember to pay attention to the details, such as maintaining proper polarity when connecting the speaker wire and properly adjusting the speaker settings for an optimal listening experience. Experiment with different placements, settings, and configurations to find the sound that resonates with your preferences and audio environment.
With your turntable setup complete, you can now immerse yourself in the world of vinyl records and enjoy the warm, rich sound that they offer. Take the time to curate a collection of your favorite albums, explore new genres, and rediscover the joy of listening to music in its analog form.
Lastly, don’t forget to cherish and care for your turntable and speakers. Regularly clean your vinyl records, handle them with care, and keep your equipment clean and dust-free to ensure the longevity and optimal performance of your setup.
Now, sit back, relax, and let the music transport you to a world where nostalgia and audio excellence come together in perfect harmony. Happy listening!