Home>Devices & Equipment>Turntable>How To Ground Turntable Without Receiver
Turntable
How To Ground Turntable Without Receiver
Modified: January 22, 2024
Learn how to ground your turntable without a receiver. Follow our step-by-step guide to improve audio quality and eliminate unwanted noise.
(Many of the links in this article redirect to a specific reviewed product. Your purchase of these products through affiliate links helps to generate commission for AudioLover.com, at no extra cost. Learn more)
Table of Contents
- Introduction
- What is a ground turntable?
- Why do you need to ground a turntable?
- Grounding options for turntables without receivers
- Method 1: Using a dedicated ground wire
- Method 2: Using a grounding block
- Method 3: Using a phono preamp with a built-in ground connection
- Method 4: Using a grounding mat or sheet
- Conclusion
Introduction
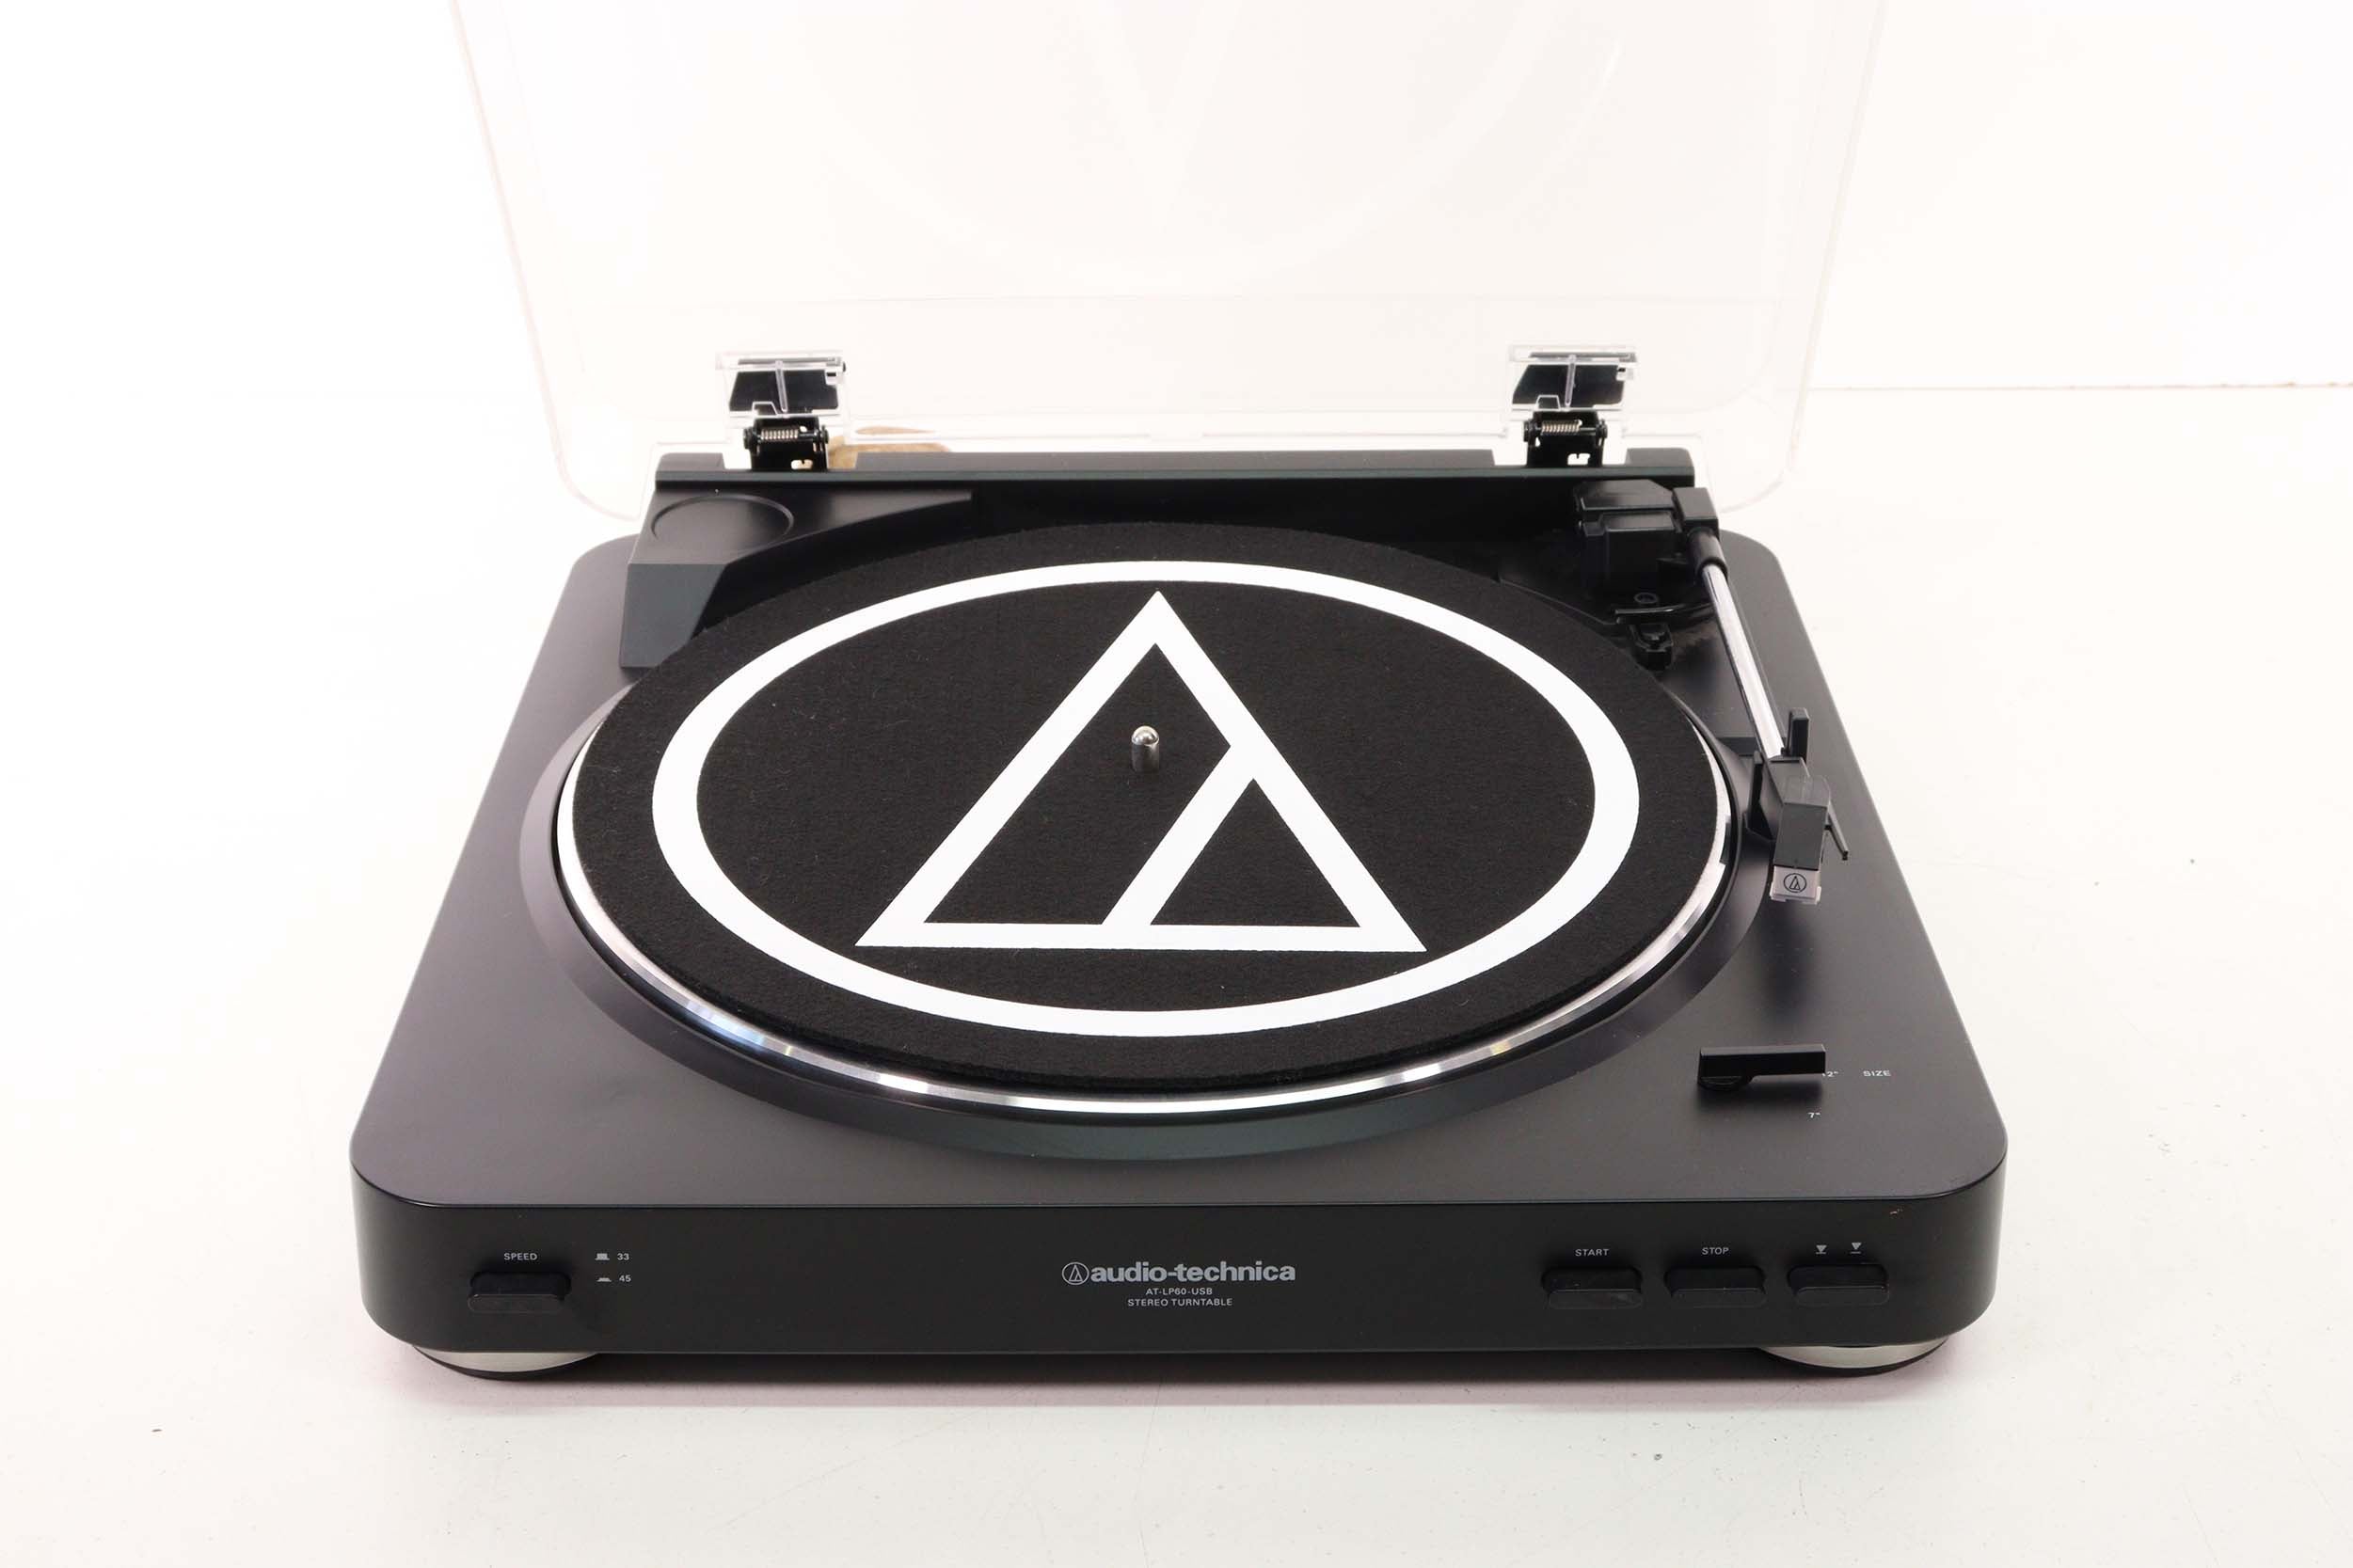
Turntables have been enjoying a resurgence in popularity, as many music enthusiasts appreciate the warm and authentic sound that vinyl records can produce. But to ensure the best performance and audio quality, it is important to properly ground a turntable.
Before we delve into the different grounding options for turntables without receivers, let’s first understand what it means to ground a turntable. In simple terms, grounding is the process of connecting the turntable’s metal chassis to a ground point, typically the ground wire in your electrical system. This helps to eliminate unwanted electrical noise and interference, resulting in cleaner and more accurate sound reproduction.
So why is grounding important for turntables? Well, when playing vinyl records, the cartridge picks up the microscopic vibrations within the grooves and converts them into an electrical signal. However, the turntable’s motor and other internal components can introduce unwanted electrical noise. Grounding the turntable helps to divert this noise away from the signal path, reducing distortion and maintaining audio clarity.
Now, you might be wondering, what if your turntable doesn’t have a built-in ground wire or if you are using it without a receiver? Don’t worry, there are several methods you can use to ground your turntable and improve its performance.
What is a ground turntable?
A ground turntable refers to the process of connecting the turntable’s metal chassis to a ground point, such as the ground wire in your electrical system. This grounding connection helps to eliminate electrical noise and interference, allowing for better audio quality and a more enjoyable listening experience.
Inside a turntable, there are various electrical components and circuits that can generate electrical noise. This noise can interfere with the delicate audio signal produced by the cartridge as it reads the grooves of a vinyl record. Grounding the turntable provides a path for this noise to dissipate, diverting it away from the audio signal and reducing distortion.
Most modern turntables come with a built-in ground wire that can be connected to a receiver or amplifier with a corresponding ground terminal. However, there are also turntables, particularly older models or budget-friendly options, that may not have a built-in ground wire or connection point for grounding.
In such cases, it becomes important to find alternative methods to ground the turntable. Grounding the turntable not only helps improve audio quality but also protects sensitive equipment from potential electrical damage.
It is worth noting that not all turntables require grounding, especially those with built-in phono preamps or USB outputs. These turntables often have their own internal grounding mechanisms. However, if you are experiencing humming, buzzing, or other forms of unwanted noise during playback, grounding the turntable can help mitigate these issues.
Now that we understand what a ground turntable is and why it is important, let’s explore the different methods available for grounding a turntable without a receiver.
Why do you need to ground a turntable?
Grounding a turntable is essential for several reasons. Firstly, it helps eliminate unwanted electrical noise and interference that can degrade the audio quality of your vinyl recordings. When playing vinyl records, the cartridge picks up the minute vibrations in the grooves and converts them into an electrical signal. However, the turntable’s internal components, such as the motor, power supply, and circuitry, can introduce electrical noise into this signal chain.
Electrical noise can manifest as a buzzing or humming sound, audible pops and clicks, or even distortion in the audio. By grounding the turntable, you provide a dedicated path for this unwanted noise to dissipate, effectively reducing or eliminating its presence in the audio signal and ensuring a clean and accurate playback.
Additionally, grounding a turntable can help protect both the turntable itself and connected audio equipment from potential electrical damage. Without proper grounding, electrical charges can build up within the turntable’s components and cause static discharge, which can harm sensitive electronics. By grounding the turntable, you provide a safe and controlled path for these electrical charges to flow, minimizing the risk of damage to your equipment.
Another reason to ground a turntable is to maintain consistent performance and minimize external environmental interference. Grounding helps stabilize the electrical potential of the turntable’s chassis, ensuring a steady reference point for accurate playback. It helps combat issues like ground loops, which can occur when multiple audio devices share a common ground and create a hum or buzz in the audio.
Overall, grounding a turntable is crucial for optimizing the audio quality, protecting equipment, and maintaining stability in the playback system. It is especially important if you are experiencing any form of electrical noise or interference during vinyl playback. By implementing a proper grounding solution, you can enhance your listening experience and fully enjoy the rich and immersive sound of your vinyl records.
Grounding options for turntables without receivers
If you have a turntable without a receiver or amplifier that includes a ground terminal, you might be wondering how to effectively ground your turntable. Thankfully, there are several options available that can help you achieve proper grounding and improve the performance of your turntable.
Here are some grounding options for turntables without receivers:
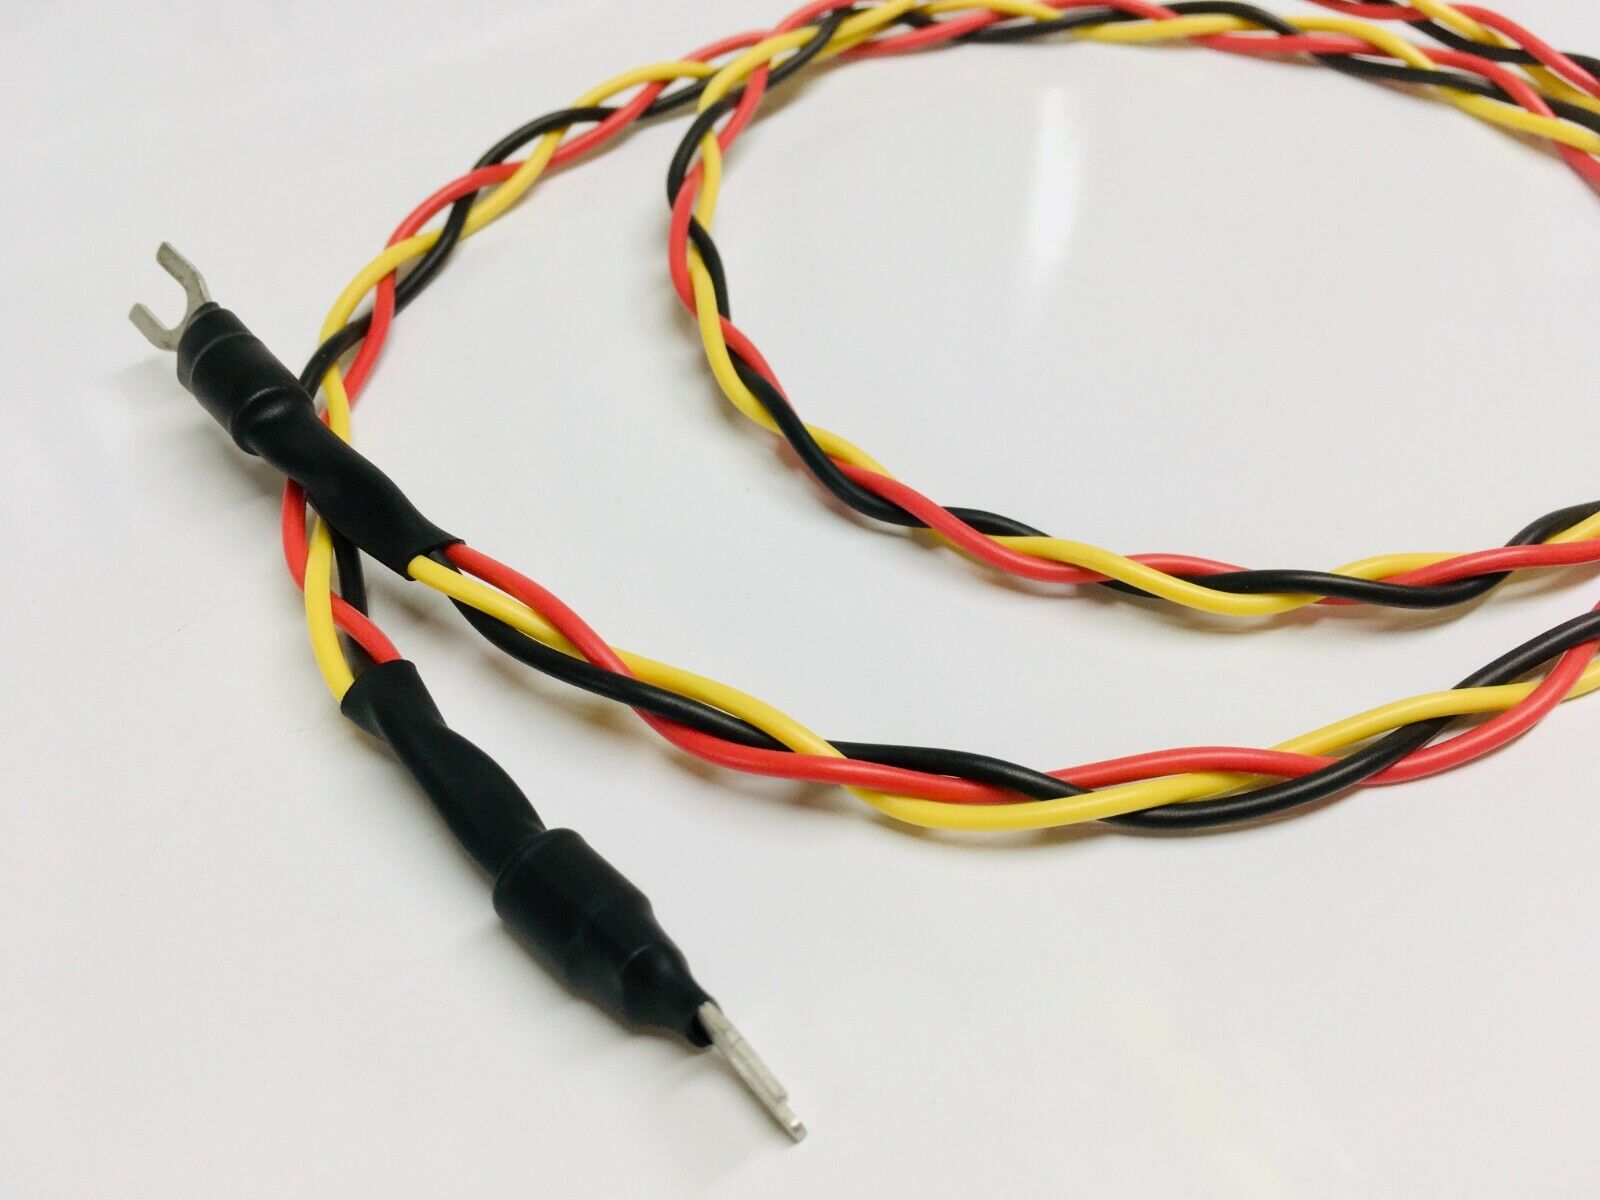
- Method 1: Using a dedicated ground wire: One of the simplest and most effective ways to ground a turntable without a receiver is by using a dedicated ground wire. This method requires attaching a separate wire from the turntable’s grounding connection point to a suitable ground source, such as a ground screw or a cold water pipe.
- Method 2: Using a grounding block: A grounding block is a device that provides multiple grounding connections. By connecting your turntable’s ground wire to a grounding block, you can ensure a solid and reliable grounding connection. The grounding block can then be connected to a suitable ground source.
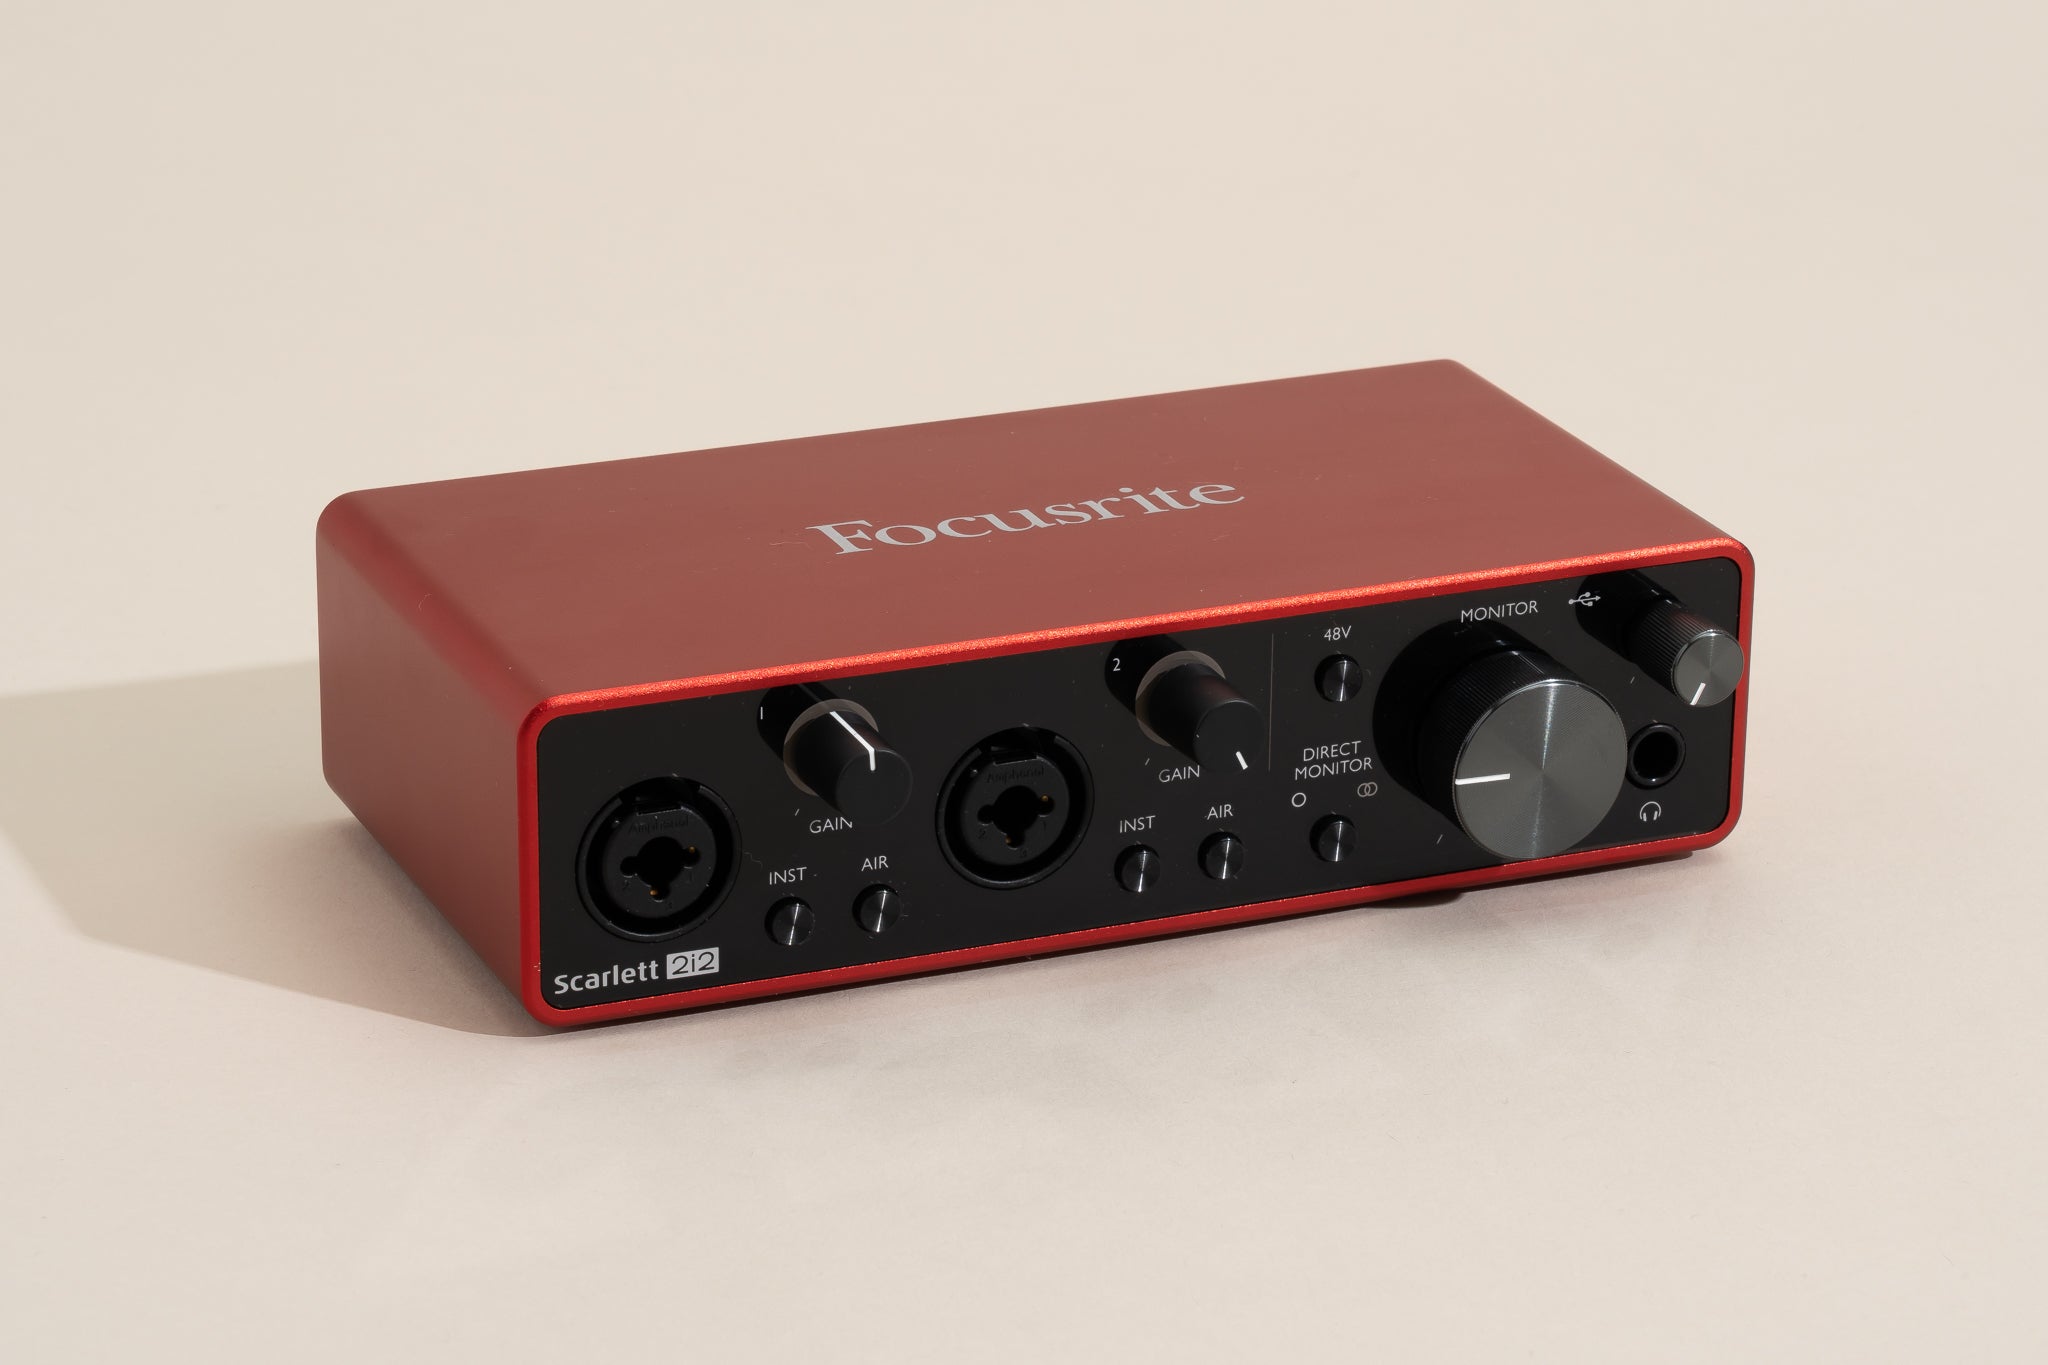
- Method 3: Using a phono preamp with a built-in ground connection: If you are using a turntable without a built-in phono preamp, you can consider using an external phono preamp with a built-in ground connection. These preamps provide a dedicated grounding terminal that can be connected to the turntable, allowing for proper grounding.
- Method 4: Using a grounding mat or sheet: Another option to ground a turntable without a receiver is by using a grounding mat or sheet. These are conductive mats or sheets that can be placed underneath the turntable. They provide a grounding connection by creating a conductive surface that helps dissipate electrical noise.
Each of these methods can effectively ground your turntable and improve audio performance. The choice of method depends on the availability of suitable grounding sources and personal preference. Experimenting with different grounding options can help you find the best solution for your specific setup.
Remember, proper grounding is crucial for minimizing electrical noise, protecting your equipment, and ensuring the best possible audio quality from your turntable.
Method 1: Using a dedicated ground wire
One of the simplest and most straightforward methods for grounding a turntable without a receiver is by using a dedicated ground wire. This method involves connecting a separate wire from the turntable’s grounding connection point to a suitable ground source. Here’s how you can implement this method:
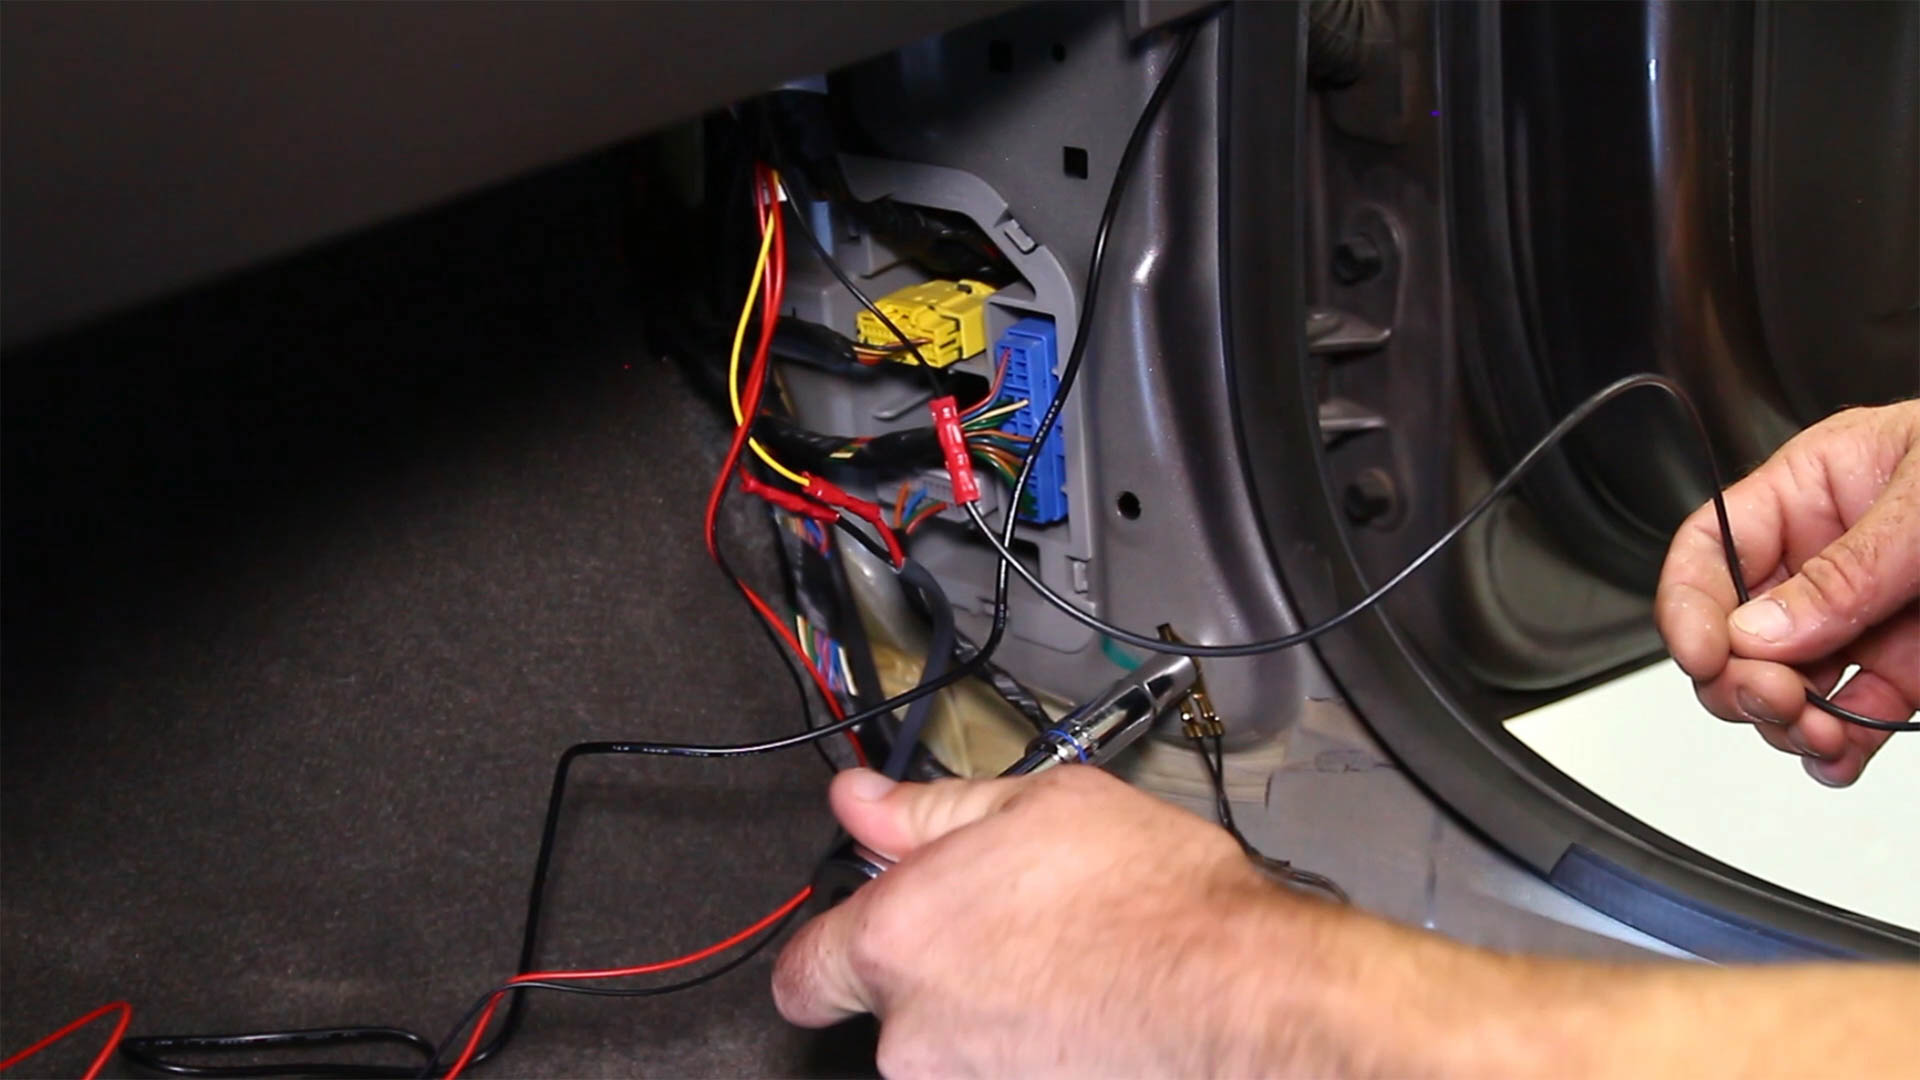
- Locate the grounding connection: Start by identifying the grounding connection point on your turntable. This is typically a small screw or terminal labeled “GND” or “GROUND”.
- Prepare the ground wire: Obtain a length of suitable grounding wire. Ideally, this wire should be insulated and have an appropriate gauge (usually around 18-22 AWG). Strip the ends of the wire to expose a small section of bare copper.
- Find a suitable ground source: Identify a suitable ground source to which you can connect the turntable’s ground wire. This can be a nearby metal cold water pipe, a dedicated grounding rod, or a grounding screw in an electrical outlet or junction box. Ensure that the selected ground source is properly grounded and connected to the electrical system’s ground.
- Make the connections: Connect one end of the ground wire to the turntable’s grounding connection point. Ensure a secure and tight connection. On the other end of the wire, securely attach it to the chosen ground source. If necessary, you may need to use a grounding screw or a clamp to make this connection.
- Test for proper grounding: After connecting the ground wire, power on the turntable and play some music. Listen for any noticeable reduction in electrical noise or interference. If you hear a significant improvement in audio quality, it indicates that the turntable is properly grounded.
Using a dedicated ground wire is a reliable and effective method for grounding turntables without receivers. It provides a direct and controlled path for electrical noise to dissipate and helps in achieving clean and accurate audio playback. Remember to exercise caution when working with electrical connections and ensure that the ground source is properly grounded in accordance with electrical safety regulations.
Method 2: Using a grounding block
If you have a turntable without a receiver and want to ensure proper grounding, using a grounding block is a convenient and effective option. A grounding block is a device that provides multiple grounding connections, allowing you to connect your turntable with ease. Here’s how you can implement this method:
- Acquire a grounding block: Purchase a grounding block from a reputable audio equipment supplier. These blocks typically have multiple grounding terminals or binding posts.
- Identify the grounding connection points: Locate the grounding connection points on your turntable. These are usually labeled “GND” or “GROUND” and are commonly found near the phono outputs or on the rear panel of the turntable.
- Prepare the ground wires: Obtain sufficient lengths of insulated grounding wire. Strip the ends of the wires to expose a small section of bare copper.
- Connect the turntable to the grounding block: Connect one end of each ground wire to a separate grounding connection point on the turntable. Ensure a secure and tight connection for each wire.
- Connect the grounding block to a ground source: Identify a suitable ground source, such as a grounded electrical outlet or a cold water pipe. Connect the other ends of the ground wires to the available grounding terminals or binding posts on the grounding block.
- Test and verify grounding: Power on the turntable and listen for any reductions in electrical noise or interference. If the audio quality improves significantly, it indicates that the turntable is properly grounded. Additionally, you can use a multimeter to check for continuity between the turntable’s grounding connection and the ground source to ensure a proper connection.
Using a grounding block simplifies the grounding process, allowing you to connect multiple audio devices or accessories to a single ground source. It provides a centralized and organized solution for grounding your turntable without a receiver. When selecting a grounding block, ensure that it offers sufficient grounding terminals or binding posts to accommodate your specific setup.
Remember, proper grounding is crucial for maintaining audio quality and reducing unwanted noise. Taking the time to properly ground your turntable can greatly enhance your listening experience.
Method 3: Using a phono preamp with a built-in ground connection
If you have a turntable without a built-in phono preamp and are looking for a solution to ground it without a receiver, using a phono preamp with a built-in ground connection is an excellent option. A phono preamp (also known as a phono stage or preamplifier) amplifies and equalizes the low-level signal from your turntable to a suitable line-level signal for your audio system. Here’s how you can utilize this method:
- Acquire a phono preamp with a built-in ground connection: Look for a phono preamp that has a dedicated grounding terminal or binding post. Ensure that the preamp is compatible with your turntable’s cartridge type.
- Locate the grounding connection point: Identify the grounding connection point on your turntable. It is typically labeled “GND” or “GROUND” and can be found near the phono outputs or on the rear panel of the turntable.
- Prepare the ground wire: Obtain a suitable length of insulated grounding wire. Strip the ends of the wire to expose a small section of bare copper.
- Connect the turntable to the phono preamp: Connect one end of the ground wire to the turntable’s grounding connection point. Ensure a secure and tight connection.
- Connect the other end to the phono preamp: Attach the other end of the ground wire to the phono preamp’s grounding terminal or binding post. Make sure the connection is secure.
- Connect the phono preamp to your audio system: Follow the manufacturer’s instructions to connect the phono preamp to your amplifier, receiver, or powered speakers using appropriate audio cables.
- Power on the turntable and the audio system: Once everything is connected, power on the turntable and the audio system. Play some music and listen for any improvements in sound quality and reductions in electrical noise.
Using a phono preamp with a built-in ground connection ensures proper grounding while providing the necessary amplification and equalization for your turntable’s audio signal. It allows you to integrate the preamp into your audio setup and achieve clean and accurate sound reproduction.
When selecting a phono preamp, consider factors such as compatibility with your turntable’s cartridge, the quality of the preamp’s components, and the overall sound characteristics it provides. Make sure to follow the manufacturer’s instructions for proper installation and setup to achieve optimal results.
By utilizing a phono preamp with a built-in ground connection, you can enhance the audio performance of your turntable without the need for a receiver.
Method 4: Using a grounding mat or sheet
Another method to ground a turntable without a receiver is by using a grounding mat or sheet. These conductive materials provide a way to dissipate electrical noise and maintain a stable ground connection for your turntable. Here’s how you can implement this method:
- Acquire a grounding mat or sheet: Look for a specially designed grounding mat or sheet that is suitable for turntable use. These are typically made of conductive materials such as carbon or vinyl.
- Prepare your workspace: Clear a space on your turntable’s surface where the mat or sheet will be placed. Ensure it is clean and free from dust or debris.
- Position the grounding mat or sheet: Lay the grounding mat or sheet on the turntable’s surface, ensuring that it covers a reasonable area and makes direct contact with the turntable’s chassis.
- Connect the grounding mat or sheet: Locate the grounding connection point on your turntable, typically labeled “GND” or “GROUND.” Attach a grounding wire to this point, and then connect the other end of the wire to a metal grommet or screw on the grounding mat or sheet, creating a secure connection.
- Ground the mat or sheet: Find a suitable ground source, such as a grounded electrical outlet or a cold water pipe. Connect the grounding mat or sheet to this source using a separate grounding wire, ensuring a proper and secure connection.
- Test for proper grounding: Power on the turntable and play some music. Listen for any improvements in audio quality, such as reduced electrical noise or interference. Additionally, you can use a multimeter to check for continuity between the turntable’s grounding connection and the ground source to confirm a solid ground connection.
Using a grounding mat or sheet provides a dedicated conductive surface that helps dissipate electrical noise from your turntable. It offers a simple and effective way to maintain a stable ground connection and improve the audio performance of your turntable without the need for a traditional receiver grounding terminal.
When selecting a grounding mat or sheet, look for a product specifically designed for turntables. Ensure that it provides sufficient coverage for your turntable’s chassis and offers good conductivity. Following the manufacturer’s instructions for proper installation and maintenance will help ensure optimal results and long-term grounding effectiveness.
By employing a grounding mat or sheet, you can effectively ground your turntable and enjoy cleaner, more accurate sound reproduction, enhancing your overall listening experience.
Conclusion
Grounding a turntable is an essential step in ensuring optimal performance and audio quality. While many turntables come with built-in grounding options for receivers, there are still effective methods available for grounding turntables without receivers.
In this article, we explored several grounding options for turntables without receivers. These methods include using a dedicated ground wire, utilizing a grounding block, employing a phono preamp with a built-in ground connection, and using a grounding mat or sheet.
Using a dedicated ground wire offers a straightforward and reliable solution, connecting the turntable’s grounding point to a suitable ground source. A grounding block simplifies the process by providing multiple grounding connections in one device. Incorporating a phono preamp with a built-in ground connection ensures both the amplification of the audio signal and proper grounding. And utilizing a grounding mat or sheet creates a conductive surface that helps dissipate electrical noise.
Each method has its advantages and can effectively ground a turntable without a receiver. The choice depends on personal preference, compatibility, and the specific needs of your setup.
Proper grounding helps eliminate unwanted electrical noise and interference, protecting equipment, and enhancing audio quality. It ensures a clean and accurate sound reproduction, allowing you to fully enjoy the rich and immersive experience of vinyl records.
When implementing any of these grounding methods, it is essential to follow the manufacturer’s instructions, ensure proper connections, and exercise caution when working with electrical components.
By grounding your turntable without a receiver, you can optimize its performance, minimize electrical noise, and revel in the authentic sound of vinyl records. So take the necessary steps to ground your turntable and embark on a remarkable audio journey.