Home>Devices & Equipment>Turntable>How To Set Anti-Skating On Turntable

Turntable
How To Set Anti-Skating On Turntable
Modified: January 22, 2024
Learn how to properly set the anti-skating feature on your turntable for optimal performance and sound quality. Expert tips and techniques for a better listening experience.
(Many of the links in this article redirect to a specific reviewed product. Your purchase of these products through affiliate links helps to generate commission for AudioLover.com, at no extra cost. Learn more)
Table of Contents
Introduction
Welcome to the world of turntables! Whether you’re a seasoned audiophile or just starting to explore the realm of vinyl records, understanding the inner workings of a turntable is essential. One critical aspect of turntable setup is anti-skating. In this article, we will delve into what anti-skating is, why it’s important, and how you can set it properly on your turntable.
Before we dive into the specifics, let’s briefly touch upon the concept of skating. Skating refers to the lateral force exerted on the tonearm of a turntable as it moves across the record surface. This force can cause the stylus to exert uneven pressure on the grooves, leading to distortion and mistracking. To counter this, turntables are equipped with an anti-skating mechanism.
The anti-skating feature is designed to apply an equal and opposite force to counteract the skating force. It helps to keep the stylus aligned with the groove walls, ensuring accurate playback and minimizing unnecessary wear on your records. Understanding how to properly set the anti-skating on your turntable will result in improved sound quality and prolonged stylus and record life.
Now that we have a clear understanding of what anti-skating is and why it’s essential, let’s delve into the components of a turntable and how they interact to facilitate the proper functioning of the anti-skating mechanism.
What is Anti-Skating?
Anti-skating, also known as anti-stylus force, is a mechanism found in turntables that helps to counteract the inward force exerted on the tonearm as it moves across the record surface. This force, known as skating force, occurs due to the friction between the stylus and the record groove. Without appropriate anti-skating adjustment, the tonearm can be pulled towards the center of the record, causing the stylus to exert uneven pressure on the groove walls.
The purpose of anti-skating is to apply an equal and opposite force to counteract the skating force, ensuring that the stylus remains in proper alignment with the groove walls. This helps to maintain consistent tracking, prevents distortion, and prolongs the life of your records and stylus. By properly setting the anti-skating on your turntable, you can achieve accurate and faithful playback of your vinyl collection.
It’s important to note that the amount of anti-skating force required can vary depending on factors such as cartridge type, tracking force, and tonearm design. Some turntables have a built-in anti-skating mechanism, while others may require manual adjustment. Understanding how to set the anti-skating correctly for your specific setup is crucial in achieving optimal sound quality.
It’s worth mentioning that anti-skating is not an exact science. Different cartridges and tonearms may require slightly different anti-skating settings to achieve the best results. It’s recommended to consult the user manual of your turntable or seek guidance from a knowledgeable source to determine the appropriate anti-skating adjustment for your setup.
Now that we understand the purpose and importance of anti-skating, let’s explore the different components of a turntable that contribute to its functionality.
Why is Anti-Skating Important?
The anti-skating feature is a crucial aspect of turntable setup for several reasons. Let’s explore why anti-skating is important and how it can significantly impact your listening experience:
- Promotes Accurate Tracking: One of the primary reasons anti-skating is important is that it helps to ensure accurate tracking of the stylus within the record groove. By applying an equal and opposite force to counteract the skating force, the anti-skating mechanism helps to keep the stylus aligned with the groove walls. This promotes consistent and precise tracking, resulting in faithful reproduction of the audio recorded on the vinyl.
- Minimizes Distortion and Mistracking: When skating force is not properly countered, the stylus can exert uneven pressure on the groove walls, leading to distortion and mistracking. This can result in an altered sound quality where certain frequencies are exaggerated or lost. By properly setting the anti-skating, you can minimize these issues and enjoy a cleaner and more accurate audio playback.
- Protects Your Records and Stylus: Skating force can create excessive wear on both your records and stylus. When the stylus exerts uneven pressure on the groove walls, it can cause unnecessary wear and tear on the delicate vinyl surface. By using anti-skating to maintain proper alignment, you can extend the lifespan of your records. Additionally, accurate tracking reduces the stress on the stylus, prolonging its longevity and ensuring optimal performance.
- Optimizes Sound Quality: Anti-skating plays a critical role in achieving optimal sound quality from your turntable. By maintaining accurate tracking and reducing distortion, anti-skating helps to preserve the fidelity of the audio signal. This results in a more detailed, dynamic, and enjoyable listening experience.
- Supports Cartridge and Tonearm Compatibility: Different cartridges and tonearms may have different tracking characteristics. The anti-skating adjustment allows you to tailor the force according to your specific setup, ensuring compatibility between the cartridge, tonearm, and turntable. This compatibility optimizes performance and reduces the risk of damage to the stylus or records.
Overall, anti-skating is essential to achieve accurate tracking, minimize distortion, protect your records and stylus, optimize sound quality, and maintain compatibility between cartridge and tonearm. Properly setting the anti-skating on your turntable is crucial for a superior listening experience and to ensure the longevity of your vinyl collection.
Now that we understand the importance of anti-skating, let’s explore the different components of a turntable that contribute to its functionality.
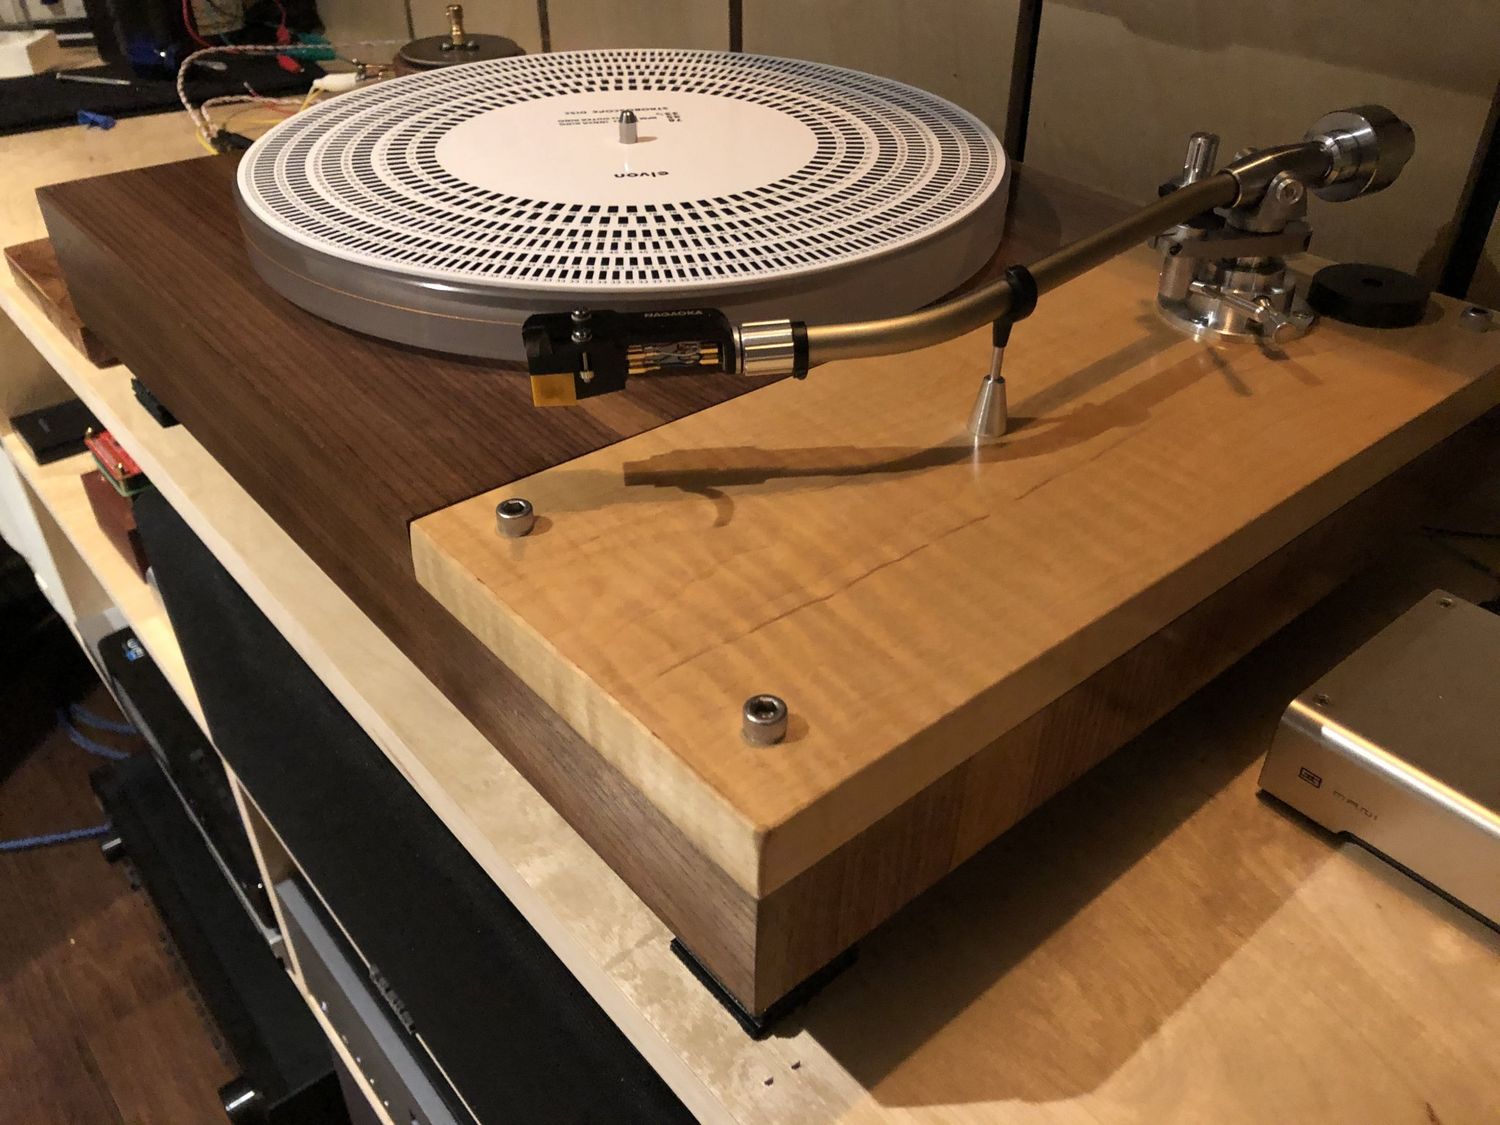
Components of a Turntable
A turntable consists of various components that work together to create a smooth and accurate playback experience. Understanding these components is essential for setting the anti-skating correctly. Let’s take a closer look at the key components:
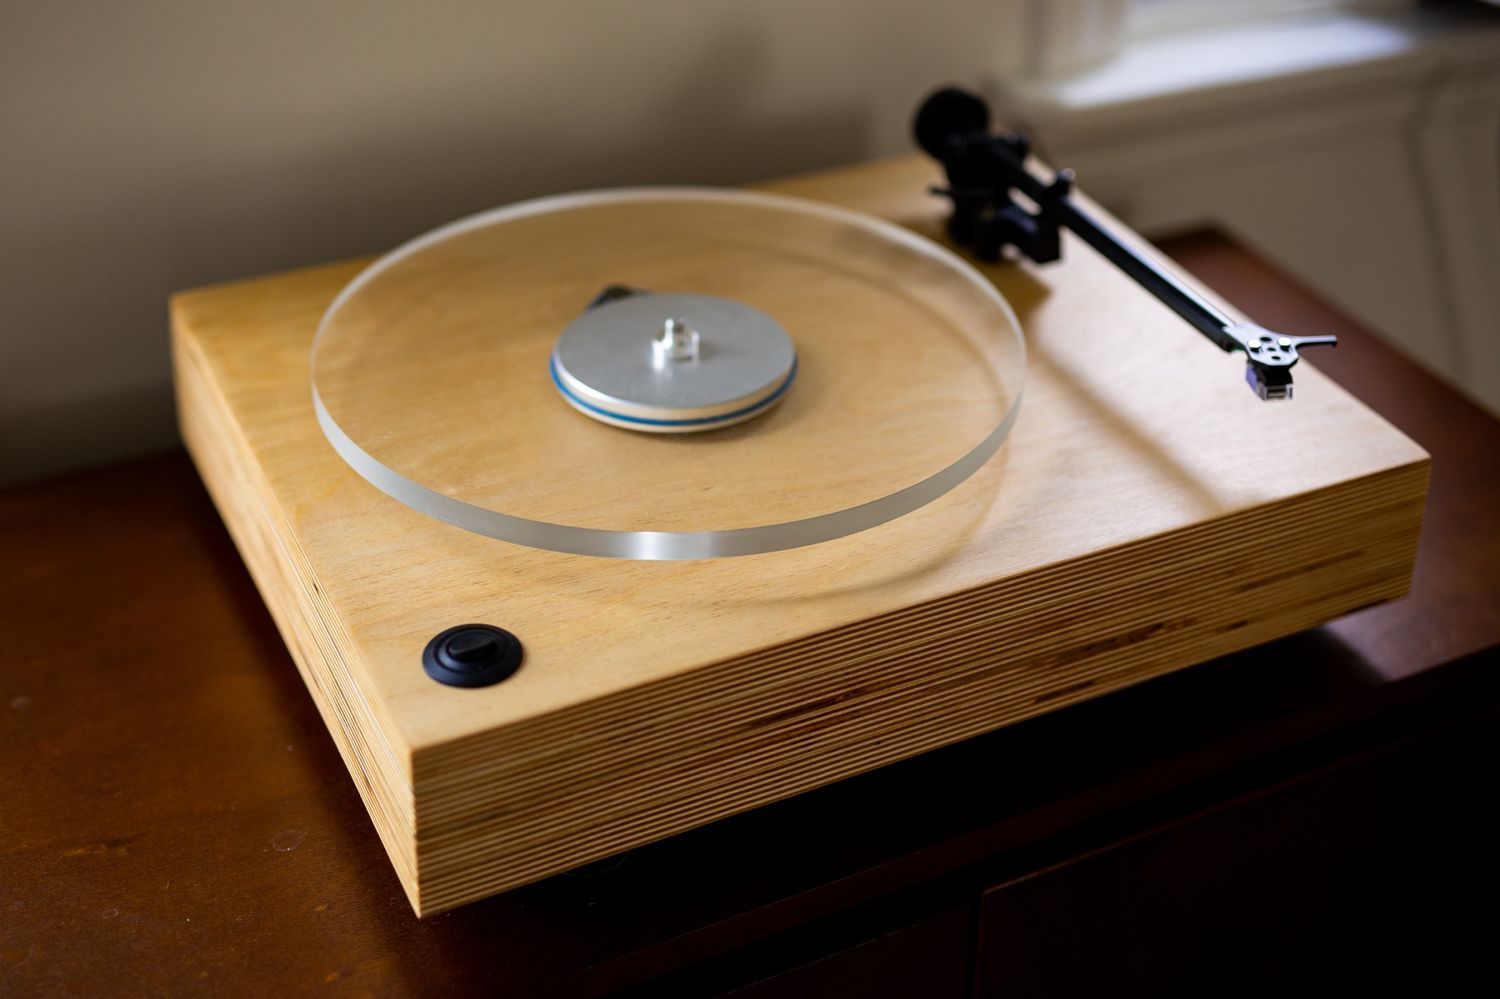
- Plinth: The plinth is the base of the turntable and provides stability and vibration isolation. It is typically made from dense materials like acrylic, wood, or metal.
- Platter: The platter is the rotating disc where you place your vinyl record. It is usually made from materials such as aluminum, acrylic, or glass. A heavy and well-balanced platter helps reduce unwanted vibrations and ensures consistent speed.
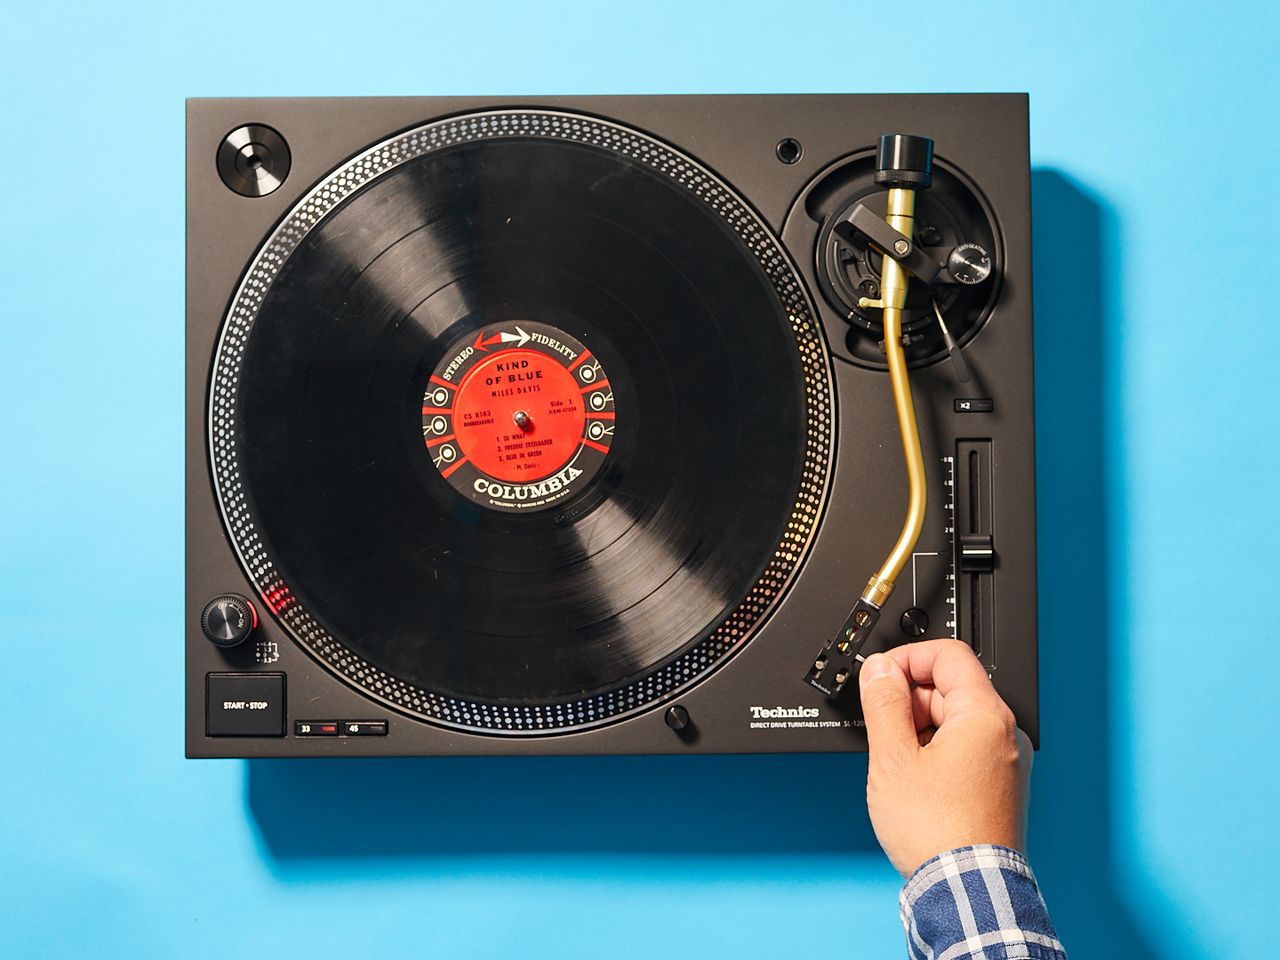
- Tonearm: The tonearm is the part of the turntable that holds the cartridge and stylus. It is responsible for tracking the grooves accurately. The tonearm should have smooth movement and be properly balanced to maintain accurate tracking.
- Cartridge: The cartridge contains the stylus (needle) that reads the grooves of the record. It converts the mechanical movements of the stylus into an electrical signal. There are different types of cartridges, including moving magnet (MM) and moving coil (MC) cartridges, each with its own tracking characteristics.
- Counterweight: The counterweight is located at the end of the tonearm and provides balance. It is adjustable and used to set the tracking force, which is the downward pressure the stylus exerts on the record. Proper tracking force is crucial for accurate playback and reducing record and stylus wear.
- Anti-Skating Adjustment: The anti-skating adjustment mechanism counteracts the inward force exerted on the tonearm. It helps maintain proper alignment of the stylus with the groove walls and prevents distortion and mistracking. Some turntables have a built-in anti-skating mechanism, while others require manual adjustment using a dial or weight.
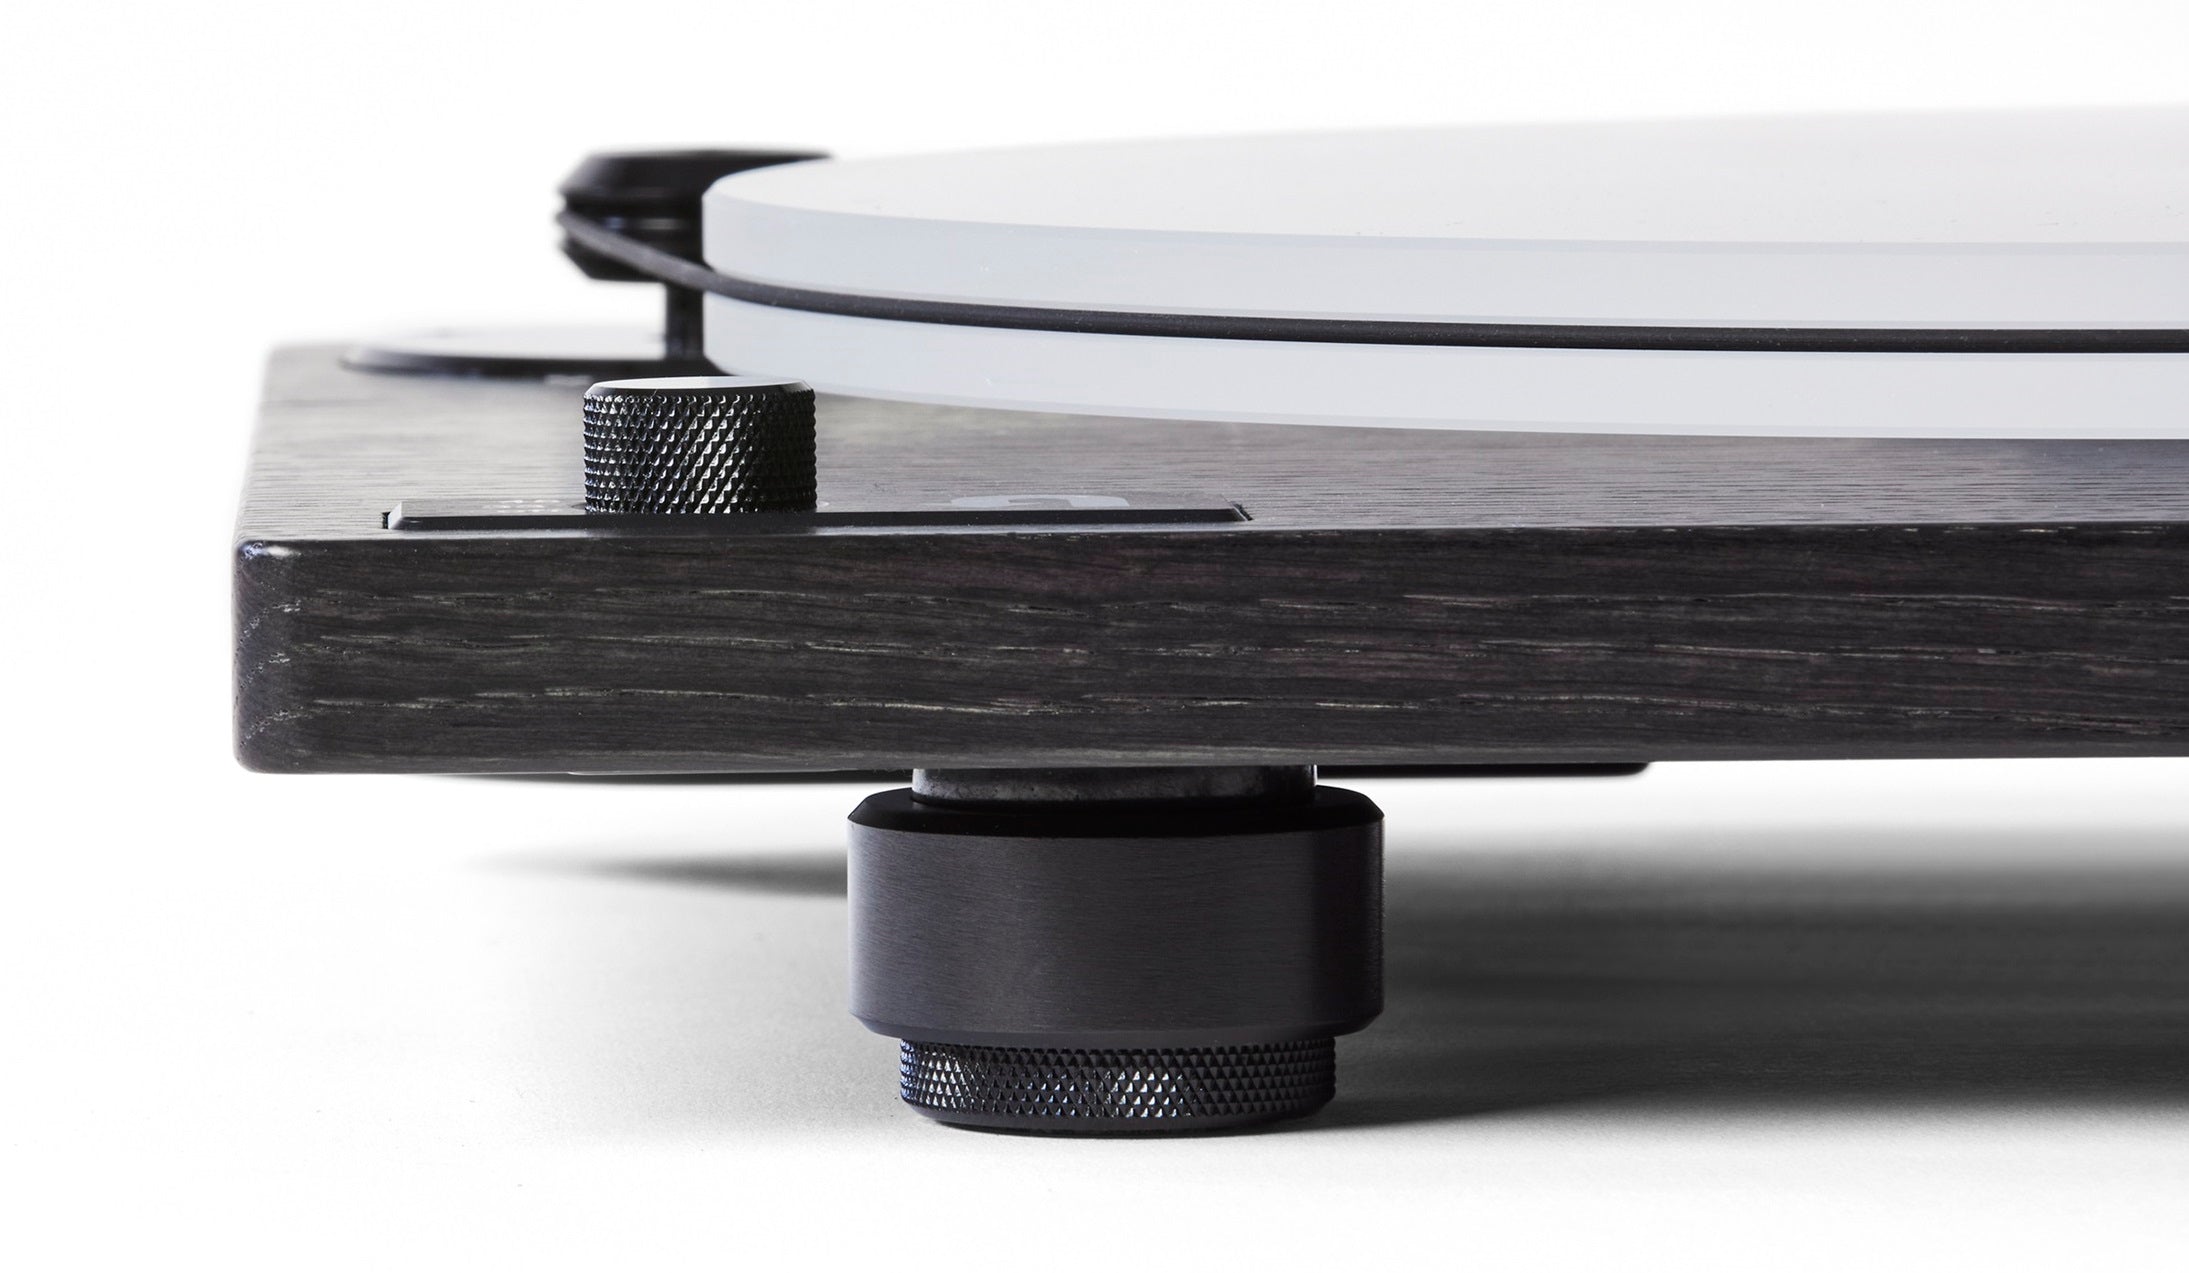
- Base and Isolation: A sturdy and stable base is important to minimize vibration and resonance. Many turntables feature isolation feet or mats that further dampen vibrations and prevent external interference from affecting the playback quality.
- Motor and Drive System: The motor and drive system are responsible for rotating the platter at a constant speed. There are different drive types, including belt-drive and direct-drive. Belt-drive systems are known for their quieter operation, while direct-drive systems offer better torque and speed stability.
- Speed Control: Turntables typically offer different speed options, commonly 33 1/3, 45, and sometimes 78 RPM. Accurate speed control ensures proper playback of records recorded at different speeds.
Understanding these components and their functionality will help you set the anti-skating correctly and optimize the performance of your turntable. Now that we have explored the components, let’s move on to the steps to set the anti-skating on your turntable.
Steps to Set Anti-Skating on a Turntable
Setting the anti-skating correctly is crucial for accurate tracking and optimal sound quality on your turntable. While the specific steps may vary depending on the model and design of your turntable, here is a general guide to help you through the process:
- Refer to the User Manual: Start by consulting the user manual of your turntable. It will provide specific instructions on how to adjust the anti-skating mechanism for your particular model. It’s important to follow the manufacturer’s guidelines for optimal performance.
- Locate the Anti-Skating Adjustment: Identify the anti-skating adjustment mechanism on your turntable. This could be a dial, weight, or other mechanism. It is usually located near the base or tonearm area of the turntable.
- Set the Tonearm to its Resting Position: Lift the tonearm or cueing lever and gently move it to its resting position away from the platter and record. Ensure that the stylus is not in contact with anything.
- Adjust the Counterweight: Proper counterweight adjustment is essential for accurate anti-skating. Refer to the user manual to determine the appropriate tracking force for your cartridge. Set the counterweight to this recommended tracking force by rotating it to the specified value.
- Set the Anti-Skating: Turn the anti-skating adjustment dial or apply the appropriate weight according to the recommended value for your tracking force. This value is typically half of the recommended tracking force. For example, if the recommended tracking force is 2 grams, set the anti-skating to 1 gram.
- Test the Tracking: With the anti-skating set, carefully lower the tonearm onto the record. Observe the playback and listen for any distortion or mistracking. If necessary, make slight adjustments to the anti-skating to optimize the tracking performance. Repeat this step until you achieve smooth and accurate playback.
- Verify with Alignment Tools: To ensure proper alignment, you can use alignment tools such as protractors or alignment gauges. These tools help you confirm that the stylus is aligned correctly within the grooves. Adjust the anti-skating if necessary to achieve accurate alignment.
- Fine-Tune if Needed: Fine-tuning the anti-skating may be necessary as you experiment with different records, cartridges, or tonearms. Take the time to listen attentively and make adjustments for optimal sound quality and tracking performance.
Remember, the steps provided are general guidelines. Always refer to your turntable’s user manual and consult with experts or knowledgeable sources for specific instructions tailored to your setup. Setting the anti-skating properly ensures accurate playback and helps preserve the integrity of your records and stylus.
With the anti-skating now set, you can enjoy your vinyl collection with enhanced audio fidelity and peace of mind.
Conclusion
Properly setting the anti-skating on your turntable is essential for achieving accurate tracking, minimizing distortion, and preserving the condition of your records and stylus. By understanding the concept of anti-skating, the importance of its role in turntable performance, and the components involved, you can ensure optimal sound quality and a prolonged lifespan for your vinyl collection.
Remember that anti-skating adjustment is not a one-size-fits-all solution. Different cartridges, tonearms, and turntables may require different settings to achieve the best results. Consult the user manual of your specific turntable for instructions tailored to your setup or seek guidance from experts in the field.
Follow the steps outlined in this article as a general guide, including referencing the user manual, locating the anti-skating adjustment mechanism, setting the tonearm to its resting position, adjusting the counterweight, setting the anti-skating, testing the tracking, and verifying with alignment tools. Fine-tune as needed to optimize performance.
By taking the time to properly set the anti-skating, you will enjoy faithful audio reproduction, reduced record and stylus wear, and an overall enhanced listening experience. Plus, you’ll have the satisfaction of knowing that you are caring for your vinyl records and turntable investment.
So, dive into the world of turntables with confidence, armed with the knowledge of anti-skating and the ability to set it correctly. Immerse yourself in the rich sound and nostalgic charm of vinyl, all while knowing that you’re getting the best out of your records and turntable setup.
Happy listening!