Home>Devices & Equipment>Turntable>I Have An Old Turntable With Analog Audio Wire, How Can I Put It Into 3.5 Mm Wire
Turntable
I Have An Old Turntable With Analog Audio Wire, How Can I Put It Into 3.5 Mm Wire
Published: January 18, 2024
Learn how to connect your old turntable with analog audio wire to a modern device using a 3.5mm wire. Upgrade your audio experience with this simple solution.
(Many of the links in this article redirect to a specific reviewed product. Your purchase of these products through affiliate links helps to generate commission for AudioLover.com, at no extra cost. Learn more)
Table of Contents
Introduction
Listening to vinyl records can be a truly immersive experience, transporting you back in time to a bygone era of music. If you have an old turntable with an analog audio wire and want to connect it to modern devices with a 3.5 mm wire, you’re in the right place! In this article, we will guide you through the process of converting your analog audio wire to a 3.5 mm wire, allowing you to enjoy your vinyl collection with ease.
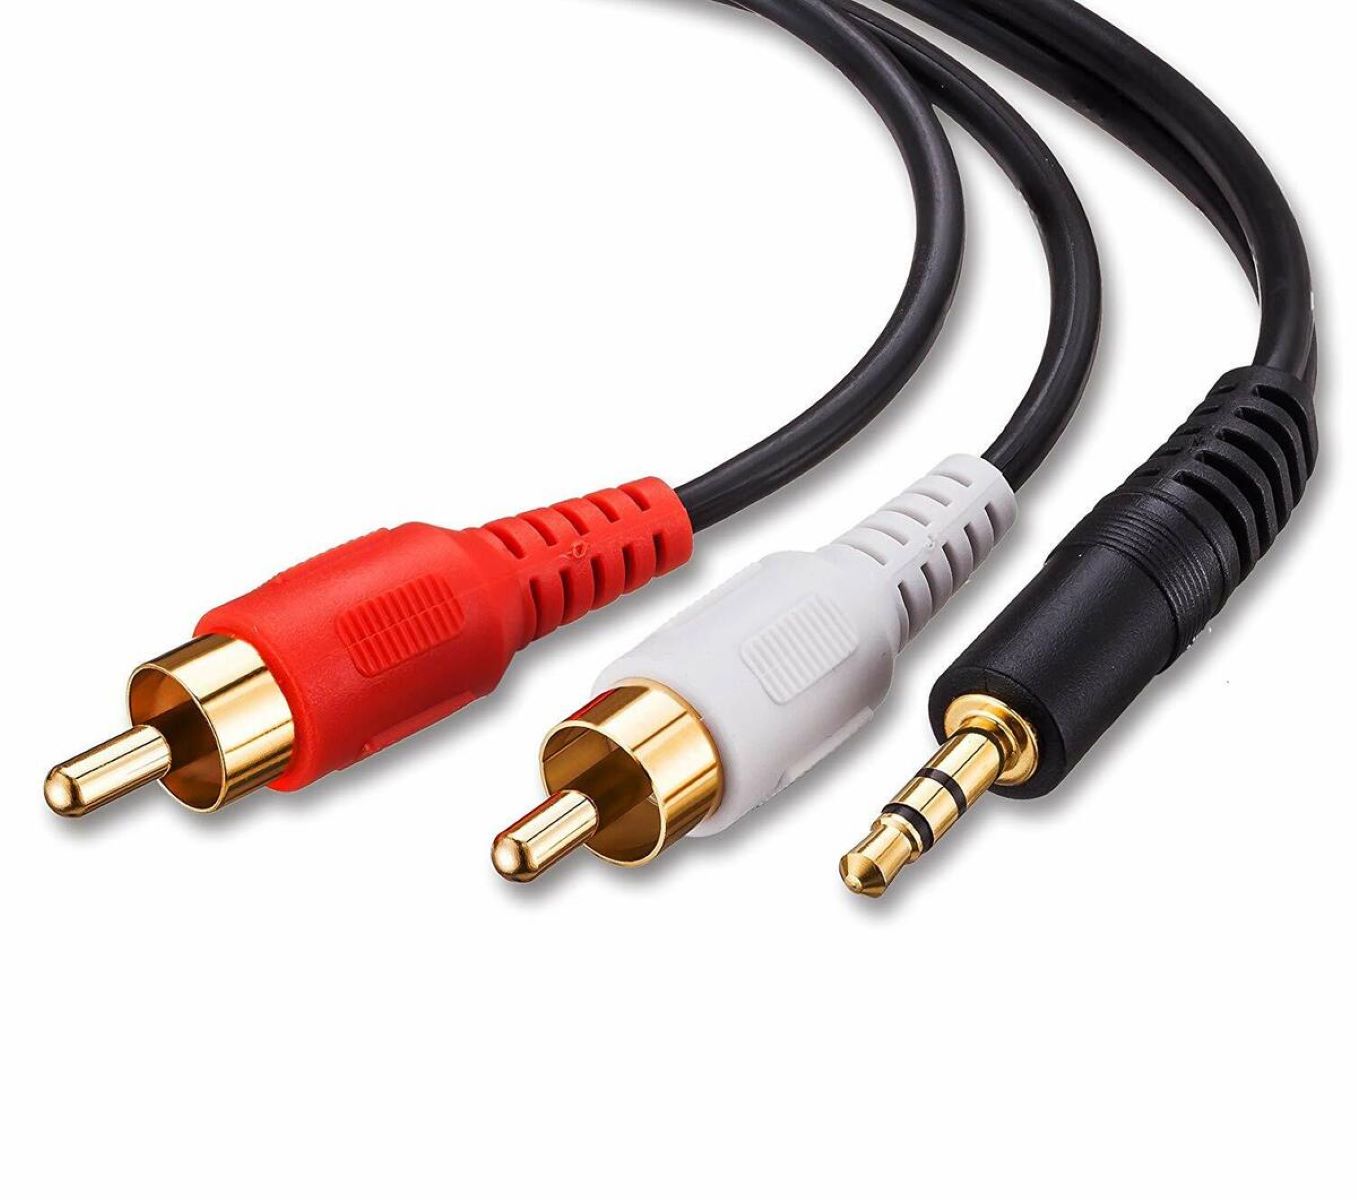
The analog audio wire, also known as an RCA cable, has been a standard connection method for turntables and audio equipment for decades. It consists of left and right audio channels, typically represented by red and white color-coded connectors. On the other hand, a 3.5 mm wire, commonly found on smartphones, laptops, and portable audio devices, is a versatile and convenient connection option.
By converting your analog audio wire to a 3.5 mm wire, you can connect your old turntable to headphones, speakers, or any other device with a 3.5 mm jack. This opens up a world of possibilities, allowing you to enjoy your vinyl collection in a more convenient and portable manner.
Before diving into the process, it’s important to ensure that your old turntable is compatible with this conversion. Some older turntables may not have a built-in preamp, which is necessary for connecting to devices with a 3.5 mm jack. If your turntable doesn’t have a preamp, you will need to purchase an external preamp to complete the conversion successfully.
In the following sections, we will explore the steps required to convert your analog audio wire to a 3.5 mm wire. We will also discuss the tools and equipment you will need for the process. So let’s get started and bring your vintage turntable into the modern age!
Understanding the Analog Audio Wire and 3.5 mm Wire
Before we delve into the process of converting your old turntable’s analog audio wire to a 3.5 mm wire, it’s essential to have a clear understanding of these two types of cables and their functionalities.
The analog audio wire, also known as an RCA cable, has been a longstanding method of connecting audio equipment. It consists of two separate cables: one for the left audio channel and another for the right audio channel. These cables are typically color-coded, with the left channel represented by a white connector and the right channel by a red connector. The analog audio wire is widely used in turntables, amplifiers, and other audio devices to transmit analogue audio signals.
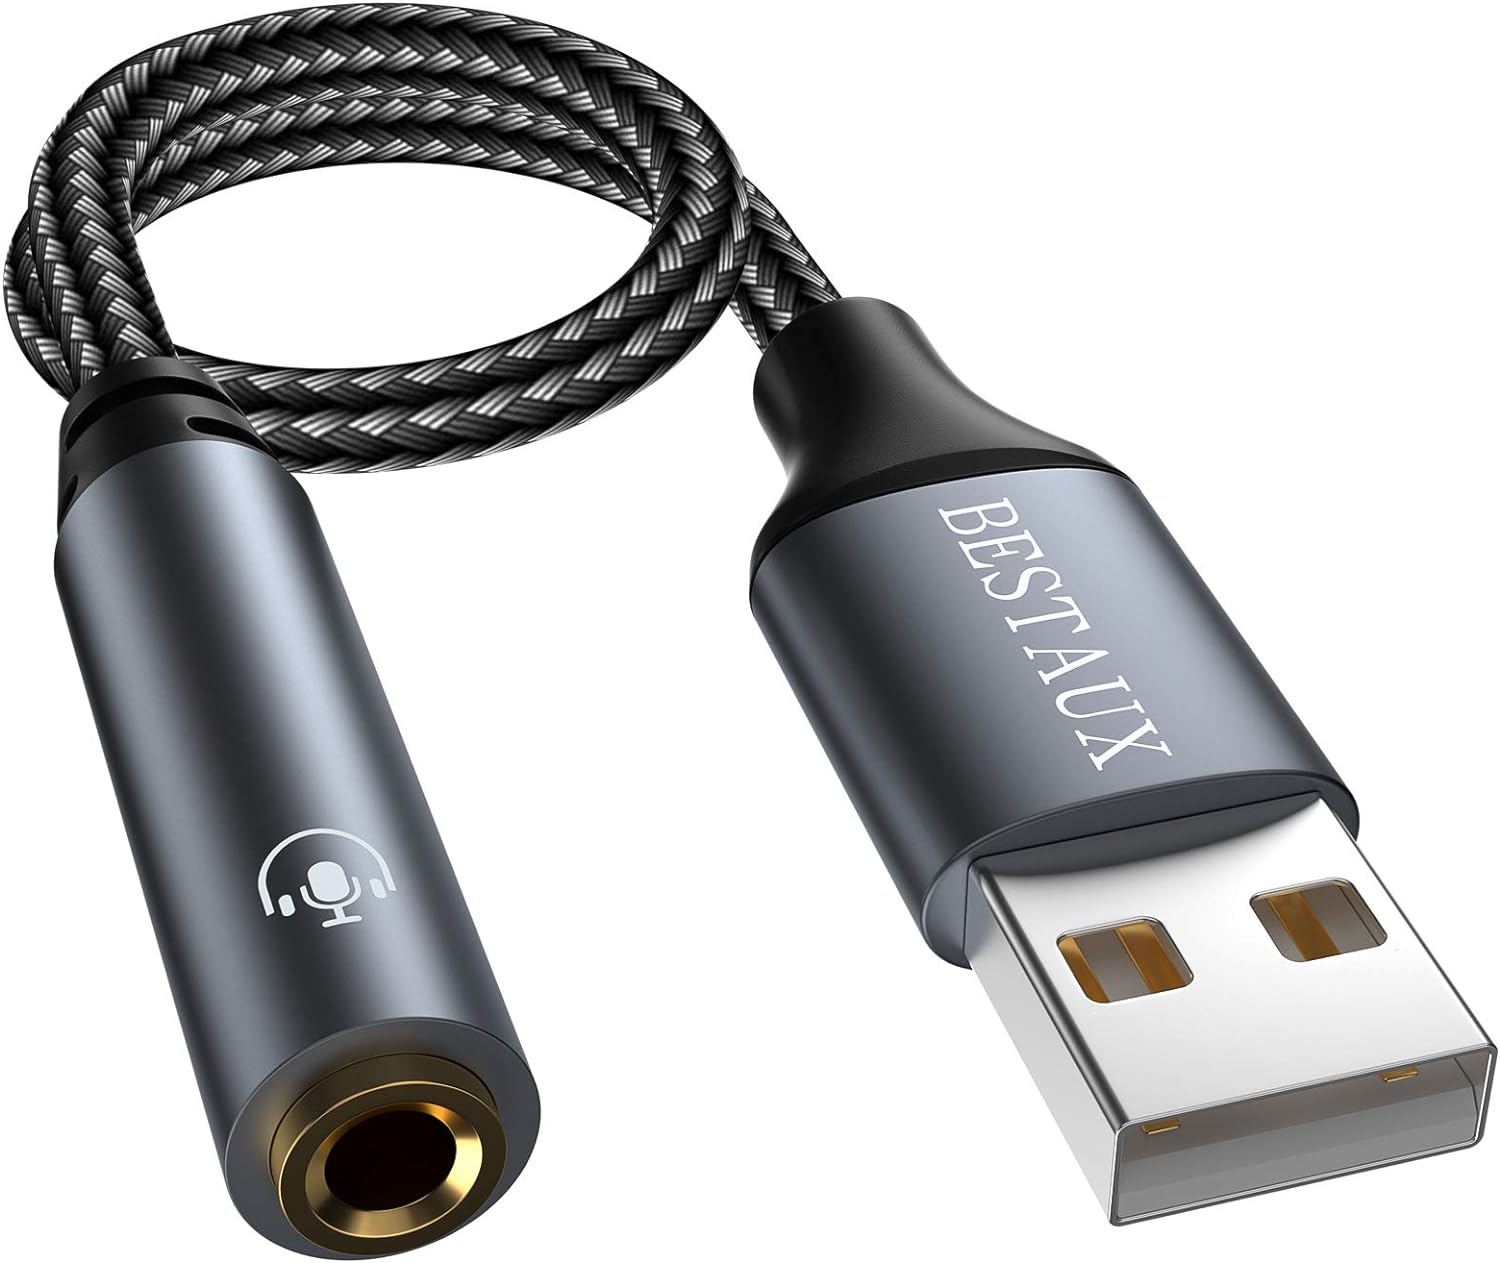
On the other hand, the 3.5 mm wire, often referred to as an auxiliary or headphone jack, is a versatile audio connector that can be found on numerous devices, including smartphones, laptops, and portable audio players. It has become the standard for connecting headphones and speakers to these devices. The 3.5 mm wire is also capable of transmitting both audio and microphone signals, making it a popular choice for hands-free headsets.
One crucial difference between the analog audio wire and the 3.5 mm wire is the signal type they transmit. The analog audio wire carries analog signals, which are continuous voltage variations representing sound waves. This analog signal needs to be converted to a digital format for modern devices to process it.
When connecting your turntable to a device with a 3.5 mm jack, such as headphones or a speaker, you need to convert the analog signal from the turntable’s RCA cables into a digital signal that the 3.5 mm wire can transmit. This is where the role of a preamp comes into play. A preamp, or preamplifier, is responsible for amplifying and equalizing the audio signal from the turntable, preparing it for connection to devices with a 3.5 mm jack.
Some turntables come with a built-in preamp, often referred to as a “phono preamp,” allowing you to connect directly to a device with a 3.5 mm jack. However, many older turntables do not have a built-in preamp, requiring you to use an external preamp to convert the analog audio wire to a 3.5 mm wire.
Now that you have a basic understanding of the analog audio wire and the 3.5 mm wire, we can move on to the necessary tools and equipment required for converting your turntable’s analog audio wire to a 3.5 mm wire.
Compatibility Check: Assessing Your Old Turntable
Before proceeding with the process of converting your old turntable’s analog audio wire to a 3.5 mm wire, it is crucial to assess the compatibility of your turntable. This step will help determine whether your turntable can be directly connected to a device with a 3.5 mm jack or if an additional preamp is required.
Start by examining your turntable and looking for any built-in preamp features. Some modern turntables come equipped with a built-in preamp, often labeled as a “phono preamp” or “line-level output.” This built-in preamp allows you to connect the turntable directly to devices with a 3.5 mm jack, such as speakers or headphones. If your turntable has a built-in preamp, you can skip the step of adding an external preamp and move on to the next sections of converting the analog audio wire to a 3.5 mm wire.
However, if your turntable does not have a built-in preamp, you will need to purchase an external preamp to complete the conversion process. The external preamp acts as an intermediary device that amplifies and equalizes the audio signal from the turntable, preparing it for connection to a device with a 3.5 mm jack.
In addition to the preamp consideration, it is important to assess the overall condition of your turntable. Check the general functionality, ensuring that the turntable is operational and the motor is functioning correctly. Inspect the tonearm, ensuring that it moves freely and is not damaged. It’s also worthwhile to clean the stylus (turntable needle) and make sure it is in good condition.
If you are uncertain about the preamp requirements or the overall condition of your turntable, it is advisable to consult the turntable’s user manual or seek assistance from a professional audio technician. They can provide guidance specific to your turntable model and help address any concerns or issues that may arise during the conversion process.
By performing a compatibility check and assessing the condition of your turntable, you can ensure a smoother and more successful conversion of the analog audio wire to a 3.5 mm wire. Once you have determined the compatibility of your turntable, you can proceed to gather the necessary tools and equipment for the conversion process.
Required Tools and Equipment
Now that you have assessed the compatibility of your old turntable and determined the need for an external preamp, it’s time to gather the necessary tools and equipment for converting the analog audio wire to a 3.5 mm wire. Here are the essential items you will need:
- External Preamp: If your turntable does not have a built-in preamp, you will need to purchase an external preamp. Look for a preamp that accommodates the specific requirements of your turntable and provides a line-level output that can connect to devices with a 3.5 mm jack.
- Analog Audio Wire to 3.5 mm Adapter: This adapter allows you to connect the analog audio wire from your turntable to the 3.5 mm wire. Ensure that the adapter you choose is compatible with the specific type of analog audio wire on your turntable and provides a female 3.5 mm connector for easy connection to devices with a 3.5 mm jack.
- 3.5 mm Stereo Cable: This cable will connect the adapter to your desired device, such as speakers or headphones. The length of the cable will depend on your needs and the distance between the turntable and the device you are connecting to.
- Audio Editing Software and Recording Device (optional): If you wish to record your vinyl collection digitally or edit the audio signal before playback, you may need audio editing software and a recording device, such as a computer or audio interface.
- Cleaning Supplies: It is always recommended to keep your turntable and records clean to maintain optimal audio quality. You may need cleaning solutions, brushes, and microfiber cloths to clean the turntable surface, tonearm, stylus, and vinyl records.
Ensure that you have all the necessary tools and equipment before proceeding with the conversion process. This will help streamline the process and ensure that you have everything you need to successfully connect your old turntable to devices with a 3.5 mm jack.
Now that you’re equipped with the required tools and equipment, we can move on to the step-by-step process of converting the analog audio wire to a 3.5 mm wire. Follow the next section to learn how to transform your turntable into a versatile audio source compatible with modern devices.
Converting Analog Audio Wire to 3.5 mm Wire Step by Step
Now that you have all the necessary tools and equipment, it’s time to dive into the step-by-step process of converting your old turntable’s analog audio wire to a 3.5 mm wire. Follow these instructions carefully to ensure a successful conversion:
- Step 1: Set up the external preamp: If your turntable requires an external preamp, connect the analog audio wire from the turntable to the input ports of the preamp. Ensure that the left audio channel is connected to the corresponding left input port and the right audio channel to the right input port.
- Step 2: Connect the output of the preamp to the adapter: Take the analog audio wire to 3.5 mm adapter and connect the appropriate end to the output ports of the external preamp. Make sure the left and right channels are correctly aligned with the respective input ports of the adapter.
- Step 3: Connect the 3.5 mm stereo cable: Take the other end of the adapter, which should have a female 3.5 mm connector, and connect it to one end of the 3.5 mm stereo cable. The other end of the stereo cable will connect to your desired device, such as speakers or headphones.
- Step 4: Power on the external preamp (if applicable): If your external preamp requires power, make sure to connect it to a power source and power it on. Refer to the preamp’s user manual for specific instructions.
- Step 5: Start playing your vinyl record: With the connections in place, start playing a vinyl record on your turntable. The audio signals will pass through the analog audio wire, into the external preamp, and then through the adapter and stereo cable to your desired device with a 3.5 mm jack.
- Step 6: Adjust volume and enjoy: Set the volume level on your device accordingly and enjoy your vinyl collection through your connected speakers or headphones. Take the time to adjust the audio settings as needed to achieve the desired sound quality.
By following these steps, you can successfully convert the analog audio wire from your old turntable to a 3.5 mm wire, allowing you to enjoy your vinyl records with modern devices. Remember to take care of your vinyl collection and maintain the cleanliness of your turntable to preserve audio quality and prolong the lifespan of your equipment.
In the next section, we will discuss testing and troubleshooting steps to help you address any potential issues and ensure optimal performance in your converted setup.
Testing and Troubleshooting
After converting your old turntable’s analog audio wire to a 3.5 mm wire, it is crucial to test the setup and troubleshoot any potential issues that may arise. Follow these testing and troubleshooting steps to ensure optimal performance:
- Test the audio signal: Start by playing a vinyl record on your turntable and listen for the audio output through your connected speakers or headphones. Ensure that both the left and right audio channels are functioning correctly and that the audio quality is clear and distortion-free.
- Check for any buzzing or humming: If you hear a buzzing or humming sound, it could indicate an issue with grounding. Ensure that all the connections in your setup are secure and that there is a proper ground connection between the turntable, preamp (if applicable), and the device with a 3.5 mm jack.
- Verify volume control: Test the volume control on your device to ensure that it is functioning correctly. Adjust the volume to your desired level and make sure that it is responsive and that the audio levels are balanced between the left and right channels.
- Check for any audio signal loss or interference: While playing a vinyl record, listen for any audio signal loss or interference. This could manifest as dropouts, static, or interruptions in the sound. Make sure that all connections are tightly secured and that there are no loose cables or faulty adapters affecting the signal transmission.
- Monitor for distortion or uneven sound: Pay close attention to the sound quality and ensure that there is no distortion or imbalance between the left and right audio channels. If you notice any issues, try adjusting the settings on your external preamp (if applicable) or the audio settings on your connected device.
- Record and playback test (optional): If you are using audio editing software and a recording device to capture your vinyl collection digitally, perform a recording and playback test to ensure that the audio signal is being recorded accurately and that playback is faithful to the original sound.
If you encounter any issues during testing, carefully review the connections and ensure that they are properly set up and secure. Consult the user manuals for your turntable, external preamp, and other equipment to troubleshoot specific issues. If necessary, seek assistance from professional audio technicians who can provide further guidance and support.
By thoroughly testing and troubleshooting your converted setup, you can address any potential issues and achieve the best possible audio performance. Once your setup is tested and working smoothly, you can sit back, relax, and enjoy the timeless charm of your vinyl records through your modern devices!
In the final section, we will wrap up the article with a concluding summary.
Conclusion
Congratulations! You have successfully converted your old turntable’s analog audio wire to a 3.5 mm wire, allowing you to enjoy your vinyl records through modern devices with ease. By understanding the analog audio wire and the 3.5 mm wire, assessing the compatibility of your turntable, and using the required tools and equipment, you have transformed your vintage turntable into a versatile audio source.
Throughout the process, you have learned how to set up an external preamp (if needed), connect the analog audio wire to a 3.5 mm adapter, and establish a connection to your desired device using a 3.5 mm stereo cable. By following the step-by-step instructions and conducting thorough testing and troubleshooting, you have ensured the optimal performance and audio quality of your converted setup.
With your newly converted setup, you can now enjoy the rich and warm sound of vinyl records through speakers, headphones, or any other device with a 3.5 mm jack. Take the time to explore your vinyl collection, immerse yourself in the nostalgia of classic albums, and rediscover the joy of physical music media.
Remember to maintain the cleanliness of your turntable, stylus, and vinyl records to preserve audio quality and prolong the lifespan of your equipment. Keep in mind that using the appropriate cleaning solutions and tools is crucial to ensure optimal playback and protect your valuable vinyl collection.
Whether you’re a seasoned vinyl enthusiast or just starting your journey into the world of turntables, converting your old analog audio wire to a 3.5 mm wire opens up new possibilities for enjoying your vinyl collection in a more convenient and portable manner.
Now, go ahead and bring out those vinyl records, connect your converted setup, and immerse yourself in the timeless beauty of analog music. Happy listening!