Home>Events & Info>Ballet>How To Sew Ribbons To Ballet Shoes
Ballet
How To Sew Ribbons To Ballet Shoes
Modified: January 22, 2024
Learn how to sew ribbons to ballet shoes with our step-by-step guide. Enhance the beauty and functionality of your ballet shoes for a flawless performance.
(Many of the links in this article redirect to a specific reviewed product. Your purchase of these products through affiliate links helps to generate commission for AudioLover.com, at no extra cost. Learn more)
Table of Contents
Introduction
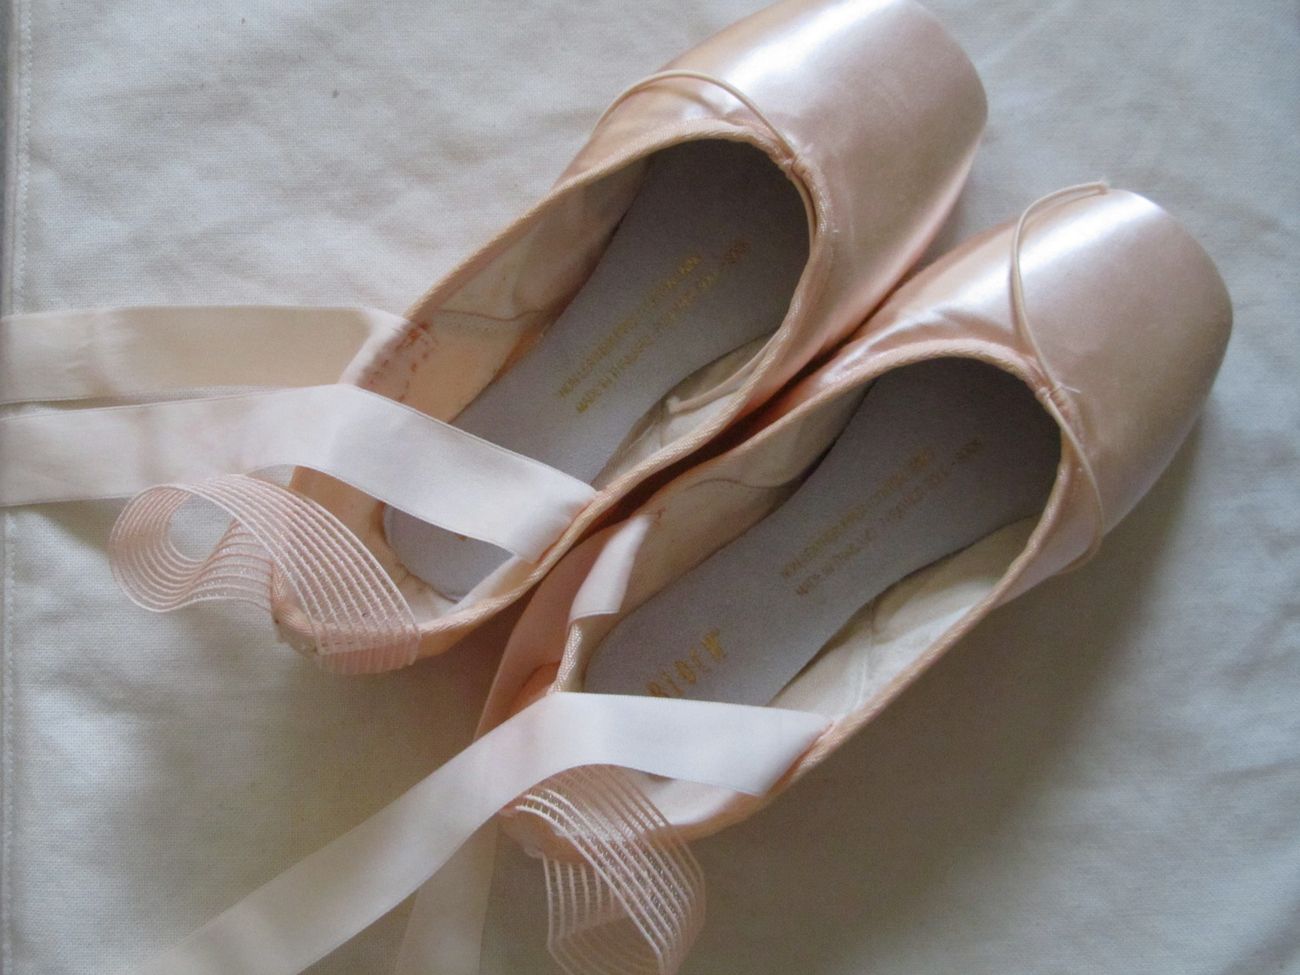
Ballet shoes are an essential part of a ballerina’s attire, providing the necessary support and flexibility for graceful movements on stage. One of the crucial steps in preparing ballet shoes is sewing ribbons onto them. Ribbons help to secure the shoes to the dancer’s feet and ensure a snug fit during performances.
While it may seem daunting at first, sewing ribbons onto ballet shoes is a relatively simple process that can be done at home with just a few materials and some patience. In this article, we will guide you through the step-by-step process of sewing ribbons to ballet shoes, allowing you to easily customize your shoes to suit your needs and preferences.
Before we begin, it’s important to note that the exact placement and style of ribbons may vary depending on personal preference and the requirements of your ballet school or instructor. It’s always a good idea to consult with your dance teacher or follow any specific guidelines provided to ensure proper placement and technique.
So, if you’re ready to give your ballet shoes a professional touch and enhance your dancing experience, let’s gather the materials needed and get started on sewing ribbons to your ballet shoes.
Materials Needed
Before diving into the process of sewing ribbons onto ballet shoes, it’s important to gather all the necessary materials. Here’s a list of what you’ll need:
- Ballet shoes: Make sure you have a pair of ballet shoes that are suitable for sewing ribbons. These are usually canvas or leather shoes with a soft sole.
- Ribbons: Choose ribbons that are approximately 1 inch in width and long enough to comfortably wrap around your ankle and tie securely.
- Needle: Use a sharp needle that is suitable for sewing through the material of your ballet shoes. A sturdy embroidery needle or a sharp sewing needle will work well.
- Thread: Select a strong thread that matches the color of your ballet shoes. Polyester thread is a good option as it is strong and durable.
- Pins or clips: These will be used to temporarily secure the ribbons in place before sewing.
- Scissors: Have a pair of sharp scissors on hand to cut the ribbons and thread.
- Measuring tape or ruler: This will help you ensure that the ribbons are the correct length and are evenly spaced on the shoes.
It’s important to choose high-quality materials for the best results. Quality ribbons and thread will ensure that the ribbons are securely attached to your ballet shoes and will withstand the rigors of dancing.
Once you have gathered all the necessary materials, you’re ready to move on to the next step: preparing the ballet shoes for sewing ribbons.
Step 1: Prepare the Ballet Shoes
Before you can sew ribbons onto your ballet shoes, you need to prepare them for the process. Follow these steps to ensure your shoes are ready:
- Ensure the Ballet Shoes are Clean: Wipe off any dirt or dust from the surface of your ballet shoes using a clean cloth or brush. This will help the needle and thread glide smoothly through the material.
- Identify the Inside and Outside of the Shoes: Most ballet shoes have a distinguishable difference between the inside and outside. Make sure you know which side is meant to touch the floor, as you will be sewing the ribbons on the inside.
- Locate the Ribbon Placement: Consult your dance teacher or the ballet school guidelines to determine the specific placement for the ribbons on your ballet shoes. Typically, the ribbons are sewn on either side of the ankle, slightly above the arch of the foot.
- Use Pins or Clips: To hold the ribbons in place temporarily while you adjust the placement, use pins or clips to secure them to the ballet shoes. Make sure the ribbons are positioned evenly on both sides.
By properly preparing your ballet shoes, you will have a solid foundation for sewing the ribbons and ensure that they are attached securely, allowing for ease of movement during your ballet practice or performance.
With the ballet shoes prepared, it’s time to proceed to the next step: threading the ribbon.
Step 2: Thread the Ribbon
Now that your ballet shoes are ready, it’s time to thread the ribbons through the shoes. Follow these steps to ensure a proper threading:
- Measure and Cut the Ribbon: Take one of the ribbons and measure a length that is long enough to comfortably wrap around your ankle and tie securely. Cut the ribbon at this length, making sure to leave some extra length for tying knots later.
- Tie a Knot at One End: To prevent the ribbon from fraying, tie a small knot at one end of the ribbon. This will also allow you to easily thread the ribbon through the holes in the ballet shoe.
- Thread the Ribbon through One Hole: Starting from the inside of the shoe, carefully thread the ribbon through one of the holes on the inside of the shoe, going from the bottom to the top. Pull the ribbon through until the knot stops it from going further.
- Thread the Ribbon through the Other Hole: Continuing from the outside of the shoe, thread the ribbon through the corresponding hole on the opposite side, again going from bottom to top. Ensure that the ribbon is facing the correct direction and lies flat against the shoe.
- Adjust the Ribbon Placement: With both ends of the ribbon now threaded through the holes, adjust the placement of the ribbon so that it sits comfortably on your ankle, slightly above the arch of your foot. Make any necessary adjustments to ensure symmetry.
Be careful when threading the ribbons to not pull too tightly, as this may create discomfort when wearing the ballet shoes. The ribbons should be snug but not constricting. Take your time to achieve the desired placement and fit.
Once you have successfully threaded the ribbons through the ballet shoes, you’re ready to move on to the next step: attaching the ribbon to the shoes.
Step 3: Attach the Ribbon to the Ballet Shoes
Now that the ribbons are threaded through the holes in your ballet shoes, it’s time to securely attach them. Follow these steps to effectively attach the ribbons:
- Secure the Ribbon with Pins or Clips: Using pins or clips, secure the ribbon to the inside of the ballet shoe, just above the hole where it was threaded through. This will help keep the ribbon in place while you sew it.
- Thread the Needle: Take a length of thread and thread it through the eye of the needle. Make sure to tie a knot at the end of the thread to prevent it from slipping out while you sew.
- Sew the Ribbon to the Shoe: Starting from the inside of the shoe, insert the needle through the ribbon and fabric. Take small, even stitches, making sure to sew through both the ribbon and the shoe material. Continue sewing along the length of the ribbon, creating a secure attachment between the ribbon and the shoe.
- Repeat on the Other Side: Once you reach the end of the first ribbon, secure it in place with a few additional stitches. Repeat the same process on the other side of the shoe with the second ribbon, ensuring that it is aligned with the first ribbon.
When sewing the ribbon, make sure that your stitches are tight and secure, but avoid pulling too tightly, as this may cause discomfort when wearing the ballet shoes. Take your time and sew with precision to ensure a professional finish.
With the ribbons securely attached to your ballet shoes, it’s time to move on to the next step: tying a secure knot.
Step 4: Tie a Secure Knot
Once the ribbons are sewn onto your ballet shoes, it’s essential to tie a secure knot to ensure they stay in place during your dance movements. Follow these steps to tie a secure knot:
- Wrap the Ribbon Around Your Ankle: Take the ribbons and wrap them around your ankle, crossing them over each other. Make sure the ribbons are not twisted and lie flat against your ankle.
- Tie a Bow: Start by tying a basic bow knot just above your ankle. Ensure that the bow is secure but not too tight, as it can cause discomfort or restrict blood flow.
- Double Knot for Extra Security: To further secure the ribbons, consider tying an additional knot or a double knot on top of the basic bow. This will provide extra stability and prevent the bow from coming undone during your dance routines.
- Adjust the Tightness: Test the tightness of the ribbons around your ankle. They should be snug enough to provide support but not so tight that they cause discomfort or restrict movement. Adjust the tightness by loosening or tightening the knot accordingly.
Remember, it’s important to find the right balance between a secure knot and comfortable fit. You may need to experiment with different knot styles and tightness levels to find what works best for you.
With the ribbons securely tied, it’s time for the final step: trimming any excess ribbon.
Step 5: Trim Excess Ribbon
After tying a secure knot with the ribbons, you may have some excess length that needs to be trimmed. Follow these steps to trim any extra ribbon:
- Stand up and Assess the Length: Put on your ballet shoes and stand up to evaluate the length of the ribbons. Pay attention to how the ribbons wrap around your ankle and how they feel in terms of comfort and mobility.
- Leave a Tail: Allow for a small tail of ribbon after the knot, approximately 1-2 inches. This will prevent the knot from coming undone and provide some flexibility if you need to adjust the tightness later on.
- Cut the Excess Ribbon: Using a pair of sharp scissors, carefully trim off any excess ribbon beyond the desired length, leaving the tail intact. Take care to cut straight across to maintain a neat appearance.
- Seal the Edges (Optional): If you want to prevent the cut edges of the ribbon from fraying, you can use a clear nail polish or fabric glue to seal the ends. This step is optional but can help prolong the lifespan of the ribbons.
By trimming the excess ribbon, you not only create a clean and finished look, but also ensure that the ribbons stay securely in place without becoming tangled or distracting during your ballet performances and practices.
With the ribbons fully secured and trimmed, congratulations! You have successfully sewn ribbons onto your ballet shoes. Now you can enjoy the added support and elegance that they bring to your dancing.
To maintain the longevity of your ballet shoes and ribbons, check them regularly for any signs of fraying or loosening and make any necessary repairs or adjustments as needed.
Happy dancing!
Conclusion
Sewing ribbons onto ballet shoes is a crucial step in preparing them for dance. By following a few simple steps, you can customize your ballet shoes and ensure a secure and comfortable fit. Here’s a recap of the process:
- Prepare the ballet shoes by cleaning them and identifying the ribbon placement.
- Thread the ribbons through the holes, adjusting their placement for a comfortable fit.
- Attach the ribbons to the shoes by sewing them securely using a needle and thread.
- Tie a secure knot, making sure it’s snug but not too tight.
- Trim any excess ribbon, leaving a small tail for flexibility.
By following these steps, you can enhance your ballet shoes and elevate your dance experience. It’s important to remember to consult your dance teacher or follow any specific guidelines provided by your ballet school to ensure proper ribbon placement.
Whether you’re a beginner or an experienced ballet dancer, sewing ribbons onto your ballet shoes allows you to personalize and optimize your footwear for your unique needs. The added support and security of properly sewn ribbons can greatly enhance your performance and confidence on stage.
Remember to regularly inspect and maintain your ballet shoes and ribbons to ensure they’re in good condition. If you notice any signs of wear or damage, make the necessary repairs or replacements.
Now that you have the knowledge and the steps to sew ribbons onto ballet shoes, it’s time to put it into practice. Enjoy the process of customizing your ballet shoes and embracing your journey as a dancer. With each step you take, may you find grace, strength, and joy in the art of ballet.