Home>Instruments>Brass Instruments>How To Play Brass Instruments

Brass Instruments
How To Play Brass Instruments
Modified: January 28, 2024
Learn how to play brass instruments with our comprehensive guide. Discover the techniques and skills needed to master the different types of brass instruments and become a skilled brass musician.
(Many of the links in this article redirect to a specific reviewed product. Your purchase of these products through affiliate links helps to generate commission for AudioLover.com, at no extra cost. Learn more)
Table of Contents
Introduction
Welcome to the world of brass instruments! Whether you’re a beginner or an experienced musician looking to explore new avenues, learning how to play a brass instrument can be a rewarding and fulfilling experience. From the vibrant sounds of the trumpet to the rich tones of the trombone, brass instruments have been an integral part of musical ensembles for centuries.
In this comprehensive guide, we will cover everything you need to know about playing brass instruments. From choosing the right instrument to mastering the essential techniques, we will take you on a journey through the fascinating world of brass music.
Playing a brass instrument requires not only skill and practice but also a deep understanding of the instrument itself. By knowing the basic parts and proper maintenance, you can ensure that your instrument stays in optimal condition and produces the best sound possible.
Additionally, we will provide tips and techniques to help you improve your playing skills, tackle common challenges, and enhance your overall musicality. With dedication, patience, and a love for music, you’ll be well on your way to becoming a proficient brass instrumentalist.
So, whether you aspire to join a marching band, play in a symphony orchestra, or simply want to enjoy the pleasure of making music, let’s dive in and explore the world of brass instruments together.
Choosing the Right Brass Instrument
When it comes to choosing a brass instrument, it’s important to consider your personal preferences, playing style, and musical goals. Each brass instrument has its own unique sound and characteristics, so finding the right fit for you is essential.
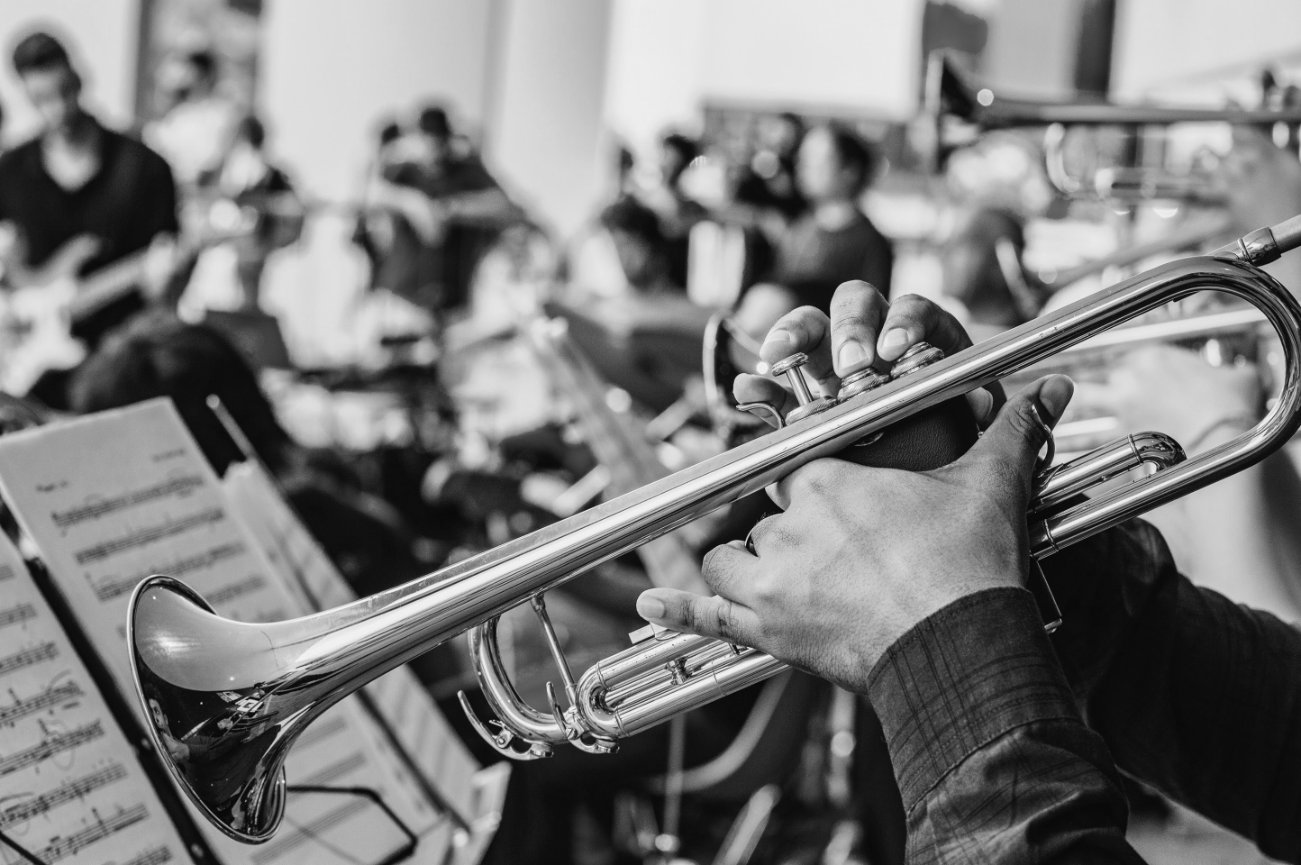
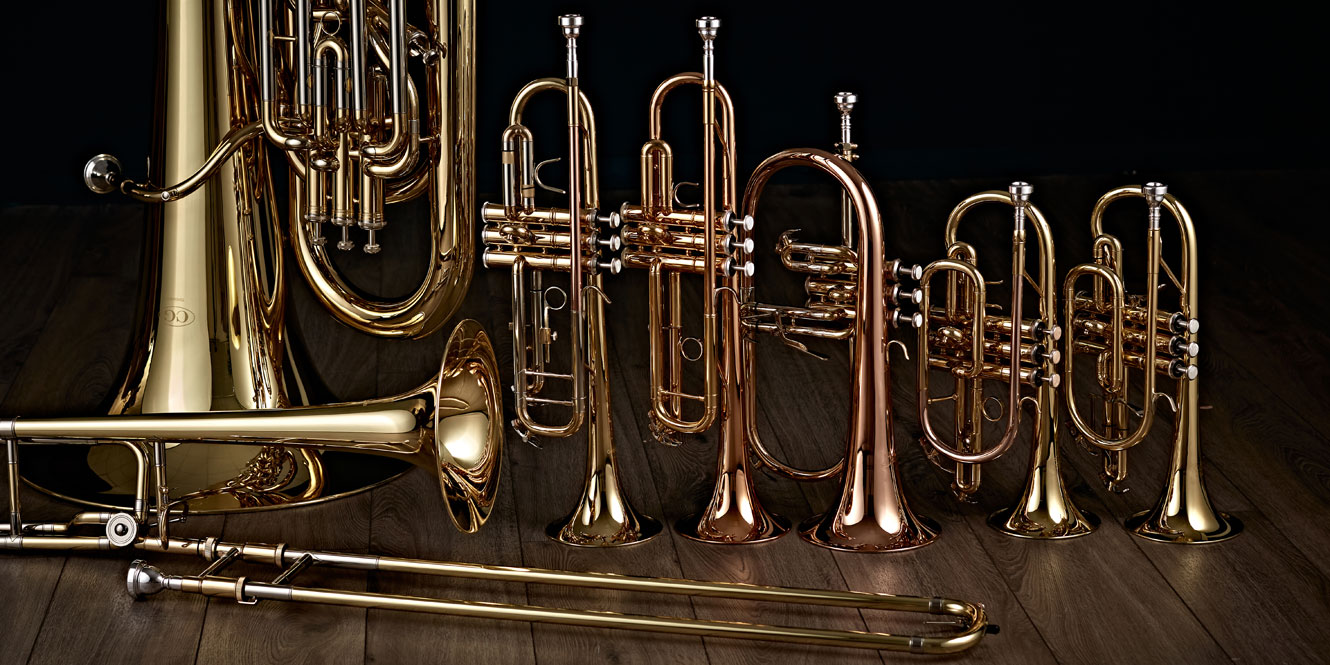
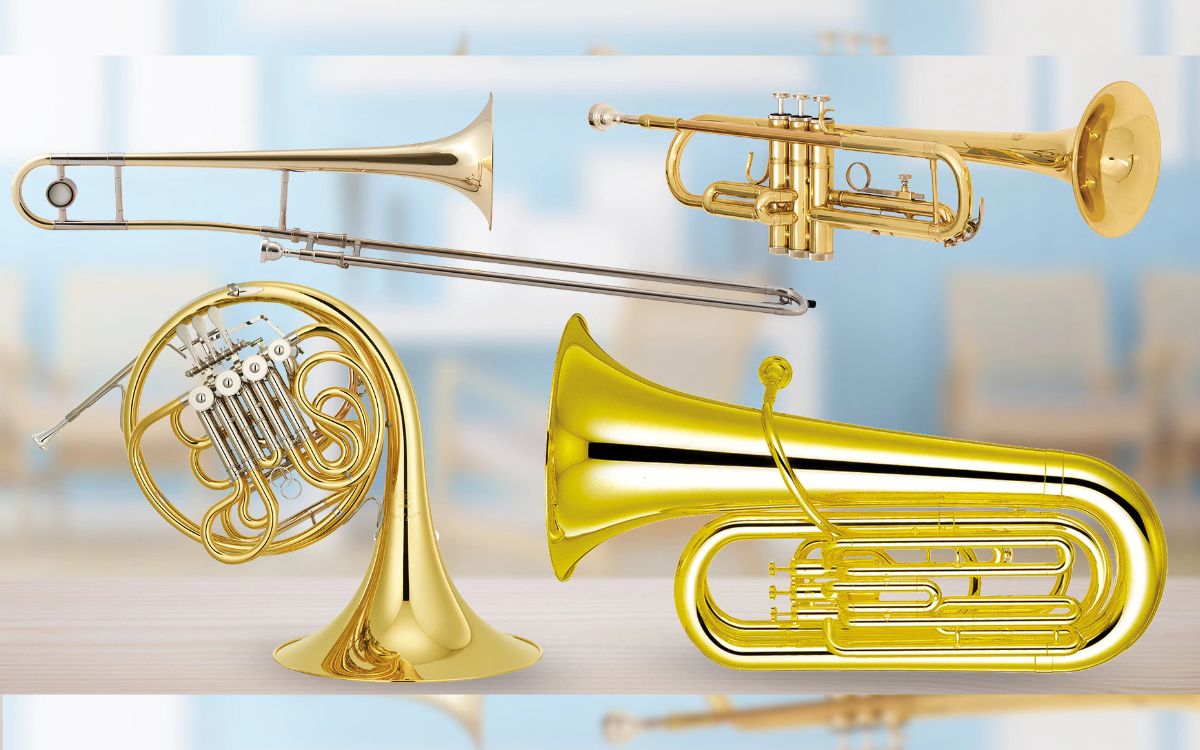
One of the most popular brass instruments is the trumpet. Known for its bright and powerful sound, the trumpet is versatile and can be found in a variety of musical genres, from jazz to classical. It’s a great choice for those who are looking to take center stage and play melodies that soar above the ensemble.
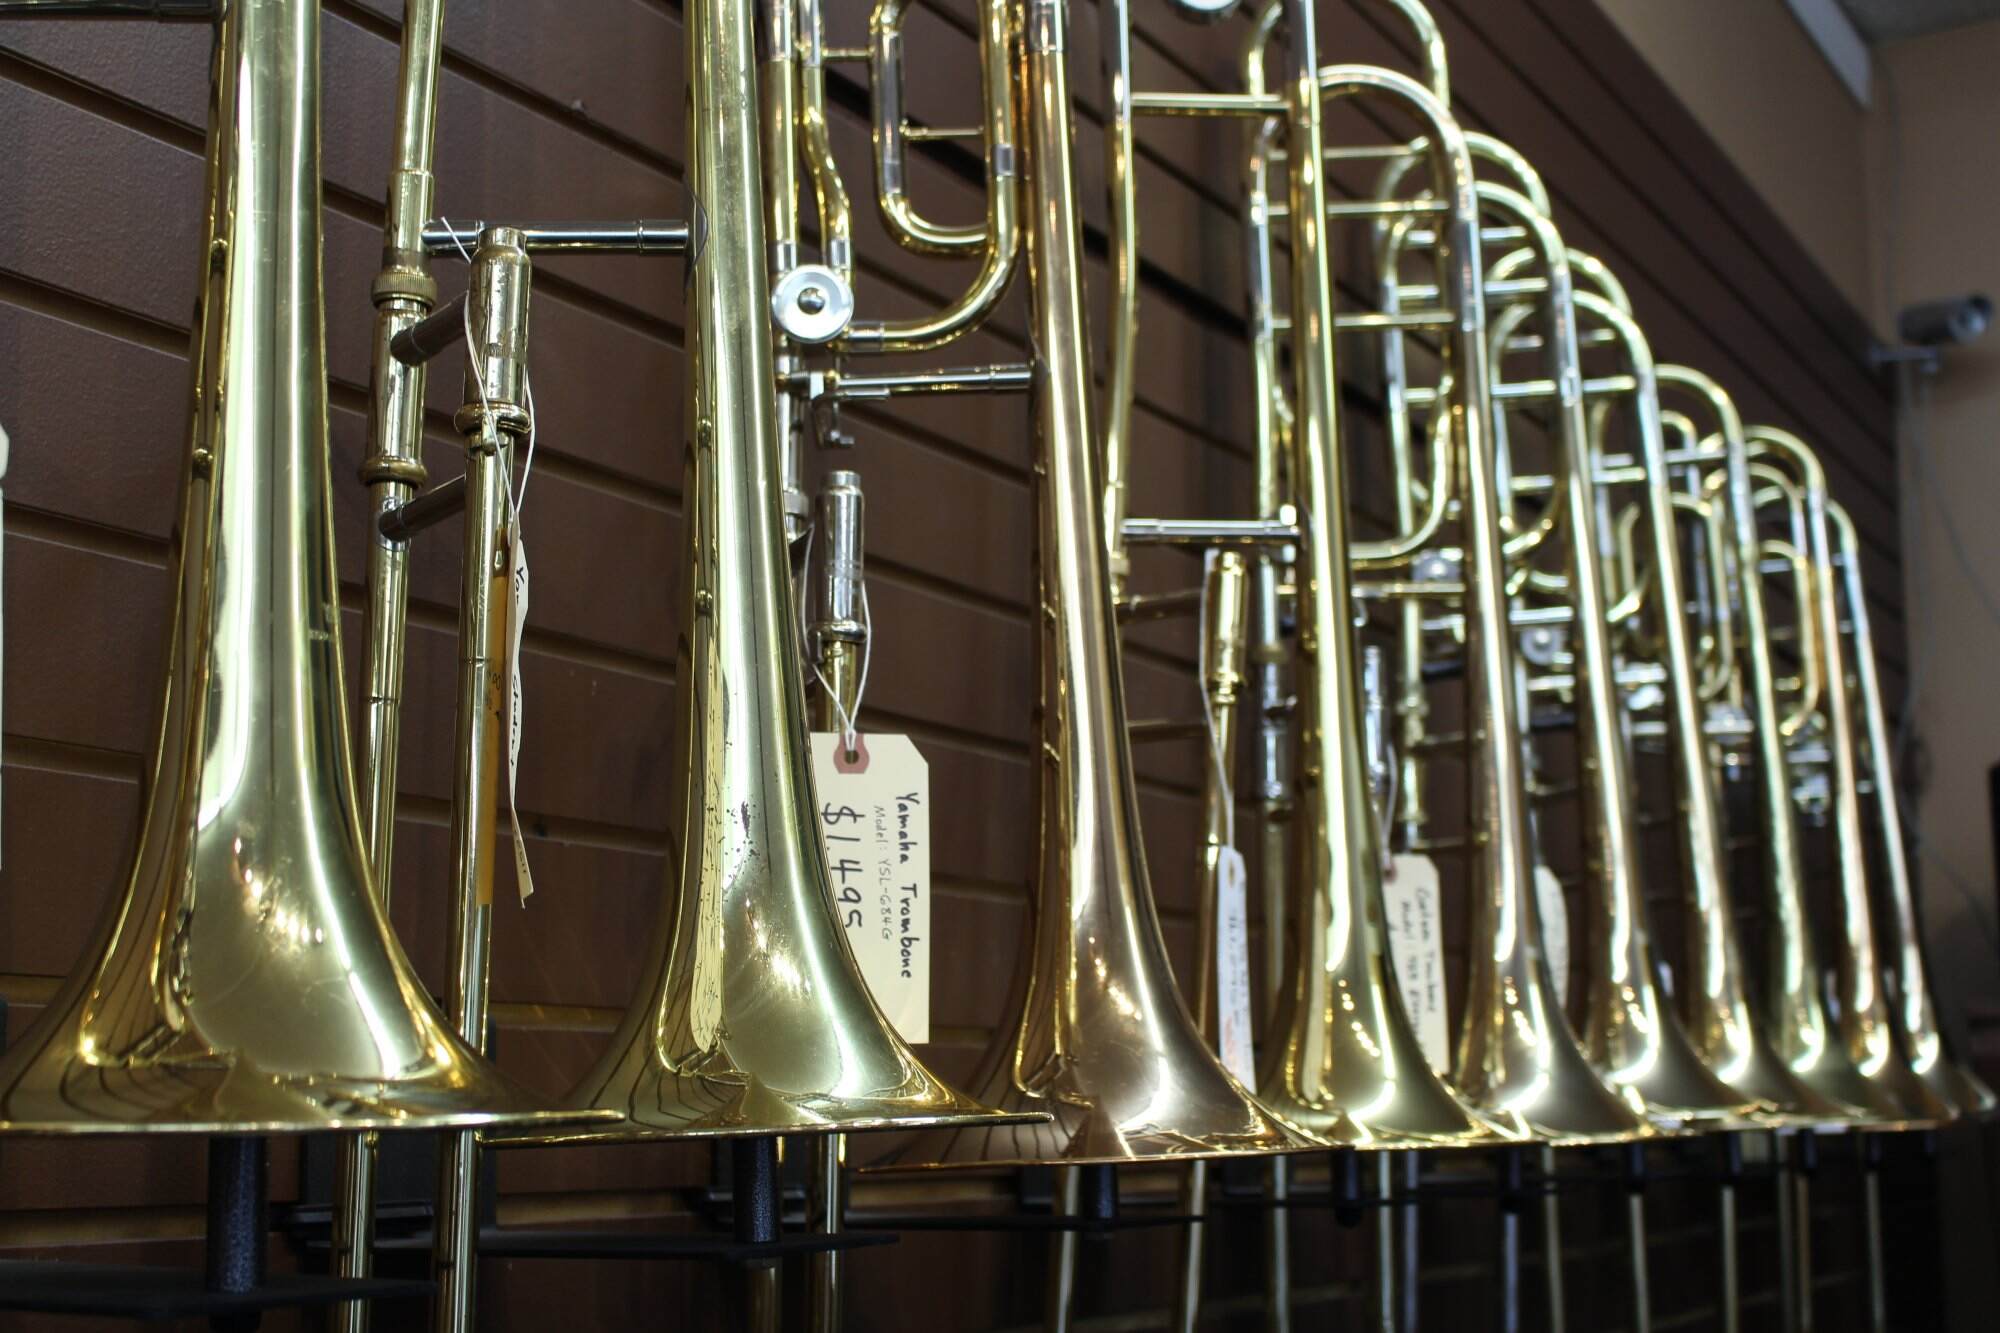
If you lean towards a mellower sound and enjoy playing lower notes, the trombone might be the perfect fit for you. Its distinct slide mechanism allows for smooth glissandos and expressive playing. The trombone is a staple in symphony orchestras, jazz bands, and brass ensembles.
For those who prefer a deeper, more resonant sound, the French horn could be the ideal choice. The French horn is known for its warm and lyrical tone, making it a popular instrument in orchestras and chamber music settings.
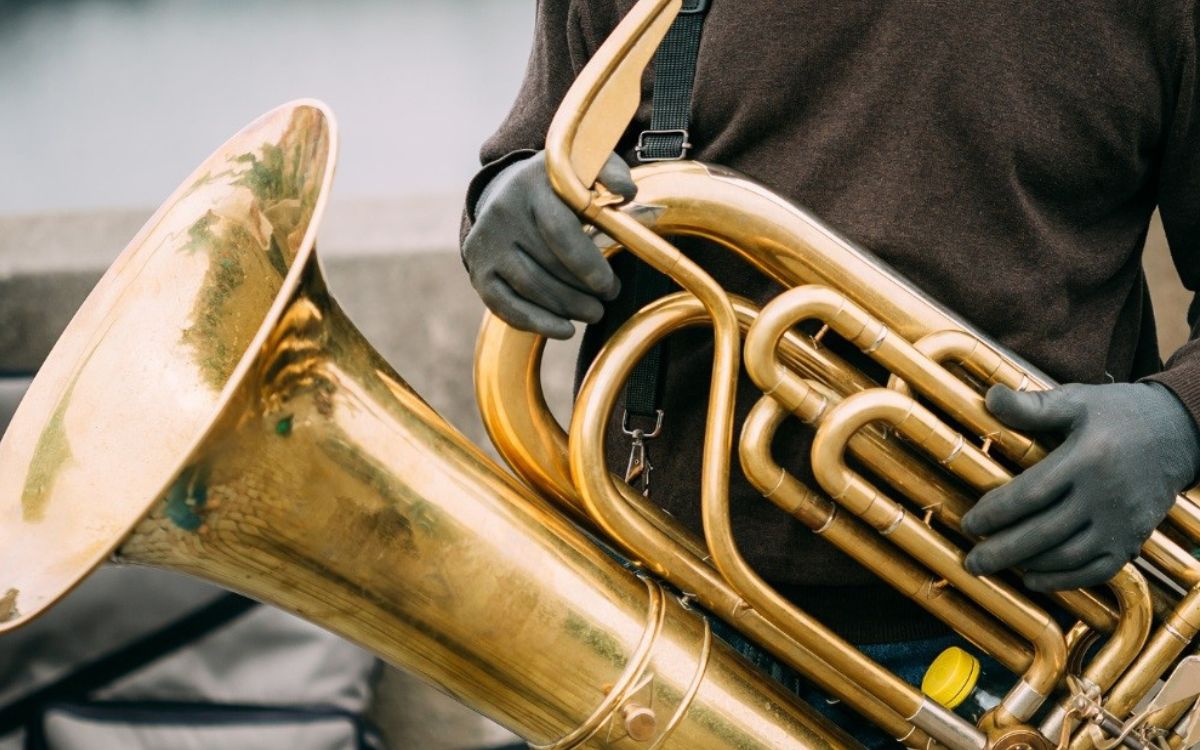
If you’re looking for a bold and powerful brass instrument, the tuba might be the right choice. With its deep and rich sound, the tuba provides the foundation for the brass section in many musical ensembles.
When selecting a brass instrument, it’s important to try them out and see how they feel and sound in your hands. Visit a music store or consult with a knowledgeable instructor who can guide you in making the best choice based on your specific needs and preferences.
Additionally, consider the size and weight of the instrument. Some brass instruments, such as the tuba, can be quite large and heavy, which may affect your comfort and mobility while playing. Take into account your physical abilities and ensure that the instrument is something you can handle comfortably.
Lastly, consider your budget. Brass instruments can range in price, so it’s essential to set a budget and explore options within that range. Keep in mind that quality instruments may cost more upfront but will likely provide better sound quality and durability in the long run.
By carefully considering these factors and trying out different instruments, you can find the brass instrument that resonates with you and brings you joy as you embark on your musical journey.
Basic Parts of a Brass Instrument
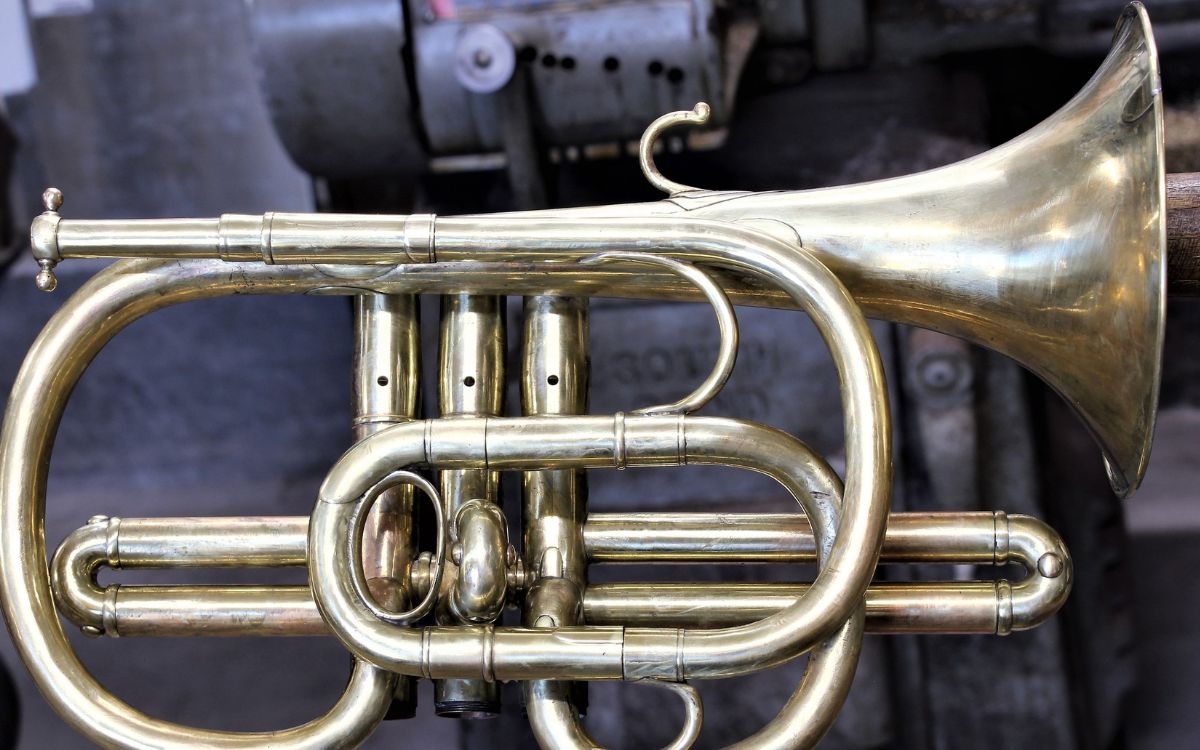
Before diving into playing a brass instrument, it’s essential to familiarize yourself with its basic parts. Understanding the anatomy of a brass instrument will not only help you assemble and maintain it properly but also give you a deeper understanding of how it produces sound.
Here are the key components that make up a brass instrument:
- Mouthpiece: The mouthpiece is where the player blows air into the instrument. It consists of a cup-shaped metal piece that connects to the instrument’s lead pipe.
- Lead Pipe: The lead pipe is the small, curved metal tube that connects the mouthpiece to the rest of the instrument. It helps to guide the airflow into the instrument.
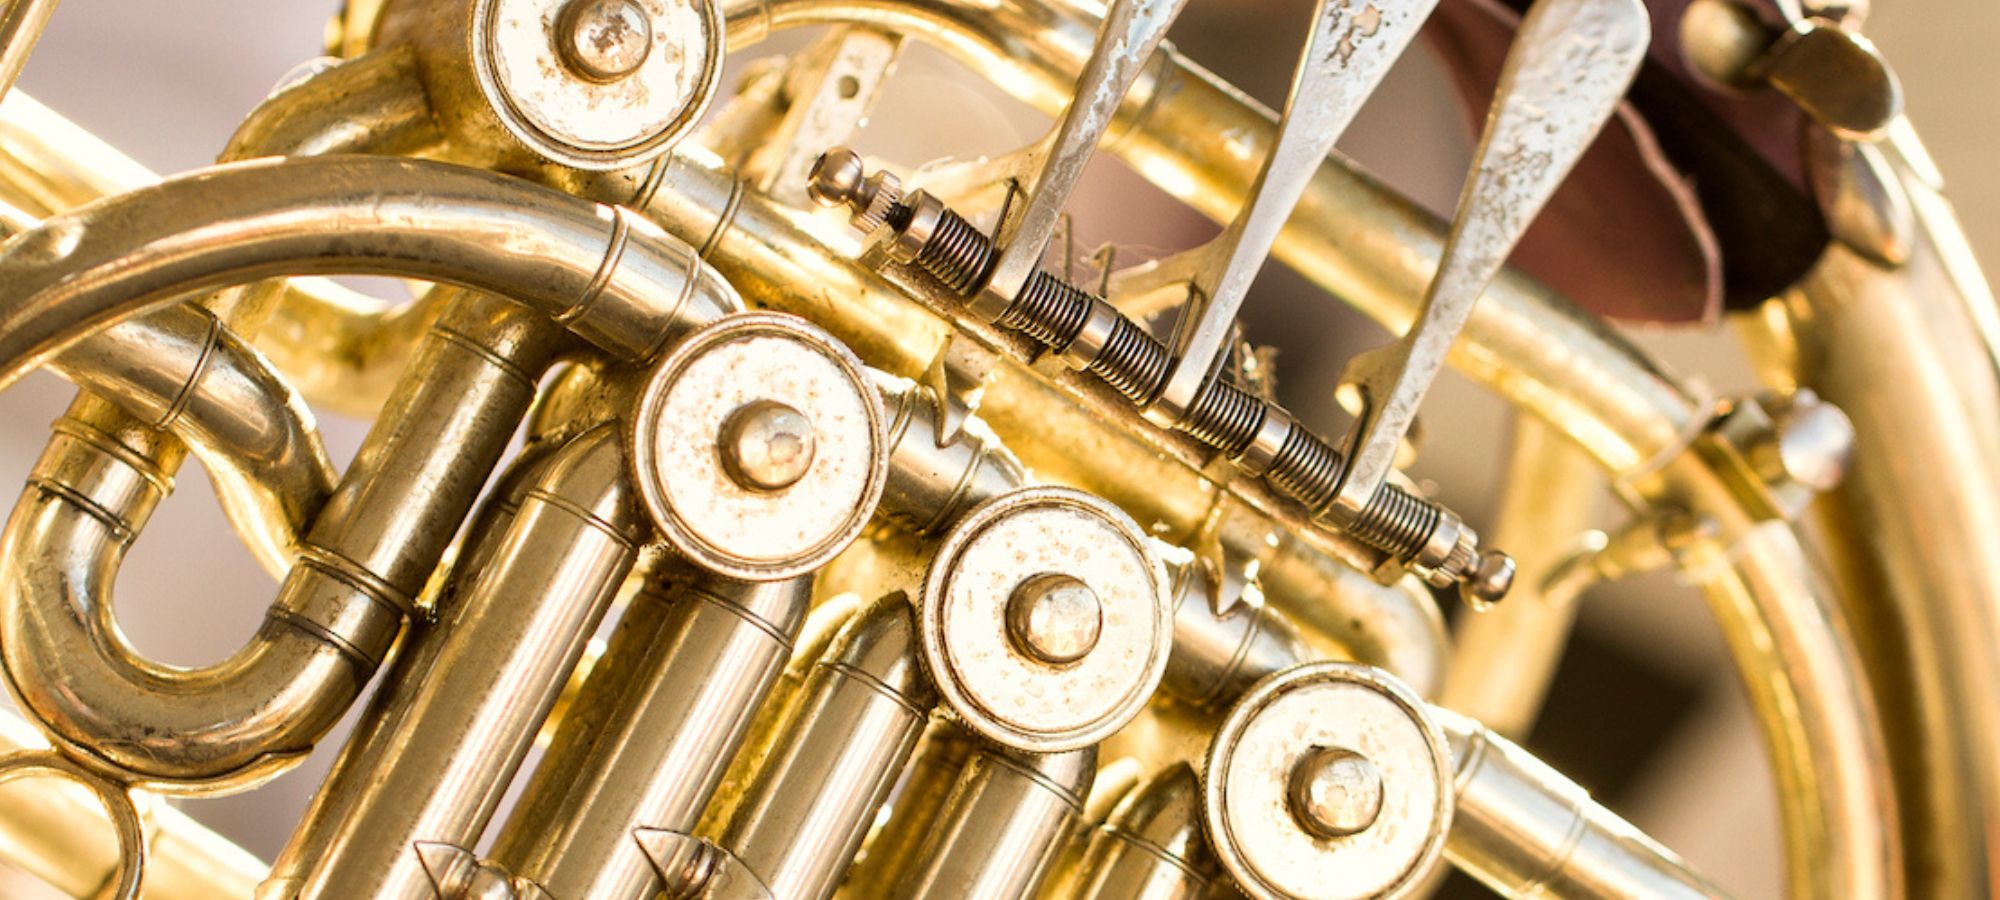
- Valves/Slide: Depending on the type of brass instrument, it will have either valves or a slide mechanism. Valves are found in instruments like the trumpet and French horn, while a slide is used in instruments like the trombone. Valves and slides change the length of the tubing, allowing the player to change the pitch of the notes.
- Bell: The bell is the flared, open end of the instrument. It amplifies the sound produced by the vibrations of the player’s lips and projects it outward.
- Tuning Slide: The tuning slide is a movable piece located near the mouthpiece receiver or lead pipe. It is used to fine-tune the instrument and adjust its overall pitch.
- Water Key: The water key, also known as a spit valve, is a small valve located on the instrument’s tubing. It is used to empty condensed moisture that accumulates during playing.
These are the fundamental parts that you’ll find on most brass instruments. However, it’s important to note that each specific instrument may have additional components or variations to enhance its functionality and playability.
Proper care and maintenance of these parts are crucial for the longevity and optimal performance of your instrument. Regular cleaning, lubrication, and inspection are necessary to prevent corrosion, remove debris, and ensure smooth operation of valves or slides.
By familiarizing yourself with the various parts of a brass instrument and knowing how they work together, you’ll be better equipped to assemble, maintain, and understand the mechanics of your chosen instrument.
Assembly and Maintenance
Proper assembly and maintenance are essential for keeping your brass instrument in optimal playing condition and prolonging its lifespan. Following a regular maintenance routine will not only ensure that your instrument performs at its best but also prevent any issues from arising. Here are some important steps to consider:
1. Assembling the Instrument: When assembling your brass instrument, start by connecting the mouthpiece to the lead pipe. Ensure a tight fit, but be careful not to force it. If your instrument has valves, insert them into their respective valve casings and make sure they move smoothly. For instruments with a slide, gently slide it in or attach it securely.
2. Cleaning: Regular cleaning is crucial to remove dirt, debris, and moisture that can accumulate inside the instrument. Use a cleaning snake or brush designed for your specific instrument to clean the tubing, valve casings, and slides. Be sure to clean and dry your mouthpiece thoroughly after each use.
3. Lubrication: Applying valve oil or slide grease is necessary to ensure smooth and responsive movement of valves and slides. Follow the manufacturer’s instructions on how to properly lubricate these parts. Avoid using excessive amounts of oil or grease as it can cause buildup and hinder performance.
4. Valve Maintenance: For instruments with valves, regular maintenance is crucial. Remove the valves and clean them with warm water or a specialized cleaning solution. Be careful not to mix up the valves, as they are usually numbered or marked for reassembly. Apply valve oil to the valves, ensuring even coverage, and then reassemble them in the correct order.
5. Slide Maintenance: If your instrument has a slide mechanism, regularly inspect it for dents, bends, or wear. Lubricate the slide with slide grease to ensure smooth movement. If the slide becomes stuck or difficult to move, clean it thoroughly and consider getting it serviced by a professional.
6. Storage: When not in use, store your instrument in a suitable case to protect it from dust and damage. Avoid exposing it to extreme temperatures or humidity, as these can affect its performance and condition. It’s also a good idea to store your instrument in an upright position to prevent any pressure on the valves or slides.
7. Professional Servicing: While regular maintenance is crucial, it’s also important to have your instrument professionally serviced periodically. A trained technician can inspect and address any issues or wear and tear that you may not be able to identify. They can also perform more in-depth cleaning and make adjustments to optimize your instrument’s performance.
By following these guidelines and incorporating a regular maintenance routine into your practice, you’ll ensure that your brass instrument stays in excellent condition, allowing you to enjoy playing with the best possible sound and performance.
Proper Posture and Embouchure
Developing good posture and mastering the correct embouchure technique are essential for playing a brass instrument effectively. Proper posture and embouchure not only improve your sound quality and control but also help prevent fatigue and injury. Here are some tips to ensure you have the right posture and embouchure:
1. Posture: Sit or stand up straight, keeping your back aligned and your shoulders relaxed. Avoid slouching or leaning to one side, as this can affect your airflow and overall playing ability. Keep your feet firmly planted on the ground and maintain a stable base.
2. Breath support: Proper breath support is crucial for brass playing. Take deep breaths from your diaphragm and feel your abdomen expand. Avoid shallow breathing from the chest. This allows you to have more control over your airflow and produce a stronger and more resonant sound.
3. Embouchure: The embouchure refers to the way you position your mouth, lips, and facial muscles to create sound. Place the mouthpiece on your lips, slightly off-center, with a firm but not excessive amount of pressure. Roll your lips inward and form a seal around the mouthpiece, creating a buzzing sound when you blow into it.
4. Lip position: Experiment with different lip positions to find the most comfortable and efficient one for you. Some players prefer a more centered lip position, while others may have a slightly off-center or asymmetrical approach. Find what works best for you and allows you to produce a clear and resonant sound.
5. Jaw and tongue position: Keep your jaw relaxed and allow a small space between your teeth to allow for better airflow. Your tongue should be relaxed and sit against the bottom of your mouth, slightly arched. Avoid tension or pressing it against the back of your teeth, as this can impede your sound production.
6. Regular practice: Developing and maintaining proper posture and embouchure takes consistent practice. Set aside dedicated time to focus on these aspects of your playing. Start with short practice sessions and gradually increase the duration as your strength and endurance improve.
7. Seek guidance: Working with a qualified instructor or brass teacher is highly recommended. They can provide personalized guidance, correct any posture or embouchure issues, and help you develop the best technique for your particular instrument.
Remember, it takes time and patience to develop proper posture and embouchure. Be mindful of your body alignment and take regular breaks to prevent tension or fatigue. With practice and guidance, you’ll gradually achieve the proper technique, resulting in improved sound quality and control of your brass instrument.
Producing Sound
Producing a beautiful sound on a brass instrument requires a combination of proper technique, breath control, and embouchure control. Here are some key factors to consider when it comes to producing a sound on your brass instrument:
1. Breath Control: Your breath is the fuel that powers your instrument. Take deep breaths from your diaphragm to ensure a steady stream of air. Control the speed and intensity of your breath to achieve different dynamics and nuances in your playing. Remember, a controlled and steady airflow is crucial for producing a clear and resonant sound.
2. Embouchure Control: The position and control of your lips, facial muscles, and tongue are essential for shaping and controlling the sound. Experiment with different lip placements and find the one that allows you to produce the desired tone. Practice maintaining a firm yet flexible embouchure to achieve a clear and centered sound.
3. Articulation: Articulation refers to how you start and stop notes. Use your tongue to create crisp and distinct attacks for each note. Practice various tongue techniques such as single tongue, double tongue, and triple tongue to achieve different articulation styles and rhythms.
4. Mouthpiece Placement: Experiment with different mouthpiece placements on your lips to achieve the desired sound. Slight adjustments to the position can significantly impact the tone quality and ease of playing. Explore the range of tones and colors you can produce by adjusting your mouthpiece placement.
5. Experiment with Dynamics: Dynamics refer to the volume and intensity of your playing. Practice playing both soft and loud passages to develop control over dynamics. Work on gradually increasing or decreasing the volume of your sound while maintaining clarity and control.
6. Ear Training: Developing a good sense of pitch and listening skills is crucial for producing a pleasant sound. Regularly listen to recordings of professional brass players to train your ear and develop a sense of tone quality, intonation, and musical expression.
7. Seek Feedback: It’s important to seek feedback from a qualified instructor or experienced musicians. They can provide valuable insights and help you refine your sound production. Take their advice and apply it to your practice sessions to continually improve your sound.
Remember, producing a beautiful sound on a brass instrument is a skill that takes time and practice to develop. Be patient with yourself and focus on the fundamentals of breath control, embouchure, and technique. With dedication and consistent practice, you’ll be able to produce a rich, resonant sound with your brass instrument.
Playing the C Scale
The C scale is fundamental to learning any brass instrument. Mastering this scale will not only help you become familiar with the fingerings or slide positions but also assist in developing your technique and musicality. Here is a step-by-step guide to playing the C scale:
- Start with the open position: Place your fingers or slide in their natural, relaxed positions – no valves pressed down, the slide in the farthest back position. This is the starting point for the C scale.
- Play the first note: Begin by blowing steadily into your instrument, whether it’s through the mouthpiece or into the mouthpiece receiver. Finger the first valve or extend the slide slightly to play the C note as your starting pitch.
- Move to the second note: Gradually move to the next note of the scale using the appropriate valve combination or slide position. In the case of the C scale, you’ll move to the note D.
- Continue ascending the scale: Repeat the process, moving to each note of the scale with the correct fingerings or slide positions. For the C scale, the ascending notes will be C, D, E, F, G, A, and B, until reaching the high C.
- Descend the scale: After reaching the highest C, start descending the scale using the reverse fingerings or slide positions. Play B, A, G, F, E, D, and finally, the low C.
- Focus on intonation: As you play the C scale, pay attention to intonation – the accuracy of the pitch. Aim for each note to be in tune, matching the correct pitches. Listen carefully and make adjustments, such as lip or slide adjustments, to achieve proper intonation.
- Vary the dynamics: Practice the C scale with different dynamics, playing softly (piano) and gradually increasing the volume (crescendo) before decreasing it (diminuendo). This will help you develop control over your sound and expressiveness.
- Practice with a metronome: Use a metronome to maintain a steady tempo and develop your sense of rhythm. Start at a slow tempo and gradually increase the speed as you become more comfortable.
- Repeat and memorize: Repeat the C scale daily to build muscle memory and familiarity. Aim to memorize the fingerings or slide positions for each note, allowing for smoother and more efficient playing.
Playing the C scale is an essential exercise for brass players of all levels. Not only does it improve technique, fingerings, and slide positions, but it also helps with ear training, intonation, and overall musicality. Remember to practice slowly and accurately at first, gradually building up speed and fluency over time.
Once you feel comfortable with the C scale, you can start exploring other scales and expanding your repertoire. Consistent practice and attention to detail will lead to mastery of the C scale and open the doors to more advanced musical pieces and techniques on your brass instrument.
Learning Basic Music Notations
Understanding basic music notations is essential for effectively reading and interpreting sheet music on a brass instrument. By familiarizing yourself with key symbols and markings, you can accurately convey musical elements such as pitch, rhythm, dynamics, and expression. Here are some fundamental music notations to learn:
1. Staff and Clef: The staff consists of five horizontal lines and four spaces where musical notes are represented. The clef symbol at the beginning of the staff indicates which pitch range the notes represent. For most brass instruments, the treble clef (also known as the G clef) is used.
2. Notes: Notes represent the pitch of a musical sound. Each note is represented by a different symbol and placed on a specific line or space on the staff. Common notes include whole notes, half notes, quarter notes, and eighth notes. The duration of a note is indicated by its shape and the presence of a stem, which can point upward or downward.
3. Rests: Rests indicate periods of silence in the music. Like notes, rests come in different durations and shapes, ranging from whole rests to sixteenth rests. They are positioned on the staff to correspond with the rhythm of the music.
4. Time Signature: The time signature consists of two numbers placed at the beginning of a piece of music. The top number represents the number of beats in each measure, while the bottom number indicates the note value that receives one beat.
5. Key Signature: The key signature indicates the key in which the music is written and informs the player of any sharps or flats to be played consistently throughout the piece. It is found at the beginning of the staff, after the clef and time signature.
6. Dynamics: Dynamics indicate the volume or intensity of the music. Common dynamic markings include pianissimo (pp), piano (p), mezzo-piano (mp), mezzo-forte (mf), forte (f), and fortissimo (ff). These markings influence the overall expression and emotion conveyed in the music.
7. Articulation and Expression Marks: Articulation marks such as staccato (short and detached), legato (smooth and connected), or accents provide instructions on how to play each note. Expression marks such as crescendo (gradually getting louder) and decrescendo (gradually getting softer) add nuances and variations to the music.
8. Repeat Signs and Barlines: Repeat signs and barlines indicate sections of music that are to be repeated or divided into measures. Repeat signs consist of two dots placed before and after a specific section of music, while barlines separate measures.
9. Tempo Markings: Tempo markings indicate the speed at which a piece of music should be played. Common tempo markings include allegro (fast), andante (moderate), adagio (slow), and presto (very fast). They give guidelines for the overall tempo and mood of the music.
Learning to read and interpret music notations may seem overwhelming at first, but with practice and familiarity, it becomes second nature. Start by studying the symbols and their corresponding meanings, and gradually apply them while practicing your brass instrument. As you gain experience, you will become more proficient at reading and understanding sheet music, enabling you to bring the music to life with your performance.
Practicing Techniques
Developing effective practicing techniques is essential for progressing on your brass instrument. Consistent and focused practice will help you build skills, improve technique, and enhance your overall musicality. Here are some strategies to make the most out of your practice sessions:
1. Establish a Practice Routine: Set aside dedicated time each day for practicing. Create a schedule that works for you, whether it’s in the morning, afternoon, or evening. Consistency is key to making progress.
2. Warm-up Exercises: Start your practice session with warm-up exercises to prepare your body and instrument. Focus on long tones, lip slurs, or flexibility exercises to improve tone production, endurance, and range.
3. Break it Down: When learning a new piece or challenging passage, break it down into smaller sections. Practice each section slowly and master it before moving on to the next. This methodical approach helps build muscle memory and improves accuracy.
4. Slow Practice: Practice difficult passages at a slow tempo to ensure precision and control. As you gain confidence, gradually increase the tempo. Remember, accuracy is more important than speed.
5. Focus on Technique: Spend time working on specific technical aspects of playing, such as articulation, finger dexterity, or slide control (for trombone players). Use exercises and drills that target these areas, strengthening your skills over time.
6. Sight-Reading: Practice sight-reading new music to improve your reading skills. Start with simpler pieces and gradually move on to more challenging ones. This activity enhances your ability to read notes, rhythms, and dynamics on the spot.
7. Record and Evaluate: Record yourself playing and listen back to identify areas for improvement. Take note of intonation, tone quality, dynamics, and overall musicality. This self-evaluation allows you to make adjustments and track your progress over time.
8. Practice with a Metronome: Use a metronome to develop a strong sense of rhythm and timing. Start at a comfortable tempo and gradually increase the speed as you become more proficient. Playing in time is crucial for ensemble playing and musicality.
9. Seek Feedback: Work with a qualified instructor or seek feedback from experienced musicians. They can provide guidance, identify areas for improvement, and offer valuable insights to take your playing to the next level.
10. Don’t Forget to Rest: Break up your practice sessions with short breaks to avoid mental and physical fatigue. Resting allows your body and mind to recharge, promoting efficient learning and retention.
Remember, practicing is not just about repetition but also about mindful and purposeful engagement with the music. Embrace the process, stay patient, and enjoy the journey of continuous improvement on your brass instrument.
Common Challenges and Solutions
Playing a brass instrument comes with its fair share of challenges. However, with perseverance and the right approach, these obstacles can be overcome. Here are some common challenges faced by brass players, along with solutions to help you navigate through them:
1. High Notes: Many brass players struggle with reaching and maintaining the high notes. The solution lies in developing strong breath support and proper embouchure control. Practice long tones, lip slurs, and high-range exercises to strengthen your air flow and improve your upper register.
2. Tone Quality: Achieving a desirable tone quality can be a challenge. Work on producing a focused, centered sound by maintaining a consistent embouchure, proper breath support, and steady airflow. Listening to professional recordings and seeking guidance from instructors will help you develop a concept of a beautiful tone and work towards achieving it.
3. Endurance: Playing brass instruments requires endurance, especially for longer performances or demanding music. Incrementally increase your practice time to build stamina and incorporate exercises that target endurance, such as long tones and lip slurs. Avoid overplaying and make sure to take breaks during practice sessions to avoid fatigue.
4. Intonation: Playing in tune can be a challenge due to factors like pitch tendencies of the instrument and the player’s embouchure. Develop ear training skills by regularly playing with a tuner or electronic drone to improve intonation accuracy. Practice long tones and work on adjusting your embouchure, slide positions, or valve combinations to achieve proper pitch.
5. Tonguing and Articulation: Achieving clean and precise articulation can be challenging for brass players. Practice various tonguing techniques, such as single, double, and triple tonguing, and focus on clarity and evenness of attacks. Use metronome-assisted exercises to develop rhythmic precision and control.
6. Flexibility: Moving smoothly between registers and playing wide interval leaps can be difficult. Incorporate flexibility exercises, lip slurs, and octave jumps into your practice routine. Start with smaller intervals and gradually progress to larger leaps to build flexibility and accuracy in your playing.
7. Sight-Reading: Reading and playing music on the spot can be a challenge for brass players. Practice sight-reading regularly by working on easier pieces and gradually increasing the difficulty level. Focus on rhythm, note recognition, and interpretation to improve your ability to confidently perform unfamiliar music.
8. Performance Anxiety: Many players face nerves and anxiety when performing in front of others. Develop strategies to manage performance anxiety, such as deep breathing, positive visualization, and mental rehearsal techniques. Gradually expose yourself to performing in front of others through small, supportive settings or recitals to build confidence.
9. Seeking Support: Remember that you don’t have to overcome challenges alone. Seek guidance and support from experienced musicians, instructors, or fellow brass players. They can offer valuable insights, techniques, and encouragement to help you overcome obstacles and grow as a musician.
Embracing challenges as opportunities for growth and continually seeking improvement will lead you on a path of musical development and mastery of your brass instrument. Stay dedicated, be patient with yourself, and enjoy the process of overcoming challenges as you progress on your musical journey.
Tips for Improving Playing Skills
Improving your playing skills on a brass instrument is a continuous journey that requires consistent effort, focus, and a growth mindset. Here are some valuable tips to help you enhance your playing skills:
1. Establish a Practice Routine: Set aside dedicated time for practice every day. Consistency is key. Divide your practice session into sections, focusing on different aspects such as warm-ups, technical exercises, repertoire, and sight-reading.
2. Listen to Professionals: Regularly listen to recordings of professional brass players. Take inspiration from their tone, phrasing, and musical interpretation. Pay attention to subtle nuances, articulation, and dynamics, and strive to incorporate those elements into your own playing.
3. Slow and Steady: When learning new pieces or challenging passages, start practicing at a slow tempo. Focus on accuracy, technique, and musicality. Gradually increase the tempo as you gain confidence and proficiency.
4. Utilize a Metronome: Practicing with a metronome is essential for developing a strong sense of rhythm and precision. Start at a comfortable tempo and gradually increase the speed as you become more comfortable. Use the metronome to work on different subdivisions and maintain a steady beat.
5. Record and Evaluate Yourself: Record yourself playing and listen back critically. Pay attention to intonation, tone quality, articulation, and overall musical expression. Self-evaluation helps identify areas for improvement and allows you to track your progress over time.
6. Seek Feedback: Work with a qualified instructor or seek feedback from experienced musicians. They can provide valuable guidance, correct technical issues, and offer suggestions for improvement. Embrace constructive criticism as an opportunity for growth.
7. Practice Technique Exercises: Set aside time to practice specific technique exercises, such as scales, arpeggios, and lip slurs. These exercises help build finger dexterity, flexibility, and control, enhancing your overall playing skills.
8. Expand Repertoire: Explore a diverse range of musical styles and genres. Play pieces that challenge you technically and musically. Learning a variety of repertoire exposes you to different musical concepts and helps develop versatility in your playing.
9. Perform Regularly: Seek opportunities to perform in front of others, whether it’s in small settings or formal recitals. Performing boosts confidence, helps refine musical expression, and highlights areas that need further attention. Embrace the opportunity to share your music and learn from the experience.
10. Stay Patient and Persistent: Improving your playing skills takes time and dedication. Be patient with yourself and celebrate small victories along the way. Embrace challenges as opportunities for growth and persevere even when faced with setbacks. Consistent effort and a positive mindset will lead to continuous improvement.
Remember, the journey of improvement is as important as the destination. Embrace the process, stay motivated, and enjoy the path of growth as you continue to develop your playing skills on your brass instrument.
Conclusion
Congratulations on embarking on your journey to learn and master a brass instrument! As you dive into the world of brass music, remember that progress comes with dedication, practice, and a love for musical expression. Throughout this comprehensive guide, we have covered various aspects of playing brass instruments, from choosing the right instrument to developing proper technique and improving your skills.
By understanding the basic parts of a brass instrument, mastering proper posture and embouchure, and learning basic music notations, you have laid a strong foundation for your musical endeavors. You have also gained insights into important aspects of playing, such as producing sound, playing scales and repertoire, and overcoming common challenges.
As you continue your musical journey, remember to embrace challenges as opportunities for growth and stay patient with your progress. Develop a consistent practice routine, seek guidance from experienced musicians or instructors, and listen to the music of accomplished brass players to expand your knowledge and inspire your playing.
Take advantage of performance opportunities to showcase your skills and gauge your progress. Remember that music is not only about technique but also about connecting with your audience and expressing your emotions through sound.
Lastly, always approach your practice with curiosity and a genuine love for music. Enjoy the process of learning and exploring different musical styles and genres. Remember that the joy of playing a brass instrument comes not only from the end result but also from the personal growth and fulfillment you experience along the way.
So, grab your instrument, find your rhythm, and let the music flow. Embrace the challenges, celebrate the successes, and continue to refine your craft. With passion, dedication, and a commitment to continuous improvement, you will undoubtedly create beautiful music and enjoy the journey of playing a brass instrument for years to come.


