Home>Instruments>Brass Instruments>How To Polish Brass Instruments
Brass Instruments
How To Polish Brass Instruments
Published: January 15, 2024
Discover the step-by-step process of polishing brass instruments to restore their shine and brilliance. Enhance the lifespan and performance of your Brass Instruments with these expert tips.
(Many of the links in this article redirect to a specific reviewed product. Your purchase of these products through affiliate links helps to generate commission for AudioLover.com, at no extra cost. Learn more)
Table of Contents
- Introduction
- Why Polish Brass Instruments?
- Preparing the Brass Instrument for Polishing
- Materials Needed for Polishing
- Step-by-Step Guide to Polishing Brass Instruments
- Cleaning the Mouthpiece
- Cleaning the Valves
- Cleaning the Slides
- Cleaning the Bell
- Polishing the Brass Instrument
- Final Steps and Maintenance Tips
- Conclusion
Introduction
Brass instruments have been an integral part of music for centuries. From the bold, resounding sound of a trumpet to the smooth, mellow tones of a trombone, these instruments captivate audiences with their unique timbre. However, over time, brass instruments can accumulate dirt, tarnish, and fingerprints, diminishing their appearance and impacting their performance. That’s where polishing comes in.
Polishing brass instruments not only restores their visual appeal but also helps to optimize their sound quality and playability. By removing dirt, grime, and oxidized layers, the instrument’s surface becomes smoother, allowing for better airflow and resonance. Additionally, a well-polished instrument can prevent corrosion, prolonging its lifespan and maintaining its value.
In this comprehensive guide, we will walk you through the process of polishing brass instruments, providing step-by-step instructions to ensure optimal results. Whether you are a professional musician or a student learning to play, knowing how to properly clean and polish your brass instrument is essential for its maintenance and longevity.
Before diving into the polishing process, it’s important to understand the preparatory steps and gather the necessary materials. By following the guidelines outlined in this article, you’ll be well-equipped to give your brass instrument the care it deserves.
Why Polish Brass Instruments?
Polishing brass instruments serves both functional and aesthetic purposes. Let’s take a closer look at why polishing is important:
- Improved Performance: Over time, dirt and oxidation can build up on the surface of brass instruments, affecting their playability. By polishing the instrument, you remove these layers and create a smoother surface, allowing for better airflow and resonance. This, in turn, enhances the instrument’s overall performance and sound quality.
- Preservation of Appearance: Brass instruments are not only meant to sound beautiful but also look visually appealing. Polishing removes tarnish, discoloration, and fingerprints, restoring the instrument’s shine and maintaining its aesthetic appeal. A clean and polished instrument reflects professionalism and pride in craftsmanship.
- Prevention of Corrosion: Brass instruments are susceptible to corrosion due to exposure to moisture, acids, and other atmospheric elements. Polishing forms a protective barrier on the surface, preventing further oxidation and corrosion. Regular polishing helps to maintain the integrity of the instrument and extends its lifespan.
- Hygiene and Health: When playing a brass instrument, saliva and particles from the mouth can accumulate on the surface, creating a breeding ground for bacteria and germs. Polishing removes these contaminants, promoting better hygiene and reducing the risk of infections or allergic reactions.
By understanding the importance of polishing, you can ensure that your brass instrument remains in top condition, both functionally and aesthetically. Now that we have explored the reasons behind polishing brass instruments, let’s move on to the next section, which discusses the steps you need to take to prepare your instrument for polishing.
Preparing the Brass Instrument for Polishing
Before diving into the polishing process, it is crucial to properly prepare your brass instrument. This involves a few essential steps:
- Disassemble the Instrument: Begin by carefully disassembling the different parts of your brass instrument. For example, remove the mouthpiece, valves, slides, and any other detachable components. This will allow for easier access and thorough cleaning of each part.
- Inspect for Damage: Take a close look at each part of your brass instrument and inspect for any signs of damage or wear. Check for dents, scratches, or loose parts. If you notice any issues, it is important to address them before proceeding with the polishing process. Consult a professional repair technician if needed.
- Clean the Instrument: Prior to polishing, it’s essential to clean the instrument to remove dirt, debris, and any excess lubricants. Use warm, soapy water and a soft cloth or sponge to gently clean the surface of each component. Pay extra attention to intricate areas, such as valve casings, slides, and the inside of the bell.
- Dry Thoroughly: After cleaning, ensure that each part of the instrument is thoroughly dried. Use a clean, lint-free cloth to remove any moisture. It’s essential to dry the instrument completely to prevent water spots or damage to the brass.
- Protect Delicate Areas: Before polishing, it is advised to protect delicate areas such as valve stems and finger buttons. You can use masking tape or rubber bands to cover these areas, preventing accidental scratches or damage during the polishing process.
By following these preparatory steps, you set a solid foundation for the polishing process. Now that you have properly prepared your brass instrument, let’s move on to the next section, where we will discuss the materials you’ll need for successful polishing.
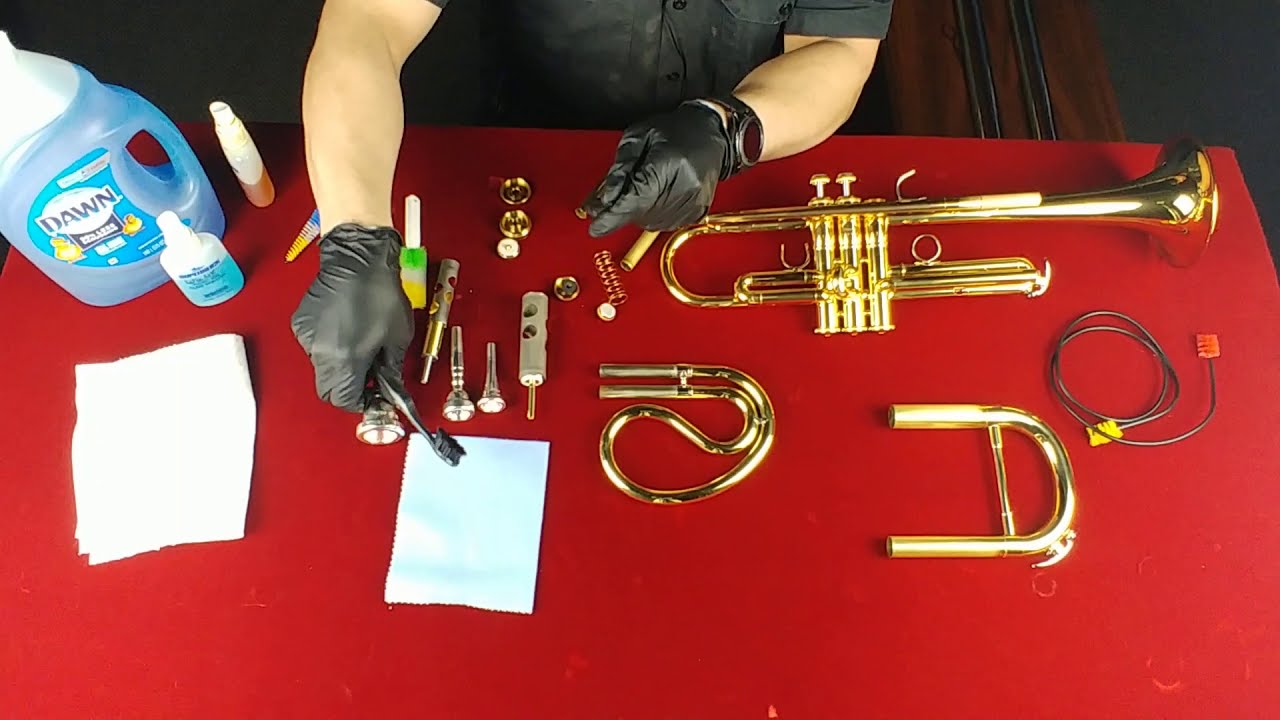
Materials Needed for Polishing
When it comes to polishing your brass instrument, having the right materials is essential for achieving optimal results. Here are the key materials you’ll need:
- Polishing Cloth: A high-quality polishing cloth specifically designed for brass instruments is a must-have. Look for a cloth that is soft, lint-free, and non-abrasive. This cloth will be used to remove tarnish and restore the shine of your instrument.
- Valve and Slide Oil: It is important to have valve oil and slide grease on hand to lubricate the moving parts of your brass instrument. These lubricants ensure smooth operation and prevent damage caused by friction.
- Brass Polish: Selecting the right brass polish is crucial for achieving a brilliant shine without damaging the surface of your instrument. Look for a brass polish that is specifically formulated for musical instruments and is safe to use on brass.
- Hand Gloves: Wearing hand gloves while polishing your brass instrument is recommended to prevent the transfer of oils and dirt from your hands to the instrument’s surface. Opt for gloves made of non-abrasive material that provide a good grip.
- Cleaning Brushes: Different cleaning brushes will come in handy for accessing hard-to-reach areas of your brass instrument, such as valve casings or tubing. Make sure to choose brushes that are appropriate for the size and shape of your instrument.
- Protection for Work Surface: To protect your work surface from any potential scratches or stains, consider using a soft cloth or a dedicated work mat specifically designed for brass instruments. This will provide a cushioned surface and prevent any damage to your instrument or surrounding area.
By gathering these materials before you start polishing, you’ll be fully equipped to achieve the best results and ensure the longevity of your brass instrument. Now that you have the necessary materials, let’s move on to the step-by-step guide for polishing your brass instrument.
Step-by-Step Guide to Polishing Brass Instruments
Polishing your brass instrument requires care and attention to detail. Follow this step-by-step guide to ensure a successful polishing process:
- Apply Brass Polish: Begin by applying a small amount of brass polish to your polishing cloth. Make sure to use the polish sparingly, as a little goes a long way. Too much polish can create a sticky residue on the instrument’s surface.
- Polish Small Sections: Work on polishing one small section of your brass instrument at a time, focusing on areas with tarnish or discoloration. Use gentle, circular motions to rub the polish into the brass surface. Avoid applying excessive pressure, as this may cause scratches.
- Remove Tarnish: As you polish, you will notice the tarnish being transferred from the instrument to the polishing cloth. Continue rubbing until the tarnish is completely removed and the surface begins to shine. You may need to apply more polish as you progress.
- Reach Hard-to-Access Areas: Use cleaning brushes or other specialized tools to access hard-to-reach areas, such as valve casings or tubing. Apply a small amount of polish to the brush and gently scrub these areas to remove dirt and tarnish.
- Pay Attention to Detail: Take your time and pay attention to detail while polishing. Inspect the instrument as you work, ensuring that you have thoroughly cleaned and polished each section. Remember to remove any masking tape or protective coverings before moving on to the next part of the instrument.
- Wipe and Inspect: Once you have polished the entire instrument, use a clean section of the polishing cloth to wipe away any excess polish residue. Take a moment to inspect your instrument, ensuring that it is free from streaks, smudges, or missed spots.
- Apply Valve and Slide Oil: Before reassembling your brass instrument, apply a small amount of valve oil to the valves and slide grease to the slides. This will ensure smooth movement and proper functionality.
- Reassemble the Instrument: Carefully reassemble all the parts of your brass instrument, making sure they fit snugly. Ensure that valves, slides, and other components are properly aligned and functioning smoothly.
- Gently Play Test: Once reassembled, gently play your instrument to ensure that everything is in working order. Take note of any issues or abnormalities and seek professional assistance if necessary.
By following these steps, you can effectively polish your brass instrument and restore its shine. However, it is important to note that the exact polishing process may vary depending on the specific type of instrument and its condition. Always refer to the manufacturer’s guidelines or consult with a professional if you have any doubts or concerns.
Next, we will delve into the specifics of cleaning different parts of your brass instrument, starting with the mouthpiece.
Cleaning the Mouthpiece
The mouthpiece of a brass instrument is a crucial component that requires regular cleaning to maintain optimal hygiene and performance. Here’s a step-by-step guide to cleaning your brass instrument’s mouthpiece:
- Remove the Mouthpiece: Carefully detach the mouthpiece from your brass instrument. Gently twist and pull it out, being mindful not to damage the instrument or the mouthpiece itself.
- Pre-Rinse with Warm Water: Start by giving the mouthpiece a pre-rinse with warm water to remove any loose debris or residue. Hold the mouthpiece under running water and use your fingers or a soft brush to clean both the interior and exterior surfaces.
- Use a Mouthpiece Brush: Next, use a specialized mouthpiece brush to clean the interior of the mouthpiece more thoroughly. Apply a small amount of mild dish soap or mouthpiece cleaner to the brush and carefully scrub the interior, paying extra attention to the cup, throat, and backbore.
- Rinse Thoroughly: Rinse the mouthpiece under warm water once again to remove any soap or cleaner residue. Ensure that all traces of cleaning agents are thoroughly rinsed away.
- Sanitize the Mouthpiece: To maintain proper hygiene, it is essential to sanitize the mouthpiece. You can use a mild mouthpiece sanitizer or a mixture of water and vinegar. Simply soak the mouthpiece for a few minutes, then rinse thoroughly with warm water.
- Dry Completely: After sanitizing, shake off any excess water from the mouthpiece, then dry it thoroughly with a clean cloth or allow it to air-dry naturally. It’s important to ensure that the mouthpiece is completely dry, as moisture can promote bacterial growth.
- Inspect and Reattach: Take a moment to inspect the mouthpiece for any damages, such as dents or scratches. If any issues are found, consult a professional repair technician. Once satisfied, reattach the cleaned mouthpiece to your brass instrument.
Regularly cleaning and sanitizing your brass instrument’s mouthpiece is essential for maintaining good hygiene and optimal playing conditions. By following these steps, you can ensure that your instrument’s mouthpiece remains clean and in excellent condition.
Next, let’s move on to cleaning the valves of your brass instrument.
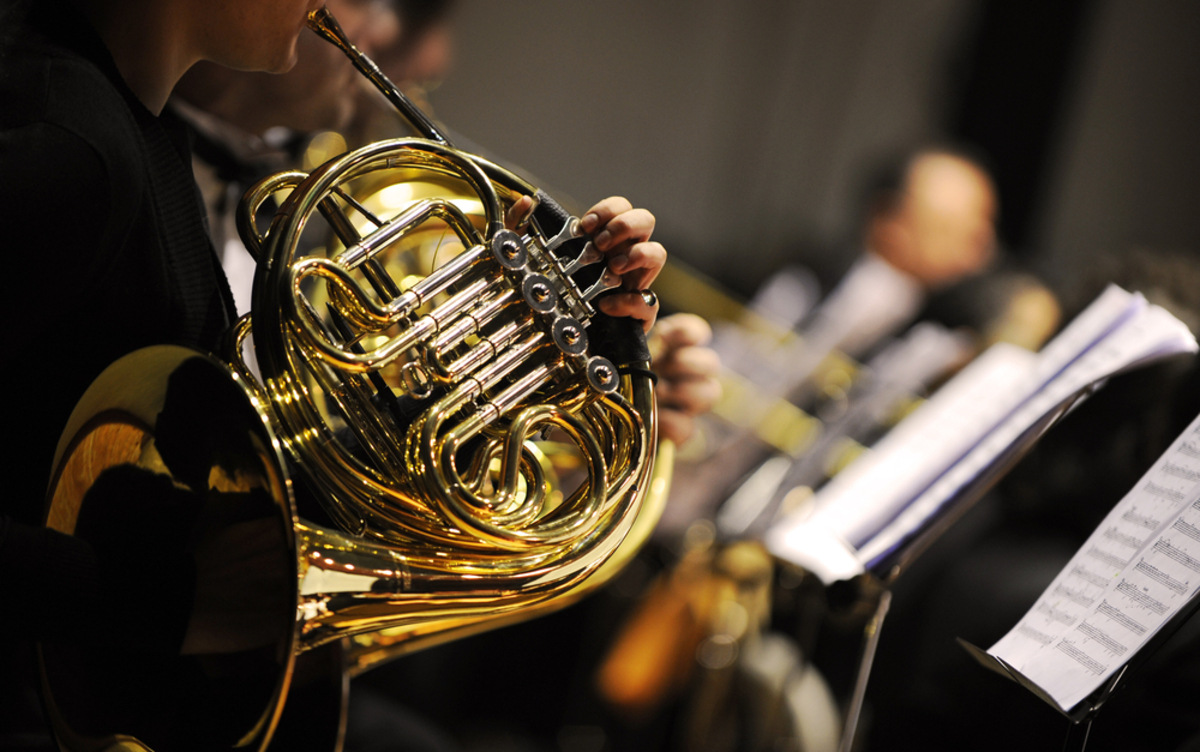
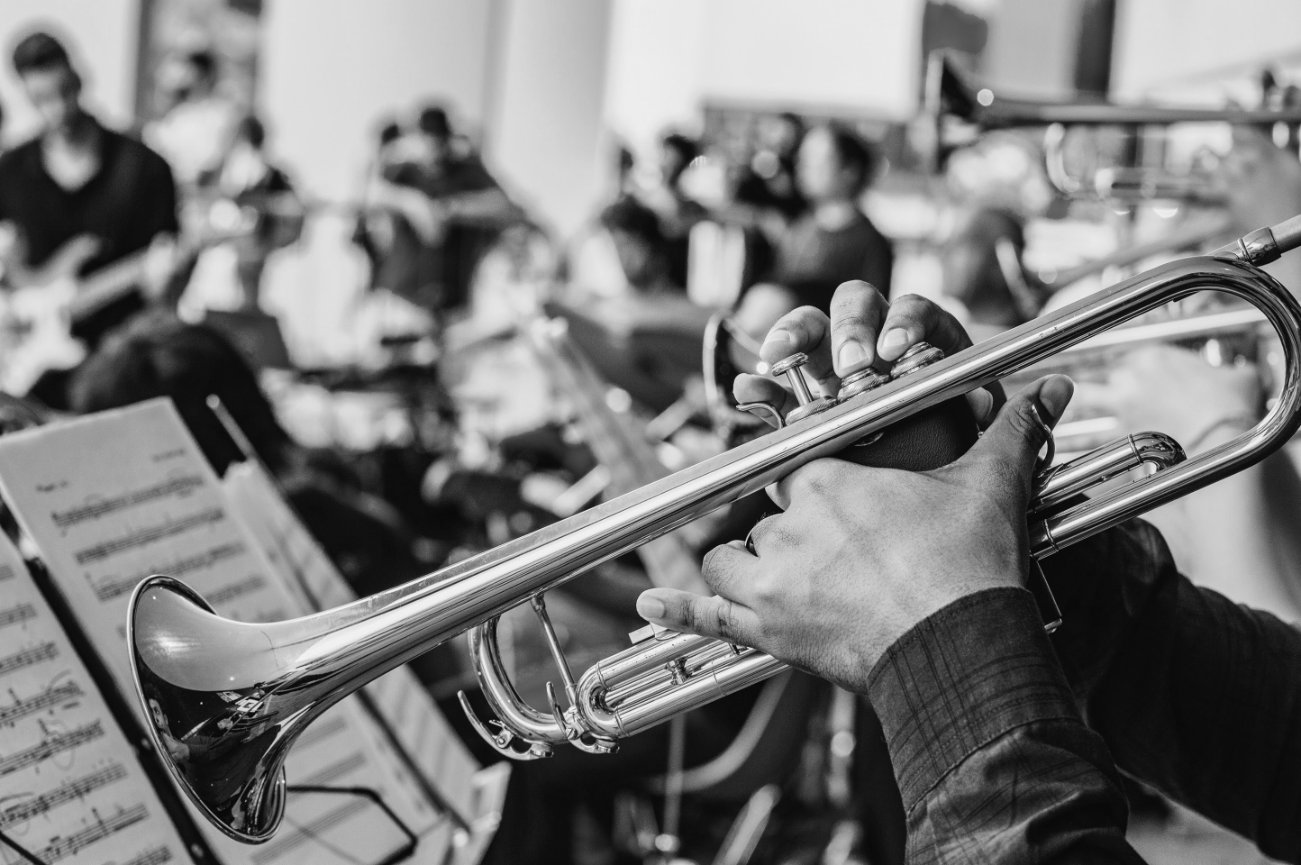
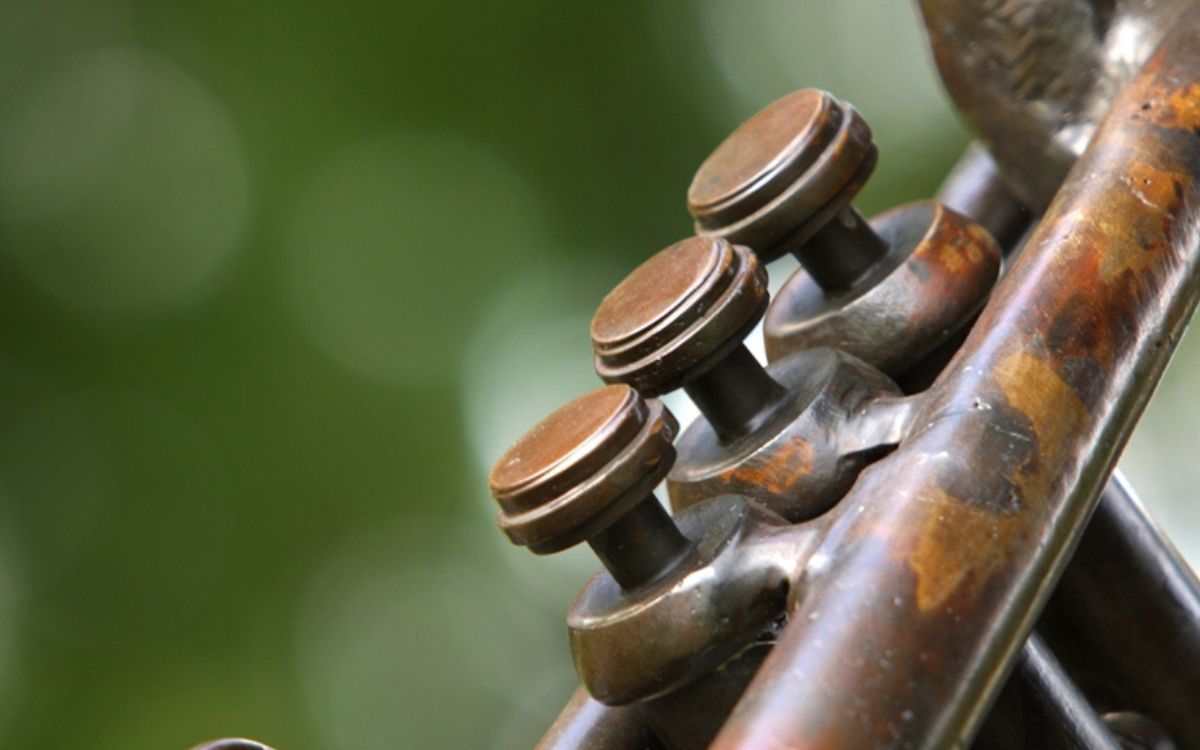
Cleaning the Valves
The valves of a brass instrument play a critical role in producing the desired sound. Cleaning and maintaining the valves is essential for optimal performance and longevity. Follow these steps to effectively clean the valves of your brass instrument:
- Remove the Valves: Carefully remove the valves from your brass instrument by unscrewing or lifting them out. Make sure to keep them in a safe and organized manner to avoid mix-ups.
- Pre-Clean the Valves: Start by giving the valves a pre-cleaning by rinsing them with warm water. This helps remove any loose particles or residue that may have accumulated.
- Apply Valve Cleaning Solution: Apply a small amount of specialized valve cleaning solution to a soft cloth or valve brush. Gently rub the solution onto all the surfaces of the valve, paying extra attention to the ports and the casing areas.
- Scrub the Valves: Use a specialized valve brush to scrub the valve casings and ports. Insert the brush into the ports and rotate it gently to remove any debris or buildup. Be cautious not to damage the sensitive inner surfaces of the valve.
- Rinse the Valves: Rinse the valves thoroughly with warm water to remove the cleaning solution and any remaining debris. Ensure that all traces of the cleaning solution are completely removed.
- Dry the Valves: Dry the valves using a clean, lint-free cloth. Gently wipe the surfaces of the valves to remove any moisture. It’s important to dry them thoroughly to prevent the accumulation of water that can lead to corrosion.
- Oil and Reassemble: Apply a small amount of valve oil to each valve, making sure to distribute it evenly. Slide the valves back into their respective casings, taking care to align them properly. Give them a few turns to ensure smooth movement.
- Clean Valve Casings: While the valves are out, take the opportunity to clean the valve casings. Use a valve casing brush or a soft cloth dampened with cleaning solution to remove any dirt or residue.
- Play Test: Once the valves are reassembled, gently play your brass instrument to ensure that the valves are moving freely and smoothly. If you experience any sticking or sluggishness, consult a professional technician for further assistance.
Regularly cleaning and maintaining the valves of your brass instrument will help optimize their performance and extend their lifespan. By following these steps, you can keep your valves in excellent condition, ensuring smooth and effortless playing.
Next, let’s move on to cleaning the slides of your brass instrument.
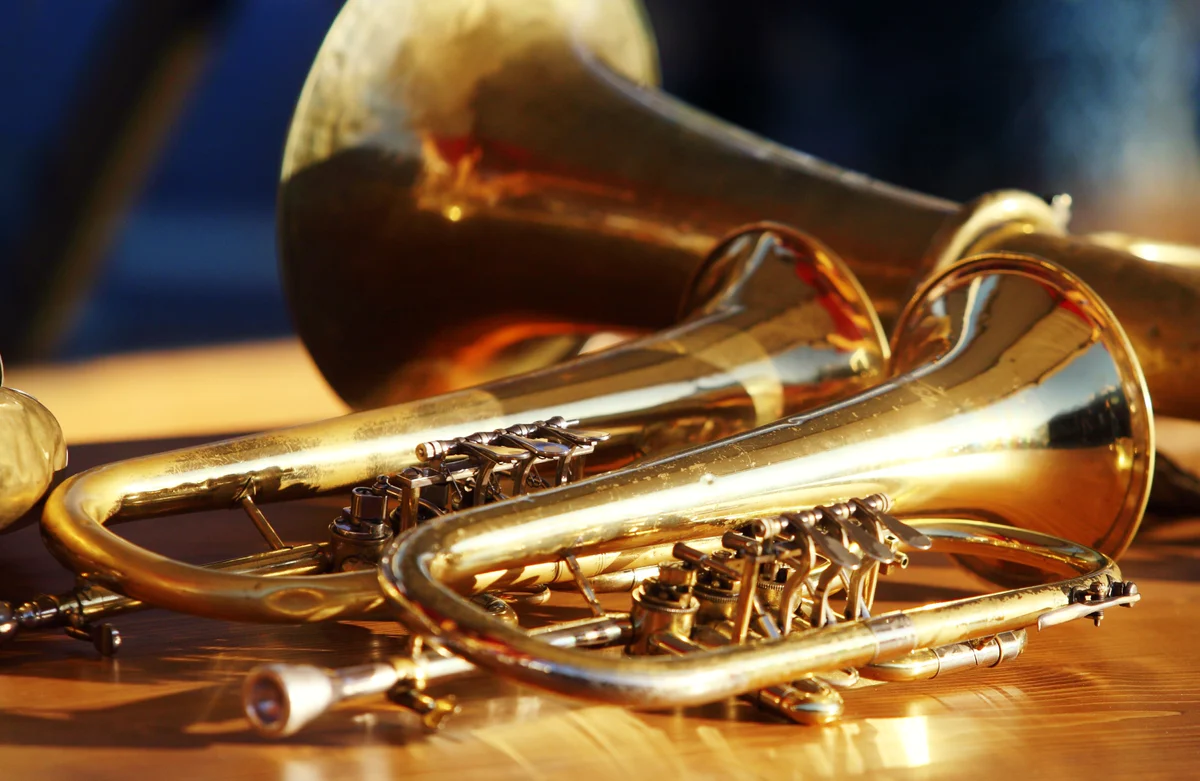
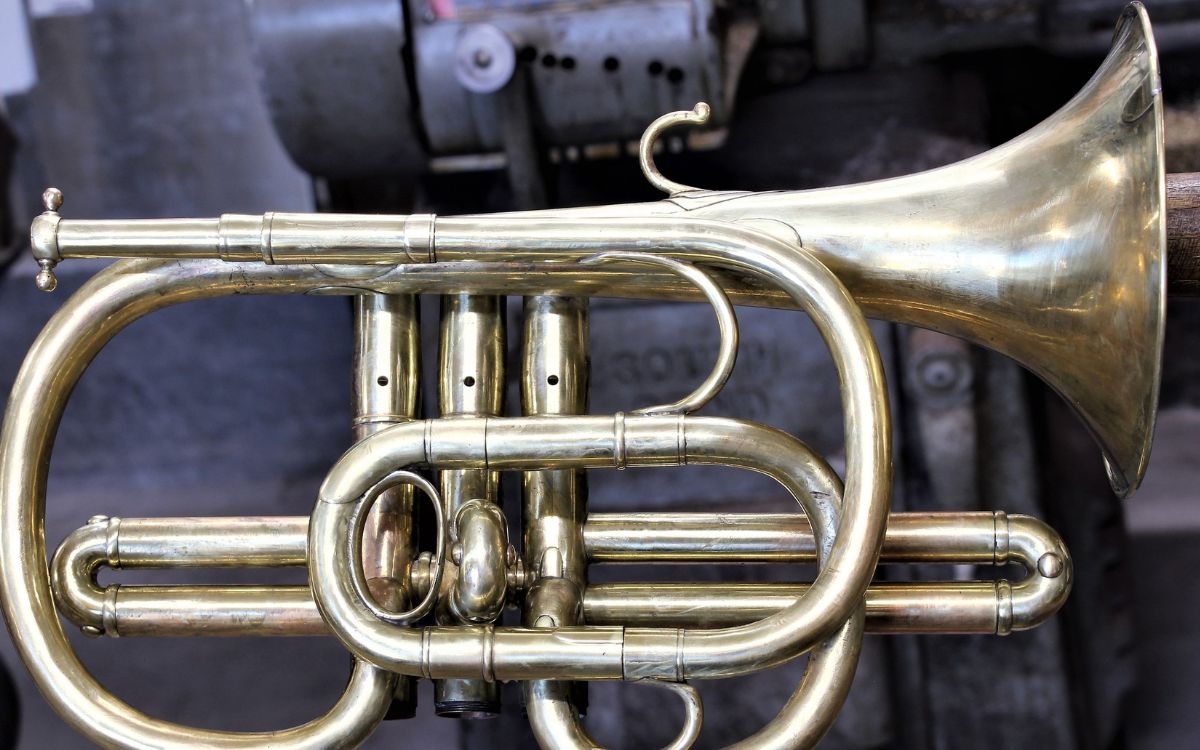
Cleaning the Slides
The slides of a brass instrument, such as the tuning slides and the main slide, require regular cleaning to ensure smooth movement and accurate tuning. Follow these steps to clean the slides of your brass instrument:
- Remove the Slides: Carefully remove the slides from your brass instrument by gently pulling or unscrewing them. Keep them organized and be cautious not to damage or dent them.
- Pre-Clean the Slides: Begin by giving the slides a pre-cleaning by rinsing them with warm water. This helps remove any debris or residue that may have accumulated.
- Apply Slide Cleaning Solution: Apply a small amount of specialized slide cleaning solution to a soft cloth or a brush designed for cleaning brass instrument slides. Gently rub the cleaning solution onto the surface of each slide, covering the entire length.
- Brush the Slides: Use the specialized slide cleaning brush to scrub the inner and outer surfaces of each slide. Insert the brush carefully into the slide, and move it back and forth to remove any buildup or debris. Pay extra attention to the areas that tend to accumulate dirt, such as the slide tubes and the crook.
- Rinse the Slides: Rinse the slides thoroughly with warm water to remove the cleaning solution and any remaining debris. Ensure that all traces of the cleaning solution are completely rinsed away.
- Dry the Slides: Dry the slides with a clean, lint-free cloth. Gently wipe the surface of each slide to remove any moisture. It’s important to dry them thoroughly to prevent water spots or the accumulation of moisture that can lead to corrosion.
- Apply Slide Grease: Apply a small amount of slide grease or lubricant to the inner surfaces of the slides. Spread it evenly using your fingers or a slide grease applicator. This helps ensure smooth movement and airtight sealing.
- Reassemble the Slides: Carefully reassemble the slides, making sure they align correctly with their respective tubing. Pay attention to proper positioning and ensure that the slides move freely and smoothly.
- Play Test and Tune: Once the slides are reassembled, gently play your brass instrument and adjust the slides as needed to achieve the desired pitch and intonation. Make small adjustments and test the tuning carefully to avoid any sudden shifts.
Regularly cleaning and lubricating the slides of your brass instrument will ensure optimal performance and accurate tuning. By following these steps, you can maintain the smooth movement of the slides and keep your instrument in top condition.
Next, let’s move on to cleaning the bell of your brass instrument.
Cleaning the Bell
The bell of a brass instrument is not only a crucial part of its sound projection but also a prominent visual component. Cleaning the bell helps to maintain the instrument’s appearance and optimize its performance. Follow these steps to effectively clean the bell of your brass instrument:
- Prepare Cleaning Solution: Prepare a solution of warm water and mild dish soap or a specialized brass instrument cleaner. The solution should be gentle enough to clean the brass without causing any damage.
- Apply Cleaning Solution: Use a soft cloth or sponge to apply the cleaning solution to the surface of the bell. Gently rub the solution onto the brass, covering the entire area including the inner surface.
- Remove Dirt and Grime: Focus on areas with visible dirt or discoloration, using gentle circular motions to remove any debris or tarnish. Pay attention to the crevices, engraving, and any other intricate details.
- Use a Toothbrush for Hard-to-Reach Areas: For hard-to-reach areas, such as the bell flare or inner bell tubing, you can use a soft-bristled toothbrush. Dip the toothbrush into the cleaning solution and gently scrub these areas to remove any stubborn buildup or residue.
- Rinse Thoroughly: Rinse the bell under running water or use a damp cloth to remove the cleaning solution. Ensure that all traces of the cleaning solution are thoroughly rinsed away and no residue remains on the surface.
- Dry Completely: After rinsing, use a clean, lint-free cloth to dry the bell thoroughly. Pay attention to any water spots or moisture trapped in crevices. It’s important to ensure that the bell is completely dry to prevent the occurrence of tarnish or corrosion.
- Polish the Bell: If desired, you can use a specialized brass instrument polish to further enhance the shine and appearance of the bell. Apply a small amount of polish to a soft cloth and gently rub it onto the surface of the bell, using circular motions and avoiding excessive pressure.
- Buff for Shine: After applying the polish, use a clean area of the cloth to buff the bell, creating a brilliant shine. Continue buffing until you achieve the desired level of polish and luster.
- Inspect and Reassemble: Once the bell is clean and polished, take a moment to inspect it for any missed spots or smudges. Correct as needed. With the bell now gleaming, reassemble the instrument, ensuring that all the components fit securely and properly.
Cleaning the bell of your brass instrument not only improves its appearance but also helps maintain its overall performance. By following these steps, you can keep your instrument’s bell looking beautiful and sounding its best.
Now that we have covered cleaning the different parts of your brass instrument, let’s move on to the final section, which discusses the polishing process itself.
Polishing the Brass Instrument
After cleaning the various components of your brass instrument, it’s time to give it a polished finish. Polishing enhances the visual appeal of the instrument, making it shine and look well-maintained. Here’s how to polish your brass instrument:
- Apply Brass Polish: Start by applying a small amount of brass polish to a clean, soft cloth. Choose a brass polish specifically formulated for musical instruments, as it is designed to be gentle and safe for brass surfaces.
- Rub in Circular Motions: Gently rub the polish onto the surface of the instrument in circular motions. Make sure to cover all areas, paying extra attention to spots with tarnish or discoloration.
- Work in Small Sections: Polish small sections of the instrument at a time, rather than attempting to polish the entire instrument at once. This allows you to focus on each area and achieve an even finish.
- Apply Gentle Pressure: Apply light to moderate pressure while polishing, ensuring that you don’t exert too much force. Pressing too hard can lead to scratches or damage to the instrument’s surface.
- Continue Until Shining: Keep rubbing the polish onto the brass surface until you begin to see the desired shine. The polish will help remove tarnish and restore the luster of the instrument.
- Use a Clean Cloth for Buffing: Once the polish has been applied and has done its job, use a clean, dry cloth to buff and remove any excess polish residue. Continue buffing until the entire instrument has a consistent shine.
- Inspect for Any Missed Spots: Take a few moments to inspect the instrument from various angles, ensuring that you haven’t missed any spots while polishing. If you notice any areas that require additional attention, apply a small amount of polish to the cloth and gently work on those spots.
- Buff and Shine: After polishing, give the instrument a final buff using a clean, soft cloth. This will help enhance the shine and ensure that the instrument looks its best.
- Protective Coating: As an optional step, you may consider applying a protective coating or lacquer to the brass surface. This helps prevent oxidation and maintains the polished appearance for a longer period. Consult with a professional or refer to the instrument’s manufacturer for guidance on appropriate protective coatings.
With these steps, you can effectively polish your brass instrument, restoring its visual appeal, and creating a polished, professional appearance.
Now that you know how to polish your brass instrument, let’s move on to the final steps and maintenance tips for keeping your instrument in optimal condition.
Final Steps and Maintenance Tips
After polishing your brass instrument, there are a few final steps and maintenance tips to follow to ensure its long-term care and optimal performance:
- Remove Excess Residue: Take a clean, soft cloth and wipe away any remaining polish residue from the instrument’s surface. This will help prevent buildup and maintain a clean appearance.
- Store Properly: When not in use, store your brass instrument in a proper case or gig bag. This protects it from dust, moisture, and potential damage. Make sure the instrument is dry before storing to avoid trapping moisture inside the case.
- Regular Cleaning Routine: Establish a regular cleaning routine for your brass instrument. Clean the instrument after each use using a soft cloth to remove fingerprints, dirt, or debris. Having a consistent cleaning regimen will help prevent the buildup of grime and extend the time between more thorough cleanings.
- Oil the Valves and Grease the Slides: Regularly oil the valves and grease the slides of your brass instrument, following the manufacturer’s recommendations. This ensures smooth and efficient operation of these components.
- Maintain Proper Hygiene: Personal hygiene is important when playing a brass instrument. Always wash your hands before playing to prevent oil and dirt transfer to the instrument’s surface. Additionally, clean the mouthpiece regularly to eliminate bacteria and maintain a healthy playing environment.
- Avoid Harsh Cleaning Agents: When cleaning your brass instrument, avoid using harsh chemicals, abrasives, or household cleaners. These can damage the finish and affect the instrument’s performance. Stick to specialized cleaning solutions and polishes designed for brass instruments.
- Professional Maintenance: Regularly schedule professional maintenance and inspections for your brass instrument. A qualified technician can identify and address any issues before they escalate, ensuring that your instrument remains in optimal playing condition.
- Handle with Care: When handling your brass instrument, exercise caution and care to avoid accidental bumps, drops, or impacts. Be mindful of the delicate valves, slides, and other components to prevent damage.
- Protect from Extreme Conditions: Avoid exposing your brass instrument to extreme temperatures, high humidity, direct sunlight, or sudden temperature changes. These conditions can affect the instrument’s integrity, tuning, and overall performance.
By following these final steps and maintenance tips, you can prolong the lifespan of your brass instrument, maintain its visual appeal, and ensure optimal performance for years to come.
With this comprehensive guide, you now have the knowledge and understanding to effectively care for and polish your brass instrument. Remember, regular cleaning, proper storage, and diligent maintenance are the keys to keeping your instrument in its best condition and allowing it to shine both visually and musically.
Happy polishing!
Conclusion
Polishing brass instruments is an essential part of instrument maintenance to ensure their optimal performance, longevity, and visual appeal. By following the step-by-step guide provided in this article, you have learned how to properly prepare your instrument, gather the necessary materials, and polish each part with care.
Regularly cleaning and polishing your brass instrument removes tarnish, dirt, and grime, allowing for better sound projection and playability. It also helps protect the instrument from corrosion, preserving its value and extending its lifespan.
Remember to take the time to properly prepare your brass instrument before polishing, ensuring that it is disassembled, inspected, and cleaned thoroughly. Gathering the right materials, such as a polishing cloth, valve oil, and brass polish, is crucial for achieving the best results.
Throughout the cleaning and polishing process, be gentle and pay attention to detail. Take your time to clean each part individually and inspect your instrument for missed spots or damage. Reassembling the instrument correctly and testing its performance afterward are important final steps.
In addition, make sure to establish a regular cleaning routine and practice proper maintenance to keep your brass instrument in excellent condition. Maintain good personal hygiene, oil the valves, grease the slides, and store the instrument properly when not in use.
By following these guidelines and incorporating them into your instrument care routine, you can keep your brass instrument looking and sounding its best, ensuring that it continues to bring joy and music into your life for years to come.
Now, go ahead, pick up your recently polished brass instrument, and let the world be captivated by the beauty of its sound and appearance!