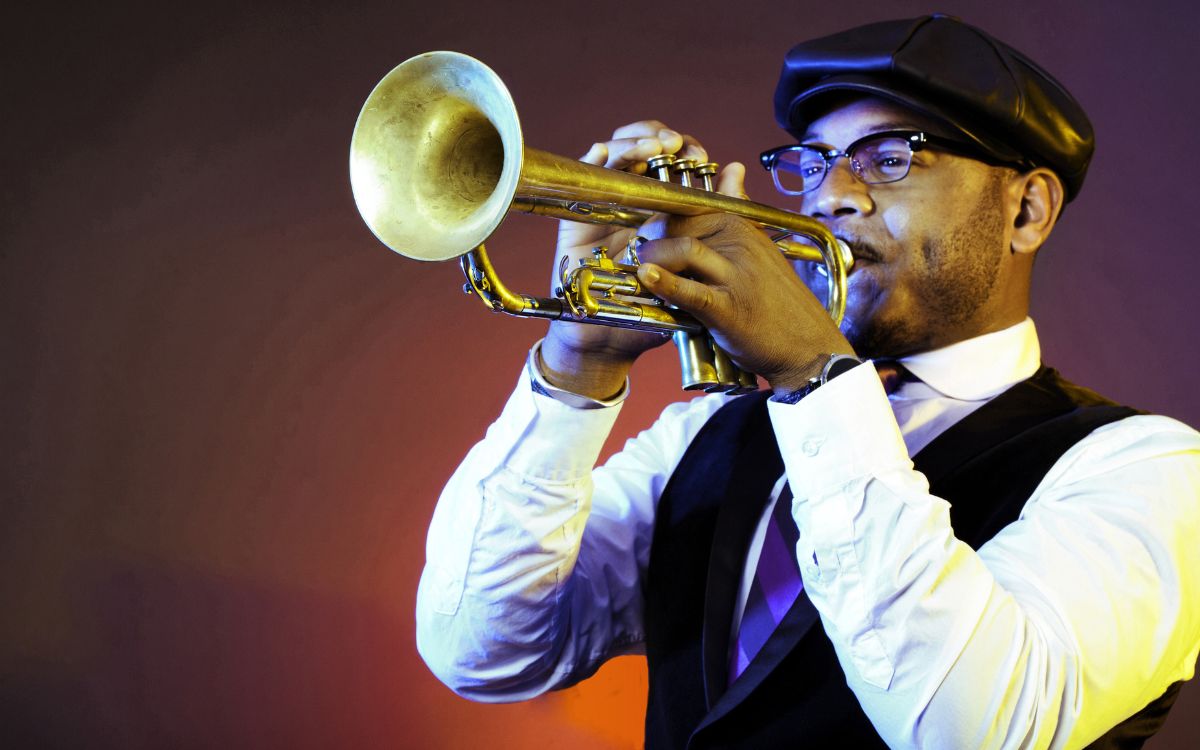
Home>Instruments>Brass Instruments>How To Paint Brass Instruments
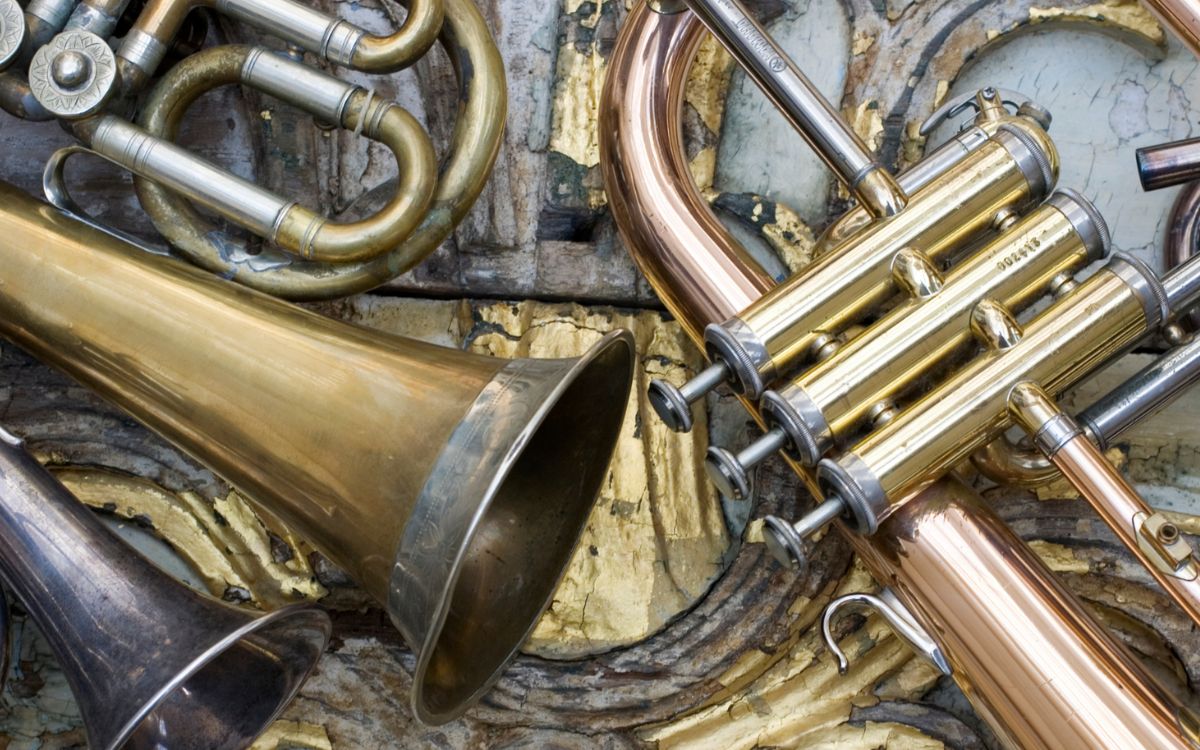
Brass Instruments
How To Paint Brass Instruments
Published: January 15, 2024
Discover the art of painting brass instruments with our step-by-step guide. Enhance the look of your brass instruments and unleash your creativity today!
(Many of the links in this article redirect to a specific reviewed product. Your purchase of these products through affiliate links helps to generate commission for AudioLover.com, at no extra cost. Learn more)
Table of Contents
Introduction
Welcome to our guide on how to paint brass instruments. Are you looking to give your brass instrument a fresh new look? Whether you want to change the color or simply refresh the existing finish, painting your brass instrument can be a fun and rewarding project. Not only does it allow you to showcase your creativity, but it also offers a chance to personalize your instrument and make it truly unique.
Before embarking on this endeavor, it’s important to note that painting a brass instrument is a delicate process that requires careful preparation and execution. While it may seem daunting at first, with the right supplies and techniques, you can achieve professional-looking results.
In this guide, we will walk you through the step-by-step process of painting a brass instrument. We’ll cover everything from gathering the necessary supplies to adding intricate details and accents. So, whether you have a trumpet, trombone, or tuba, get ready to give your brass instrument a makeover!
Before we begin, it’s essential to understand that painting a brass instrument can affect its sound quality. The layers of paint can slightly alter the vibrations and resonance, so it’s best to approach this project with caution. If you have a valuable or vintage instrument, it’s advisable to consult with a professional before proceeding.
Now that we’ve covered the basics, let’s dive into the supplies you’ll need to get started on your brass instrument painting project.
Supplies Needed
Before you begin painting your brass instrument, gather the following supplies:
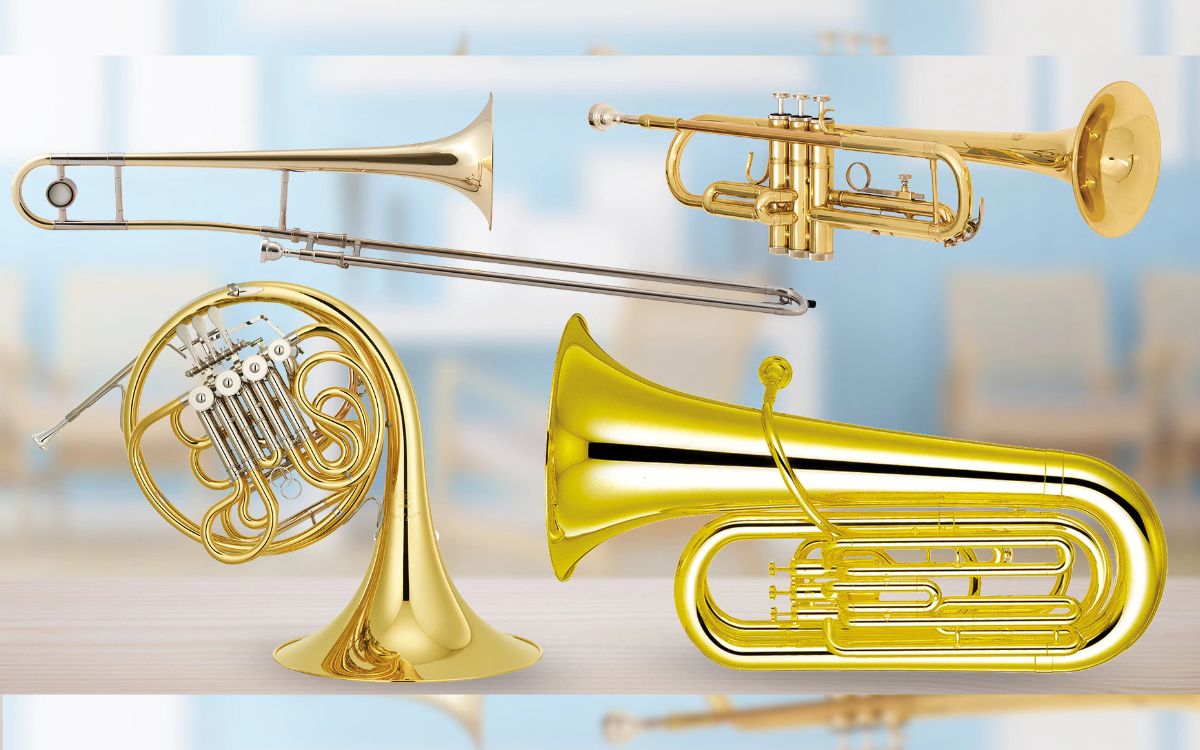
- Brass instrument of your choice (trumpet, trombone, tuba, etc.)
- Masking tape
- Sandpaper (assorted grits)
- Primer specifically formulated for metal surfaces
- High-quality acrylic or enamel paint (choose your desired color)
- Clear coat protective finish
- Paint brushes (various sizes)
- Drop cloth or old newspaper
- Rubber gloves
- Respirator or mask
- Protective eyewear
- Clean, lint-free cloth
- Mineral spirits or paint thinner
Having these supplies ready will ensure that you have everything you need to properly paint your brass instrument. It’s crucial to use materials specifically designed for metal surfaces to ensure optimum adhesion and durability.
Now that you have all the necessary supplies, let’s move on to the next step, which is preparing the brass instrument for painting.
Preparing the Brass Instrument
Before you start applying paint to your brass instrument, it’s essential to properly prepare the surface. Here’s how to do it:
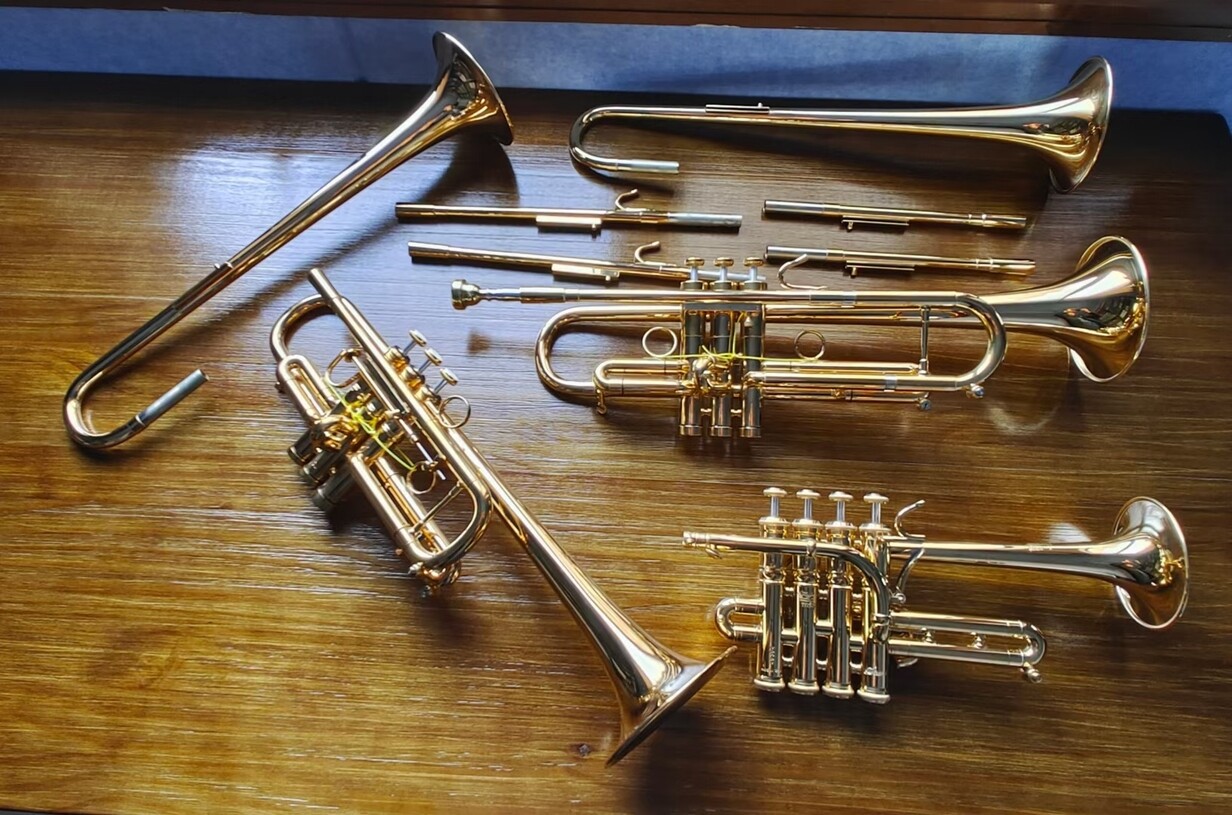
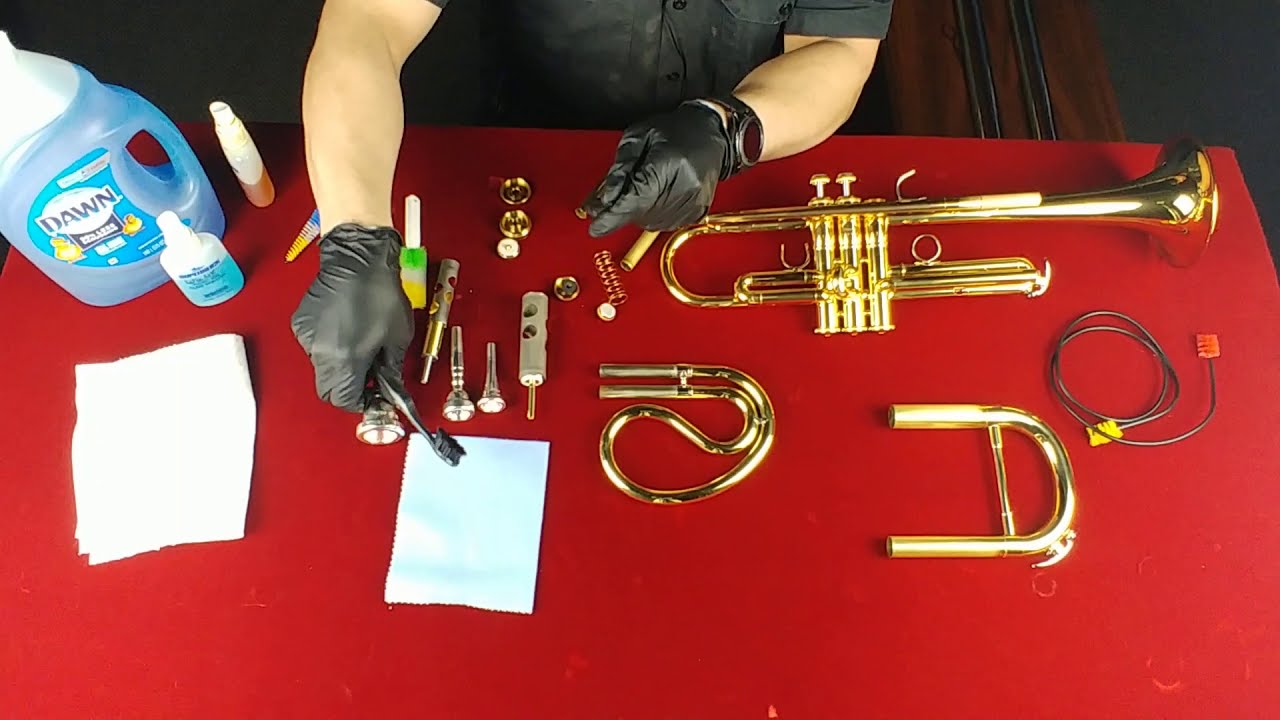
- Disassemble the instrument: If possible, disassemble the various parts of the instrument, such as the valves or slides. This will make the painting process easier and allow you to reach all the nooks and crannies.
- Clean the surface: Use a clean, lint-free cloth to wipe down the entire surface of the instrument. This will remove any dirt, oil, or debris that may interfere with the paint’s adhesion. If the instrument has any sticky residue or stubborn grime, you can use a mild soap and water solution or a brass cleaner.
- Sand the surface: Gently sand the entire surface of the instrument using sandpaper. This step helps create a rough texture, allowing the primer to adhere better to the brass. Use different grits of sandpaper, starting with a coarser grit and gradually progressing to a finer grit, for a smooth finish.
- Apply masking tape: Use masking tape to cover any parts of the instrument that you don’t want to paint, such as the valves or decorative engravings. Ensure that the tape is firmly adhered to create clean edges and prevent overspray.
- Protect yourself: Before applying any chemicals or paint, it’s important to protect yourself. Wear rubber gloves, a respirator or mask, and protective eyewear to shield yourself from potentially harmful fumes and particles.
By properly preparing the brass instrument, you’ll ensure that the paint adheres smoothly and lasts longer. Once the instrument is thoroughly cleaned, sanded, and masked, you’re ready to move on to the next step: applying the base coat.
Applying the Base Coat
Now that the brass instrument is properly prepared, it’s time to apply the base coat. The base coat serves as the foundation for the paint and provides a smooth and even surface for the color coat.
- Priming the surface: Start by applying a thin, even layer of primer specifically formulated for metal surfaces. This will help the paint adhere to the brass and prevent it from chipping or peeling. Use smooth, overlapping strokes to ensure full coverage.
- Allowing the primer to dry: Follow the instructions provided by the primer manufacturer to determine the drying time. It’s essential to let the primer fully dry before moving on to the next step. This can take anywhere from a few hours to overnight.
- Sanding the primer (optional): If you notice any imperfections or rough spots on the primed surface, you can lightly sand them using fine-grit sandpaper. Be cautious not to sand too strongly or remove too much of the primer.
Applying the base coat is crucial for achieving a professional-looking finish. The primer not only helps the paint adhere better but also provides a solid base for the color coat. It’s important to take your time during this step to ensure that the base coat is smooth and flawless. Once the primer is dry and sanded (if necessary), you’re ready to move on to the next step: applying the top coat.
Applying the Top Coat
With the base coat applied and properly prepared, it’s time to move on to the exciting part – applying the top coat. The top coat is where you’ll add the desired color to your brass instrument, giving it a vibrant and personalized look. Here’s how to do it:
- Selecting the paint: Choose a high-quality acrylic or enamel paint specifically designed for metal surfaces. These paints offer durability and a wide range of color options. Ensure that the paint is compatible with the primer you used in the previous step.
- Applying the first coat: Begin by applying a thin, even layer of paint to the instrument’s surface. Use long, smooth brush strokes or a spray paint gun for a more even application. It’s better to apply multiple thin coats rather than one thick coat to avoid drips or uneven coverage.
- Allowing the paint to dry: Follow the paint manufacturer’s instructions regarding the drying time between coats. It is crucial to let each coat dry completely before adding another layer. This will prevent smudging and ensure a smooth finish.
- Applying additional coats: Repeat the process of applying thin, even coats of paint until you achieve the desired color and coverage. Take your time and be patient as you build up layers for a professional-looking result. Remember to allow each coat to dry before adding the next one.
As you apply the top coat, pay attention to the details and ensure that the paint is evenly distributed. Take care to cover all areas, including those that are difficult to reach. Once you’re satisfied with the color and coverage, it’s time to move on to the next step: adding details and accents.
Adding Details and Accents
Now that you’ve applied the base coat and top coat to your brass instrument, it’s time to add those final touches that will truly make it stand out. Adding details and accents can elevate the overall aesthetic and make your instrument unique. Here are some tips to help you create a personalized design:
- Plan your design: Before you begin adding details, take some time to plan out your desired design. Consider the colors, patterns, or motifs you’d like to incorporate. You can draw inspiration from music, nature, or even your own imagination.
- Use fine brushes or fine-tip paint markers: For intricate designs and details, switch to fine brushes or fine-tip paint markers. These allow for more precise control and can help you achieve intricate patterns or intricate designs with ease.
- Experiment with different techniques: Try out different techniques, such as stenciling, freehand painting, or even using decals or stickers, to add variety to your design. Don’t be afraid to explore your artistic side and get creative!
- Be patient and take your time: Adding details requires patience and a steady hand. Take your time to ensure precision and avoid rushes or mistakes. Remember, it’s always easier to add more details later than to remove or fix ones you’re unhappy with.
- Protect the painted surface: Once you’ve finished adding details, allow the paint to dry completely. To protect the design, apply a clear coat protective finish over the entire instrument. This will help seal the paint and provide added durability.
Adding details and accents allows you to truly personalize your brass instrument and make it a reflection of your style and personality. Whether it’s musical notes, floral patterns, or abstract designs, let your creativity shine through!
Now that you’ve added the final touches, there’s just one more step left: finishing touches.
Finishing Touches
After completing the painting process and adding the desired details, it’s time to put the finishing touches on your newly painted brass instrument. These final steps will help ensure the longevity and overall appearance of your instrument. Here’s what you need to do:
- Inspect for imperfections: Take a close look at your instrument’s surface and check for any imperfections, such as rough spots, drips, or inconsistencies in the paint. If you spot any blemishes, use fine-grit sandpaper to smooth them out gently.
- Clean and polish: Use a clean, lint-free cloth to remove any dust or debris that may have accumulated during the painting process. Additionally, give your instrument a gentle polish to enhance its shine and overall appearance.
- Reassemble the instrument: Once the instrument is dry and the paint is fully cured, carefully reassemble all the components. Ensure that everything fits back together correctly and functions smoothly.
- Play-test and adjust: Before you put your newly painted brass instrument to regular use, take some time to play-test it and make any necessary adjustments. Check for any changes in sound quality or playability and make adjustments as needed.
- Show it off: Finally, proudly display your newly painted brass instrument to the world. Whether you’re performing on stage, playing in a band, or simply practicing at home, let your instrument be a reflection of your creativity and passion.
By completing these finishing touches, you’ll ensure that your painted brass instrument looks its best and is ready for use. Remember to handle your instrument with care and maintain regular cleaning and maintenance routines to preserve the paintwork and overall condition.
Congratulations on successfully painting your brass instrument and giving it a fresh new look!
Tips and Tricks
Painting a brass instrument can be a rewarding project, and here are some valuable tips and tricks to help you achieve the best results:
- Clean the instrument thoroughly: Ensure that the brass instrument is clean and free of any dirt, oils, or grime before you begin the painting process. A clean surface will help the paint adhere better and ensure a smoother finish.
- Use light, even strokes: When applying the primer, base coat, and top coat, use light, even strokes to achieve a smooth and even application. Avoid applying too much pressure, as it can lead to drips or uneven layers of paint.
- Allow sufficient drying time: Patience is key. Allow each layer of paint to dry fully before applying additional coats or handling the instrument. Rushing the drying process can lead to smudges or damage to the finish.
- Work in a well-ventilated area: Ensure that you have proper ventilation when painting your brass instrument. This will help dissipate fumes and provide a healthier working environment. If necessary, consider working outdoors or in a well-ventilated room.
- Protect sensitive areas: Use masking tape or painter’s tape to protect any sensitive areas, such as valves, slides, or decorative engravings, from paint overspray or accidental paint application. This will help preserve the instrument’s functionality and aesthetic appeal.
- Experiment with different finishes: Consider using different finishes, such as matte or gloss, to add visual interest and uniqueness to your brass instrument. This can help enhance the overall appearance and make it truly stand out.
- Maintain regular cleaning and maintenance: After painting your brass instrument, continue to follow regular cleaning and maintenance routines to keep it in top condition. Clean the instrument after each use and store it properly to prevent any damage to the paintwork.
- Seek professional assistance if needed: If you have a valuable or vintage brass instrument or feel uncertain about painting it yourself, it’s always a good idea to seek professional assistance. A professional can offer guidance and ensure that the painting process is executed properly.
Remember, practice makes perfect, so don’t be discouraged if your first attempt is not flawless. With time and experience, you’ll become more proficient in painting brass instruments and achieve the desired results.
Now that you have these valuable tips and tricks in mind, you’re ready to embark on your brass instrument painting journey!
Conclusion
Painting a brass instrument allows you to breathe new life into your beloved musical companion. Whether you want to change the color, add personal touches, or simply refresh the existing finish, this artistic endeavor can be a rewarding and creative project.
Throughout this guide, we’ve covered the step-by-step process of painting a brass instrument, from gathering the necessary supplies to adding the finishing touches. Preparing the surface, applying the base coat and top coat, adding details and accents, and completing the final steps are all crucial in achieving a professional-looking result.
Remember to approach the painting process with care and consideration, as painting a brass instrument can affect its sound quality. If you have a valuable or vintage instrument, it’s always advisable to consult with a professional before proceeding.
By following the tips and tricks provided, you can ensure a smooth and successful painting experience. Take your time, experiment with different techniques and finishes, and let your creativity shine through.
Once you have completed the painting process and added your personal touch to the instrument, take pride in showcasing your newly transformed brass instrument to the world. Whether you’re performing on stage, participating in a band, or simply playing for your own enjoyment, your instrument will now be a true reflection of your style and personality.
Remember to maintain regular cleaning and maintenance routines to preserve the paintwork and overall condition of your brass instrument. With proper care, your painted brass instrument can continue to bring joy and inspire you as you create beautiful music.
We hope this guide has provided you with the knowledge and inspiration to embark on your brass instrument painting journey. So, go ahead, unleash your creativity, and enjoy the process of turning your brass instrument into a work of art!