Home>Instruments>Brass Instruments>How To Remove Dings From Brass Instruments
Brass Instruments
How To Remove Dings From Brass Instruments
Published: January 15, 2024
Learn how to remove dings from brass instruments with our expert guide. Restore your brass instrument's appearance and functionality with these easy steps.
(Many of the links in this article redirect to a specific reviewed product. Your purchase of these products through affiliate links helps to generate commission for AudioLover.com, at no extra cost. Learn more)
Table of Contents
Introduction
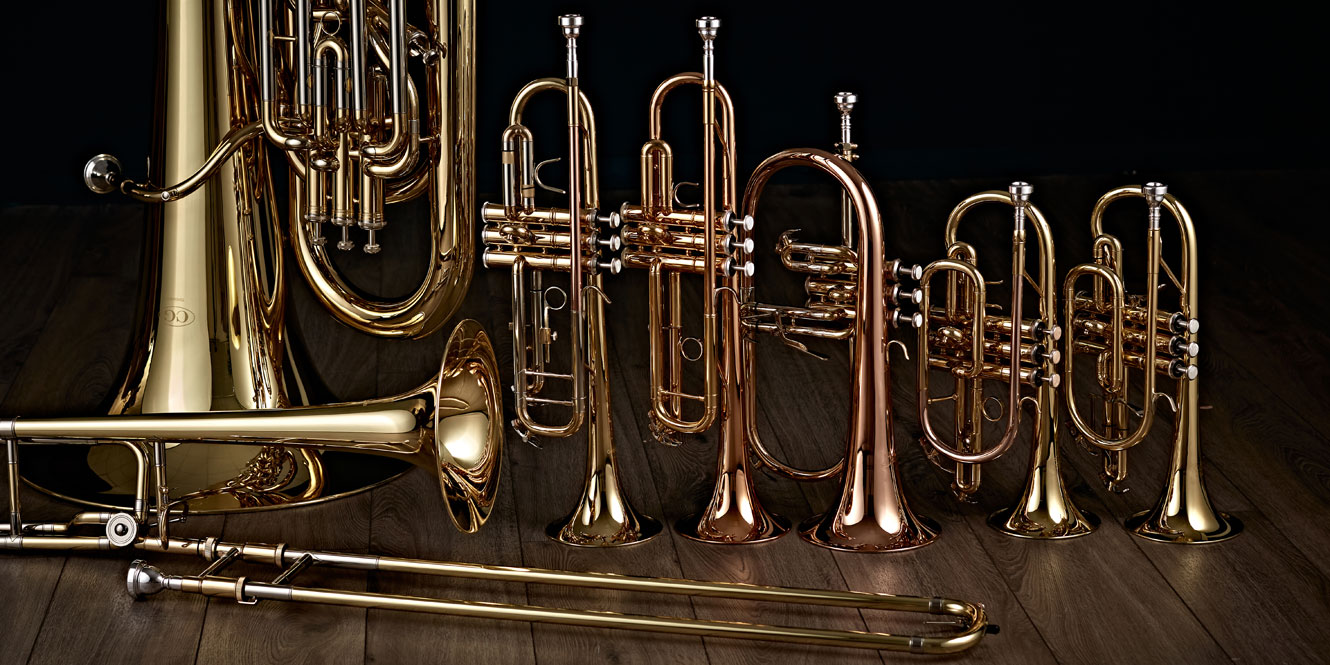
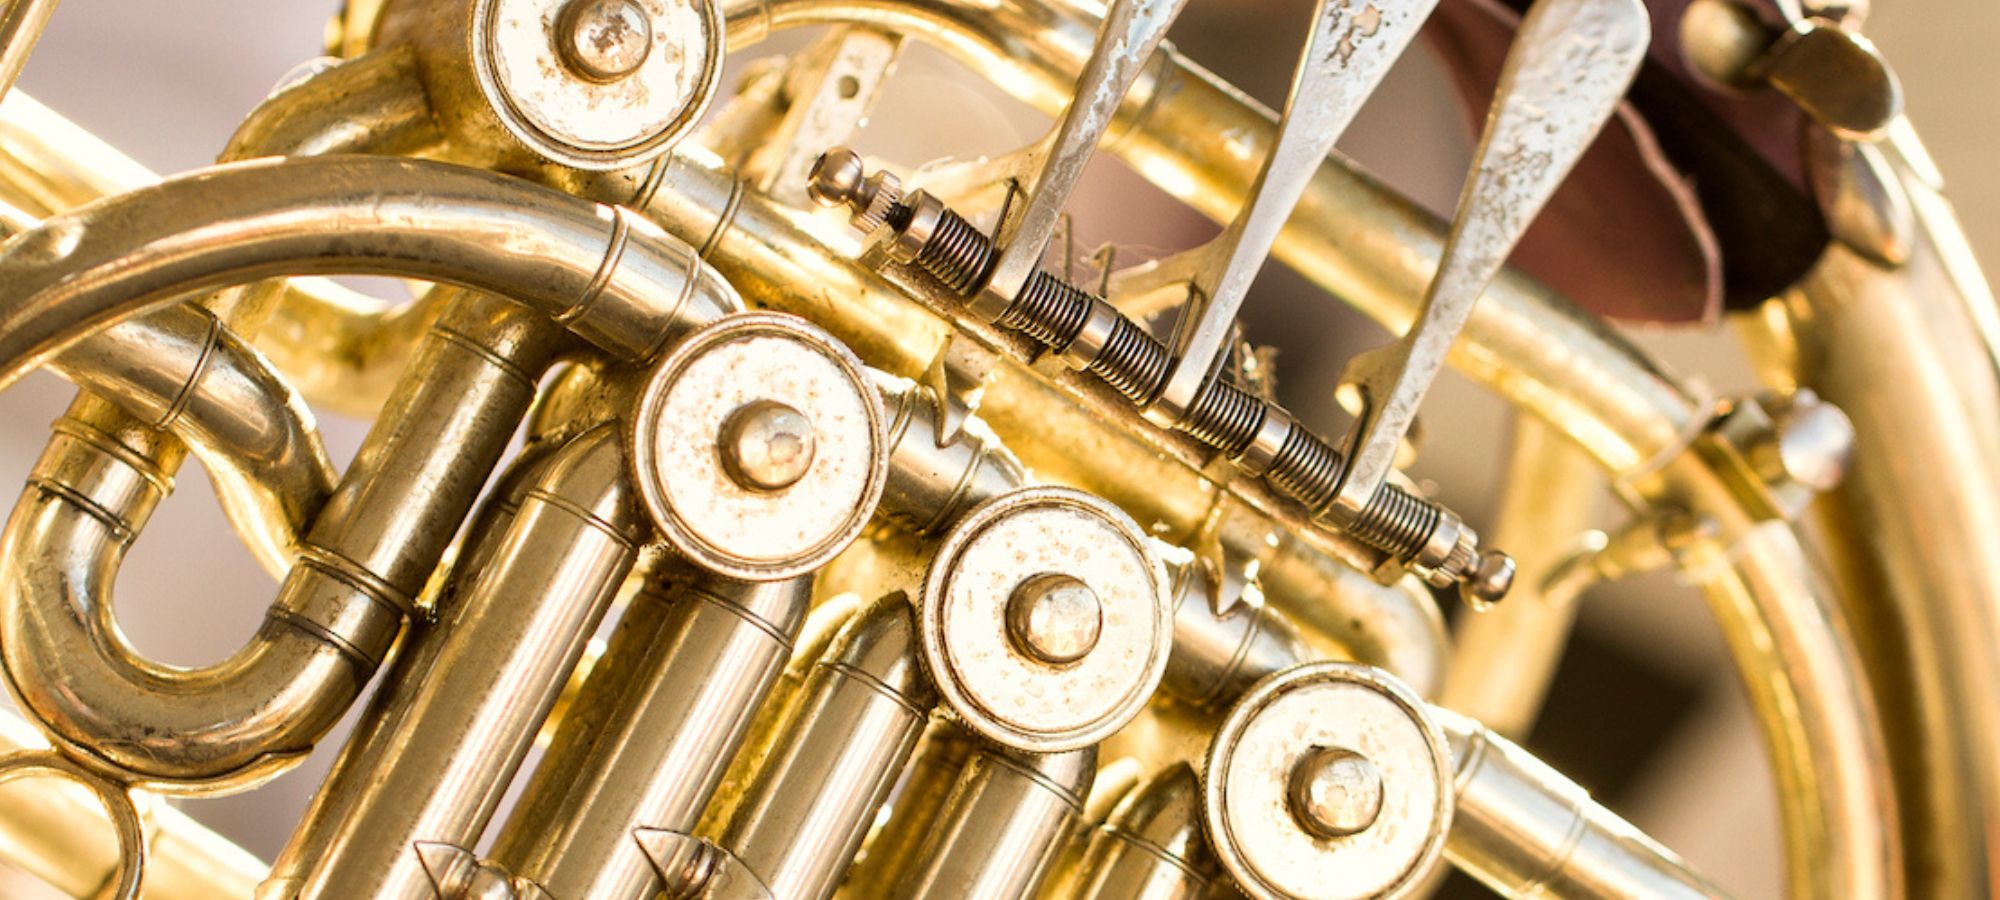
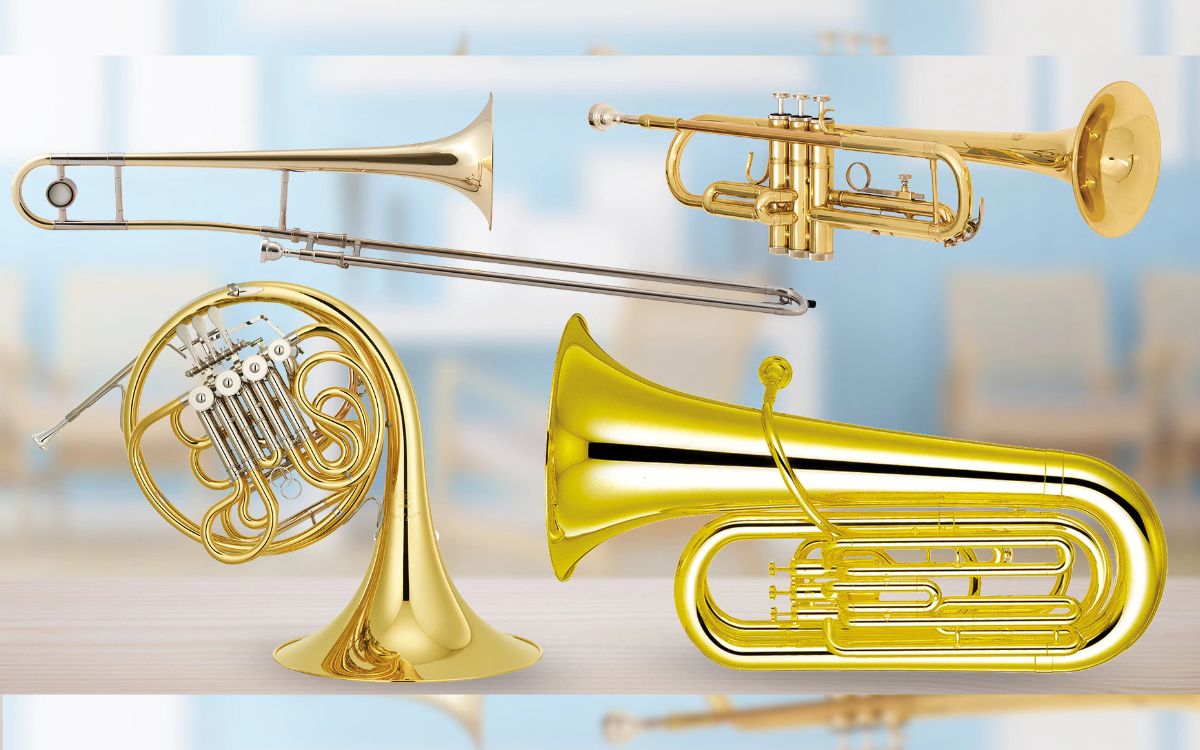
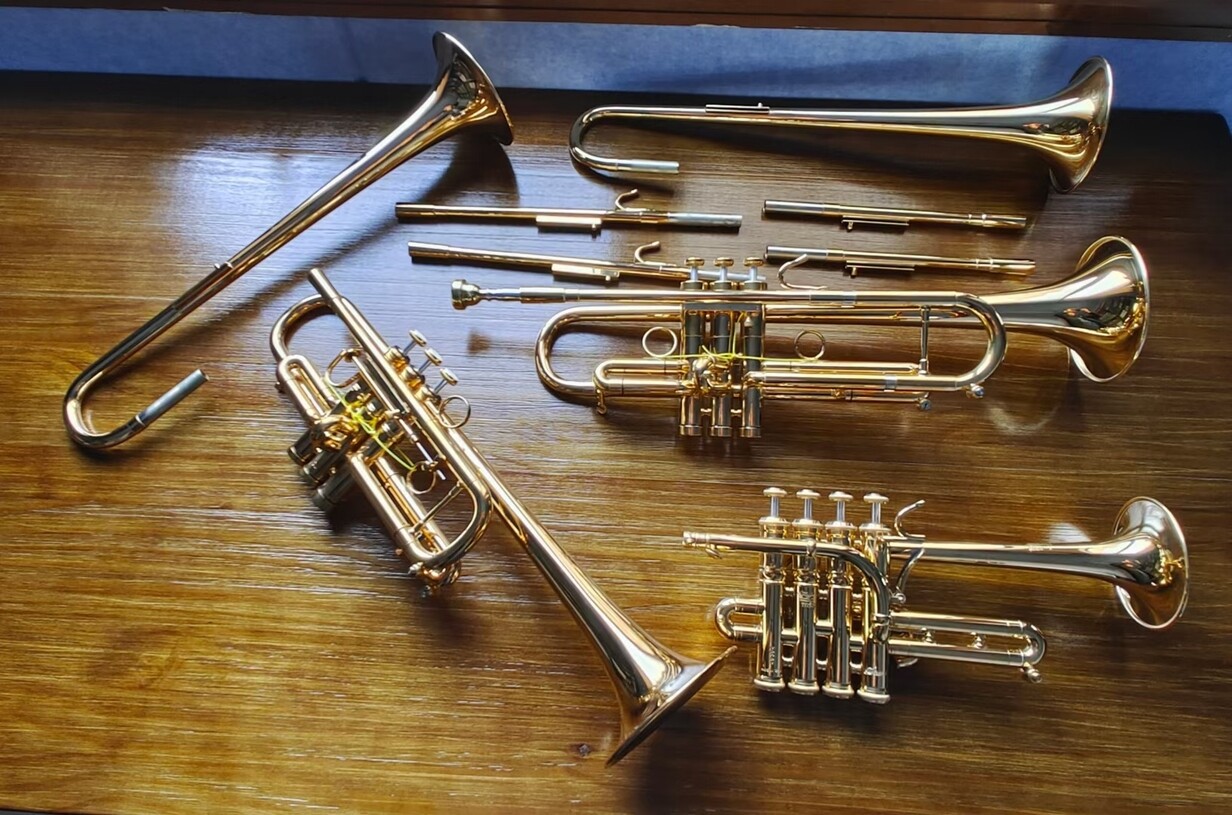
Brass instruments are known for their beautiful tone and versatility, making them a popular choice among musicians of all genres. Whether you play the trumpet, trombone, French horn, or any other brass instrument, one thing every musician dreads is finding a ding or dent on their beloved instrument. Not only can dings affect the overall appearance of the instrument, but they can also impact its sound quality and playability.
Removing dings from brass instruments may seem like a daunting task, but with the right tools and techniques, it can be done effectively and safely. In this article, we will guide you through the process of removing dings from brass instruments, ensuring that your instrument looks and performs its best.
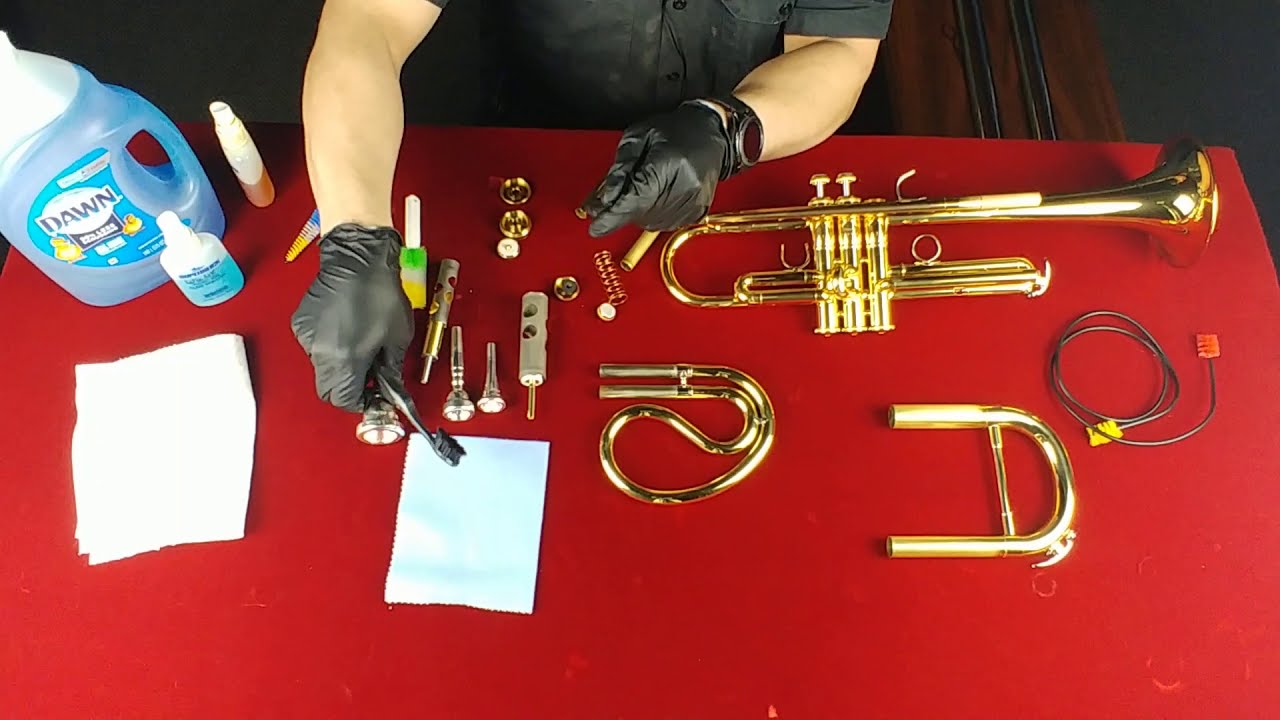
To successfully remove dings from your brass instrument, you will need a few essential tools and materials. These include:
- A good-quality dent removal kit
- Soft cloths or felt pads
- Rubber mallet
- Heat source, such as a hairdryer or heat gun
- Polishing compound and cloth
Now that you have gathered the necessary tools, it’s time to assess the damage and prepare your instrument for the ding removal process. Remember, patience and careful attention to detail are key when working on delicate brass instruments. Let’s dive into the step-by-step instructions on how to remove dings from brass instruments.
Tools and Materials Needed
To successfully remove dings from your brass instrument, you will need the following tools and materials:
- Dent removal kit: Invest in a good-quality dent removal kit that includes various tools specifically designed for brass instrument repair. These kits typically include dent balls, rods, and other specialized implements.
- Soft cloths or felt pads: These will be used to protect the surface of your instrument and prevent any scratches or damage during the ding removal process.
- Rubber mallet: A rubber mallet is a useful tool for gently massaging dings back into place. Make sure to choose a mallet with a soft rubber head to minimize the risk of further damage.
- Heat source: You will need a heat source, such as a hairdryer or heat gun, to generate heat and facilitate the removal of stubborn dents. Be cautious when using heat near your instrument as excessive heat can cause damage.
- Polishing compound and cloth: Once the dings have been removed, you will need a polishing compound and a soft cloth to restore the shine and luster of your brass instrument.
It’s important to note that while these tools and materials are essential for the ding removal process, proper technique and caution are equally important. Working on delicate brass instruments requires precision and care to avoid causing further damage.
Now that you have gathered all the necessary tools and materials, let’s move on to the step-by-step instructions on how to remove dings from your brass instrument.
Step 1: Assess the Damage
The first step in removing dings from your brass instrument is to carefully assess the extent of the damage. This will allow you to determine the best approach and technique to use for the specific ding you are dealing with.
Start by examining the affected area closely. Look for any signs of visible dents, creases, or distortions in the metal. Take note of the size, location, and depth of the ding. This information will help you decide which tools and techniques will be most effective in removing the ding.
If the ding is relatively small and shallow, you may be able to tackle it yourself using simple techniques. However, if you are unsure or the ding appears to be larger or deeper, it is best to consult a professional brass instrument repair technician. They have the necessary experience and expertise to handle more complex repairs.
Additionally, be aware that some dings may be more difficult to remove than others. For example, dings located around curves or bends in the instrument may require more specialized tools and techniques.
By carefully assessing the damage, you can determine the best course of action for removing the ding and ensure that you approach the process with confidence and precision.
Step 2: Prepare the Instrument
Before you begin the ding removal process, it’s important to properly prepare your brass instrument to ensure that it is safe and secure during the repair. Here are the steps to follow:
- Clean the instrument: Start by giving your instrument a thorough cleaning to remove any dirt, debris, or residue. Use a soft cloth or a mild brass instrument cleaner to gently wipe down the surface. This will help you have a clear view of the ding and prevent any dirt from getting in the way during the repair process.
- Protect delicate parts: If your brass instrument has any delicate or vulnerable parts, such as valves or keys, cover them with soft cloths or felt pads. This will protect them from accidental damage while you work on removing the ding.
- Secure the instrument: Place your instrument on a stable and level surface, making sure it won’t move or roll around during the repair. You can also use a secure instrument holding device or clamp to keep it in place.
By taking the time to properly prepare your instrument, you minimize the risk of causing any accidental damage or further dents during the ding removal process. Once your instrument is clean and securely positioned, you’re ready to move on to the next step: gently massaging the ding.
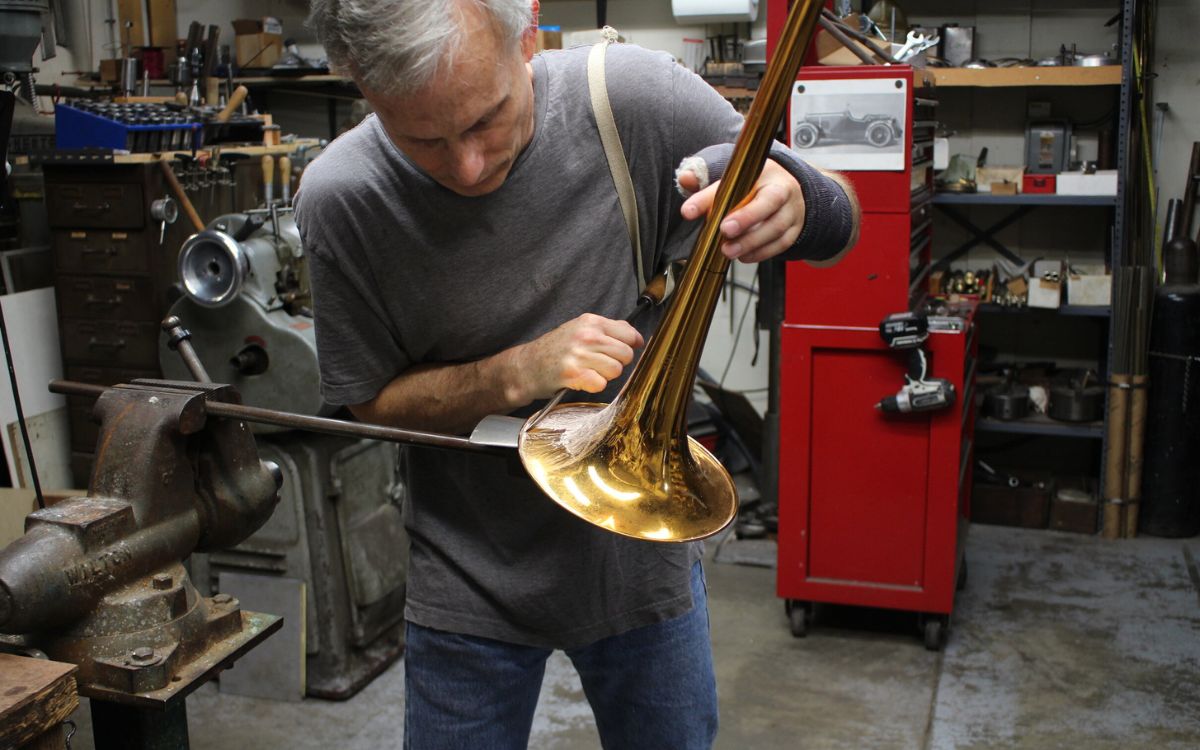
Step 3: Gently Massage the Ding
Now that your brass instrument is prepared, it’s time to start the ding removal process. This step involves gently massaging the ding to gradually bring the metal back to its original shape. Here’s how to do it:
- Choose the right tool: Select the appropriate tool from your dent removal kit based on the size and location of the ding. Dent balls and rods in various shapes and sizes can be used to apply gentle pressure to specific areas of the ding.
- Apply pressure: Position the chosen tool on the center of the ding, applying light and even pressure. Use your fingers or a rubber mallet to gently massage the ding from the inside out. Be careful not to apply too much force as it can cause further damage to the instrument.
- Work in small increments: Slowly and methodically work your way around the ding, applying pressure in small increments. This helps to gradually reshape the metal without causing additional stress or creating new dents.
- Check your progress: Periodically stop and assess your progress. Use a soft cloth or your fingertips to feel for any improvements in the surface. If necessary, adjust your technique or switch to a different tool to tackle challenging areas.
It’s important to note that massaging the ding should be done with patience and caution. Take your time and be gentle, allowing the metal to gradually conform back to its original shape. Rushing or using excessive force can result in further damage to the instrument.
Once you have successfully massaged the ding and the surface appears to be improving, it’s time to move on to the next step: applying heat and pressure.
Step 4: Apply Heat and Pressure
In some cases, particularly for more stubborn dings, applying heat and pressure can help in the ding removal process. Heat softens the metal, making it more malleable and easier to reshape. Here’s how to apply heat and pressure to remove dings from your brass instrument:
- Heat the ding: Use a hairdryer or heat gun set to a low to medium heat setting to warm up the affected area. Keep the heat source moving to avoid overheating and causing damage to the instrument’s lacquer or finish. Be careful not to touch the hot metal during this process.
- Apply pressure: Once the metal is warm and more pliable, use your chosen tool from the dent removal kit to apply gentle pressure to the ding. Massage the area in small circular motions, gradually working the metal back into shape.
- Repeat as needed: Depending on the extent of the ding, you may need to repeat the heating and pressure application process multiple times. Take breaks in between to allow the metal to cool down before reapplying heat. Be patient and persistent, as some dings may require more effort to remove.
When applying heat and pressure, be cautious not to overheat the instrument or apply excessive force. Both can cause damage to the brass and potentially create new dents. Take your time, monitor the progress, and stop if you notice any adverse effects.
Once you are satisfied with the results and the ding has been successfully removed, it’s time to move on to the next step: inspecting and repeating if necessary.
Step 5: Inspect and Repeat if Necessary
After removing the ding from your brass instrument, it’s important to thoroughly inspect the area to ensure that the repair has been successful. Here’s how to inspect and determine if any additional steps are required:
- Check for residual dents: Carefully examine the repaired area from different angles to check for any remaining dents or deformities. Run your fingers gently over the surface to feel for any inconsistencies. If you notice any remaining dents, you may need to repeat the previous steps to further reshape the metal.
- Assess the playability: Play your instrument to assess if the removed ding has affected the sound or playability. Pay attention to any changes in tone, pitch, or response. If you notice any negative impacts, it might be necessary to consult a professional repair technician.
- Repeat the process: If you find any residual dents or the desired results haven’t been achieved, you may need to repeat the previous steps, including massaging the ding and applying heat and pressure. Remember to exercise patience and caution during the process, and take breaks to prevent overheating or unintentional damage.
It’s important to note that removing dings from brass instruments requires practice and experience. If you are uncertain about your abilities or encounter persistent issues, it’s advisable to seek the assistance of a professional brass repair technician. They have the expertise and specialized tools to address more complex repairs and ensure the optimal condition of your instrument.
Once you are satisfied with the results and the instrument is in good shape, it’s time to move on to the final step: polishing and cleaning your brass instrument.
Step 6: Polish and Clean the Instrument
After successfully removing dings from your brass instrument, it’s important to give it a thorough polish and cleaning to restore its shine and appearance. Here’s how to effectively polish and clean your brass instrument:
- Remove residue: Use a soft cloth or a brass instrument cleaner to gently remove any residue or fingerprints from the surface of your instrument. Make sure to clean all parts, including valves, slides, and keys, with care.
- Apply polish: Apply a small amount of brass instrument polish onto a clean cloth. Gently rub the polish onto the surface of the instrument in small circular motions. This will help remove any tarnish or oxidation and bring back the instrument’s natural shine.
- Buff the instrument: Using a separate clean cloth, buff the instrument to remove any excess polish and bring out a high shine. Use light pressure and continue buffing until the entire instrument gleams.
- Clean inside tubing: For brass instruments with tubing, such as trumpets or trombones, it’s important to clean the inside as well. Use a cleaning snake or flexible brush to remove any debris or build-up from the tubing. This will help maintain optimal airflow and playability.
It’s important to note that when cleaning your brass instrument, avoid using harsh chemicals or abrasive materials that can damage the finish or lacquer. Stick to recommended brass instrument cleaners and soft cloths specifically designed for brass instruments.
Regular maintenance and cleaning will not only keep your brass instrument looking its best but also contribute to its longevity and performance.
With that, you have successfully removed dings from your brass instrument and restored its appearance. Remember to continue practicing proper care and maintenance to ensure your instrument remains in excellent condition for years to come.
Congratulations on a job well done!
Conclusion
Removing dings from brass instruments can seem like a daunting task, but with the right tools and techniques, it is possible to restore the appearance and playability of your instrument. By following the step-by-step process outlined in this article, you can effectively remove dents and dings from your brass instrument.
Remember to start by assessing the damage and choosing the appropriate tools from a dent removal kit. Take your time during the repair process, gently massaging the ding and applying heat and pressure as necessary. Be sure to inspect your instrument thoroughly after each repair and repeat the process if needed.
Once the dings have been successfully removed, take the time to polish and clean your instrument to restore its shine and luster. Regular maintenance and care are essential to keeping your brass instrument looking and sounding its best.
While it’s possible to remove minor dings on your own, it’s important to recognize your limits. For more complex repairs or if you’re unsure of your abilities, it’s best to consult a professional brass instrument repair technician. They have the expertise and experience to handle more challenging repairs and ensure the optimal condition of your instrument.
By taking the necessary steps to remove dings and properly maintain your brass instrument, you can continue to enjoy its beautiful sound and performance for years to come. So, don’t let those dings dampen your spirits – get to work and restore your instrument to its full glory!