Home>Instruments>Brass Instruments>How To Color Brass Instruments
Brass Instruments
How To Color Brass Instruments
Published: January 15, 2024
Discover the secrets of coloring brass instruments with our step-by-step guide. Transform your brass instrument to a vibrant masterpiece and showcase your unique style.
(Many of the links in this article redirect to a specific reviewed product. Your purchase of these products through affiliate links helps to generate commission for AudioLover.com, at no extra cost. Learn more)
Table of Contents
Introduction
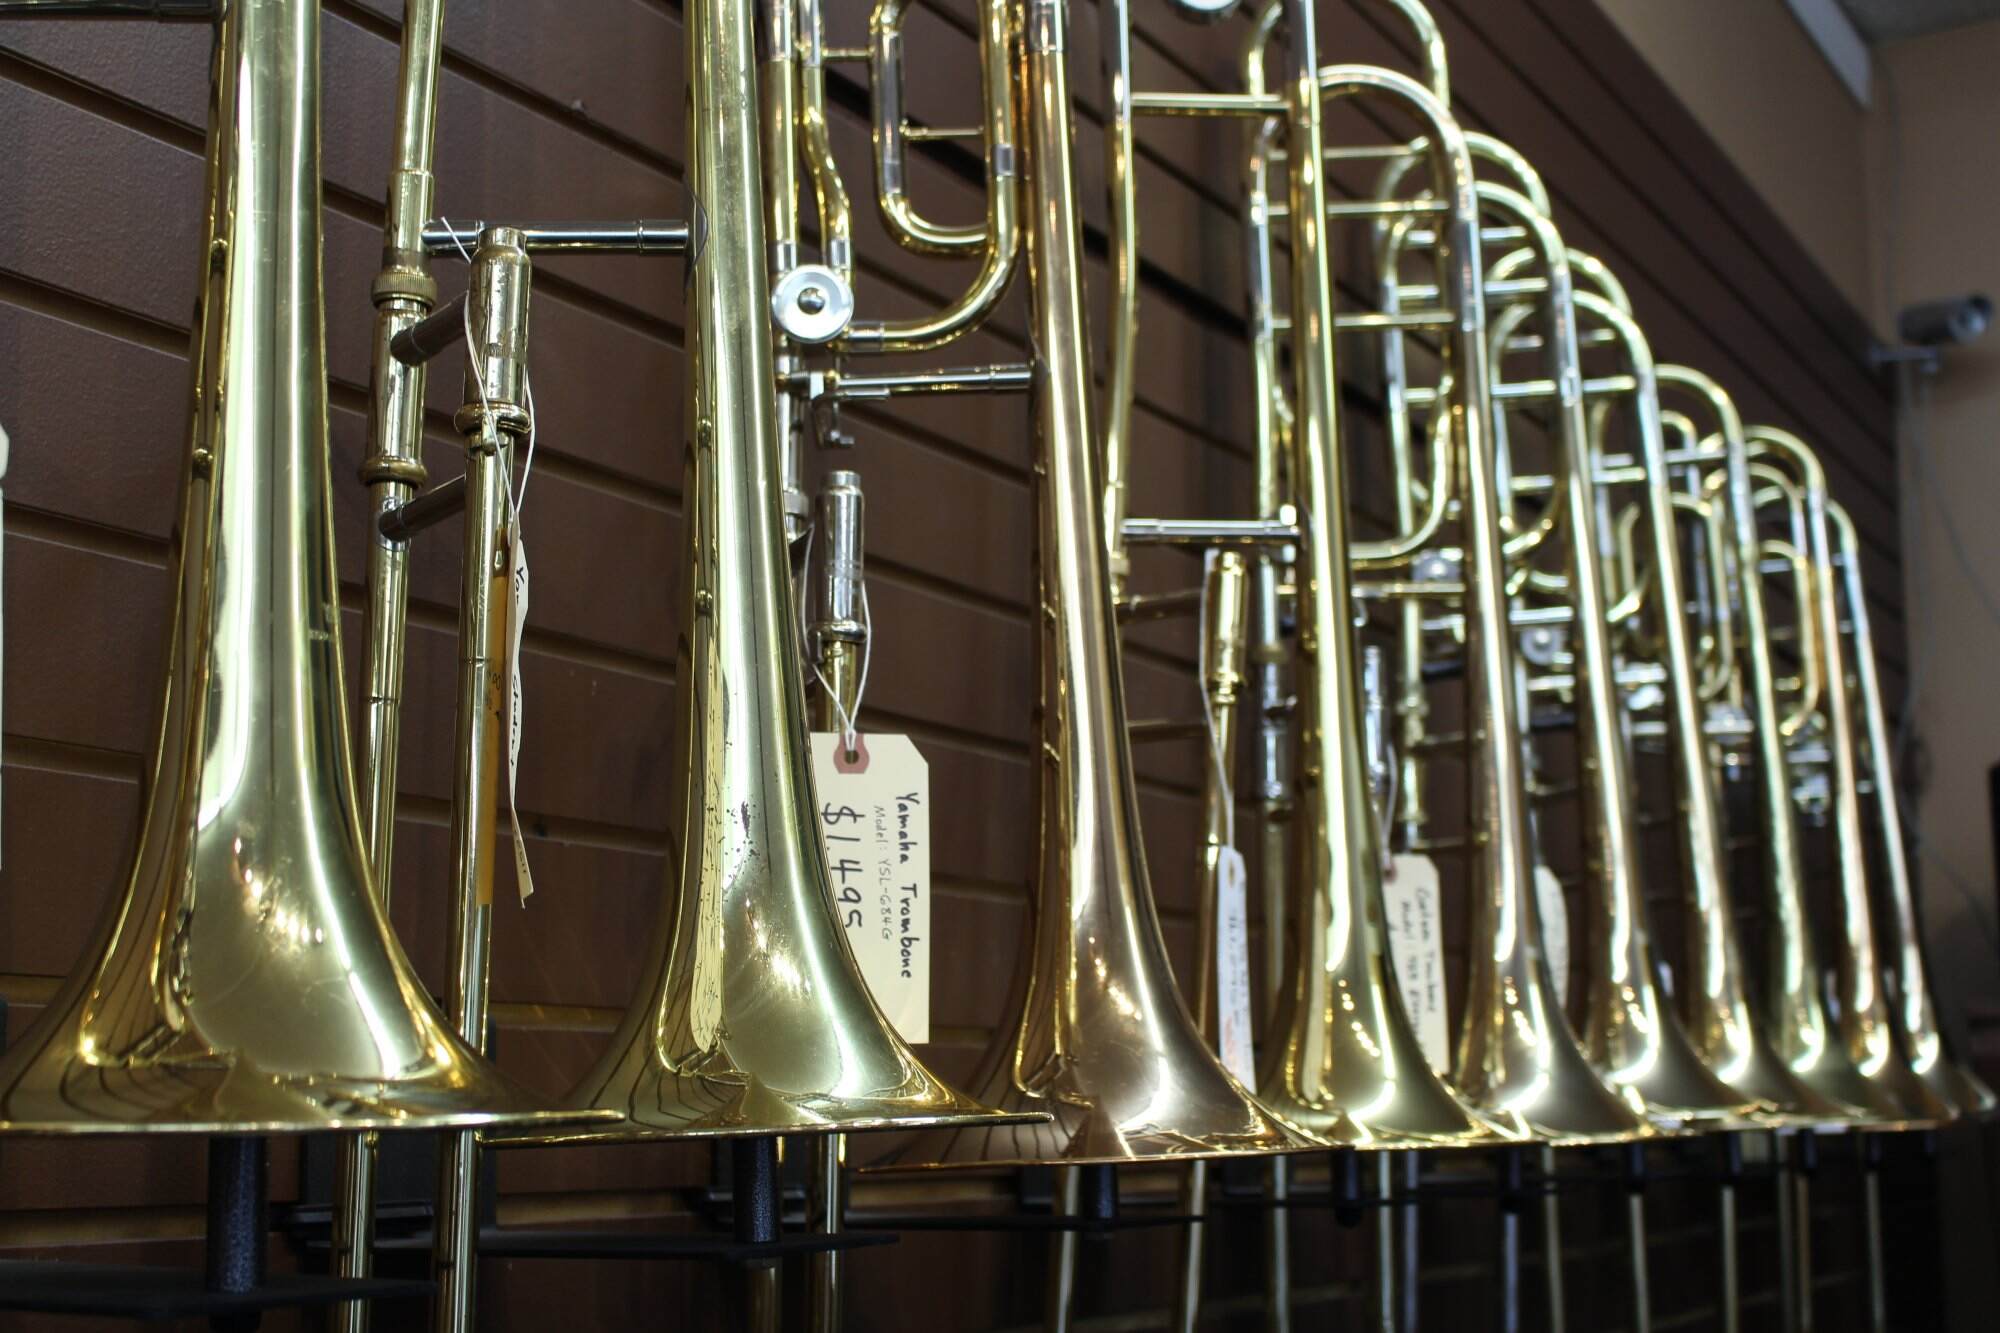
Welcome to our comprehensive guide on how to color brass instruments! Brass instruments are not only renowned for their enchanting sounds but also for their visual appeal. While most brass instruments come in shades of gold or brass, you may want to add a personal touch by giving your instrument a new color.
Coloring brass instruments can be a fun and creative way to showcase your personality and make your instrument stand out from the crowd. Whether you’re a professional musician looking to customize your instrument or a music enthusiast wanting to add a unique twist to your collection, this guide will provide you with the knowledge and steps needed to achieve the desired outcome.
Before we dive into the coloring techniques, it’s important to note that altering the color of a brass instrument may affect its sound and resale value. It’s recommended to carefully consider your decision and consult with professionals or experienced musicians before proceeding with any coloring process.
Now, let’s explore the different types of coloring techniques available for brass instruments and guide you through the step-by-step process of coloring your instrument.
Why Color Brass Instruments?
Why would someone want to color their brass instrument? There are several reasons why musicians and enthusiasts choose to give their brass instruments a new hue. Let’s explore some of the main motivations behind coloring brass instruments.
1. Personalization: Coloring your brass instrument allows you to express your unique style and personality. Whether you prefer vibrant colors or subtle shades, adding a personalized touch to your instrument can make it feel truly special and one-of-a-kind.
2. Visual Appeal: While brass instruments are already visually striking with their golden hues, coloring them can take their aesthetic appeal to the next level. Adding a new color can make your instrument visually captivating and draw attention during performances or displays.
3. Branding: Professional musicians or bands may choose to color their brass instruments to align them with their branding or stage presence. By using colors that match a specific theme or visual identity, musicians can create a cohesive and memorable visual experience for their audience.
4. Restoration and Repair: Coloring a brass instrument can also be a way to restore or repair any damages or discoloration. Over time, brass instruments can develop tarnish or scratches, and coloring can help conceal these imperfections, giving the instrument a fresh and revitalized appearance.
5. Artistic Expression: Some musicians and enthusiasts view their brass instruments as a canvas for artistic expression. By coloring their instruments, they can transform them into unique pieces of art that reflect their creativity and imagination.
It’s important to keep in mind that coloring a brass instrument is a personal choice, and not every musician or music enthusiast may have the same motivations. Understanding your reasons for wanting to color your instrument will help guide you in selecting the best coloring technique and approach.
Types of Coloring Techniques
When it comes to coloring brass instruments, there are several techniques that you can choose from. Each technique offers a unique result and requires different materials and methods. Here are some of the most popular coloring techniques:
- Spray Painting: Spray painting is a common and straightforward technique for coloring brass instruments. It involves using spray paint specifically designed for metal surfaces. With a wide range of colors available, you can achieve a smooth and even finish.
- Anodizing: Anodizing is a process that involves creating a durable oxide layer on the surface of the brass instrument. This technique allows for a wide range of colors and provides a long-lasting finish. Anodizing is often done by experienced professionals in specialized facilities.
- Chemical Patination: Chemical patination involves treating the brass surface with chemicals to initiate a chemical reaction that alters the color. This technique creates unique and beautiful patina effects, giving the instrument an aged or antique appearance.
- Heat Coloring: Heat coloring is a technique that involves using heat to manipulate the color of the brass instrument. By carefully applying heat to specific areas, you can create a range of colors, from blues and purples to yellows and browns.
- Powder Coating: Powder coating involves applying a dry powder to the surface of the brass instrument and then heating it to create a protective and decorative coating. This technique offers a wide variety of colors and finishes.
Each coloring technique requires different materials and skills. Some techniques, such as anodizing and heat coloring, may be best left to professionals who have experience in working with these methods. It’s important to research each technique thoroughly, consider the level of expertise required, and determine which method aligns best with your desired outcome.
Before proceeding with any coloring technique, it’s recommended to practice on a scrap piece of brass or seek guidance from professionals or experienced individuals in the field.
Preparing the Instrument
Before you begin coloring your brass instrument, it’s important to properly prepare it to ensure a successful and long-lasting result. Here are some steps to follow when preparing your instrument:
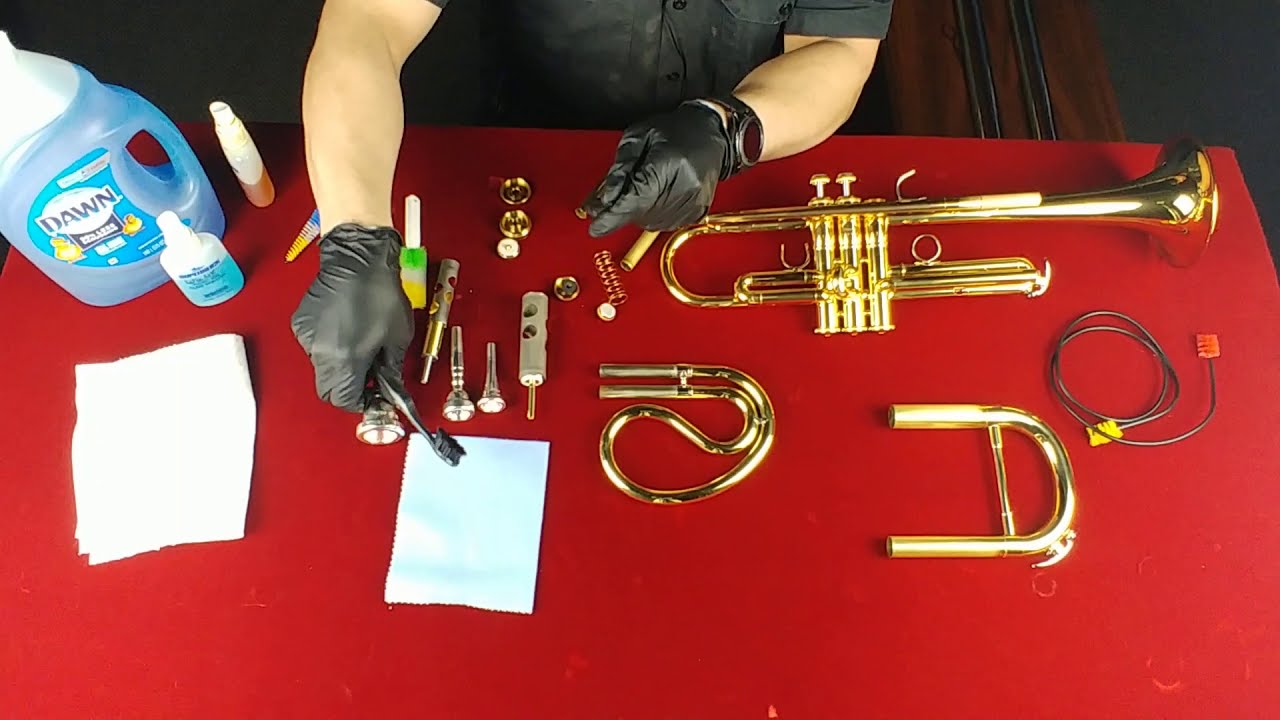
- Clean the Instrument: Start by thoroughly cleaning your brass instrument. Remove any dirt, oil, or grime using a brass instrument cleaning solution and a soft cloth. Ensure that the surface is smooth and free from any debris before proceeding.
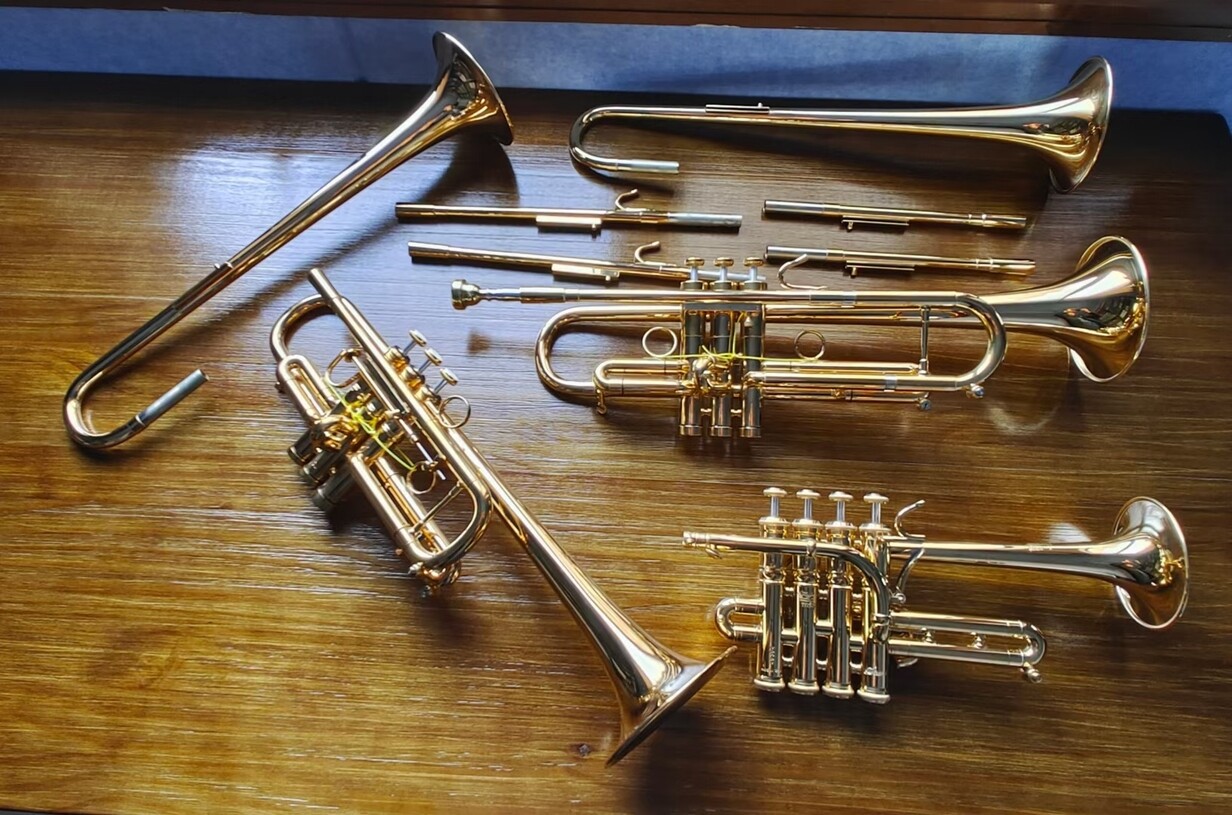
- Disassemble (if necessary): If your instrument has removable parts, such as valves or slides, consider disassembling them to make the coloring process easier. Keep track of all the parts and store them in a safe place to avoid misplacement or damage.
- Mask Areas: If there are specific areas of the instrument that you do not want to color, such as valve casings or delicate engravings, use painter’s tape or masking tape to cover these areas. This will help ensure that those parts remain unaffected during the coloring process.
- Sand the Surface: Using fine-grit sandpaper, gently sand the surface of the brass instrument. This will create a slightly rough texture that will help the coloring agent adhere better and achieve a more even finish. Be careful not to over-sand or damage the delicate parts of the instrument.
- Clean Again: Once you have sanded the instrument, clean it again to remove any dust or residue from the sanding process. This will ensure that the coloring agent applies smoothly and evenly.
By properly preparing your brass instrument, you’ll create an ideal surface for the coloring technique of your choice. Take your time during this preparation stage to achieve the best possible results and ensure that the coloring process goes smoothly.
Cleaning the Instrument
Before you begin the coloring process, it’s crucial to ensure that your brass instrument is clean and free from any contaminants. Cleaning the instrument thoroughly will not only help achieve a better coloring result but also contribute to the longevity of the coloring finish. Here are some steps to follow when cleaning your brass instrument:
- Remove Dust and Debris: Start by using a soft cloth or brush to gently remove any dust or debris from the surface of the instrument. Pay close attention to crevices, valves, slides, and other areas where dirt may accumulate.
- Use a Brass Cleaning Solution: Apply a brass cleaning solution to a clean cloth and gently rub the surface of the instrument. Brass cleaning solutions are specifically formulated to remove tarnish, dirt, and oxidation from the brass surface without damaging it. Follow the instructions provided by the manufacturer for the best results.
- Polish the Instrument: After cleaning with a brass cleaning solution, you can use a brass polish to further enhance the shine and remove any residue. Apply the polish to a clean cloth and gently buff the surface of the instrument in circular motions. Be sure to remove any excess polish to prevent a sticky residue from forming.
- Clean Valves and Slides: If your instrument has removable valves or slides, it’s important to clean them separately. Use a valve or slide cleaning solution and a brush designed for your specific instrument to remove any dirt or debris. Ensure that the valves and slides are thoroughly dried before reassembling or proceeding to the coloring process.
- Finish with a Microfiber Cloth: Once you have cleaned and polished the instrument, use a microfiber cloth to gently buff the surface. This will help remove any remaining residue and ensure a smooth, clean surface for the coloring process.
Properly cleaning your brass instrument will not only prepare it for the coloring process but also contribute to maintaining its overall condition. Regular cleaning and maintenance are essential to keep your brass instrument looking and sounding its best.
Applying the Coloring Agent
Now that your brass instrument is clean and prepared, it’s time to apply the coloring agent. The specific method and material used will depend on the coloring technique you have chosen. Here are some general steps to follow when applying the coloring agent:
- Read the Instructions: Before you begin, carefully read the instructions provided with the coloring agent. Each coloring technique may require different application methods and drying times, so it’s important to familiarize yourself with the specific guidelines.
- Protective Gear: Wear protective gloves, goggles, and a mask to protect yourself from any potentially harmful chemicals or fumes. Ensure that you are working in a well-ventilated area to minimize exposure.
- Apply Even Coats: Apply the coloring agent in thin, even coats, using a brush, spray bottle, or other appropriate application method. Start with a small area and gradually work your way across the instrument. Be mindful of any masked areas if you have covered specific parts to avoid coloring them.
- Allow Drying Time: Follow the recommended drying time provided by the manufacturer. It’s important not to rush the drying process to prevent smudging or uneven coloring. Be patient and allow the coloring agent to fully dry before proceeding to the next step.
- Additional Layers: Depending on the desired color intensity or effect, you may need to apply multiple layers of coloring agent. Allow each layer to dry completely before applying the next one. Check the instructions and guidelines for the specific technique you are using.
- Finishing Touches: Once you have achieved the desired color and effect, assess the instrument for any touch-ups or areas that may require additional coloring. Make any necessary adjustments and allow the instrument to dry completely before moving on to the final step.
Remember, the application process may vary depending on the coloring technique you have chosen. It’s essential to follow the specific instructions provided by the manufacturer or seek guidance from professionals who are experienced in that particular technique.
Drying and Finishing
Once you have applied the coloring agent to your brass instrument, it’s important to properly dry and finish it to ensure a professional and long-lasting result. Here are some steps to follow during the drying and finishing process:
- Allow Sufficient Drying Time: After applying the coloring agent, allow your brass instrument to dry completely. The drying time will vary depending on the type of coloring technique used. Follow the manufacturer’s instructions or consult with professionals for specific drying recommendations.
- Avoid Touching or Disturbing the Surface: While the instrument is drying, avoid touching or disturbing the surface to prevent smudges or uneven coloring. It’s best to place the instrument on a clean, dry surface or use a drying rack to allow air circulation and minimize contact.
- Inspect for Imperfections: After the instrument has dried, inspect it carefully for any imperfections, such as uneven coloring, missed spots, or drips. If you notice any issues, you may need to do some touch-up work, following the specific instructions for your chosen coloring technique.
- Apply a Protective Finish: Depending on the coloring technique, you may need to apply a protective finish to seal and protect the coloring agent. Common protective finishes include clear coatings or lacquers designed for metal surfaces. Follow the instructions provided by the manufacturer for the best results.
- Polish and Buff: Once the protective finish has dried, gently polish and buff the instrument to remove any residue or smudges. Use a soft cloth or polishing cloth to achieve a smooth and glossy finish. This step will help enhance the overall appearance of the colored instrument.
- Reassemble (if necessary): If you had previously disassembled any parts of the instrument, carefully reassemble them once the coloring and finishing process is complete. Take your time to ensure all pieces are properly aligned and securely attached.
By following these steps, you’ll ensure that your colored brass instrument has a professional and polished look. Take care to handle the instrument gently during the drying and finishing process to avoid any accidental damage to the coloring or protective finish.
Maintenance Tips
Once you have successfully colored your brass instrument, it’s important to implement proper maintenance practices to preserve the color and keep your instrument in optimal condition. Here are some maintenance tips to consider:
- Regular Cleaning: Clean your colored brass instrument regularly to remove dirt, fingerprints, and moisture. Use a soft cloth or a non-abrasive cleaning solution specifically designed for brass instruments. Avoid using harsh chemicals or abrasive materials that can damage the color or protective finish.
- Proper Storage: When not in use, store your colored brass instrument in a suitable case that provides protection from dust, humidity, and potential damage. Avoid storing it in areas exposed to direct sunlight, extreme temperatures, or high humidity, as these conditions can affect the color and overall condition of the instrument.
- Avoid Abrasive Materials: When cleaning or maintaining your colored brass instrument, avoid using abrasive materials such as steel wool or rough cleaning pads. These can scratch or remove the color and protective finish. Stick to soft and non-abrasive materials for cleaning and polishing.
- Inspect for Damage: Regularly inspect your colored instrument for any signs of damage, such as scratches, chips, or peeling. If you notice any issues, address them promptly. This may involve touch-up work or seeking professional assistance to repair the color or protective finish.
- Be Mindful During Performance: When playing your colored brass instrument, be conscious of how your hands interact with the finish. Avoid excessive rubbing or scratching that could wear down the color over time. Use a light touch and consider using handkerchiefs or cloth covers to protect the surface during extended playing sessions.
- Follow Manufacturer’s Recommendations: Different coloring techniques and finishes may have specific maintenance recommendations. It’s important to follow the guidelines provided by the manufacturer to ensure the longevity of the color and protective finish. This may include recommendations for cleaning products, polishing techniques, or frequency of maintenance.
By implementing these maintenance tips, you can enjoy your colored brass instrument for years to come and preserve its vibrant appearance. Regular care and attention will help maintain the color integrity and extend the lifespan of your instrument.
Conclusion
Coloring your brass instrument can be a rewarding and creative process that allows you to personalize your instrument and showcase your unique style. Whether you choose to spray paint, anodize, chemically patinate, heat color, or powder coat your brass instrument, there are various techniques available to help you transform its appearance.
Before diving into the coloring process, it’s essential to consider the implications it may have on the instrument’s sound and resale value. Consulting with professionals or experienced musicians can provide valuable insights and guidance in making an informed decision.
Remember to thoroughly prepare your brass instrument by cleaning and, if necessary, disassembling it before applying the coloring agent. Carefully follow the specific instructions provided by the coloring technique you’ve chosen to achieve the best results.
Once you’ve successfully colored your instrument, take the necessary steps to ensure its proper maintenance. Regular cleaning, proper storage, and avoiding abrasive materials are key to preserving the color and protective finish of the instrument.
Ultimately, coloring your brass instrument is an opportunity to express your creativity and make it truly unique. Enjoy the process, and may your colored brass instrument continue to captivate both visually and musically.