Home>Instruments>Drums>How To Mix Drums In Logic Pro
Drums
How To Mix Drums In Logic Pro
Published: February 7, 2024
Learn how to mix drums in Logic Pro like a pro. Discover essential tips and techniques for achieving professional drum sounds. Master the art of drum mixing today!
(Many of the links in this article redirect to a specific reviewed product. Your purchase of these products through affiliate links helps to generate commission for AudioLover.com, at no extra cost. Learn more)
Table of Contents
Introduction
Welcome to the world of drum mixing in Logic Pro! As a musician or producer, you understand the pivotal role that drums play in shaping the overall sound and feel of a track. Whether you’re working on a rock anthem, a pop ballad, or an electronic banger, getting the drums to sit just right in the mix is essential for a professional and impactful sound.
Logic Pro provides a powerful set of tools for mixing drums, allowing you to sculpt and enhance the individual elements of your drum kit to perfection. From adjusting levels and panning to applying EQ, compression, and effects, the possibilities are endless. In this comprehensive guide, we’ll delve into the intricacies of drum mixing in Logic Pro, equipping you with the knowledge and techniques to elevate your drum tracks to new heights.
Whether you’re a seasoned pro looking to refine your drum mixing skills or a newcomer eager to learn the ropes, this article will serve as your go-to resource for achieving stellar drum mixes in Logic Pro. So, let’s dive in and unlock the secrets of crafting compelling and dynamic drum sounds that will leave a lasting impression on your listeners.
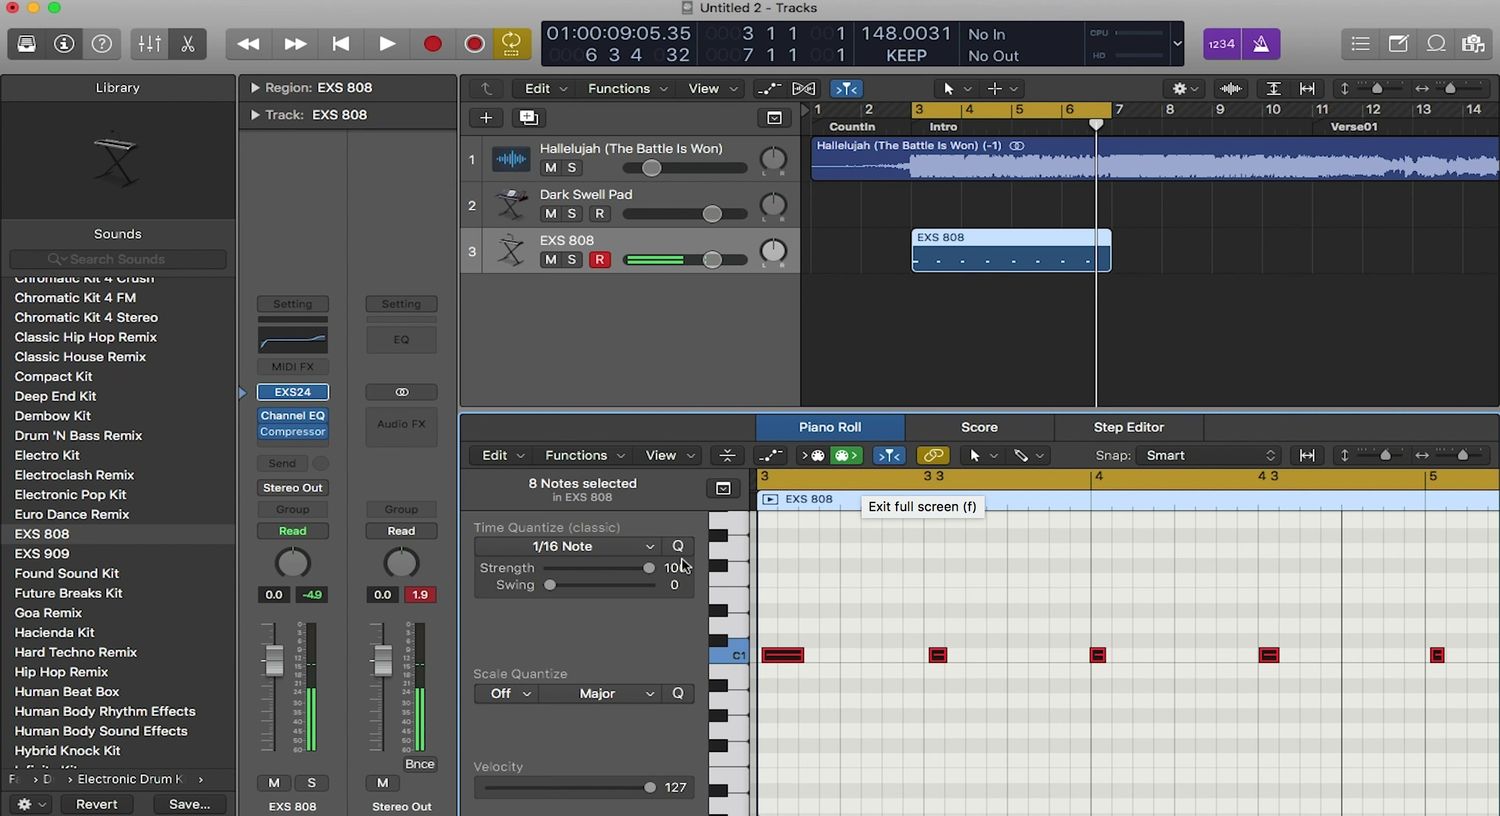
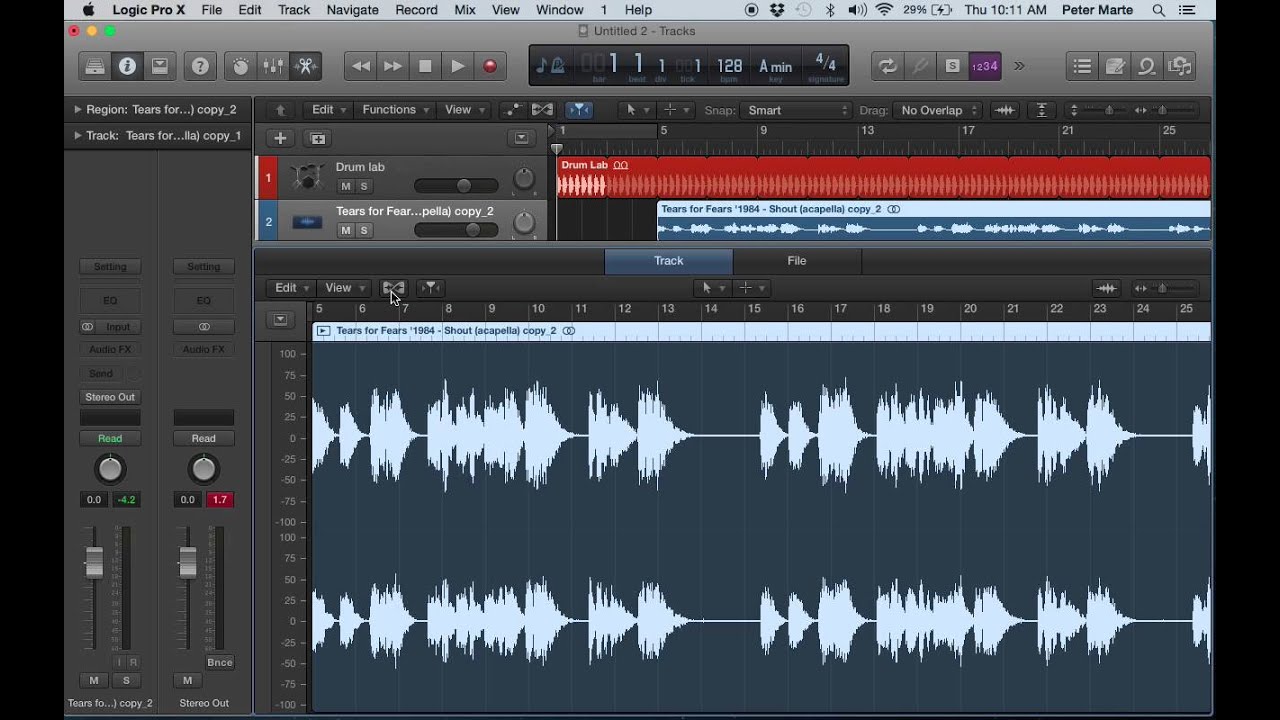
Setting Up Your Drum Tracks
Before delving into the intricacies of drum mixing, it’s crucial to ensure that your drum tracks are set up in a manner that facilitates a smooth and efficient mixing process. In Logic Pro, organizing your drum tracks with clarity and precision sets the stage for a seamless mixing experience.
Begin by structuring your drum tracks in a logical and intuitive manner. This involves naming each track according to the corresponding drum element, such as kick, snare, hi-hat, toms, and cymbals. By adopting a consistent naming convention, you’ll streamline the identification and manipulation of individual drum components during the mixing phase.
Furthermore, consider color-coding your drum tracks to enhance visual distinction and ease of navigation within the mixing environment. Assigning distinct colors to different drum elements fosters visual clarity, allowing you to swiftly locate and differentiate between tracks as you fine-tune the mix.
As you set up your drum tracks, it’s advantageous to organize them within a dedicated folder or group. Grouping your drum tracks not only promotes a tidy and structured arrangement within the mixer but also facilitates collective adjustments to the entire drum kit, such as global level changes and processing applications.
Additionally, leveraging Logic Pro’s track stacking feature can be immensely beneficial for consolidating multiple microphones used to capture a single drum element, such as a multi-miked snare or kick drum. Stacking these tracks simplifies the mixing process by enabling cohesive adjustments to the combined sound, ensuring a cohesive and balanced representation of the individual drum component.
By meticulously setting up your drum tracks with clear labeling, strategic color-coding, grouping, and stacking, you lay a solid foundation for the subsequent stages of drum mixing. This preparatory phase not only fosters organization and efficiency but also empowers you to focus on the creative aspects of sculpting captivating drum sounds within the Logic Pro environment.
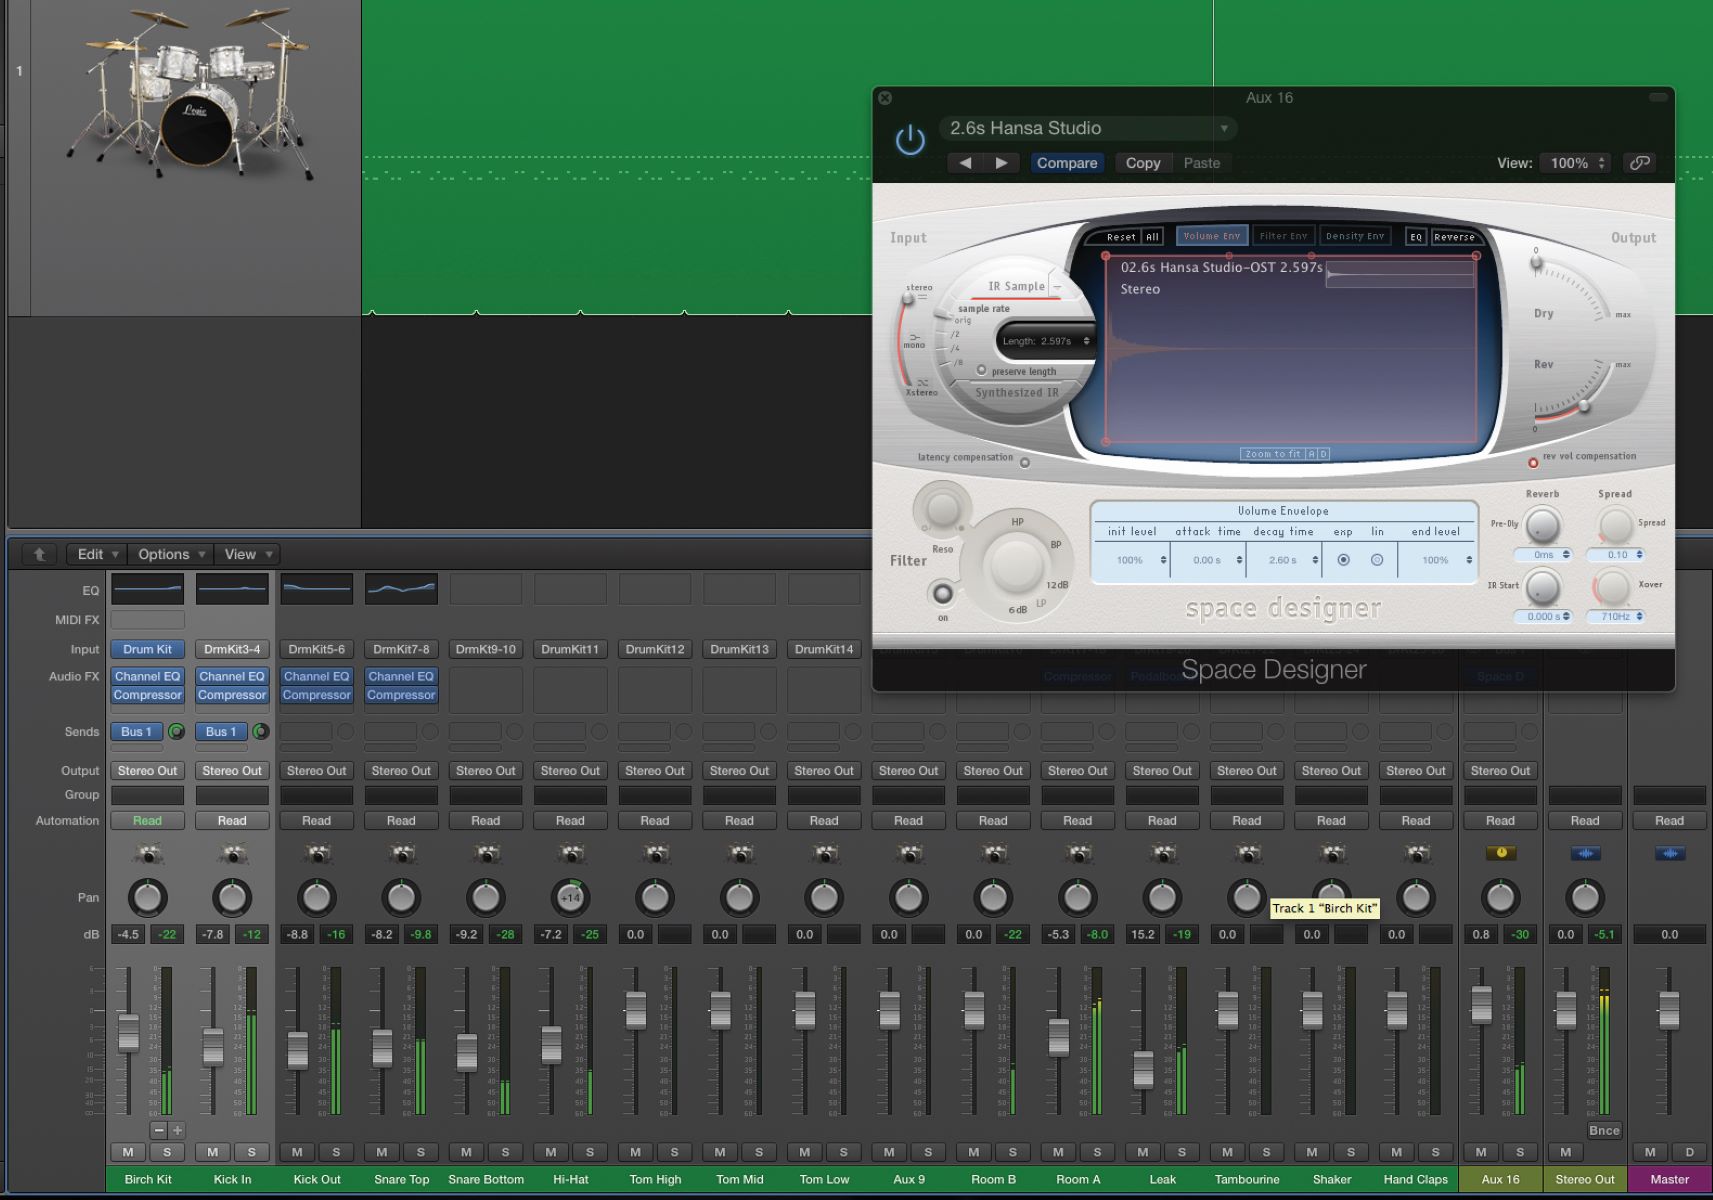
Understanding the Mixer
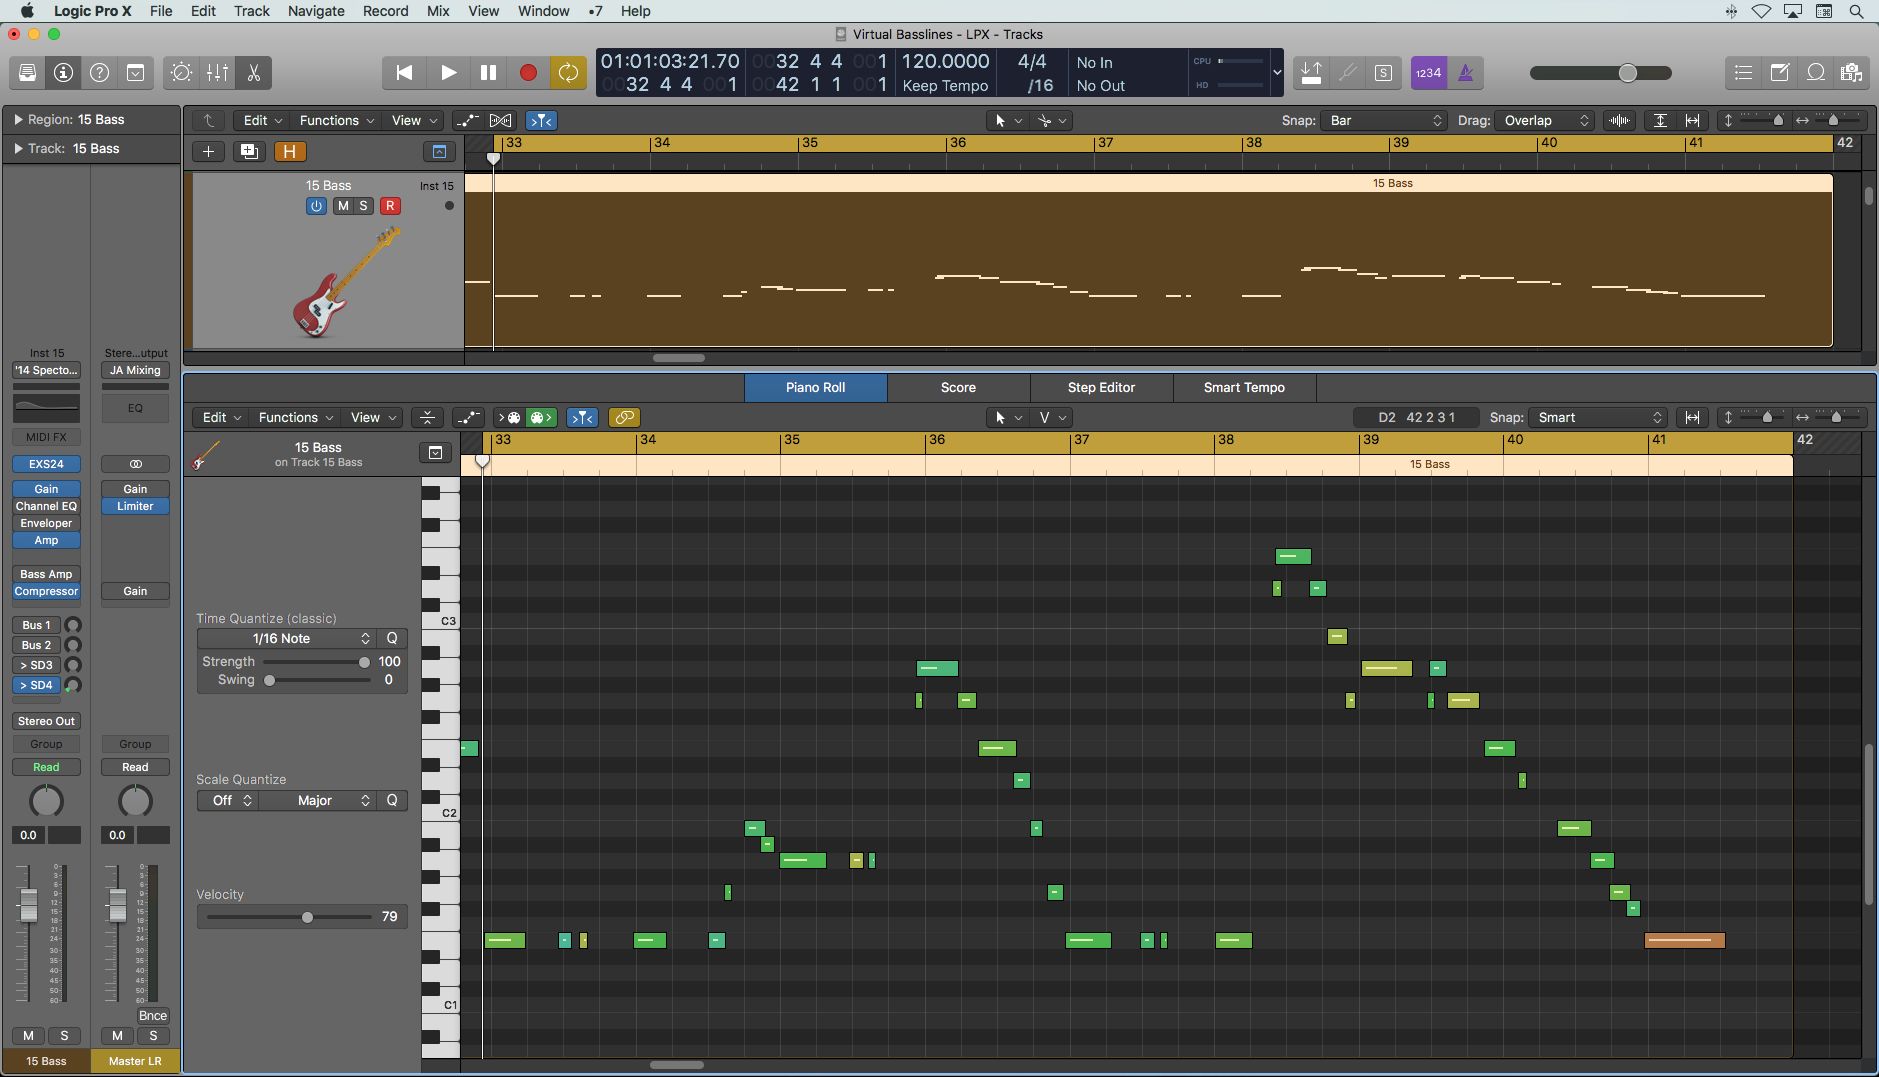
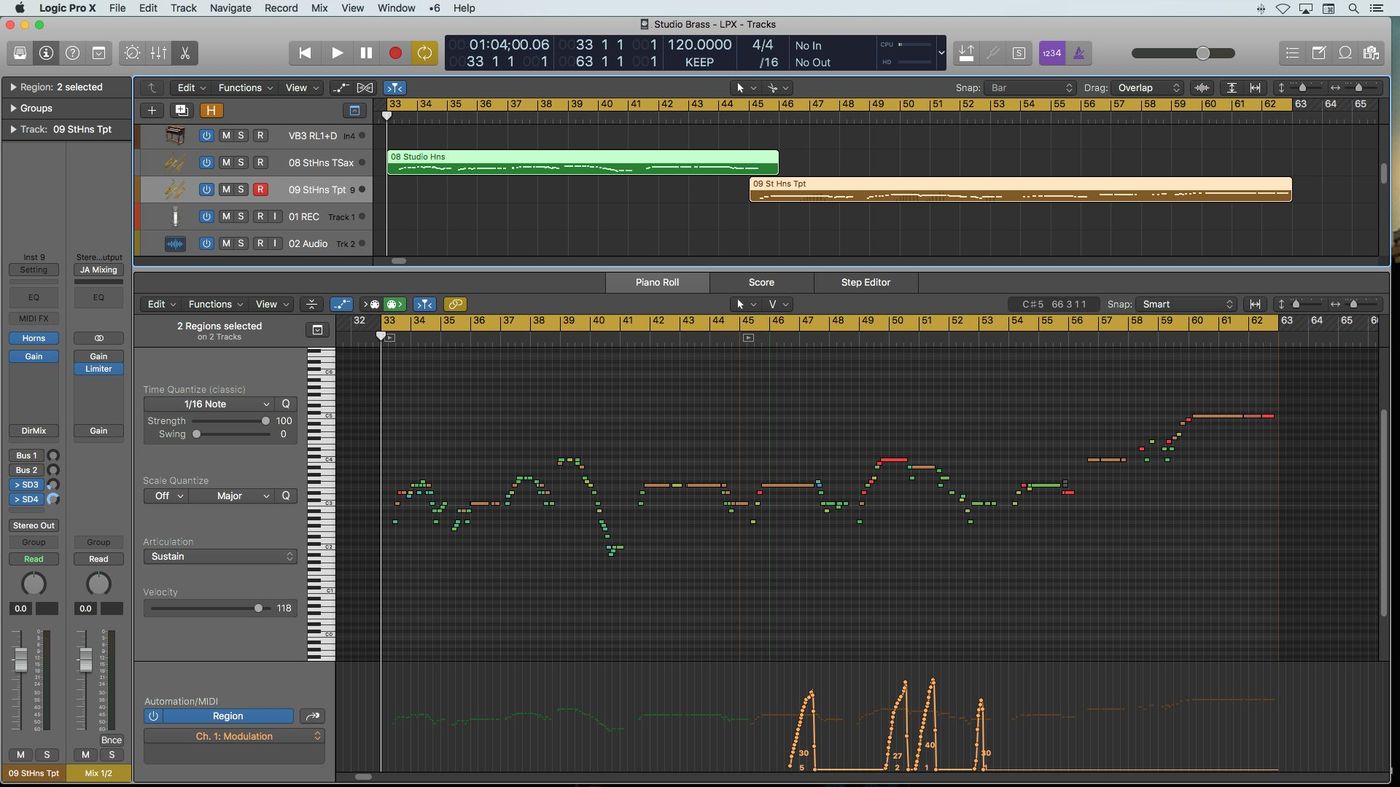
Within Logic Pro, the mixer serves as the central hub for shaping and refining the sonic characteristics of your drum tracks. Understanding the intricacies of the mixer is paramount to achieving a polished and impactful drum mix.
Upon opening the mixer, you’ll encounter a visual representation of your drum tracks, each displayed as a channel strip. These channel strips provide a comprehensive array of controls and parameters that empower you to manipulate the individual elements of your drum kit with precision and finesse.
Each channel strip within the mixer corresponds to a specific drum track, allowing you to tailor the volume, panning, EQ, dynamics, and effects settings for each drum element. Familiarizing yourself with the layout and functionality of these controls is fundamental to navigating the mixing process effectively.
Furthermore, Logic Pro offers a range of customizable options within the mixer, enabling you to configure the display to suit your workflow preferences. Whether it’s resizing channel strips, rearranging the order of tracks, or creating custom track stacks for grouped drum elements, the flexibility of the mixer interface empowers you to streamline your mixing environment according to your specific requirements.
Moreover, the mixer in Logic Pro incorporates advanced features such as bussing and routing capabilities, which are instrumental for consolidating and processing multiple drum tracks collectively. By harnessing bussing, you can route the output of individual drum tracks to designated auxiliary channels, facilitating cohesive processing and control over the entire drum kit as a unified entity.
As you acquaint yourself with the intricacies of the mixer, you’ll gain a deeper understanding of its role as the cornerstone of your drum mixing endeavors. The mixer not only provides the tools for sculpting the sonic character of each drum element but also fosters a cohesive and integrated approach to shaping the collective impact of your drum tracks within the context of the overall mix.
Balancing Levels
One of the foundational aspects of crafting a compelling drum mix in Logic Pro is the art of balancing levels. Achieving an optimal balance between the various components of your drum kit is essential for shaping the overall impact and coherence of the rhythmic foundation within your mix.
When embarking on the process of level balancing, it’s imperative to approach it with a discerning ear and a keen sense of musicality. Begin by soloing each drum track individually and adjusting its level to ensure that it sits within the desired sonic context. Pay close attention to the relative volumes of the kick, snare, toms, hi-hats, cymbals, and any additional percussion elements, striving to attain a balanced and cohesive representation of the entire drum kit.
As you fine-tune the levels of each drum element, consider the dynamic interplay between them and how they contribute to the rhythmic groove of the track. The kick and snare, for instance, typically serve as the rhythmic anchors, while the toms and cymbals add depth and texture. By meticulously balancing their levels, you can sculpt a dynamic and engaging drum mix that propels the music forward with clarity and impact.
Logic Pro’s mixer provides a visual representation of each channel’s level meter, allowing you to monitor the amplitude of the incoming signal in real time. Leveraging these meters as a guide, strive to achieve a balanced distribution of energy across the frequency spectrum, ensuring that no individual drum element overwhelms or gets lost within the mix.
Furthermore, consider the role of dynamics processing, such as compression, in refining the levels of your drum tracks. Applying subtle compression to individual drum elements can help tame transients and create a more consistent and controlled sonic foundation, contributing to a more cohesive and balanced overall mix.
By meticulously attending to the delicate balance of levels within your drum mix, you lay the groundwork for a cohesive and impactful rhythmic foundation that underpins the entire musical arrangement. This meticulous attention to detail sets the stage for the subsequent stages of sculpting the sonic character and spatial placement of your drum tracks within the mix.
Panning
Panning plays a pivotal role in spatially positioning the individual elements of your drum kit within the stereo field, contributing to the immersive and dynamic quality of your drum mix in Logic Pro. By judiciously manipulating the panning settings of each drum track, you can create a sense of depth, width, and movement, enhancing the overall sonic landscape of your mix.
As you navigate the panning controls within Logic Pro’s mixer, consider the spatial role of each drum element within the context of the overall arrangement. The kick and snare, for example, are often centered to anchor the rhythmic foundation, providing a solid and focused core to the drum mix. Toms and overhead cymbals, on the other hand, can be panned to varying degrees to create a sense of width and dimension, contributing to the immersive and expansive sonic canvas.
When panning individual drum tracks, it’s essential to maintain a sense of balance and coherence within the stereo field. Avoid extreme panning positions that may disrupt the overall cohesion of the drum mix, opting instead for subtle and nuanced placements that complement the musical arrangement and enhance the listener’s experience.
Furthermore, the use of automation within Logic Pro enables you to introduce dynamic panning movements, allowing certain drum elements to evolve spatially throughout the course of the track. By automating panning parameters, you can infuse a sense of movement and progression into your drum mix, adding an extra layer of depth and engagement to the sonic landscape.
Additionally, the incorporation of stereo processing techniques, such as stereo enhancement plugins, can further enrich the spatial characteristics of your drum mix. These tools can be employed to widen the stereo image of specific drum elements, adding a sense of expansiveness and dimension to the overall sound without compromising the core integrity of the mix.
By skillfully manipulating the panning settings of your drum tracks, you can craft a nuanced and immersive sonic environment that captivates the listener and elevates the impact of your musical production. Panning serves as a powerful tool for sculpting spatial depth and movement within your drum mix, contributing to a rich and engaging auditory experience.
EQ
Equalization, or EQ, is a fundamental tool for shaping the tonal characteristics and frequency balance of your drum tracks in Logic Pro. By applying strategic EQ adjustments to individual drum elements, you can sculpt their sonic imprint, carve out space within the mix, and enhance their clarity and impact.
When delving into the realm of EQ for drums, it’s essential to approach the process with a discerning ear and a clear understanding of the sonic attributes you aim to accentuate or attenuate within each drum element. Begin by soloing each drum track and identifying the tonal characteristics that define its sonic identity, such as the punch of the kick, the snap of the snare, or the shimmer of the cymbals.
As you navigate Logic Pro’s EQ controls, consider the frequency ranges that are pivotal for shaping the sonic character of each drum element. For instance, the kick drum often benefits from a boost in the low-frequency range to accentuate its weight and presence, while the snare may benefit from a focus on the midrange to enhance its body and attack. Toms and cymbals, on the other hand, can be refined through judicious adjustments to their respective frequency spectrums, tailoring their tonal qualities to complement the overall drum mix.
Moreover, the use of high-pass and low-pass filters can be instrumental in refining the frequency content of individual drum tracks, allowing you to attenuate unwanted low-end rumble or excessive high-frequency sizzle. By employing these filters, you can ensure that each drum element contributes to a clean and well-defined frequency spectrum within the mix, devoid of unnecessary muddiness or harshness.
Additionally, the concept of frequency masking should be considered when applying EQ to your drum tracks. This entails identifying potential conflicts in frequency ranges between different drum elements and addressing them through strategic EQ adjustments. By mitigating instances of frequency overlap, you can enhance the clarity and separation of individual drum tracks, fostering a cohesive and balanced sonic presentation.
By skillfully harnessing the power of EQ within Logic Pro, you can elevate the sonic impact and cohesiveness of your drum mix, ensuring that each element occupies its rightful place within the frequency spectrum. EQ serves as a potent tool for refining the tonal qualities of your drum tracks, contributing to a polished and professional sonic presentation that resonates with your listeners.
Compression
Compression is a vital component of drum mixing in Logic Pro, offering the means to control the dynamics, enhance the punch, and impart a sense of cohesion to individual drum elements within the mix. By judiciously applying compression to your drum tracks, you can refine their transient response, balance their overall level consistency, and imbue them with a sense of energy and impact.
When integrating compression into your drum mixing workflow, it’s essential to consider the unique characteristics and roles of each drum element. The kick drum, for instance, often benefits from a moderate amount of compression to accentuate its low-end thump and ensure a consistent and defined presence within the mix. Conversely, the snare drum may require a more aggressive compression approach to tame its transient spikes and impart a sense of sustained power and authority.
Logic Pro provides a versatile array of compression tools, including standard compressor plugins, multi-band compressors, and vintage emulations, each offering distinct tonal characteristics and dynamic control capabilities. Experimenting with these tools allows you to tailor the compression settings to suit the specific sonic requirements of each drum element, empowering you to sculpt their dynamic behavior with precision and finesse.
Moreover, the use of parallel compression, also known as New York compression, can be a potent technique for enhancing the impact and energy of your drum mix. By blending the heavily compressed signal with the uncompressed or lightly compressed original signal, you can achieve a heightened sense of punch and presence while retaining the natural dynamics and transients of the drum tracks.
Furthermore, the incorporation of sidechain compression can be instrumental in refining the interaction between the kick and the bass elements within the mix. By routing the kick drum’s signal to trigger the sidechain compression on the bass track, you can create a dynamic relationship that ensures the kick’s low-end energy cuts through the mix without conflicting with the bass frequencies, fostering a clear and defined low-end foundation.
By skillfully harnessing the capabilities of compression within Logic Pro, you can imbue your drum tracks with a sense of power, impact, and cohesiveness, ensuring that they serve as a compelling rhythmic foundation within the overall mix. Compression serves as a powerful ally in sculpting the dynamic characteristics of your drum mix, contributing to a polished and professional sonic presentation that resonates with your listeners.
Reverb and Delay
Integrating reverb and delay effects into your drum mix within Logic Pro can impart depth, dimension, and spatial interest to the individual drum elements, elevating the overall sonic character and immersive quality of the mix. By judiciously applying these time-based effects, you can imbue your drum tracks with a sense of ambience, presence, and sonic intrigue, enhancing their impact within the broader musical arrangement.
When incorporating reverb into your drum mix, consider the spatial context and sonic aesthetic you aim to achieve. The kick drum, for example, may benefit from a subtle touch of reverb to add a sense of depth and weight, while the snare drum can be enhanced with a controlled application of reverb to impart a sense of space and dimension. Toms and cymbals, on the other hand, can be treated with varying degrees of reverb to create a sense of expansiveness and atmospheric allure.
Logic Pro offers a diverse selection of reverb plugins, each offering distinct tonal characteristics and spatial imaging capabilities. Experimenting with different reverb types, such as room, hall, plate, and convolution reverbs, allows you to tailor the spatial qualities of your drum mix to suit the sonic requirements of the musical arrangement, whether it’s a tight and intimate ambiance or a lush and expansive sonic environment.
Similarly, the integration of delay effects can infuse your drum mix with a sense of rhythmic intrigue and movement. By applying subtle delay to select drum elements, such as the snare or hi-hats, you can introduce a sense of rhythmic echo and spatial animation, enhancing the dynamic interplay between the individual drum tracks and the broader musical context.
Moreover, the use of rhythmic delay patterns, such as dotted eighth-note or triplet delays, can add a sense of rhythmic complexity and syncopation to your drum mix, contributing to a vibrant and engaging sonic tapestry. Experimenting with feedback, filtering, and modulation parameters within Logic Pro’s delay plugins allows you to sculpt the temporal characteristics of the delays to suit the specific rhythmic nuances of your musical production.
By skillfully harnessing the capabilities of reverb and delay within Logic Pro, you can infuse your drum tracks with a sense of depth, dimension, and rhythmic intrigue, ensuring that they captivate and engage the listener within the sonic landscape of the mix. Reverb and delay serve as powerful tools for sculpting the spatial and temporal qualities of your drum mix, contributing to a polished and immersive sonic presentation that resonates with your audience.
Conclusion
Congratulations on embarking on a journey through the intricacies of drum mixing in Logic Pro! As you’ve discovered, the art of crafting compelling and dynamic drum mixes encompasses a diverse array of techniques and tools, each contributing to the sonic impact and immersive quality of the overall production.
From setting up your drum tracks with clarity and precision to navigating the intricacies of the mixer, balancing levels, manipulating panning, applying EQ and compression, and integrating reverb and delay effects, you’ve delved into the multifaceted realm of drum mixing with keen insight and creativity.
As you continue to refine your drum mixing skills within Logic Pro, remember that the key to achieving stellar drum mixes lies in a harmonious blend of technical proficiency and artistic intuition. By honing your ability to sculpt the sonic character and spatial placement of each drum element, you’ll elevate the rhythmic foundation of your musical productions to new heights of impact and allure.
Furthermore, embracing experimentation and exploration within the realm of drum mixing allows you to cultivate a distinctive sonic identity and a compelling artistic vision. Whether you’re sculpting the thunderous power of a rock anthem, the infectious groove of a funk masterpiece, or the ethereal allure of an ambient composition, the tools and techniques at your disposal in Logic Pro empower you to realize your creative aspirations with finesse and precision.
Ultimately, the art of drum mixing in Logic Pro is a deeply rewarding endeavor, offering a canvas upon which you can weave intricate rhythmic tapestries and captivate your audience with compelling sonic narratives. As you continue to refine your craft, may your drum mixes resonate with energy, clarity, and emotive power, leaving a lasting impression on your listeners and elevating your musical productions to new realms of sonic excellence.
So, armed with the knowledge and techniques gleaned from this comprehensive guide, venture forth with confidence and creativity, and let the rhythmic heartbeat of your drum mixes reverberate with passion and artistry.