Home>Instruments>Drums>How To Mic Up Drums
Drums
How To Mic Up Drums
Modified: February 16, 2024
Learn how to properly mic up drums for the best sound quality. Get expert tips and techniques for miking drums in any recording or live performance setting.
(Many of the links in this article redirect to a specific reviewed product. Your purchase of these products through affiliate links helps to generate commission for AudioLover.com, at no extra cost. Learn more)
Table of Contents
Introduction
When it comes to capturing the thunderous energy and intricate nuances of a drum kit, mic'ing up the drums effectively is crucial. Whether you're a live sound engineer striving to deliver a powerful, balanced mix to the audience or a recording engineer aiming to preserve the dynamic range and tonal richness of the drums, the right microphone placement and setup are paramount.
In this comprehensive guide, we will delve into the art of mic'ing up drums, covering everything from selecting the appropriate microphones to strategically positioning them around the drum kit. Whether you're a seasoned audio engineer or a drummer looking to enhance your knowledge of drum mic'ing, this article will provide valuable insights and practical tips to help you achieve stellar drum sounds in any setting.
Capturing the essence of a drum kit requires a keen understanding of the unique characteristics of each drum and cymbal, as well as the interplay between them. By employing the right microphones and techniques, you can unleash the full potential of the drums, from the thunderous kick drum to the shimmering cymbals, and everything in between.
Throughout this guide, we will explore the nuances of drum mic'ing, shedding light on the intricacies of microphone selection, placement, and recording setup. Whether you're aiming to achieve a punchy, aggressive sound for a rock track or a warm, resonant tone for a jazz ensemble, the principles and techniques outlined in this article will serve as invaluable tools in your sonic arsenal.
Join us as we embark on a sonic journey through the world of drum mic'ing, where creativity meets technical precision to capture the heartbeat of the music. Let's dive into the art and science of mic'ing up drums, and unlock the secrets to crafting captivating drum sounds that elevate the music to new heights.
Choosing the Right Microphones
When it comes to mic'ing up drums, selecting the right microphones is a pivotal first step in achieving stellar drum sounds. Different types of microphones are suited for capturing the diverse range of frequencies and transients produced by the various components of a drum kit. Understanding the sonic characteristics of different microphones and their suitability for specific drum elements is essential for crafting a well-balanced and impactful drum mix.
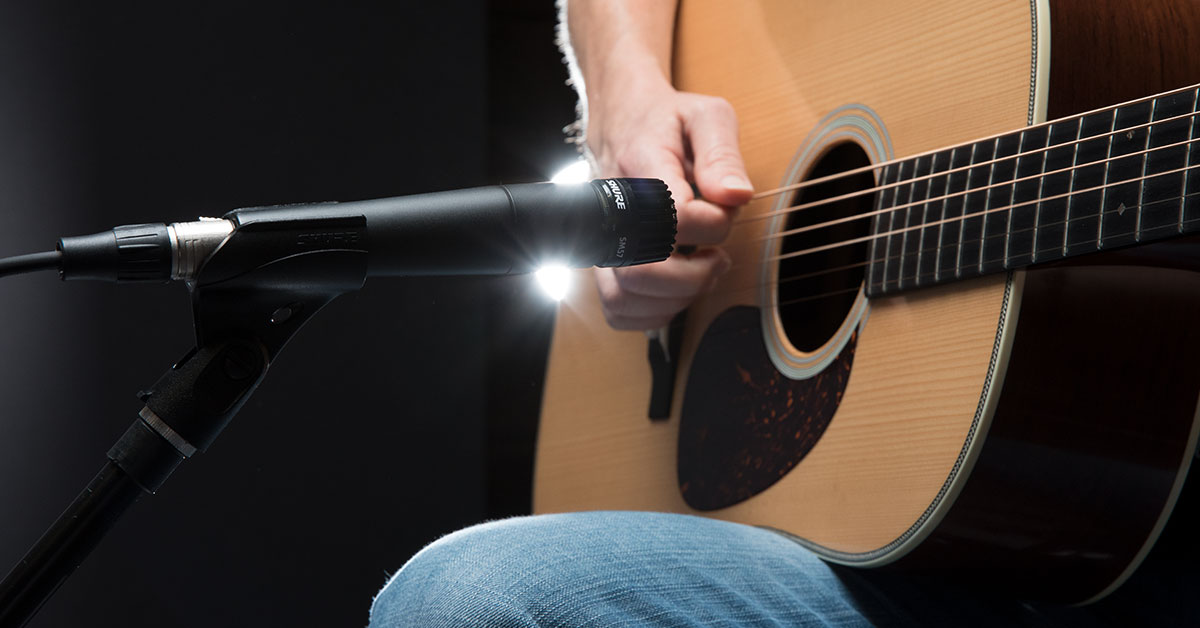
Dynamic microphones are commonly used for capturing the punch and transient-rich sounds of drums, making them ideal for close-miking the snare drum and toms. Their robust construction and ability to handle high sound pressure levels make them well-suited for the dynamic and energetic nature of drumming. Shure SM57 and Sennheiser MD 421 are popular choices for snare drum and tom mic'ing, renowned for their ability to capture the attack and body of these drums with clarity and precision.
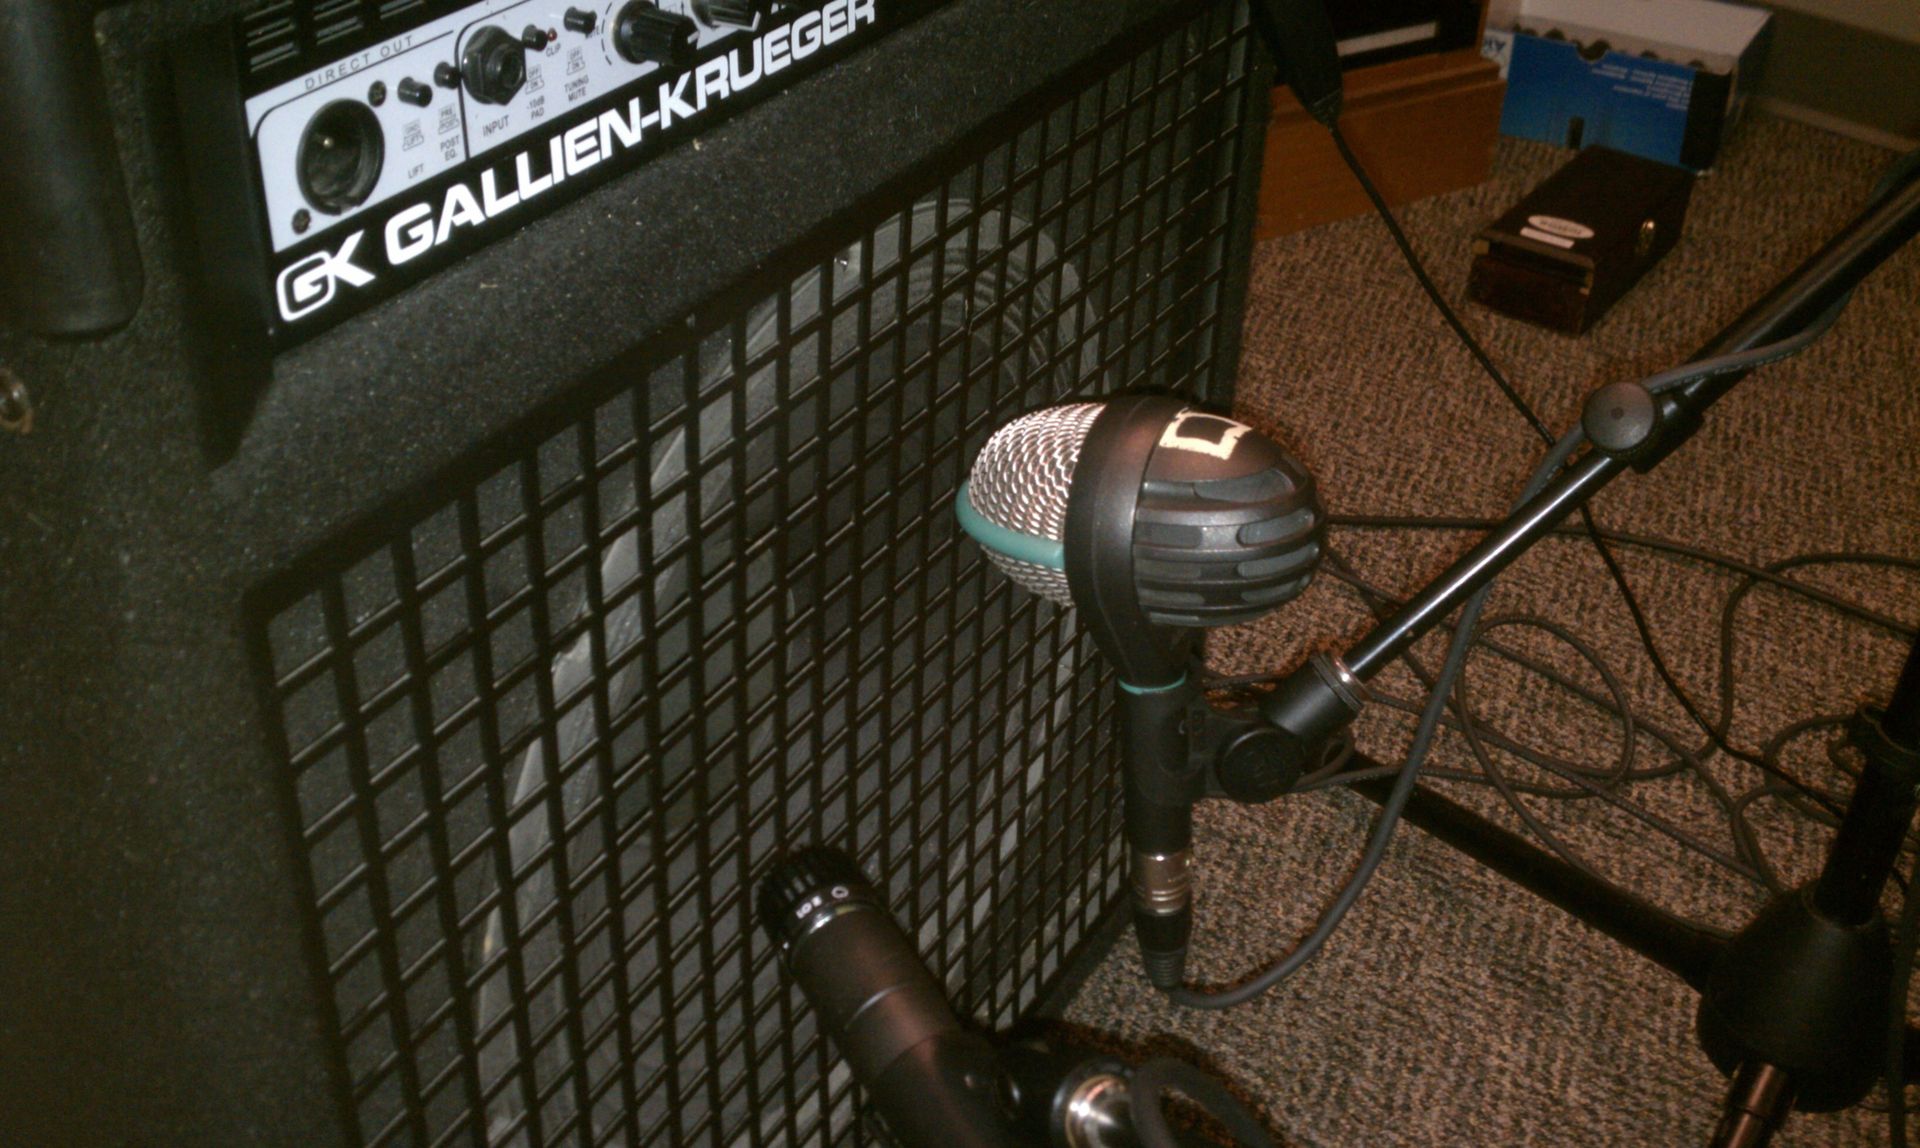
For capturing the low-end power and resonance of the kick drum, a dynamic microphone with extended low-frequency response is essential. Microphones like the AKG D112 and Electro-Voice RE20 are favored for kick drum mic'ing due to their ability to reproduce the deep thump and articulation of the kick drum without distortion.
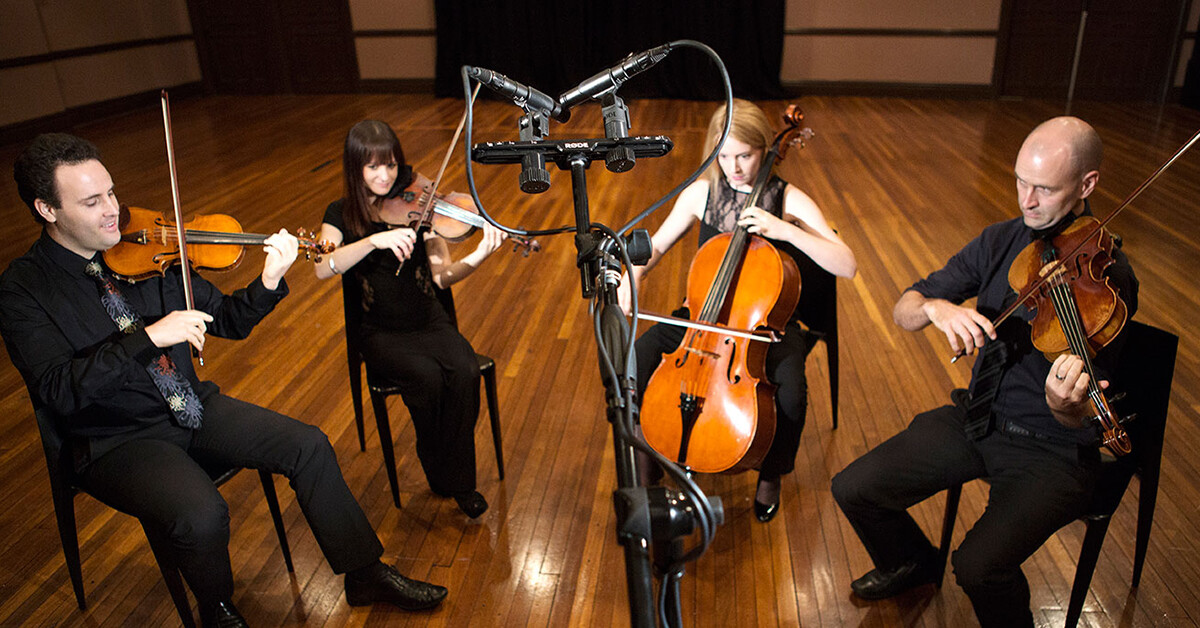
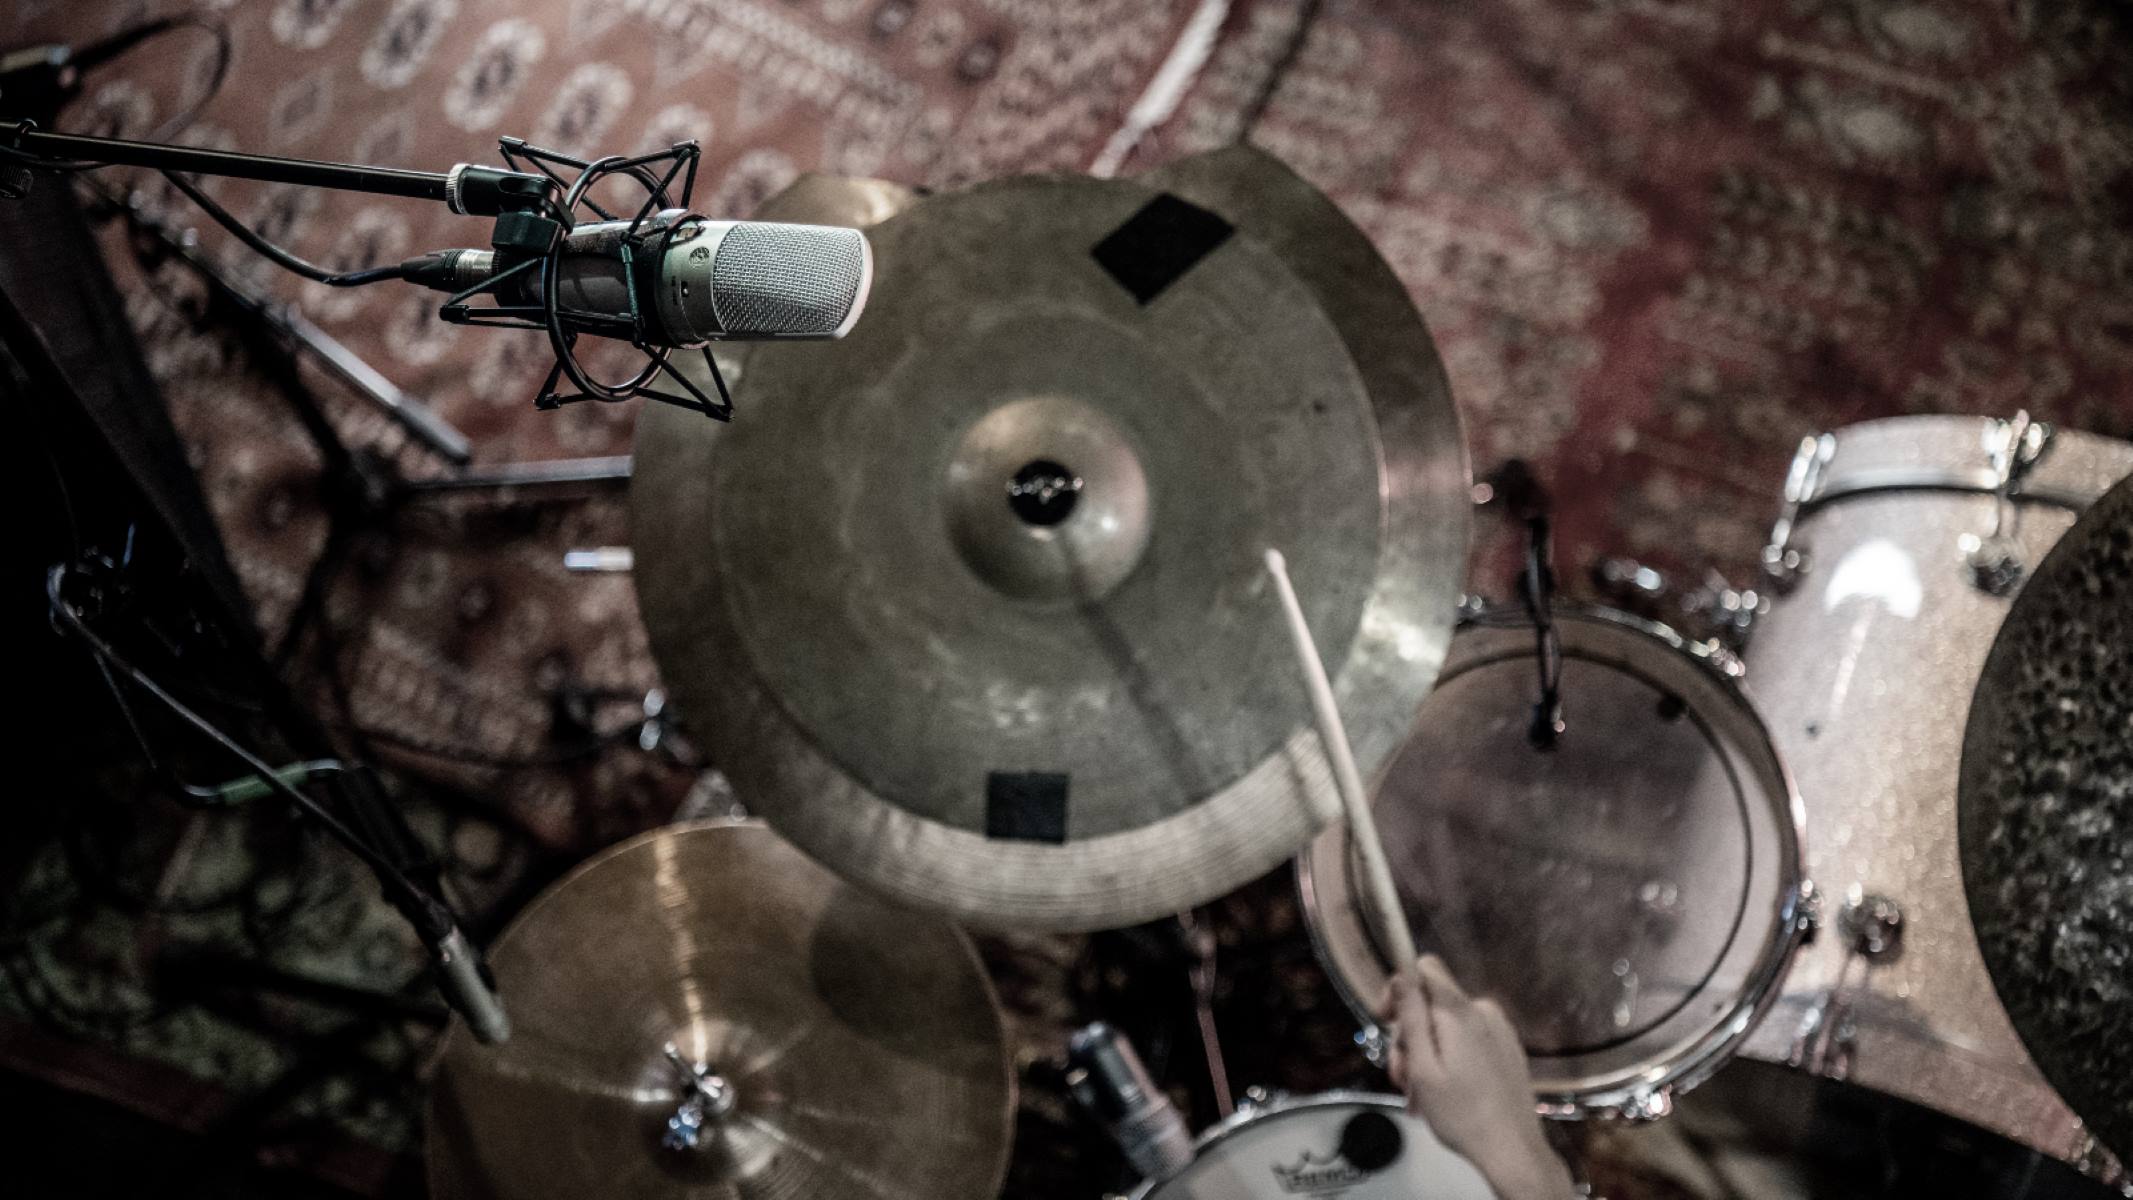
When it comes to capturing the shimmering highs and intricate nuances of cymbals, overhead condenser microphones come into play. Their extended frequency response and transient accuracy make them well-suited for capturing the wide-ranging frequencies and subtle details of cymbal crashes, rides, and hi-hats. Popular choices for overhead mics include the Neumann KM 184 and Audio-Technica AT4050, prized for their ability to capture the sparkling brilliance and dynamic nuances of cymbals with finesse.
Beyond the individual drum mics, a well-rounded drum mic setup often includes room microphones to capture the ambient sound and natural reverberation of the drum kit in the recording space. Large-diaphragm condenser microphones such as the Neumann U87 and AKG C414 are commonly used as room mics, adding depth and dimension to the overall drum mix.
By carefully selecting the right microphones for each drum element and considering their sonic characteristics, you can lay a solid foundation for capturing the full spectrum of drum tones with clarity, impact, and authenticity.
Placing Microphones on the Drum Kit
Strategically placing microphones around the drum kit is essential for capturing the distinct tonal characteristics and dynamic range of each drum and cymbal. By carefully positioning the microphones, you can achieve a balanced and cohesive drum mix that preserves the nuances of the drummer’s performance and the sonic identity of the kit.
When miking up the snare drum, placing a dynamic microphone slightly above the drumhead and angled towards the center can capture the attack and body of the snare with clarity. Experimenting with different angles and distances can help dial in the desired balance of snap and resonance, allowing you to tailor the sound to fit the mix seamlessly.
For the toms, positioning dynamic microphones above each drum at a slight angle can capture the rich, resonant tones and dynamic fills. Adjusting the height and angle of the microphones can help balance the attack and sustain of the toms, ensuring that each drum is well-defined and present in the mix.
When it comes to mic'ing the kick drum, placing a dynamic microphone just inside the drum’s sound hole can capture the deep thump and low-end punch. Experimenting with different placements, such as angling the microphone towards the beater or the shell, can help tailor the kick drum sound to suit the genre and desired impact in the mix.
Overhead miking plays a crucial role in capturing the overall ambience and cymbal articulation of the drum kit. Placing condenser microphones in an XY or ORTF stereo configuration above the kit can capture the wide stereo image of the cymbals and provide a sense of spaciousness to the drum mix. Adjusting the height and angle of the overhead mics can help balance the cymbal articulation and overall kit resonance, providing a cohesive sonic picture of the entire drum kit.
When incorporating room mics into the drum mic setup, placing large-diaphragm condenser microphones at a distance from the kit can capture the natural reverberation and ambient sound of the drums in the recording space. Experimenting with different room mic placements can add depth and dimension to the overall drum mix, enhancing the sense of space and enveloping the listener in the immersive sonic experience.
By meticulously placing microphones around the drum kit and fine-tuning their positions, you can capture the full spectrum of drum tones with precision and artistry, setting the stage for a compelling and impactful drum mix.
Setting Up Microphones for Recording
Once the microphones are strategically positioned around the drum kit, the next crucial step is to set up the recording environment to capture the full sonic range and dynamic nuances of the drums. Proper microphone placement and recording techniques are essential for translating the energy and expressiveness of the drummer’s performance into a captivating and well-balanced drum mix.
Before recording, it’s essential to ensure that the microphones are connected to the recording interface or mixer with high-quality cables, minimizing signal loss and interference. Using balanced XLR cables for dynamic and condenser microphones can help maintain signal integrity and reduce noise, ensuring pristine audio capture.
When setting up the recording levels for the drum microphones, it’s crucial to strike a balance between capturing the transient impact of the drums and avoiding clipping or distortion. Monitoring the input levels on the recording interface or mixer and adjusting the microphone preamp gain settings can help achieve optimal signal levels without compromising the dynamic range and clarity of the drum tracks.
Utilizing proper phase alignment is essential when working with multiple microphones to capture the drum kit. Ensuring that the phase relationships between the close mics, overheads, and room mics are coherent can prevent phase cancellation and comb filtering, preserving the natural tonal balance and transient response of the drums.
Applying appropriate equalization to the drum microphones can help sculpt the tonal characteristics and address any frequency imbalances, enhancing the overall coherence and impact of the drum mix. Gentle boosts or cuts in the low, mid, and high-frequency ranges can help tailor the individual drum tracks to fit seamlessly into the mix, ensuring that each drum element contributes to the overall sonic tapestry effectively.
Implementing dynamic processing, such as compression and transient shaping, can help control the dynamic range and sustain of the drum tracks, ensuring a consistent and impactful drum mix. Applying subtle compression to the snare drum and kick drum tracks can enhance their presence and impact, while transient shaping can emphasize the attack and clarity of the drums, adding punch and definition to the overall mix.
By meticulously setting up the microphones for recording and applying sound engineering techniques, you can capture the full sonic spectrum and expressive dynamics of the drum kit, laying the foundation for a compelling and immersive drum mix that elevates the music to new heights.
Tips for Mic’ing Up Drums
When it comes to mic’ing up drums, implementing the following tips and techniques can elevate the quality and impact of the drum sound, whether in a live performance or a recording session:
- Experiment with microphone placement: Don’t be afraid to experiment with different microphone positions and angles to find the optimal placement for capturing the unique tonal characteristics of each drum and cymbal. Small adjustments can make a significant difference in the overall drum sound.
- Use a combination of close mics and overheads: Combining close mics on individual drums with overhead mics can provide a comprehensive sonic picture of the entire drum kit, capturing both the transient attack and the ambient resonance of the drums and cymbals.
- Consider the drummer’s playing style: Tailor the microphone placement and setup to complement the drummer’s playing style. For example, if the drummer utilizes intricate cymbal work, ensure that the overhead mics capture the nuances and shimmering details of the cymbals with clarity.
- Pay attention to phase coherence: Ensuring phase coherence between the close mics and overhead mics is crucial for maintaining a natural and balanced drum sound. Checking the phase relationships and making necessary adjustments can prevent phase cancellation and ensure a cohesive drum mix.
- Capture the room ambience: Incorporating room mics into the drum mic setup can add depth and dimension to the overall drum mix, capturing the natural reverberation and ambience of the drums in the recording space.
- Use high-quality microphone cables: Utilize balanced XLR cables to connect the microphones to the recording interface or mixer, minimizing signal loss and interference for pristine audio capture.
- Monitor recording levels: Keep a close eye on the recording levels and adjust the microphone preamp gain settings to ensure optimal signal levels without clipping or distortion, preserving the dynamic range and clarity of the drum tracks.
- Apply subtle equalization and dynamic processing: Gentle equalization and dynamic processing can help sculpt the tonal characteristics and control the dynamic range of the drum tracks, enhancing their impact and coherence in the overall mix.
By implementing these tips and techniques, you can harness the full sonic potential of the drum kit, capturing its energy and expressiveness with precision and artistry.
Conclusion
Mic’ing up drums is both an art and a science, requiring a deep understanding of the sonic characteristics of each drum and cymbal, as well as the technical expertise to capture their full range with precision. By carefully selecting the right microphones, strategically placing them around the drum kit, and applying sound engineering techniques, you can unleash the expressive power and dynamic nuances of the drums, whether in a live setting or a recording environment.
From the thunderous resonance of the kick drum to the crisp attack of the snare and the shimmering brilliance of the cymbals, each component of the drum kit contributes to the rhythmic tapestry of the music. Capturing these elements with clarity, impact, and authenticity is essential for creating a compelling and immersive drum mix that elevates the music to new heights.
Throughout this guide, we have explored the intricacies of drum mic’ing, shedding light on the nuances of microphone selection, placement, and recording setup. By embracing the tips and techniques outlined in this article, you can embark on a sonic journey that unlocks the full potential of the drum kit, capturing its essence with finesse and artistry.
Whether you’re a seasoned audio engineer, a passionate drummer, or an aspiring music producer, the art of mic’ing up drums offers a rich tapestry of sonic possibilities to explore. It is a journey that blends technical precision with creative intuition, allowing you to sculpt captivating drum sounds that resonate with the soul of the music.
As you venture into the realm of drum mic’ing, may you harness the power of sound and rhythm to craft compelling drum mixes that captivate and inspire. Embrace the art and science of drum mic’ing, and let the heartbeat of the drums propel the music to new dimensions of sonic excellence.