Home>Instruments>Drums>How To Soundproof A Room For Drums
Drums
How To Soundproof A Room For Drums
Published: February 8, 2024
Learn how to soundproof a room for drums and create a quieter, more enjoyable practice space. Discover effective techniques and materials for reducing sound transmission. Ideal for drummers looking to minimize noise disturbance.
(Many of the links in this article redirect to a specific reviewed product. Your purchase of these products through affiliate links helps to generate commission for AudioLover.com, at no extra cost. Learn more)
Table of Contents
Introduction
So, you've got a passion for playing the drums, but the noise is causing some tension with your neighbors or family members. Whether you're a beginner or a seasoned drummer, soundproofing your practice space is essential for maintaining good relationships and ensuring that you can play to your heart's content without disturbing others.
Soundproofing a room for drums involves a combination of techniques and materials to minimize the transmission of sound both into and out of the space. By creating a drumming environment with effective soundproofing, you can play at any time of the day or night without worrying about the noise level.
In this comprehensive guide, we'll explore the ins and outs of soundproofing a room for drums. From understanding the principles of soundproofing to assessing your practice space and selecting the right materials and techniques, we'll cover everything you need to know to create a drumming sanctuary. So, let's dive in and learn how to soundproof a room for drums effectively and efficiently.
Understanding Soundproofing
Before delving into the practical aspects of soundproofing a room for drums, it’s important to grasp the fundamental principles of soundproofing. Soundproofing is the process of reducing or controlling the sound pressure levels to prevent sound from traveling between different spaces. When it comes to drumming, the goal is to contain the sound within the practice room and minimize the transmission of noise to adjacent rooms or outdoor areas.
Soundproofing involves addressing both airborne and impact noise. Airborne noise, such as the sound waves produced by drumming, travels through the air and can penetrate walls, ceilings, and floors. Impact noise, on the other hand, is generated by direct physical impact, such as the drumsticks striking the drumheads or the vibrations transmitted through the floor. Effective soundproofing measures aim to combat both types of noise to create a quieter environment.
To achieve optimal soundproofing for a drumming space, it’s crucial to understand the concept of sound transmission class (STC) and impact insulation class (IIC). The STC rating indicates a material’s ability to block airborne sound, while the IIC rating measures its effectiveness in reducing impact noise. When selecting soundproofing materials and techniques, considering these ratings can help you make informed decisions to achieve the desired level of sound isolation.
Furthermore, understanding the principles of sound absorption and sound isolation is essential. Sound absorption involves reducing the reflection of sound within a room, thus minimizing reverberation and echo. Sound isolation, on the other hand, focuses on preventing the transmission of sound through barriers such as walls, ceilings, and floors. By combining effective sound absorption and sound isolation strategies, you can create an acoustically controlled environment for drumming.
Now that we’ve laid the groundwork for understanding soundproofing principles, we can move on to assessing the specific requirements of your practice space and exploring the materials and techniques necessary to achieve superior soundproofing for drumming.
Assessing the Room
Before embarking on the journey of soundproofing your drumming space, it’s essential to assess the room thoroughly. By evaluating the existing acoustics, potential sound leaks, and structural considerations, you can develop a tailored soundproofing plan that addresses the specific characteristics of the space.
Begin by identifying the primary sources of sound transmission within and outside the room. For drumming, the most significant sound sources include the impact of drumsticks on the drumheads, vibrations from the drum kit, and the resonance of the drums themselves. Additionally, consider the pathways through which sound may escape, such as gaps around doors and windows, thin walls, or a lack of sound-absorbing materials.
Next, assess the existing acoustics of the room. Take note of any reverberation, echo, or unwanted reflections of sound. Understanding the acoustical properties of the space will guide your decisions when implementing sound absorption measures to improve the overall sound quality within the room.
Pay close attention to the construction of the walls, ceiling, and floor. Identify potential weak points where sound may easily travel through or where impact noise could be transmitted. Additionally, inspect the doors and windows for any gaps or insufficient seals that could allow sound to escape or enter the room.
Consider the layout and location of the room in relation to adjacent spaces. If the drumming area shares walls with other rooms or is situated near common areas, it’s important to address the potential impact of sound transmission on neighboring occupants.
Furthermore, take into account the specific soundproofing requirements based on the time of day you typically practice. If you often play during late hours or early mornings, the soundproofing measures may need to be more robust to minimize disturbance to others.
By thoroughly assessing the room and understanding its acoustical characteristics, you can lay the groundwork for implementing targeted soundproofing solutions that effectively mitigate sound transmission and create an acoustically controlled drumming environment.
Soundproofing Materials and Techniques
When it comes to soundproofing a room for drums, a combination of high-quality materials and effective techniques is essential to achieve optimal results. From sound-absorbing materials that minimize reverberation to sound-isolating barriers that prevent the transmission of noise, a strategic approach to selecting and implementing soundproofing solutions can make a significant difference in creating a quieter practice space.
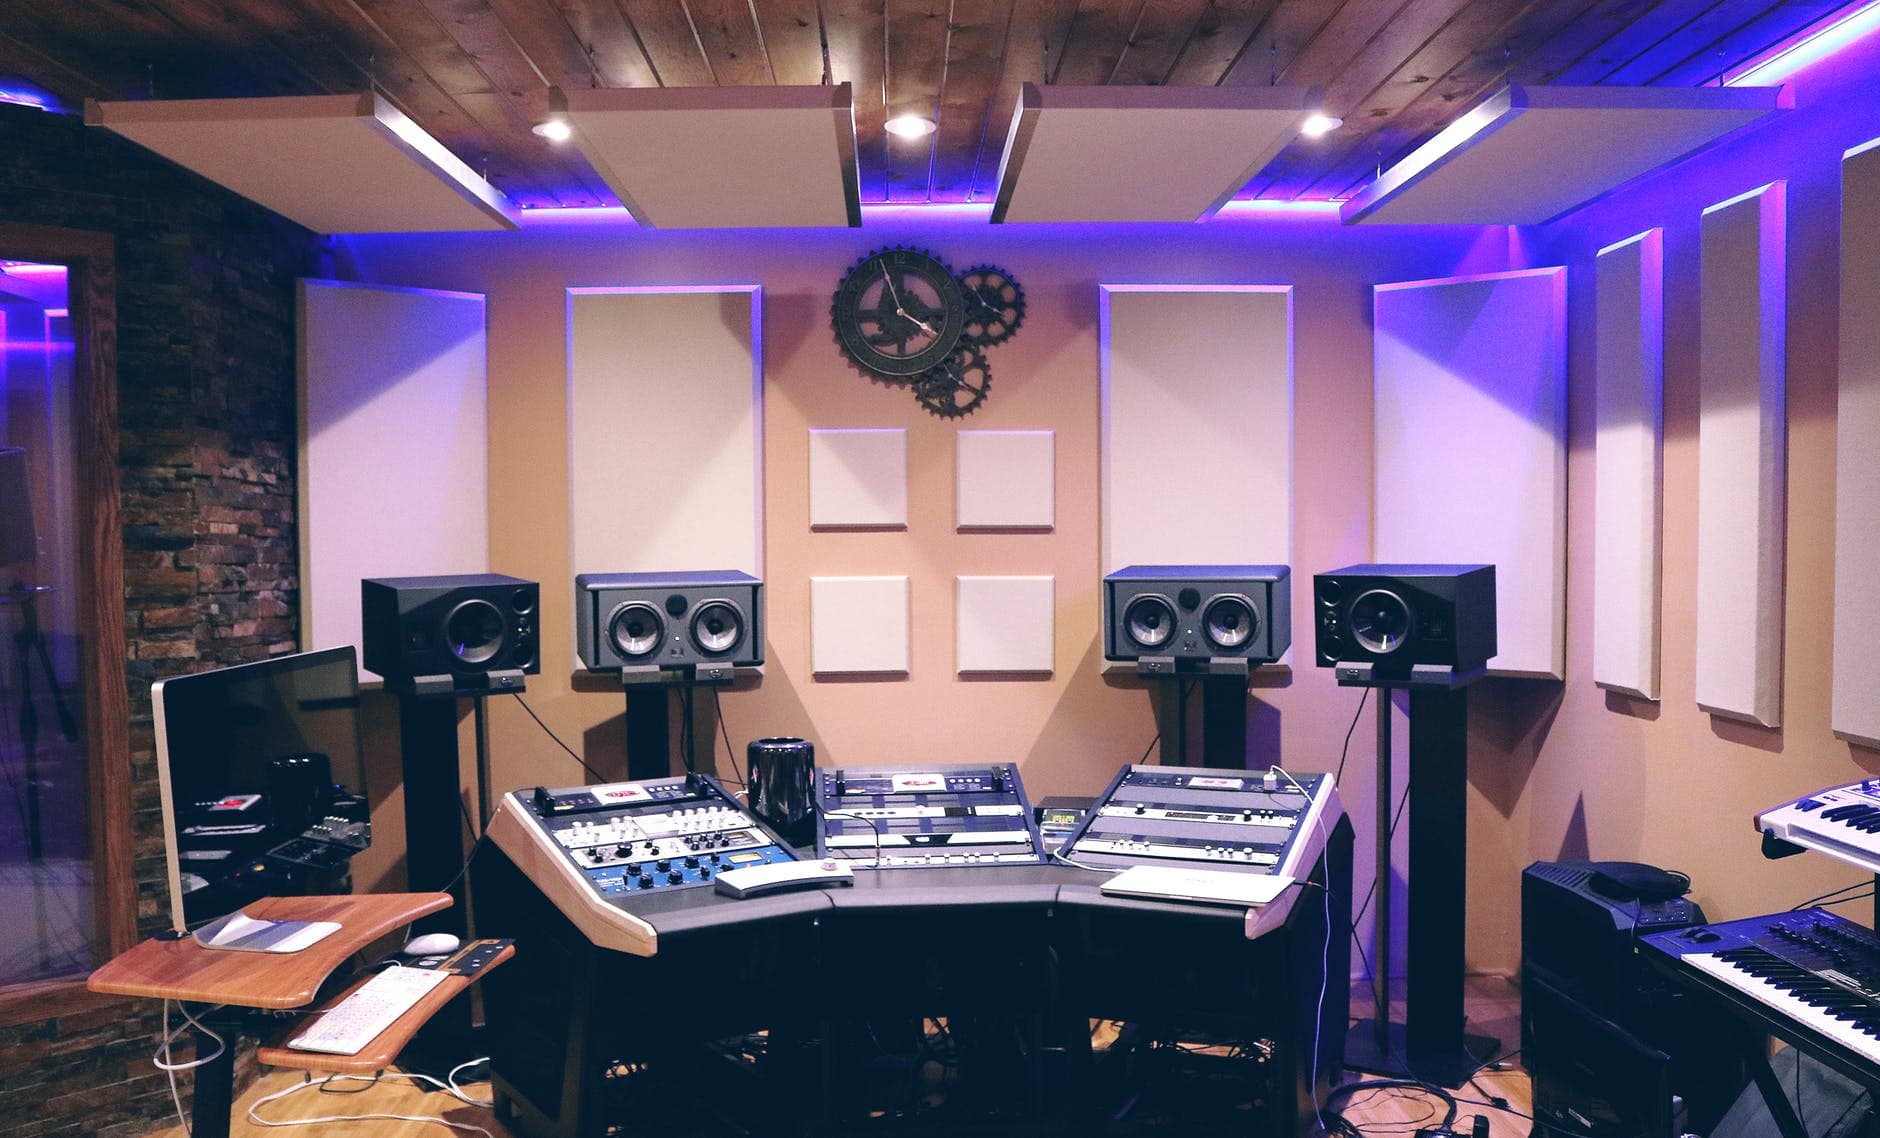
One of the key soundproofing materials to consider is acoustic foam. Acoustic foam panels are designed to absorb and diffuse sound waves, reducing reverberation and echo within the room. By strategically placing acoustic foam on the walls and ceiling, you can improve the acoustics of the space while minimizing the reflection of sound.
Mass-loaded vinyl (MLV) is another valuable soundproofing material known for its ability to block airborne noise. MLV barriers can be installed within walls, floors, and ceilings to create a dense layer that effectively reduces the transmission of sound. Additionally, resilient channels and sound isolation clips can be used to decouple drywall from the underlying structure, further enhancing the soundproofing performance of walls and ceilings.
For soundproofing the floor, consider the use of soundproof underlayment, which provides impact insulation to minimize the transmission of footfall noise and vibrations. Additionally, carpeting or rugs can serve as sound-absorbing elements, reducing the impact noise generated by the drum kit and foot pedals.
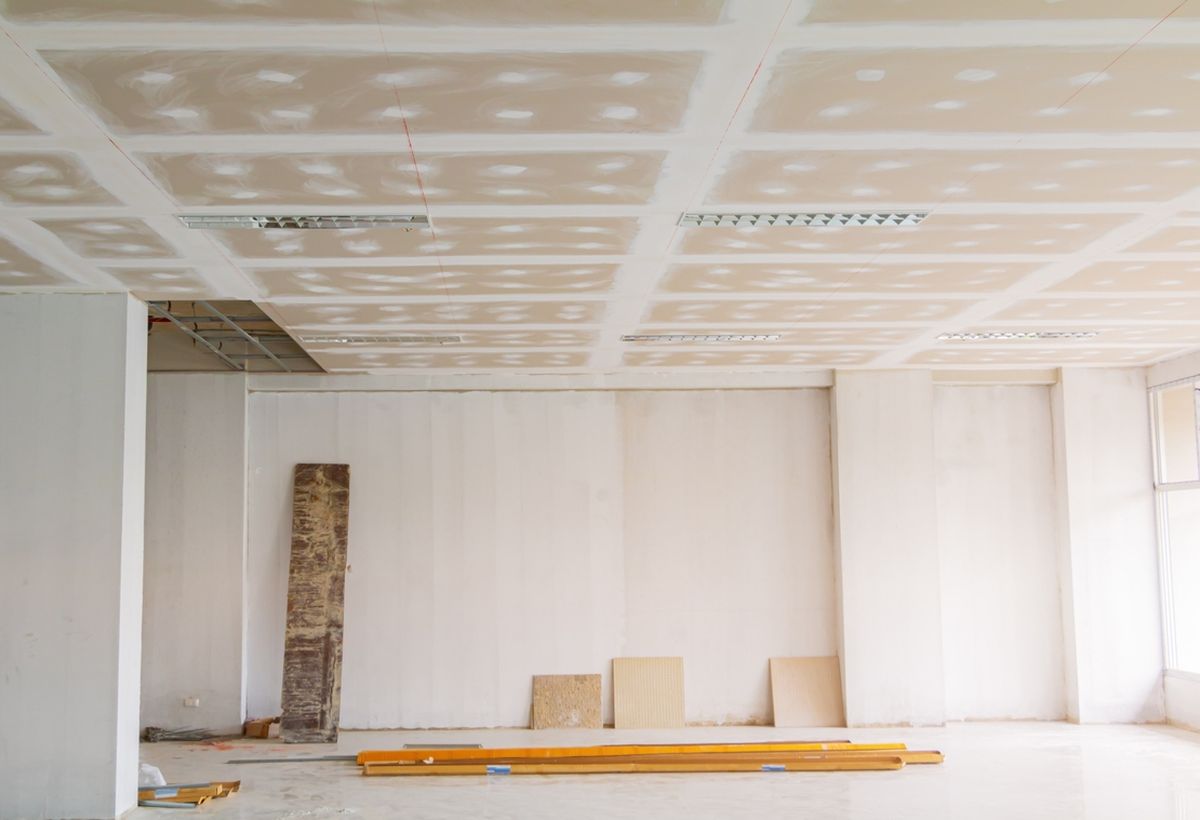
When addressing the walls, employing multiple layers of drywall with a damping compound in between can enhance the mass and damping properties, effectively reducing airborne sound transmission. Green Glue, a popular damping compound, is applied between layers of drywall to create a sound-dampening barrier that significantly improves soundproofing performance.
Soundproofing doors and windows is crucial to prevent sound leaks. Installing weatherstripping and door sweeps can seal gaps around doors, while utilizing acoustic caulking can effectively seal gaps around window frames. Additionally, double or triple-pane windows with acoustic laminated glass provide superior sound insulation compared to standard windows.
When implementing soundproofing techniques, it’s essential to ensure that all seams, joints, and penetrations are properly sealed to minimize sound leaks. Paying attention to detail and addressing potential weak points in the room’s construction can significantly enhance the overall effectiveness of the soundproofing measures.
By leveraging a combination of soundproofing materials and techniques tailored to the specific characteristics of the room, you can create an acoustically controlled drumming environment that minimizes sound transmission and enhances the overall playing experience.
Soundproofing the Walls
When soundproofing a room for drums, addressing the walls is a critical aspect of creating an acoustically controlled environment. Walls play a significant role in containing airborne noise and preventing sound from traveling to adjacent spaces. By implementing targeted soundproofing measures for the walls, you can effectively minimize the transmission of drumming noise and create a quieter practice space.
One effective technique for soundproofing walls is the use of resilient channels. Resilient channels are designed to decouple the drywall from the underlying structure, effectively reducing the transmission of airborne sound. By installing resilient channels before attaching the drywall, you can mitigate the transfer of vibrations and impact noise, resulting in improved sound isolation.
Another valuable soundproofing approach for walls involves the use of mass-loaded vinyl (MLV). MLV barriers can be installed within the wall assembly to add mass and density, effectively blocking the transmission of airborne noise. When used in conjunction with resilient channels and multiple layers of drywall, MLV significantly enhances the soundproofing performance of the walls.
Applying a damping compound, such as Green Glue, between layers of drywall is a highly effective method for improving the soundproofing properties of walls. The damping compound converts sound energy into small amounts of heat, reducing the transmission of sound waves through the wall assembly. By sandwiching the damping compound between layers of drywall, you can create a sound-dampening barrier that significantly enhances the overall soundproofing performance.
Additionally, increasing the mass of the walls by adding extra layers of drywall can contribute to improved sound isolation. When installing multiple layers of drywall, incorporating a damping compound between each layer enhances the mass and damping properties, resulting in a more effective barrier against airborne noise transmission.
Sealing any gaps, seams, or penetrations in the walls is crucial to preventing sound leaks. Using acoustic caulking to seal gaps around electrical outlets, switches, and any other openings ensures that the walls remain airtight and sound-resistant. Properly sealing all potential weak points in the wall assembly is essential for maximizing the soundproofing performance.
By implementing a combination of resilient channels, mass-loaded vinyl, damping compounds, and meticulous sealing techniques, you can effectively soundproof the walls of your drumming space, creating an environment that minimizes sound transmission and provides an optimal acoustic experience.
Soundproofing the Ceiling
When soundproofing a room for drums, addressing the ceiling is crucial for containing airborne noise and preventing sound from traveling to upper floors or adjacent spaces. Effective soundproofing techniques for the ceiling can significantly reduce the transmission of drumming noise and create a quieter environment for both the drummer and surrounding occupants.
One of the primary methods for soundproofing the ceiling is the installation of resilient channels. Resilient channels are designed to decouple the ceiling drywall from the underlying structure, effectively reducing the transmission of airborne sound. By installing resilient channels and attaching the drywall to them, the transfer of vibrations and impact noise can be mitigated, resulting in improved sound isolation.
Mass-loaded vinyl (MLV) barriers can also be utilized to enhance the soundproofing performance of the ceiling. Installing MLV within the ceiling assembly adds mass and density, effectively blocking the transmission of airborne noise. When combined with resilient channels and multiple layers of drywall, MLV contributes to superior soundproofing by minimizing sound transmission through the ceiling.
Applying a damping compound, such as Green Glue, between layers of drywall is a highly effective method for improving the soundproofing properties of the ceiling. The damping compound converts sound energy into small amounts of heat, reducing the transmission of sound waves through the ceiling assembly. By sandwiching the damping compound between layers of drywall, you can create a sound-dampening barrier that significantly enhances the overall soundproofing performance.
Increasing the mass of the ceiling by adding extra layers of drywall can further contribute to improved sound isolation. Installing multiple layers of drywall with a damping compound between each layer enhances the mass and damping properties, resulting in a more effective barrier against airborne noise transmission.
Sealing any gaps, seams, or penetrations in the ceiling is essential to prevent sound leaks. Using acoustic caulking to seal gaps around light fixtures, ventilation openings, and any other penetrations ensures that the ceiling remains airtight and resistant to sound transmission. Properly sealing all potential weak points in the ceiling assembly is crucial for maximizing the soundproofing performance.
By implementing a combination of resilient channels, mass-loaded vinyl, damping compounds, and meticulous sealing techniques, you can effectively soundproof the ceiling of your drumming space, creating an environment that minimizes sound transmission and provides an optimal acoustic experience.
Soundproofing the Floor
When soundproofing a room for drums, addressing the floor is essential for minimizing impact noise and vibrations generated by the drum kit. Effective soundproofing techniques for the floor can significantly reduce the transmission of footfall noise and drumming impact, creating a quieter environment for both the drummer and occupants in lower levels or adjacent spaces.
One of the primary methods for soundproofing the floor is the use of soundproof underlayment. Soundproof underlayment materials are designed to provide impact insulation, minimizing the transmission of footfall noise and vibrations through the floor. By installing soundproof underlayment beneath the flooring material, the impact noise generated by the drum kit and foot pedals can be effectively mitigated.
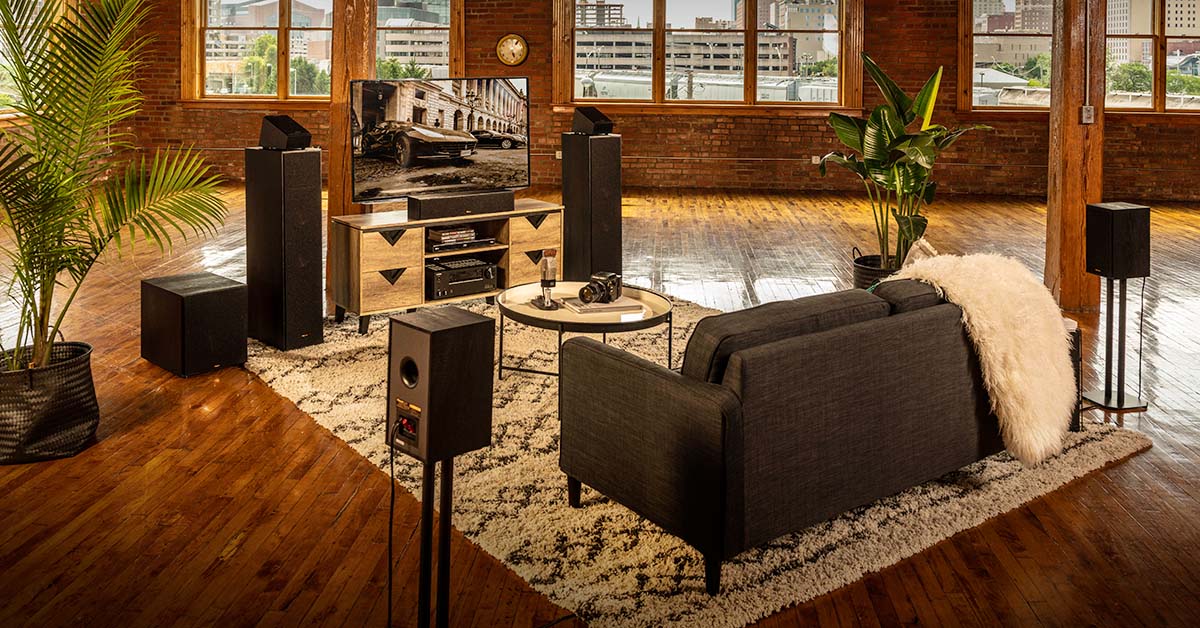
Carpeting or rugs can serve as sound-absorbing elements, further reducing impact noise and enhancing the overall soundproofing performance of the floor. The soft, dense fibers of carpets and rugs absorb impact energy, minimizing the transmission of drumming vibrations to the underlying structure and adjacent spaces. Additionally, the use of thick, dense carpet padding can enhance the impact insulation properties, further reducing the transfer of drumming noise.
When addressing the floor, it’s important to ensure that any gaps or seams in the flooring assembly are properly sealed. Using acoustic caulking to seal gaps around the perimeter of the room and any floor penetrations helps maintain the integrity of the soundproofing measures. Properly sealing potential weak points in the floor assembly is essential for maximizing the soundproofing performance.
For rooms situated on upper floors or areas where impact noise may be a concern, floating floor systems can be implemented to enhance sound isolation. Floating floors consist of a resilient underlayment and a separate flooring surface that “floats” on top, decoupled from the structural floor. This design minimizes the transmission of impact noise and vibrations to the underlying structure, contributing to superior soundproofing performance.
By leveraging soundproof underlayment, carpeting or rugs, and meticulous sealing techniques, you can effectively soundproof the floor of your drumming space, creating an environment that minimizes impact noise and vibrations, and provides an optimal acoustic experience for both the drummer and surrounding occupants.
Soundproofing Doors and Windows
Addressing sound leaks through doors and windows is crucial when soundproofing a room for drums. These openings are common weak points for sound transmission, and implementing effective soundproofing measures for doors and windows can significantly reduce noise leakage and create a quieter practice space.
One of the primary methods for soundproofing doors is the installation of weatherstripping and door sweeps. Weatherstripping seals the gaps around the perimeter of the door, while door sweeps provide a barrier against sound leakage at the bottom of the door. By ensuring a tight seal around the door, the transmission of airborne and impact noise can be minimized, contributing to improved sound isolation.
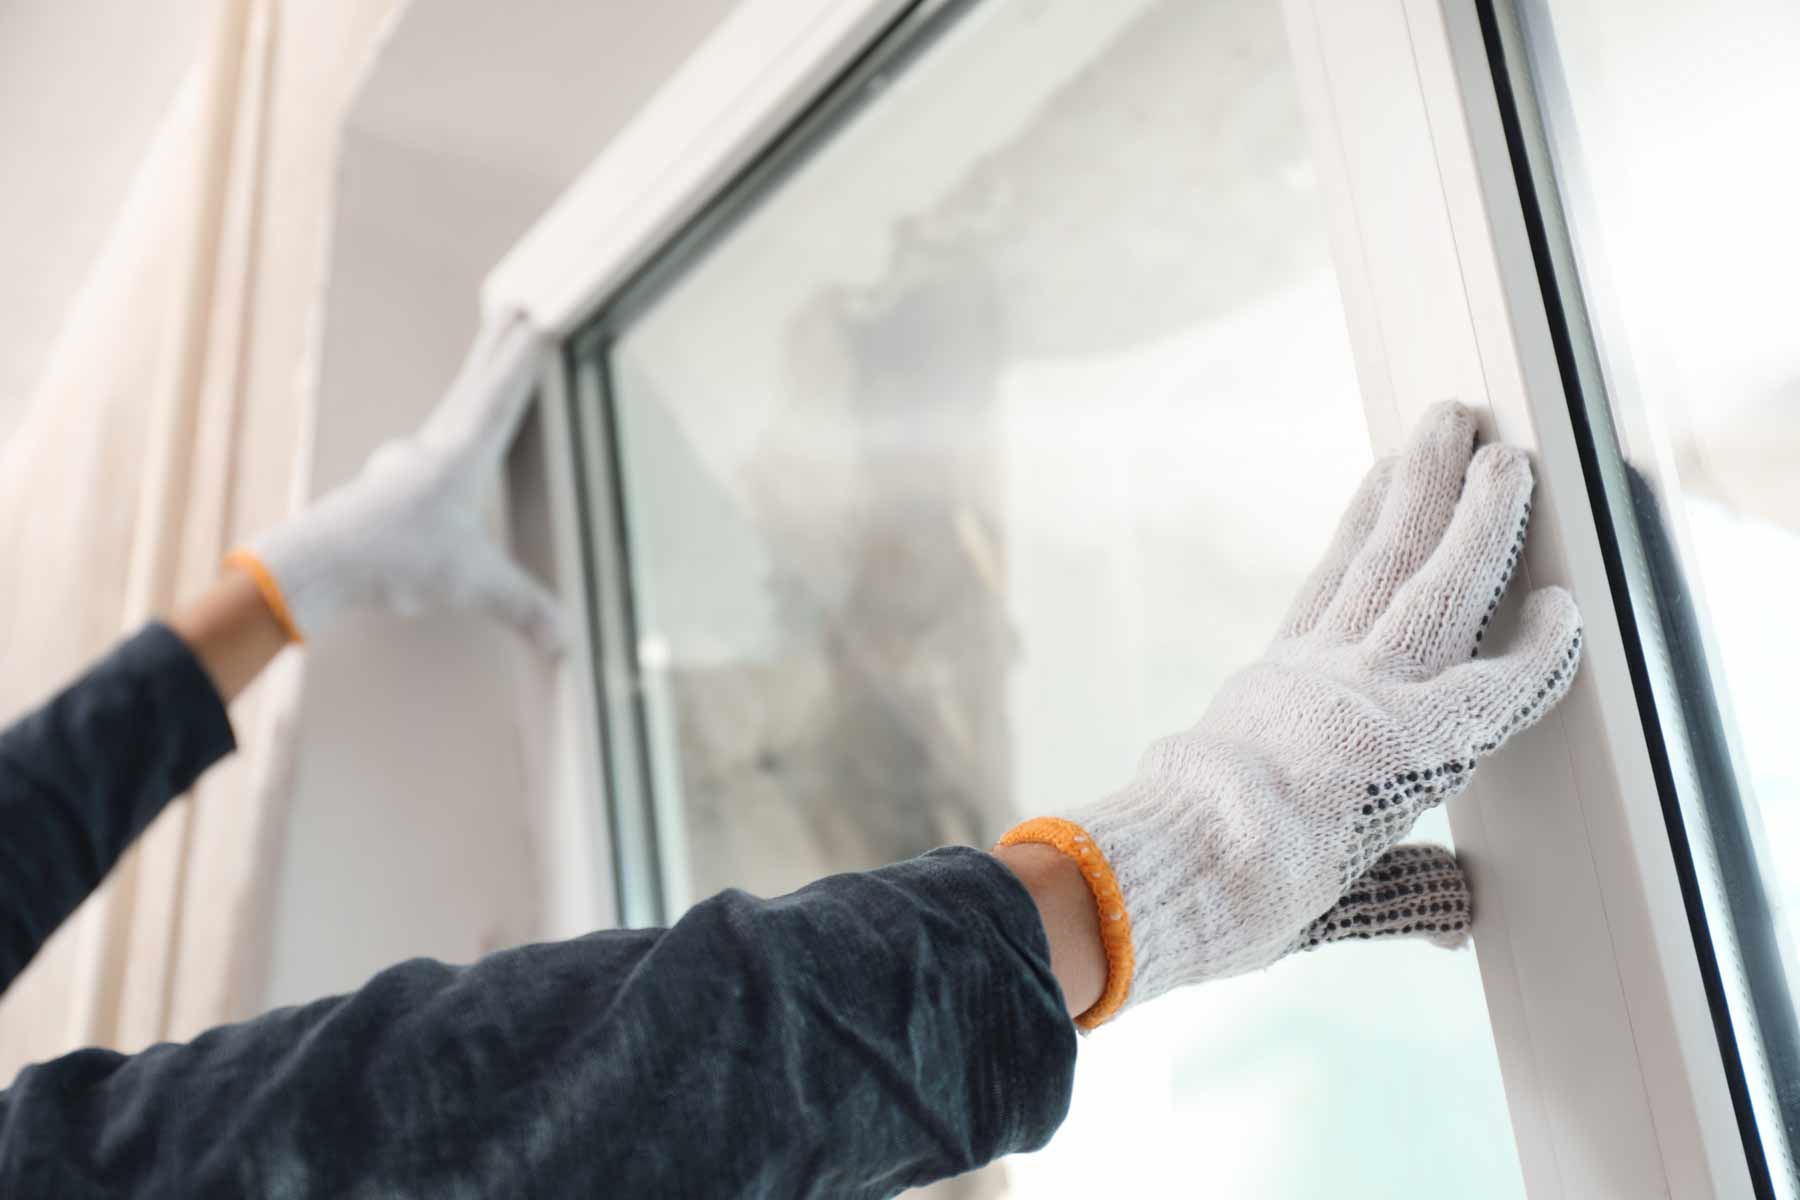
For windows, utilizing acoustic caulking to seal gaps around the window frames is essential for preventing sound leaks. Proper sealing ensures that the windows remain airtight and resistant to sound transmission. Additionally, installing double or triple-pane windows with acoustic laminated glass provides superior sound insulation compared to standard windows, further enhancing the overall soundproofing performance.
Soundproofing doors and windows also involves addressing any potential weak points in the assembly. This may include reinforcing the door frame and hinges to minimize vibrations and impact noise, as well as ensuring that the window frames are tightly sealed to prevent air and sound leakage. By paying attention to detail and addressing these key areas, you can effectively enhance the soundproofing performance of doors and windows.
Another valuable soundproofing technique for doors and windows is the use of soundproof curtains or drapes. These specialized curtains are designed to absorb and block sound waves, reducing the transmission of noise through windows. Soundproof curtains can be particularly effective for rooms where traditional soundproofing measures may be limited, providing an additional layer of sound insulation.
When soundproofing doors and windows, it’s important to assess the overall integrity of the seals, hinges, and frames to identify any potential areas of improvement. By implementing a combination of weatherstripping, door sweeps, acoustic caulking, specialized windows, and soundproof curtains, you can effectively minimize sound leakage through doors and windows, creating a quieter and more acoustically controlled drumming space.
Additional Tips for Soundproofing a Room for Drums
In addition to the fundamental soundproofing techniques and materials, there are several additional tips and considerations that can further enhance the soundproofing performance of a room dedicated to drumming. By incorporating these tips into your soundproofing plan, you can achieve superior noise reduction and create an optimal environment for practicing and playing the drums.
- Strategic Room Layout: Consider the layout of the room and the placement of the drum kit. Positioning the drum set away from shared walls and closer to internal walls can help minimize sound transmission to adjacent spaces.
- Acoustic Panels and Bass Traps: Installing acoustic panels and bass traps can further improve the acoustics of the room by absorbing excess sound energy and minimizing low-frequency resonance. Strategic placement of these acoustic treatments can enhance the overall sound quality within the space.
- Isolation Platforms: Utilizing isolation platforms for the drum kit and amplifiers can help reduce the transfer of vibrations to the floor, minimizing impact noise and enhancing the overall soundproofing performance.
- Noise Barriers: Consider the use of noise barrier materials, such as soundproof curtains or soundproofing blankets, to create temporary barriers that minimize sound transmission during intense practice sessions or recording sessions.
- Addressing Air Ducts and Vents: Ensure that air ducts and vents in the room are equipped with soundproofing materials to prevent the transmission of sound through the HVAC system. Properly sealed ductwork and the use of soundproof vent covers can contribute to overall sound isolation.
- Communicate with Neighbors: Establish open communication with neighbors and occupants of adjacent spaces. Inform them of your practice schedule and soundproofing efforts, and be receptive to addressing any concerns or accommodating their schedules to minimize potential disturbances.
- Professional Soundproofing Consultation: For complex soundproofing projects or unique room configurations, consulting with a professional soundproofing expert can provide valuable insights and tailored solutions to achieve optimal sound isolation.
By incorporating these additional tips into your soundproofing strategy, you can further enhance the effectiveness of the soundproofing measures and create a drumming space that minimizes sound transmission, enhances acoustics, and fosters a harmonious environment for both the drummer and surrounding occupants.
Conclusion
Soundproofing a room for drums is a multifaceted endeavor that requires a strategic combination of materials, techniques, and considerations to achieve optimal results. By understanding the principles of soundproofing, assessing the specific requirements of the practice space, and implementing targeted soundproofing measures, drummers can create an acoustically controlled environment that minimizes sound transmission and enhances the overall playing experience.
From addressing the walls, ceiling, and floor to soundproofing doors and windows, each aspect of the room plays a crucial role in containing airborne and impact noise. By leveraging resilient channels, mass-loaded vinyl, damping compounds, and meticulous sealing techniques, drummers can effectively mitigate sound leakage and create a quieter practice space that promotes harmonious coexistence with neighbors and family members.
Additionally, incorporating additional tips such as strategic room layout, acoustic treatments, isolation platforms, and open communication with neighbors can further enhance the soundproofing performance and contribute to a positive drumming environment.
Ultimately, the goal of soundproofing a room for drums is to strike a balance between creating a space where drummers can practice and play with freedom and passion while respecting the peace and comfort of others in the vicinity. By implementing comprehensive soundproofing measures and considering the specific acoustical characteristics of the room, drummers can enjoy an optimal playing experience without the concern of disturbing neighbors or household members.
Whether you’re a dedicated drummer seeking to hone your skills or a passionate musician looking to express yourself through the rhythmic beats of the drums, soundproofing your practice space empowers you to pursue your musical aspirations without limitations. With a well-executed soundproofing plan, drummers can create a sanctuary where the captivating sounds of the drums can resonate freely, fostering creativity, inspiration, and a harmonious living environment for all.