Home>Instruments>Guitar>How To Get A Pick Out Of A Guitar


Guitar
How To Get A Pick Out Of A Guitar
Published: February 12, 2024
Learn the best techniques for safely removing a pick stuck in your guitar strings. Our step-by-step guide will help you get back to playing in no time. Master the art of pick retrieval with our expert tips.
(Many of the links in this article redirect to a specific reviewed product. Your purchase of these products through affiliate links helps to generate commission for AudioLover.com, at no extra cost. Learn more)
Table of Contents
Introduction
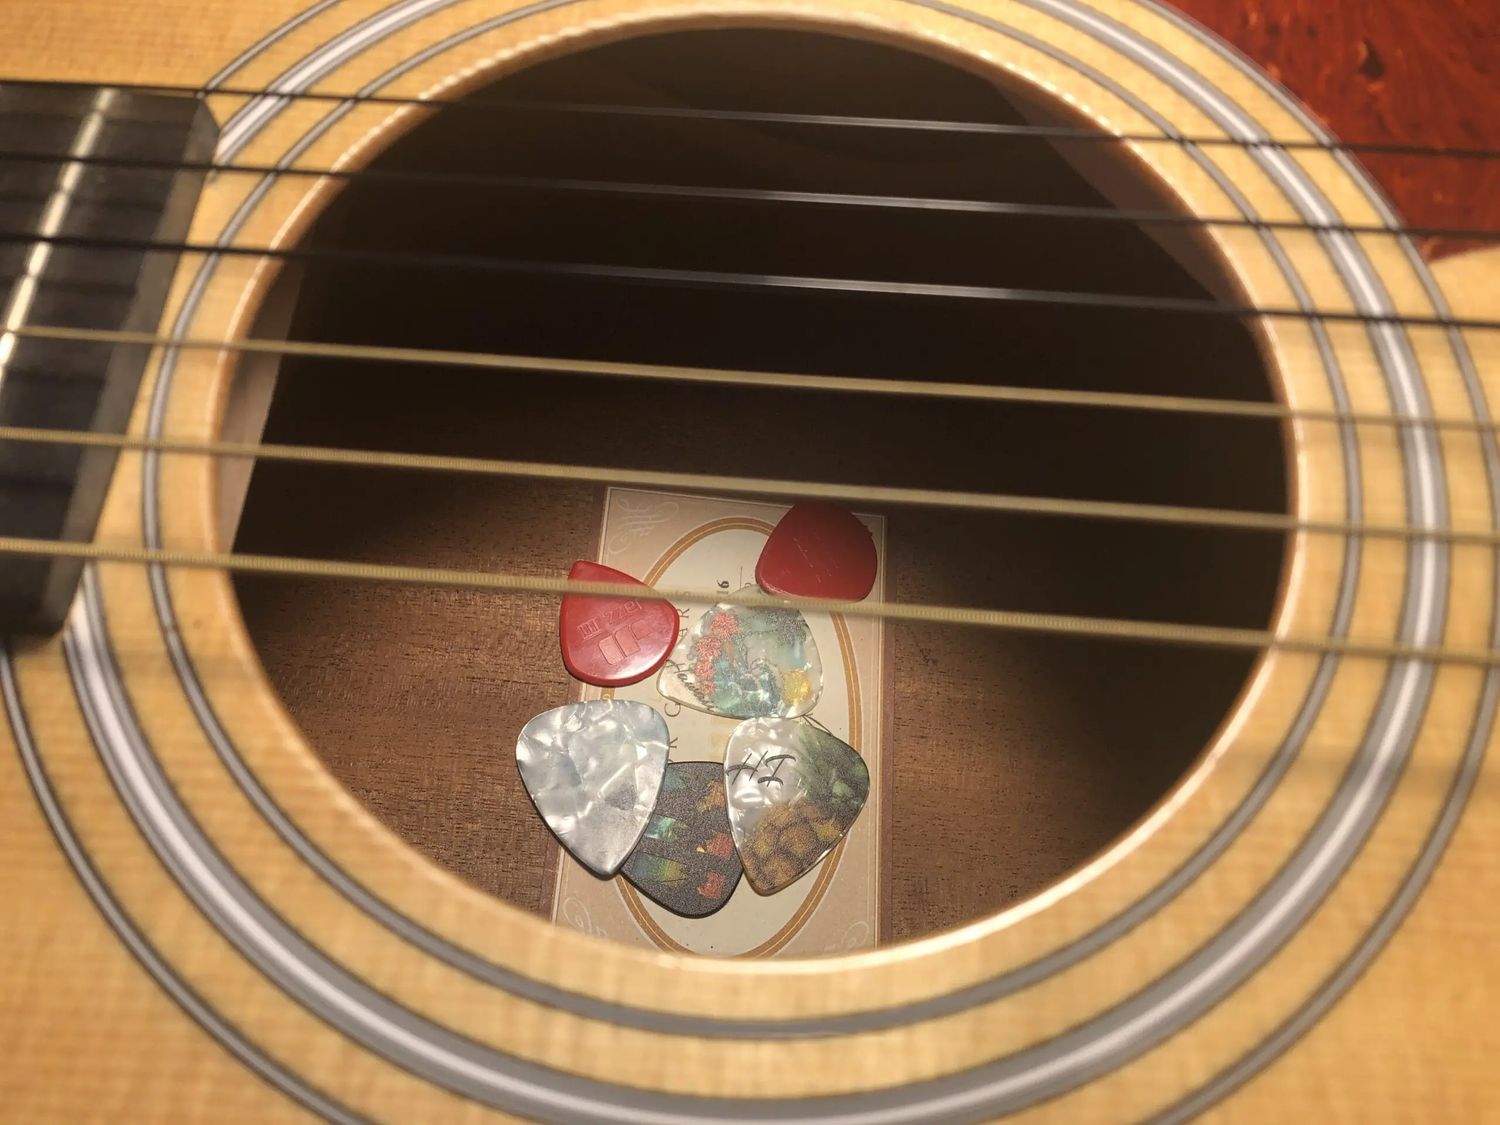
As a guitarist, there may come a time when you find yourself in a bit of a pickle – quite literally. Picture this: you’re in the middle of an intense jam session, your fingers dancing across the fretboard, when suddenly, your trusty pick decides to take a detour into the depths of your guitar. While it may seem like a minor inconvenience, retrieving a pick from inside a guitar can be a daunting task, especially if you’re unfamiliar with the process. However, fear not! With the right tools and a bit of know-how, you can easily rescue your pick and get back to strumming in no time.
In this guide, we’ll walk you through the step-by-step process of extracting a pick from inside your guitar. Whether you’re a seasoned guitarist or a beginner, this handy skill is a valuable addition to your musical toolkit. So, grab your guitar and let’s dive into the art of pick retrieval!
Tools and Materials Needed
Before embarking on your pick-rescue mission, it’s essential to gather the necessary tools and materials. Here’s what you’ll need:
- Flashlight: A small, portable flashlight will help illuminate the interior of the guitar, making it easier to spot the elusive pick.
- Long Tweezers or Forceps: These slender, elongated tools are instrumental in reaching and grasping the pick from inside the guitar.
- Capo (optional): If you have a capo on hand, it can be useful for temporarily clamping the strings, providing better access to the pick.
- Replacement Strings (optional): In some cases, loosening the strings to retrieve the pick may necessitate restringing the guitar. Having replacement strings at the ready can save time and frustration.
With these tools and materials at your disposal, you’ll be well-prepared to tackle the task of extracting a pick from your guitar.
Step 1: Loosening the Strings
Before delving into the pick retrieval process, it’s crucial to create ample space within the guitar to maneuver and access the pick. Loosening the strings will facilitate this, making it easier to navigate the interior of the instrument.
Here’s a simple guide to loosening the strings:
- Prepare the Guitar: Find a comfortable, well-lit workspace to work on your guitar. Ensure that the guitar is placed securely on a stable surface, such as a table or a guitar stand.
- Tune Down the Strings: Using a guitar tuner, gradually detune each string, taking care not to release the tension too abruptly. This step is crucial in creating slack within the strings, allowing for easier access to the pick lodged inside.
- Check the Slack: Once the strings are sufficiently loosened, gently press down on each string around the soundhole area to confirm that there is ample slack for maneuvering the tweezers or forceps.
By following these steps, you’ll effectively prepare the guitar for the subsequent task of retrieving the pick. With the strings loosened, you’re now ready to move on to the next phase of the pick extraction process.
Step 2: Removing the Pick
With the strings loosened and ample space created within the guitar, it’s time to embark on the pivotal task of extracting the pick. This step requires precision and patience, as the goal is to retrieve the pick without causing any damage to the guitar’s interior or the strings.
Follow these steps to remove the pick from your guitar:
- Illuminate the Interior: Use the flashlight to peer into the soundhole or the opening where the pick has ventured. The light will aid in locating the pick and assessing its position within the guitar.
- Employ the Tweezers or Forceps: Carefully insert the tweezers or forceps into the soundhole, maneuvering them toward the location of the pick. Exercise caution to avoid contact with the delicate internal components of the guitar.
- Grasp the Pick: Once the tweezers or forceps are positioned near the pick, gently but firmly grasp the pick, ensuring a secure hold. Take your time and avoid applying excessive force, as this can lead to unintended damage.
- Retrieve the Pick: Slowly and steadily pull the pick out of the guitar, maintaining a steady grip with the tweezers or forceps. Exercise patience during this process to prevent the pick from slipping back into the guitar’s interior.
By following these steps diligently, you can effectively retrieve the pick from your guitar, restoring harmony to your musical endeavors. With the pick safely in hand, you’re now prepared to reposition it for continued use or replace it with a fresh pick, if desired.
Step 3: Replacing the Strings
After successfully extracting the pick from your guitar, it’s essential to address the condition of the strings, particularly if they were loosened or temporarily removed during the pick retrieval process. Restringing your guitar, if necessary, is a fundamental aspect of maintaining optimal playability and sound quality.
Here’s a guide to replacing the strings on your guitar:
- Assess the String Condition: Inspect the condition of the strings, paying attention to signs of wear, corrosion, or tonal degradation. If the strings appear worn or sound lackluster, it’s advisable to replace them with a fresh set.
- Select the Replacement Strings: Choose high-quality replacement strings that align with your preferred gauge and material specifications. Acoustic and electric guitars require distinct string types, so ensure that you select the appropriate set for your instrument.
- Remove the Old Strings: If the existing strings exhibit wear or dullness, carefully unwind and remove them from the tuning pegs and bridge of the guitar. Dispose of the old strings responsibly.
- Install the New Strings: Beginning with the low E string (the thickest string), thread each replacement string through the corresponding bridge and nut slots, securing them to the tuning pegs. Tune the strings to the appropriate pitches using a reliable guitar tuner, ensuring proper tension and intonation.
- Stretch and Tune the Strings: After installing the new strings, gently stretch and retune each string to stabilize their tension. Repeat this process until the strings maintain their tuning consistently.
By meticulously following these steps, you can effectively replace the strings on your guitar, rejuvenating its sonic capabilities and playability. With fresh strings in place, your guitar will be primed for further musical exploration, allowing you to fully immerse yourself in the joy of playing.
Conclusion
Congratulations! You’ve successfully navigated the art of retrieving a pick from inside your guitar, showcasing your resourcefulness and dexterity as a guitarist. By following the outlined steps and exercising precision, you’ve not only rescued the errant pick but also gained valuable insight into the maintenance and care of your instrument.
As you reflect on this experience, consider the newfound confidence and expertise you’ve acquired in handling unforeseen guitar-related challenges. The ability to deftly address such situations is a testament to your dedication to the craft and your commitment to honing your musical skills.
Remember, the process of pick retrieval and string maintenance is a rite of passage for guitarists of all levels, offering an opportunity to deepen your connection with your instrument and cultivate a deeper understanding of its inner workings. Embrace each challenge as a chance to expand your knowledge and refine your technique, ultimately enriching your musical journey.
With your pick safely back in action and your guitar rejuvenated with fresh strings, you’re poised to continue creating captivating melodies and exploring new sonic landscapes. Let this experience serve as a reminder of your resilience and adaptability as a guitarist, empowering you to face future musical escapades with confidence and ingenuity.
So, pick up your guitar, let the strings resonate with renewed vigor, and embark on your next musical odyssey, knowing that you possess the skills to overcome any obstacle that comes your way.


