Home>Production & Technology>Acoustic>How To Get Pick Out Of Acoustic Guitar

Acoustic
How To Get Pick Out Of Acoustic Guitar
Published: March 12, 2024
Learn how to remove pick from your acoustic guitar with our step-by-step guide. Keep your acoustic guitar in top condition with our expert tips.
(Many of the links in this article redirect to a specific reviewed product. Your purchase of these products through affiliate links helps to generate commission for AudioLover.com, at no extra cost. Learn more)
Table of Contents
Introduction
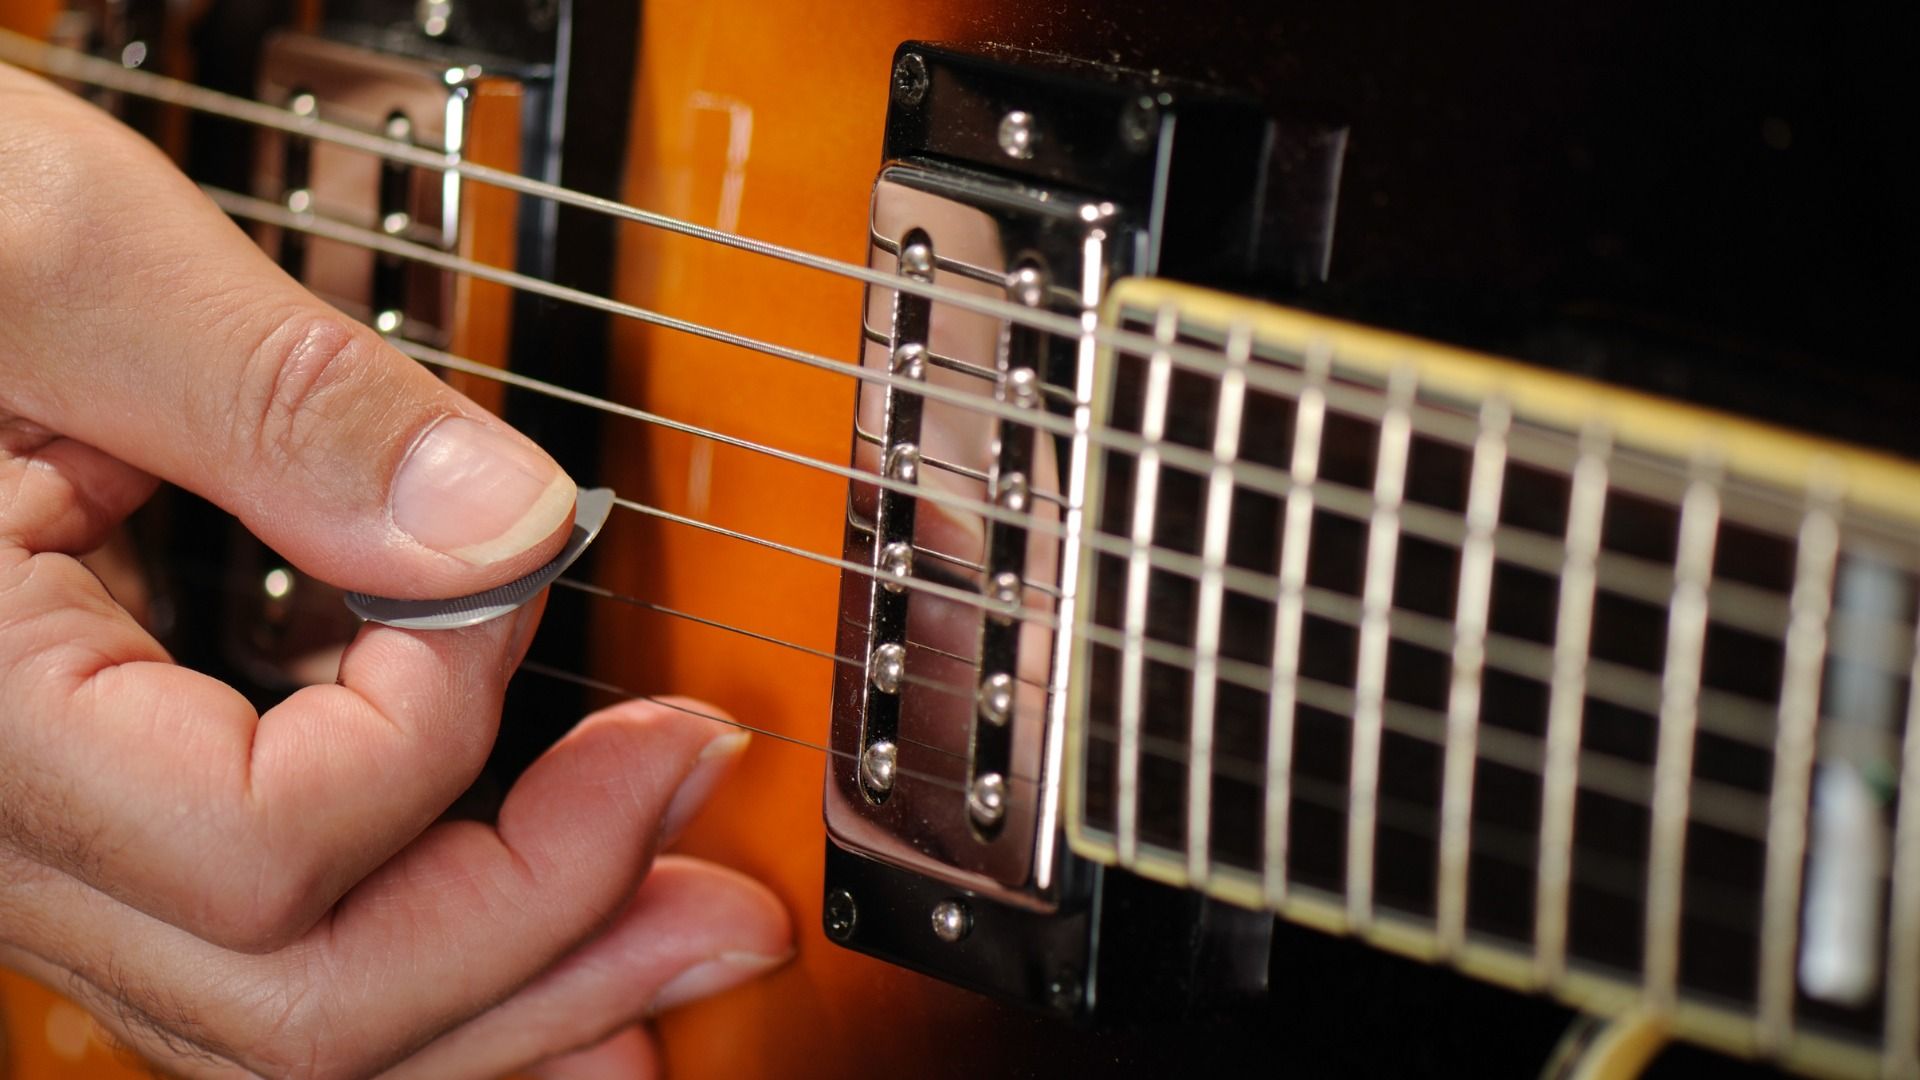
Removing a pick that has become lodged inside an acoustic guitar can be a daunting task for many musicians. Whether it slipped through the strings during a lively strumming session or was accidentally dropped into the soundhole, retrieving the pick requires a delicate touch and a systematic approach. In this guide, we will walk through the step-by-step process of safely removing a pick from an acoustic guitar, ensuring that the instrument remains unharmed throughout the procedure.
The process of extracting a pick from an acoustic guitar involves loosening the strings, removing the bridge pins, and carefully retrieving the pick from its resting place. It's essential to approach this task with patience and precision to avoid causing any damage to the guitar's delicate components. By following the instructions outlined in this guide and using the recommended tools and materials, you can effectively and safely retrieve the pick without compromising the integrity of your beloved instrument.
Whether you're a seasoned guitarist or a novice player, knowing how to remove a pick from an acoustic guitar is a valuable skill that can come in handy at any time. By mastering this technique, you can ensure that your guitar remains in optimal condition and ready to produce beautiful melodies whenever inspiration strikes. So, let's dive into the process and equip ourselves with the knowledge and skills needed to rescue a pick from the depths of an acoustic guitar.
Tools and Materials Needed
Before embarking on the task of retrieving a pick from an acoustic guitar, it's essential to gather the necessary tools and materials to ensure a smooth and successful process. Here's a comprehensive list of items you'll need:
-
Tuner: A tuner is crucial for accurately loosening and re-tuning the guitar strings after the pick has been removed. It helps maintain the correct pitch and ensures that the guitar sounds its best once the task is complete.
-
String Winder: This handy tool makes loosening and tightening the guitar strings a breeze. It saves time and effort, allowing for efficient string manipulation without causing unnecessary strain on the instrument.
-
Bridge Pin Puller: A bridge pin puller is essential for safely removing the bridge pins without damaging the guitar or the pins themselves. It provides a secure grip and prevents slippage, making the pin removal process much easier.
-
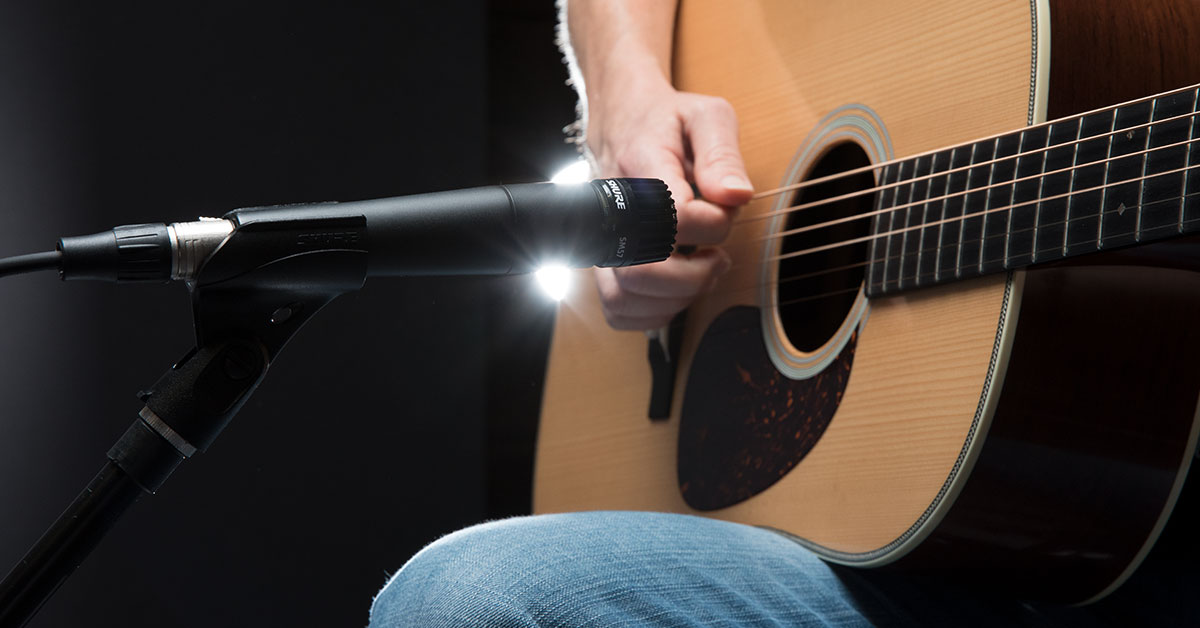
Flashlight: A small, powerful flashlight will aid in illuminating the guitar's interior, especially the soundhole and bridge area. This is particularly useful for locating the pick and ensuring that it is retrieved without any complications.
-
Pliers: A pair of pliers can be useful for delicately maneuvering the pick out of tight spaces within the guitar. Opt for pliers with a slim profile and a gentle grip to avoid causing any damage to the pick or the guitar's internal components.
-
Replacement Picks: It's always a good idea to have a few replacement picks on hand. In the event that the lodged pick is difficult to retrieve, having a spare pick can save time and prevent frustration.
-
Soft Cloth: A soft, lint-free cloth can be used to protect the guitar's finish and delicate components during the pick retrieval process. It also comes in handy for wiping down the guitar after the task is complete.
-
Patience and Care: While not tangible items, patience and care are essential "tools" for this task. Approach the process with a calm and focused mindset, and handle the guitar with the utmost care to avoid any accidental damage.
By ensuring that you have these tools and materials at your disposal, you'll be well-prepared to tackle the task of retrieving a pick from an acoustic guitar with confidence and precision. With the right equipment and a methodical approach, you can safeguard your guitar and successfully reclaim the misplaced pick, allowing you to continue playing without any hindrances.
Step 1: Loosening the Strings
The first step in retrieving a pick from an acoustic guitar involves loosening the strings to create the necessary space for accessing the interior of the instrument. Loosening the strings not only allows for better visibility and maneuverability but also reduces the tension on the bridge, making it easier to remove the bridge pins later in the process.
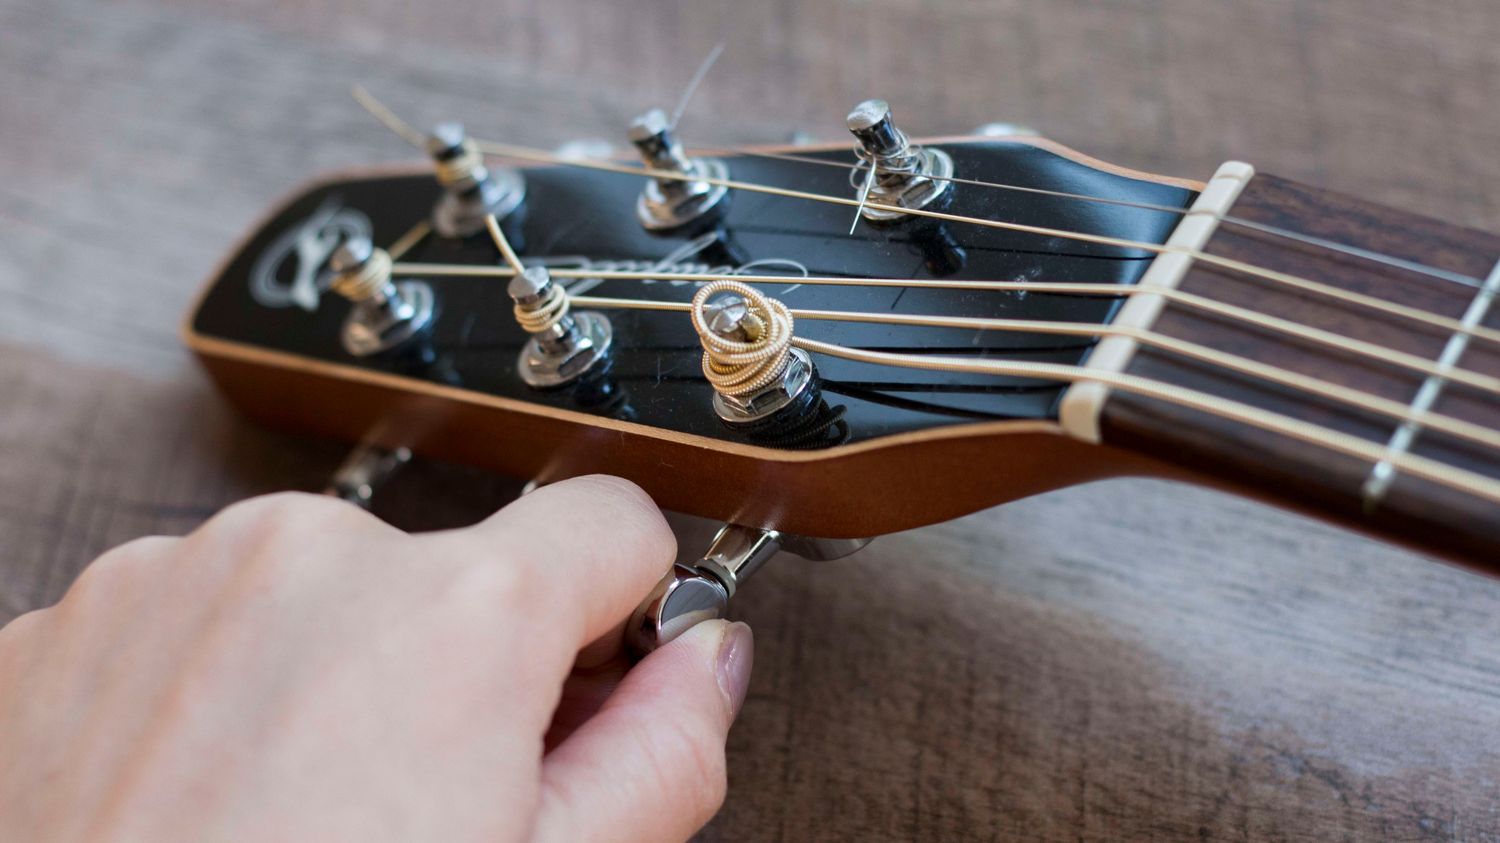
To begin, place the guitar on a stable surface, ensuring that it is well-supported and won't shift during the string loosening process. Using a string winder, start with the low E string (the thickest string) and turn the tuning peg counterclockwise to gradually decrease the tension. It's important to loosen the strings evenly to prevent the neck from bending or the bridge from tilting excessively.
As you continue to loosen each string, gently pull it away from the fretboard to create ample slack. This step is crucial for providing enough room to work within the soundhole and around the bridge area. Be mindful of the tension release, as sudden string movements can cause damage to the guitar or result in injury.
Once all the strings have been sufficiently loosened and there is noticeable slack, use a tuner to ensure that the pitch of each string remains within a safe range. This will prevent the strings from becoming too loose and potentially slipping out of position, which could lead to tuning complications when reassembling the guitar.
By methodically loosening the strings and maintaining a careful approach, you'll effectively prepare the acoustic guitar for the subsequent steps in the pick retrieval process. This initial phase sets the stage for safe and successful access to the interior of the instrument, laying the foundation for a seamless pick extraction experience.
Step 2: Removing the Bridge Pins
With the strings loosened and the guitar prepared for further manipulation, the next critical step in the pick retrieval process involves removing the bridge pins. These small, tapered pins hold the ends of the strings in place at the bridge, and they must be carefully extracted to create access to the interior of the guitar.
To begin, position the guitar in a way that allows easy access to the bridge area. Using a bridge pin puller, gently grasp the head of the first bridge pin, ensuring a firm yet controlled grip. Slowly and steadily, apply upward pressure to the pin while simultaneously rocking it from side to side. This rocking motion helps loosen the pin from its seated position within the bridge.
As the pin begins to lift, continue to apply gentle upward pressure until it is completely removed from the bridge. Be mindful of the surrounding strings and the delicate bridge area, ensuring that no undue force is exerted that could cause damage. Repeat this process for each bridge pin, carefully setting them aside in a secure location to prevent misplacement.
It's important to note that some bridge pins may fit snugly within the bridge, requiring a bit more finesse to extract. In such cases, patience is key, and it's advisable to avoid using excessive force that could compromise the integrity of the pins or the bridge itself.
Once all the bridge pins have been successfully removed, set them aside and take a moment to inspect the bridge and the interior of the guitar. This brief assessment allows for a clear view of the pick's location and ensures that the retrieval process can proceed smoothly without any obstructions.
By delicately and methodically removing the bridge pins, you've now created a clear pathway to access the interior of the guitar, setting the stage for the next crucial phase: retrieving the pick from its resting place. This careful and attentive approach ensures that the guitar remains unharmed while facilitating the safe extraction of the lodged pick.
With the bridge pins removed and the interior of the guitar accessible, you're now ready to proceed to the next step in the pick retrieval process, bringing you closer to successfully reclaiming the pick and reassembling the guitar for continued musical enjoyment.
Step 3: Retrieving the Pick
With the bridge pins removed and the interior of the guitar accessible, the focus now shifts to the delicate task of retrieving the pick from its snug resting place. This step requires patience, precision, and a keen eye for detail to ensure that the pick is safely extracted without causing any damage to the guitar's internal components.
Using a small, powerful flashlight, carefully illuminate the interior of the guitar, paying close attention to the area around the bridge and soundhole. The light will help pinpoint the exact location of the lodged pick, allowing for a clear view of its position and orientation. This visual aid is invaluable in guiding the retrieval process and minimizing the risk of accidental damage to the guitar's delicate bracing and internal structure.
Once the pick's location is identified, use a pair of slim-profile pliers to delicately maneuver the pick out of its resting place. Exercise caution and avoid applying excessive force, as this could potentially scratch the guitar's interior or dislodge other components. With a steady hand and gentle movements, carefully grasp the pick and guide it towards the soundhole for safe removal.
In some instances, the pick may be nestled in a tight space, requiring strategic maneuvering to free it from its position. Patience is key, and it's essential to approach the retrieval process with a calm and methodical mindset. By taking the time to navigate the pick's removal with care and precision, you can safeguard the guitar's interior and ensure that the pick is retrieved intact.
As the pick is carefully guided out of the guitar's interior, take a moment to inspect the surrounding area for any debris or loose components that may have been dislodged during the retrieval process. Clearing the interior of any potential obstructions ensures that the guitar remains in optimal condition and ready for reassembly.
By successfully retrieving the pick from the acoustic guitar, you've navigated a crucial phase of the pick extraction process with finesse and attention to detail. This accomplishment brings you one step closer to reassembling the guitar and resuming your musical endeavors with confidence, knowing that your instrument has been handled with care and precision.
With the pick safely retrieved and the interior of the guitar inspected, the final phase of reassembling the instrument awaits, allowing you to restore it to its fully functional and melodious state.
Step 4: Reassembling the Guitar
With the pick successfully retrieved and the interior of the guitar inspected, the final phase of the process involves reassembling the instrument to restore it to its fully functional and melodious state. This step is crucial for ensuring that the guitar is structurally sound and ready to produce beautiful music once again.
Begin by carefully aligning the bridge pins with their respective string slots on the bridge. With a gentle yet firm touch, insert each bridge pin back into its designated position, ensuring that they fit snugly and securely. Take care to align the strings properly and guide them over the bridge, allowing for smooth and even tension distribution.
As the bridge pins are reinserted, the next task is to gradually tighten the strings to their respective pitches. Using a string winder, begin winding each tuning peg clockwise to increase the tension on the strings. It's important to tune the strings gradually and evenly, ensuring that the tension is distributed uniformly across the bridge and neck.
As the strings are tuned, periodically check the alignment and seating of the bridge pins to confirm that they remain secure. This step helps prevent any slippage or misalignment, ensuring that the strings are held firmly in place at the bridge.
Once the strings are tuned to the desired pitches and the bridge pins are securely in place, take a moment to assess the overall condition of the guitar. Ensure that the bridge area is free of any debris or loose components, and gently wipe down the exterior of the guitar with a soft, lint-free cloth to remove any accumulated dust or fingerprints.
Finally, perform a comprehensive check of the guitar's tuning and playability. Strum each string and listen for consistent pitch and tone, making any necessary adjustments to achieve optimal sound quality. Additionally, test the playability of the guitar by fretting different chords and notes across the fretboard, ensuring that the instrument responds accurately and produces clear, resonant tones.
By methodically reassembling the guitar and conducting a thorough assessment of its condition, you've completed the final phase of the pick retrieval process with precision and care. The guitar is now restored to its fully functional state, ready to inspire and delight with its melodious offerings.
With the pick safely retrieved, the guitar reassembled, and the musical journey set to resume, you've navigated the pick extraction process with expertise and attention to detail. Your dedication to safeguarding the integrity of the acoustic guitar ensures that it remains a reliable and cherished companion for countless musical endeavors to come.
Conclusion
In conclusion, the process of retrieving a pick from an acoustic guitar encompasses a series of meticulous steps that require patience, precision, and a deep respect for the instrument. By following the outlined procedure and utilizing the recommended tools and materials, guitarists can effectively and safely rescue a lodged pick without compromising the structural integrity of their beloved instrument.
The journey begins with the careful loosening of the guitar strings, creating the necessary space to access the interior of the instrument. This initial step sets the stage for the subsequent phases of the pick retrieval process, ensuring that the guitar remains stable and secure throughout the task.
Moving forward, the delicate removal of the bridge pins paves the way for clear access to the guitar's interior, allowing for a focused effort on retrieving the pick. This phase demands a gentle touch and keen attention to detail, safeguarding the delicate bracing and internal components of the guitar while navigating the pick's extraction.
The pivotal moment arrives as the pick is delicately guided out of the guitar's interior, requiring careful maneuvering and a steady hand to ensure its safe retrieval. This step underscores the importance of patience and precision, as the successful extraction of the pick signifies a significant milestone in the pick retrieval process.
Finally, the reassembly of the guitar brings the journey to a fulfilling conclusion, restoring the instrument to its fully functional and melodious state. This phase emphasizes the meticulous attention to detail and the commitment to preserving the guitar's playability and structural integrity, culminating in the successful completion of the pick retrieval process.
By mastering the art of retrieving a pick from an acoustic guitar, musicians equip themselves with a valuable skill that enhances their connection with their instruments. The knowledge and expertise gained from this process not only ensure the safe retrieval of a lodged pick but also deepen the understanding of the guitar's construction and intricacies.
As guitarists embark on their musical endeavors, armed with the ability to navigate the pick retrieval process with finesse and care, they forge a stronger bond with their instruments. This newfound proficiency serves as a testament to their dedication to preserving the beauty and functionality of their acoustic guitars, ensuring that these cherished instruments continue to inspire and resonate with captivating melodies for years to come.