Home>Instruments>Piano>How To Clean A Grand Piano

Piano
How To Clean A Grand Piano
Published: February 10, 2024
Learn the best techniques for cleaning your grand piano to keep it looking and sounding its best. Discover expert tips and advice for maintaining your piano's beauty and functionality.
(Many of the links in this article redirect to a specific reviewed product. Your purchase of these products through affiliate links helps to generate commission for AudioLover.com, at no extra cost. Learn more)
Table of Contents
Introduction
So, you have a grand piano that has been the centerpiece of your living room for years, filling your home with beautiful melodies and timeless elegance. However, amidst the joy it brings, it's essential to ensure that your grand piano remains in pristine condition. Regular maintenance not only preserves its aesthetic appeal but also contributes to the quality of sound produced. Cleaning a grand piano may seem like a daunting task, but with the right approach and a gentle touch, you can keep it looking and sounding magnificent for generations to come.
A grand piano is not just a musical instrument; it's a work of art. Its polished wood, delicate keys, and intricate inner workings demand special care and attention. Whether it's a cherished family heirloom or a recent addition to your home, maintaining its beauty and functionality is crucial. This comprehensive guide will walk you through the process of cleaning a grand piano, covering everything from gathering the necessary supplies to the final polishing touches. By following these steps, you can ensure that your grand piano remains a stunning focal point in your home, exuding both musical and visual harmony.
Cleaning a grand piano is a labor of love, a chance to connect with the instrument on a deeper level. As you embark on this cleaning journey, remember that each gentle stroke and careful wipe is a gesture of appreciation for the music it has brought into your life. So, let's gather our supplies and begin the process of rejuvenating and preserving the grandeur of your beloved instrument.
Gather Your Supplies
Before delving into the cleaning process, it’s crucial to assemble the necessary supplies. Gathering the right tools will ensure that you can clean your grand piano thoroughly while safeguarding its delicate surfaces and components. Here’s what you’ll need:
- Soft, Lint-Free Cloths: These are essential for dusting and polishing the piano without leaving behind any fibers or lint that could mar the finish.
- Piano-Specific Cleaner: Invest in a high-quality cleaner specifically formulated for pianos. Avoid using generic household cleaners, as they may contain harsh chemicals that can damage the piano’s finish.
- Key Cleaner: Look for a gentle key cleaner designed for use on piano keys. It’s vital to choose a product that won’t harm the ivory or plastic.
- Piano Polishing Cream: Opt for a specialized piano polishing cream to restore the luster of the wood. This cream should be designed to nourish and protect the piano’s finish.
- Distilled Water: If your piano’s keys require additional cleaning, distilled water is the safest option for removing dirt and grime without causing damage.
- Soft Brush or Feather Duster: A soft brush or feather duster is ideal for gently removing dust from intricate areas, such as between the keys and around the pedals.
- Protective Gloves: While not essential, wearing lint-free gloves can prevent fingerprints and natural oils from transferring onto the piano’s surfaces during the cleaning process.
By ensuring that you have these supplies on hand, you can approach the cleaning process with confidence, knowing that you are equipped to care for your grand piano properly. Now that you’ve gathered your supplies, it’s time to embark on the journey of rejuvenating your treasured instrument.
Dusting the Piano
Before diving into the cleaning process, it’s essential to start with dusting the piano. Dust can accumulate on the surface and in hard-to-reach crevices, affecting the instrument’s appearance and potentially impacting its performance. Here’s a step-by-step guide to effectively dusting your grand piano:
- Prepare the Surface: Begin by closing the keyboard cover to protect the keys from dust and debris. Ensure that the piano is free of any small objects or sheet music that could obstruct the cleaning process.
- Use a Soft Cloth or Feather Duster: Take a soft, lint-free cloth or a feather duster and gently wipe the entire surface of the piano. Start from the top and work your way down, paying attention to intricate details and decorative elements.
- Clean Between the Keys: Dust can accumulate between the keys, so use a soft brush or a feather duster to carefully remove debris from these hard-to-reach areas. Take your time to ensure thorough cleaning without applying excessive pressure.
- Address the Pedals: If your grand piano has pedals, be sure to dust around and underneath them. Use a soft cloth or duster to remove any dust or dirt that may have gathered in these areas.
- Inspect and Touch Up: Once you’ve dusted the entire piano, take a moment to inspect the surface for any remaining dust or smudges. If necessary, lightly buff the surface with a clean, dry cloth to achieve a uniform, dust-free finish.
By diligently dusting your grand piano, you can maintain its lustrous appearance and prevent dust from settling into the intricate components. This initial step sets the stage for deeper cleaning and ensures that your piano remains a stunning focal point in your home. With the dusting complete, it’s time to turn our attention to the next crucial aspect of piano maintenance: cleaning the keys.
Cleaning the Keys
The keys of a grand piano require special care during the cleaning process. Over time, they can accumulate dirt, oils, and residue from playing, detracting from their pristine appearance and potentially affecting playability. Here’s a comprehensive guide to effectively clean the keys of your grand piano:
- Assess the Material: Before cleaning the keys, it’s crucial to determine whether they are made of ivory, plastic, or another material. This knowledge will guide you in selecting the appropriate cleaning method to avoid damaging the keys.
- Use a Gentle Cleaner: If the keys are ivory, it’s best to use a specialized key cleaner designed for ivory surfaces. For plastic keys, a mild solution of gentle soap and distilled water can be used. Apply the cleaner to a soft, lint-free cloth rather than directly onto the keys to prevent excess moisture from seeping between the keys.
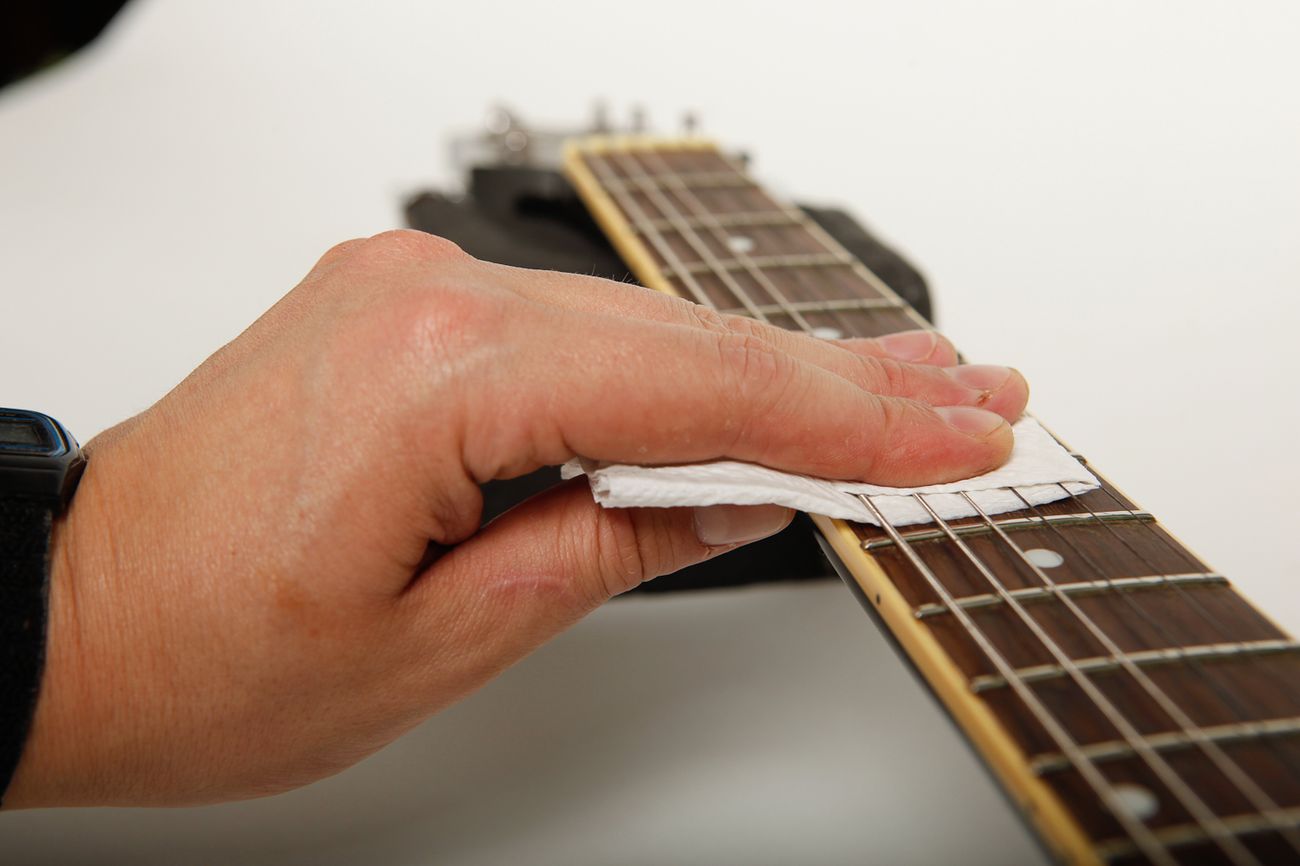
- Gently Wipe the Keys: Starting from one end of the keyboard, lightly wipe each key in a smooth, downward motion. Avoid excessive pressure and use gentle, circular motions to lift any dirt or residue from the surface of the keys. Repeat this process for each key, ensuring thorough and consistent cleaning.
- Address Stubborn Stains: For stubborn stains or residue, a slightly damp cloth with distilled water can be used to gently remove the buildup. It’s essential to avoid using excessive moisture, as it can seep into the keys and compromise their integrity.
- Dry the Keys: Once the keys have been cleaned, use a dry, lint-free cloth to gently dry and buff each key. This step helps to remove any remaining moisture and ensures a smooth, polished finish.
- Final Inspection: After cleaning and drying the keys, take a moment to inspect them for any lingering stains or residue. If necessary, repeat the cleaning process for individual keys to achieve a uniform, pristine appearance.
By following these steps, you can effectively clean the keys of your grand piano, preserving their beauty and ensuring a smooth playing experience. With the keys now immaculately clean, it’s time to move on to the next phase of the cleaning process: polishing the wood to restore its natural luster.
Polishing the Wood
After dusting the piano and cleaning the keys, the next crucial step in maintaining a grand piano is to polish the wood. The lustrous finish of the wood not only enhances the piano’s aesthetic appeal but also serves as a protective layer, shielding the instrument from environmental elements. Here’s a detailed guide to effectively polish the wood of your grand piano:
- Select a High-Quality Piano Polishing Cream: Choose a specialized piano polishing cream that is formulated to nourish and protect the wood finish. Avoid generic furniture polishes, as they may contain ingredients that can harm the piano’s delicate surface.
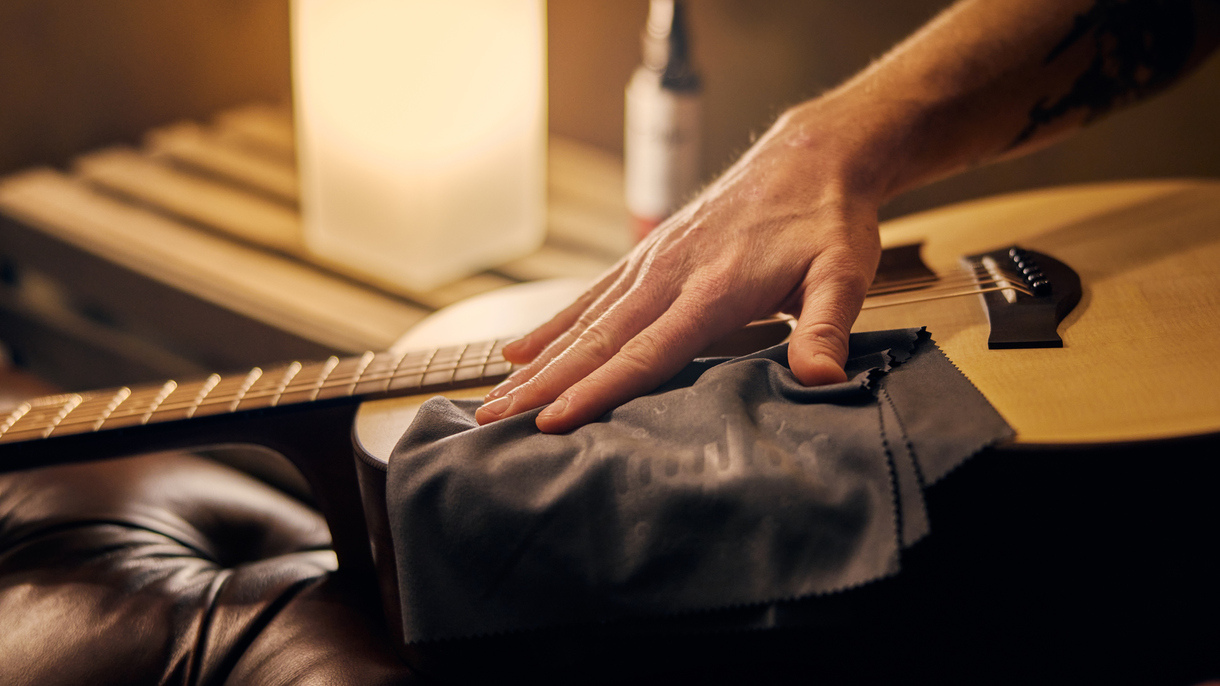
- Apply the Polish Sparingly: Using a soft, lint-free cloth, apply a small amount of the polishing cream to the cloth rather than directly onto the piano. Begin with the lid or top panel of the piano, working in small, circular motions to distribute the polish evenly.
- Polish in Sections: To ensure thorough coverage, work on the piano in sections, focusing on one area at a time. This approach allows you to maintain control over the application and achieve a consistent, polished finish.
- Buff to a Lustrous Shine: After applying the polishing cream, use a clean section of the cloth to gently buff the polished areas, gradually revealing a lustrous shine. Continue this process until the entire piano’s wood surface has been polished to your satisfaction.
- Address Intricate Details: Pay close attention to any intricate details, carvings, or decorative elements on the piano’s surface. Use a soft brush or cloth to gently remove any excess polish from these areas, ensuring a refined and polished appearance.
- Final Inspection: Once the entire piano has been polished, take a step back to inspect the wood surface for uniformity and shine. If necessary, touch up any areas that may require additional polishing to achieve a consistent finish.
By meticulously polishing the wood of your grand piano, you can restore its natural luster and protect it from environmental wear, ensuring that it remains a captivating centerpiece in your home. With the wood now beautifully polished, it’s time to add the final touches to complete the cleaning process.
Final Touches
As you near the completion of the grand piano cleaning process, it’s time to add the final touches that will elevate the instrument’s appearance and ensure its long-term maintenance. These finishing steps will contribute to the overall rejuvenation of your grand piano, leaving it looking and sounding magnificent. Here are the essential final touches to consider:
- Inspect for Lingering Dust or Residue: Take a moment to inspect the entire piano, ensuring that there is no lingering dust or cleaning residue. Address any remaining areas that may require additional dusting or cleaning to achieve a flawless finish.
- Reposition the Piano: If necessary, carefully reposition the grand piano to its original location, ensuring that it is placed on a level surface away from direct sunlight, extreme temperatures, and sources of moisture or humidity.
- Regulate the Room Environment: Maintain a stable room environment for the piano by controlling humidity levels and temperature fluctuations. Consider using a piano dehumidifier or humidifier to safeguard the instrument against environmental stress.
- Play the Piano: After completing the cleaning process, take a moment to play a few notes on the piano. This not only allows you to enjoy the rejuvenated instrument but also helps to ensure that the keys and mechanisms are functioning smoothly.
- Regular Maintenance Schedule: Establish a regular maintenance schedule to keep your grand piano in optimal condition. Routine dusting, cleaning, and polishing will preserve its beauty and enhance its longevity.
- Appreciate the Results: Step back and appreciate the results of your efforts. Your grand piano now exudes a renewed luster, reflecting the care and dedication you’ve invested in its maintenance.
By tending to these final touches, you can ensure that your grand piano remains a captivating centerpiece in your home, radiating both visual and musical allure. With the cleaning process now complete, your grand piano is poised to continue enriching your life with its timeless elegance and melodic charm.
Conclusion
Cleaning a grand piano is a labor of love, a harmonious blend of artistry and maintenance that ensures the instrument’s enduring beauty and performance. By following the comprehensive steps outlined in this guide, you have embarked on a journey to rejuvenate and preserve the grandeur of your beloved piano. From gathering the essential supplies to meticulously dusting, cleaning, and polishing, you’ve demonstrated a commitment to caring for this cherished centerpiece of your home.
As you’ve navigated through the process, you’ve not only safeguarded the piano’s delicate surfaces and intricate components but also deepened your connection with the instrument. Each gentle stroke and careful wipe has been a gesture of appreciation for the music it has brought into your life, infusing the cleaning process with a sense of reverence and gratitude.
Now, as your grand piano stands resplendent, its wood polished to a lustrous sheen and its keys gleaming, it serves as a testament to your dedication to its maintenance. The rejuvenated instrument is poised to continue enchanting your home with its timeless elegance and melodious resonance.
As you revel in the results of your efforts, remember that regular maintenance is key to preserving the grand piano’s allure. By establishing a consistent cleaning schedule and maintaining an optimal room environment, you can ensure that the instrument remains a captivating centerpiece for generations to come.
So, as the final notes of this cleaning symphony reverberate through your home, take a moment to savor the beauty and harmony that your grand piano embodies. Your commitment to its care has not only preserved its magnificence but has also enriched your connection with this extraordinary instrument, ensuring that it will continue to inspire and captivate for years to come.