Home>Devices & Equipment>Microphone>How To Clean A Microphone
Microphone
How To Clean A Microphone
Published: February 16, 2024
Learn the best techniques for cleaning your microphone to maintain its performance and longevity. Keep your microphone in top condition with our expert tips.
(Many of the links in this article redirect to a specific reviewed product. Your purchase of these products through affiliate links helps to generate commission for AudioLover.com, at no extra cost. Learn more)
Table of Contents
Introduction
Introduction
So, you've been using your microphone for a while now, and it's probably seen its fair share of action. Whether you're a podcaster, musician, or content creator, your microphone is an essential tool that deserves proper care and maintenance. Over time, microphones can accumulate dust, grime, and even harmful bacteria, which can compromise their performance and longevity. To ensure that your microphone continues to deliver top-notch audio quality, it's crucial to clean it regularly.
Cleaning a microphone may seem like a daunting task, especially if you're unfamiliar with the process. However, with the right tools and techniques, you can effectively clean your microphone without causing any damage. In this comprehensive guide, we'll walk you through the step-by-step process of cleaning your microphone, from gathering the necessary supplies to disinfecting and drying the device. By following these simple yet crucial steps, you can maintain your microphone in optimal condition, ensuring that it continues to capture pristine audio for your recordings or performances.
Whether you're dealing with a dynamic microphone, condenser microphone, or any other type, the cleaning principles remain largely the same. With a little bit of time and effort, you can revitalize your microphone and keep it in peak operating condition. So, let's dive into the world of microphone maintenance and discover how to give your beloved audio companion the TLC it deserves.
Step 1: Gather the Necessary Supplies
Step 1: Gather the Necessary Supplies
Before embarking on the journey of cleaning your microphone, it’s essential to gather the necessary supplies to ensure a thorough and effective cleaning process. Here’s what you’ll need:
-
Soft-bristled brush: A gentle brush, such as a clean, soft paintbrush or makeup brush, will help you remove loose debris and dust from the microphone’s exterior and grille without causing any damage.
-
Microfiber cloth: This lint-free cloth is perfect for wiping down the microphone’s exterior and removing any smudges or fingerprints. It’s important to use a clean, dry microfiber cloth to avoid introducing any additional dirt or moisture to the microphone.
-
Isopropyl alcohol: A solution of isopropyl alcohol and water can be used to disinfect the microphone and eliminate any lingering bacteria or germs. It’s crucial to use a diluted solution to prevent damage to the microphone’s components.
-
Cotton swabs: These are useful for reaching small crevices and corners of the microphone, allowing you to remove dirt and grime from hard-to-reach areas.
-
Compressed air: A can of compressed air can help dislodge stubborn debris from the microphone grille and other intricate parts of the device.
Once you’ve gathered these essential supplies, you’ll be well-equipped to proceed with the cleaning process, ensuring that your microphone receives the care it deserves. Now that we have our tools at the ready, let’s move on to the next step and begin the cleaning process.
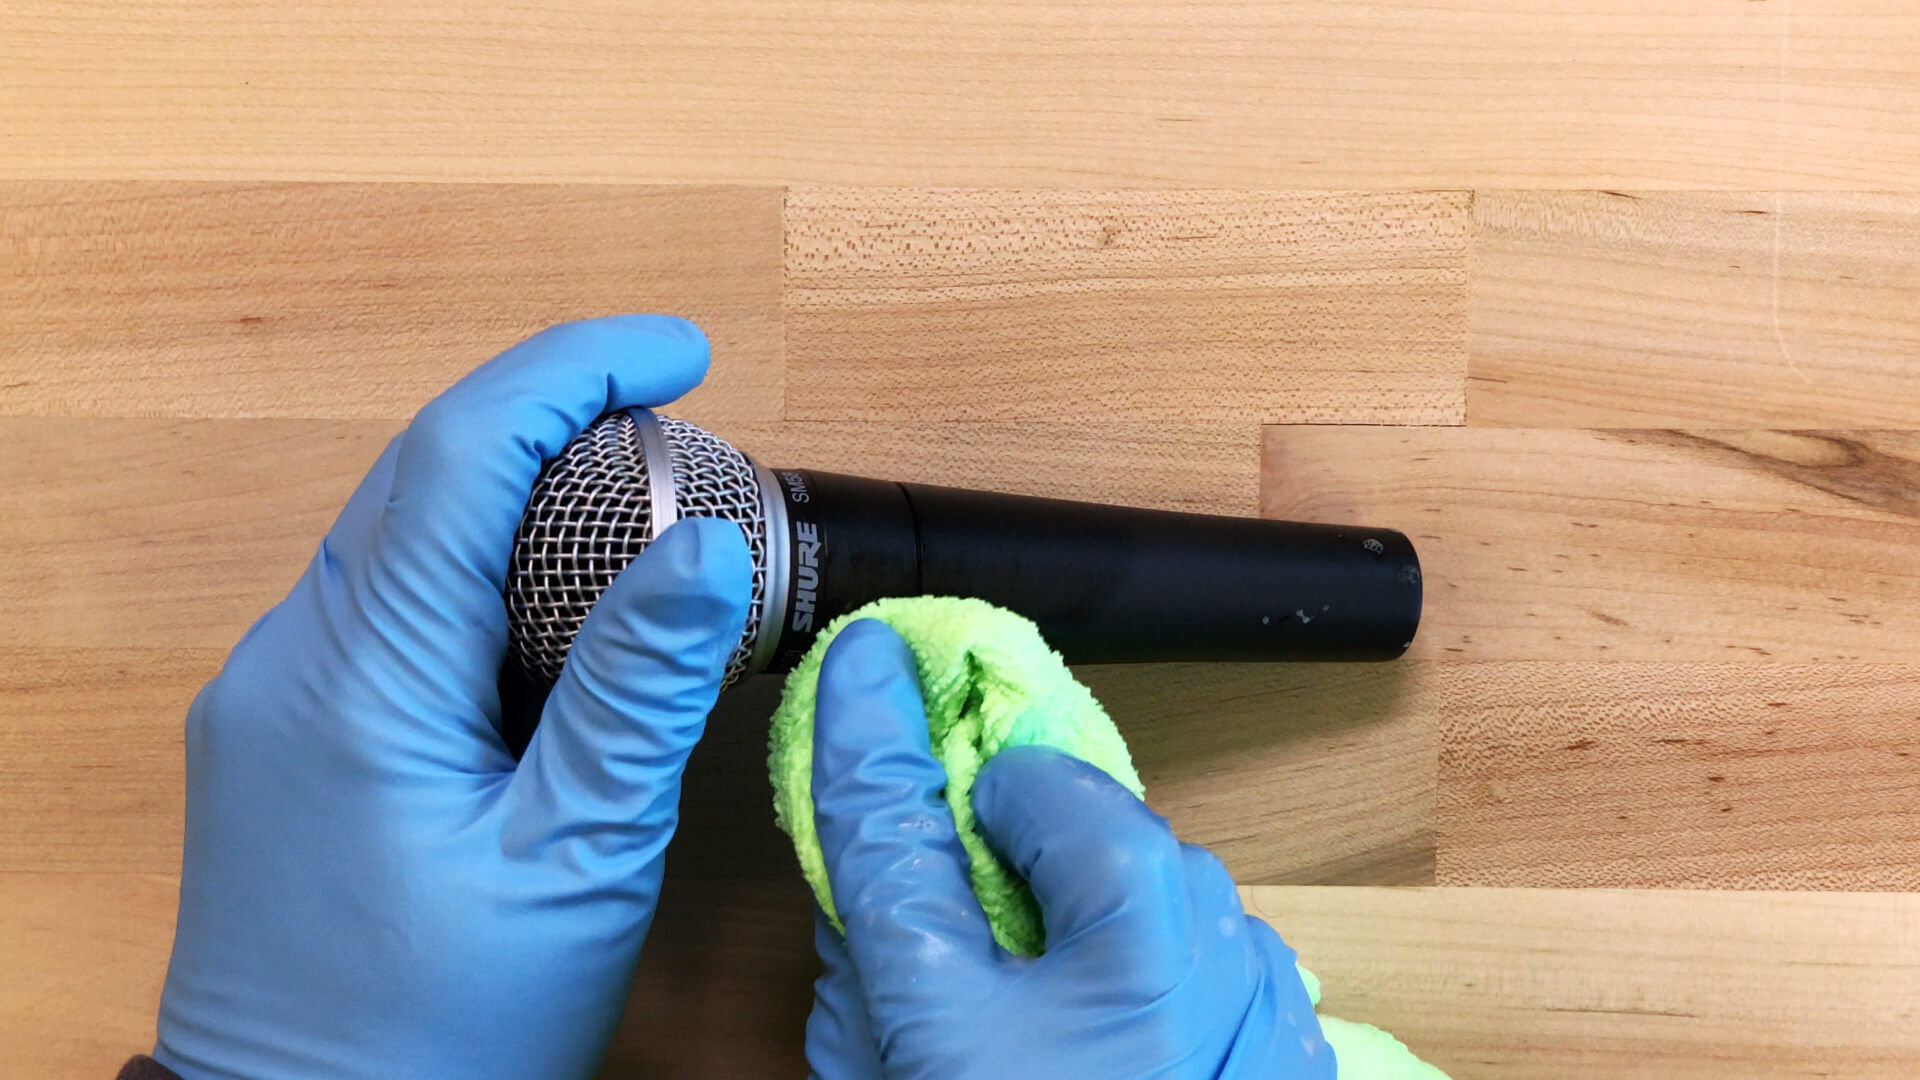
Step 2: Clean the Microphone Exterior
Step 2: Clean the Microphone Exterior
Now that you have gathered the necessary supplies, it’s time to start the cleaning process. Begin by focusing on the exterior of the microphone to remove any surface dirt, smudges, or fingerprints that may have accumulated over time. Follow these steps to effectively clean the exterior of your microphone:
-
Unplug the Microphone: Before you begin cleaning, ensure that the microphone is unplugged from any power source or audio interface to prevent any potential damage or electrical hazards.
-
Use the Soft-Bristled Brush: Gently brush the exterior of the microphone with the soft-bristled brush to remove any loose debris, dust, or particles. Pay close attention to seams, edges, and crevices where dirt may accumulate.
-
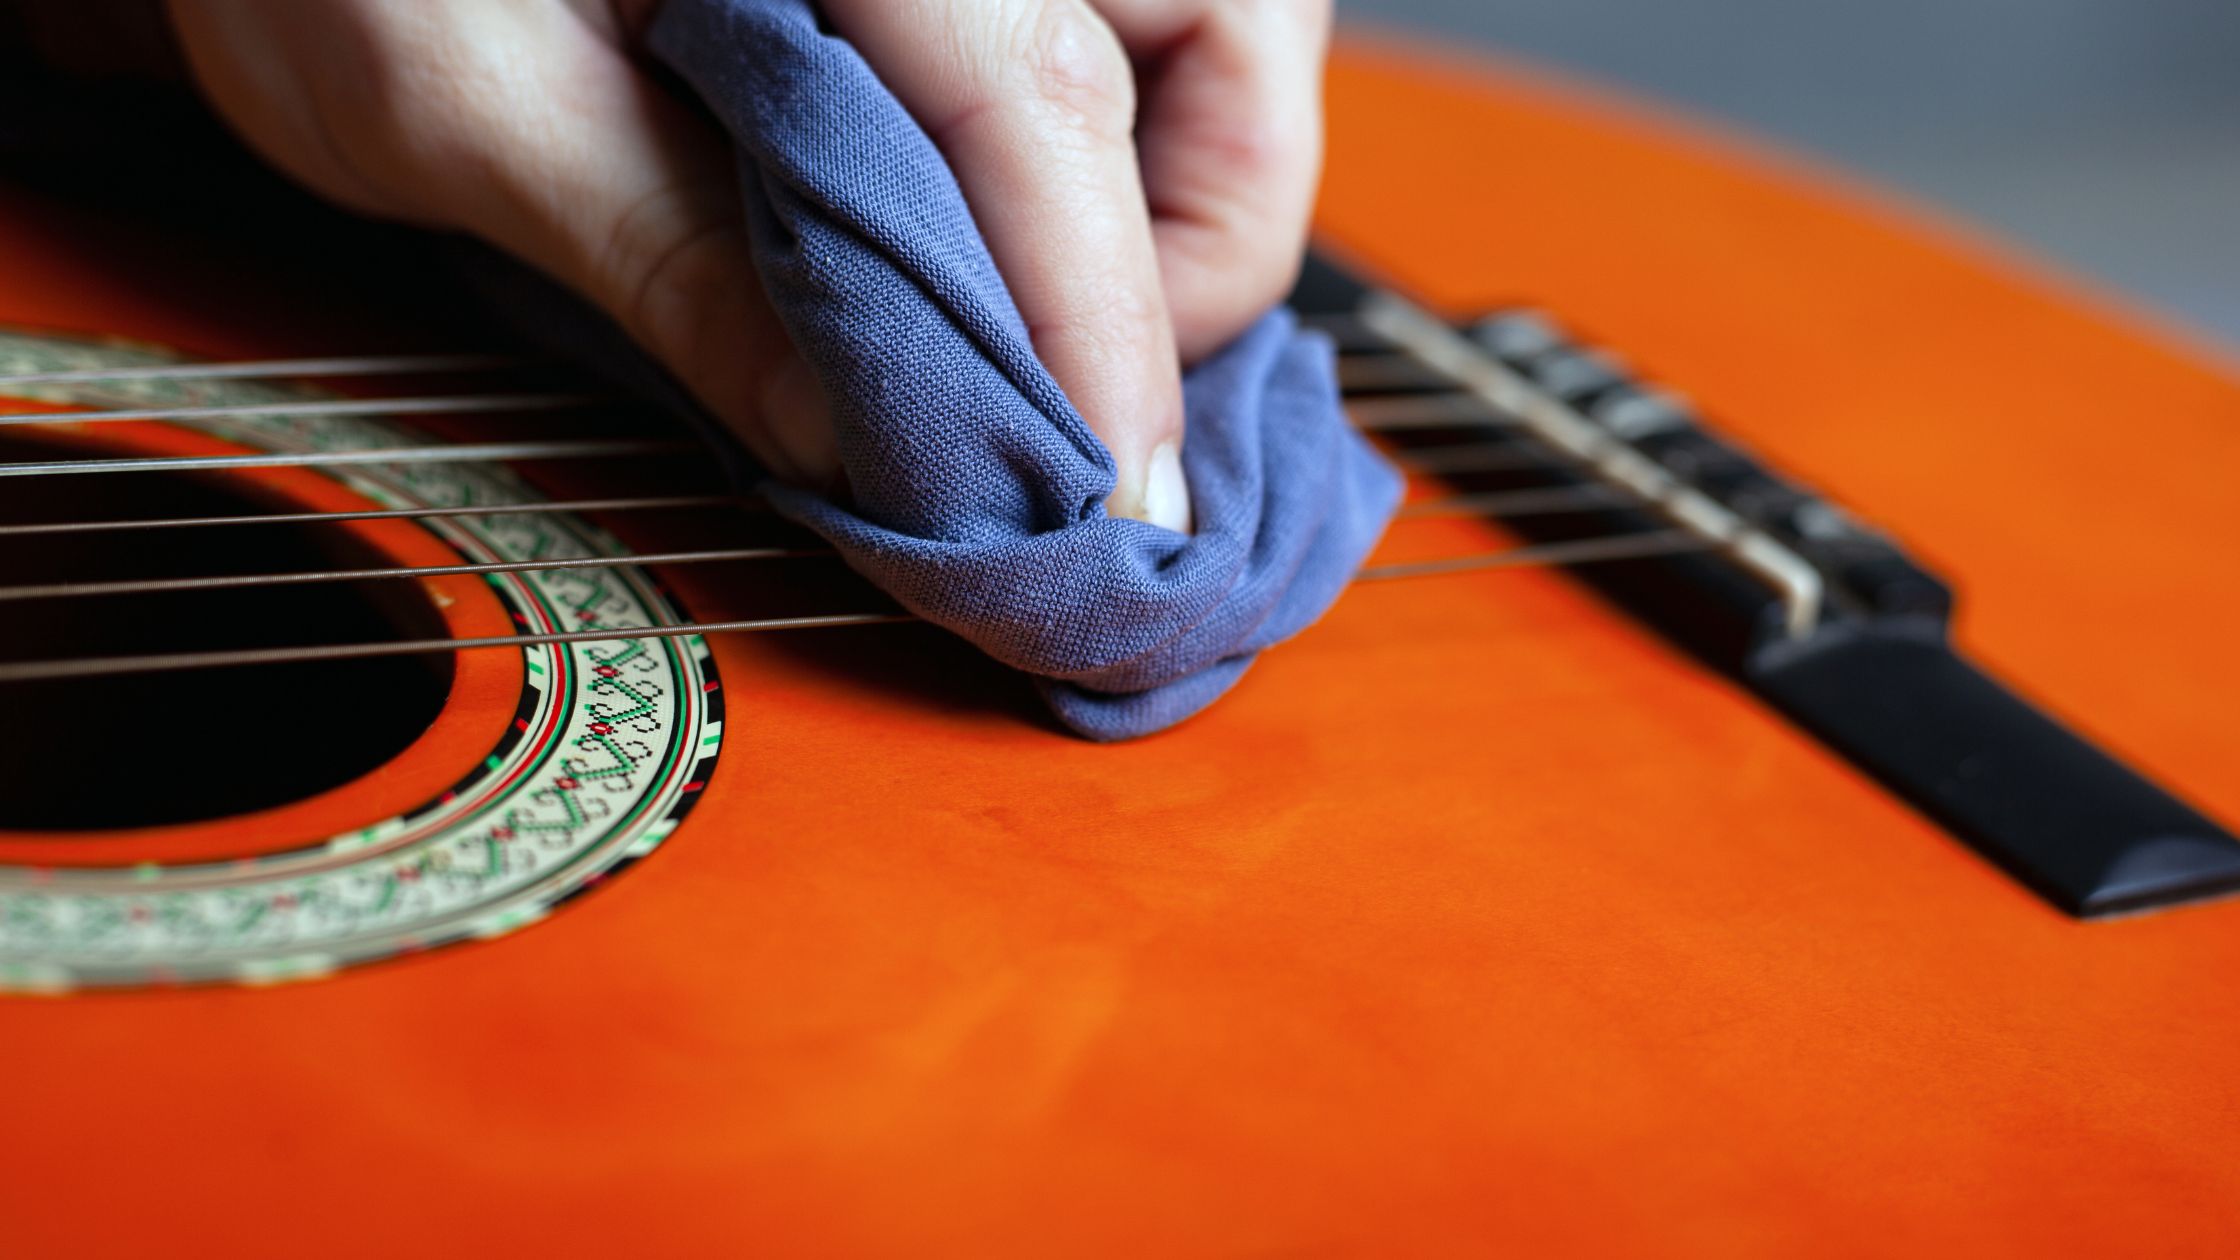
Wipe with a Microfiber Cloth: Once you’ve brushed away the loose debris, use a clean microfiber cloth to wipe down the entire exterior of the microphone. This will help remove any remaining dust and smudges, leaving the surface clean and free of grime.
By following these steps, you can effectively clean the exterior of your microphone, restoring its appearance and ensuring that it remains free of surface contaminants. With the exterior looking fresh and clean, it’s time to turn our attention to the next crucial step in the cleaning process: cleaning the microphone grille.
Step 3: Clean the Microphone Grille
Step 3: Clean the Microphone Grille
The microphone grille is a critical component that requires special attention during the cleaning process. Over time, it can accumulate dust, debris, and even moisture, which can impact the microphone’s performance. Here’s how you can effectively clean the microphone grille:
-
Inspect the Grille: Carefully examine the microphone grille to identify any visible debris or blockages. If you notice significant buildup, it’s essential to address it promptly to prevent any potential audio quality issues.
-
Use Compressed Air: Holding the microphone upside down, use a can of compressed air to blow away any loose debris and dust from the grille. This will help dislodge particles that may be trapped within the grille’s intricate structure.
-
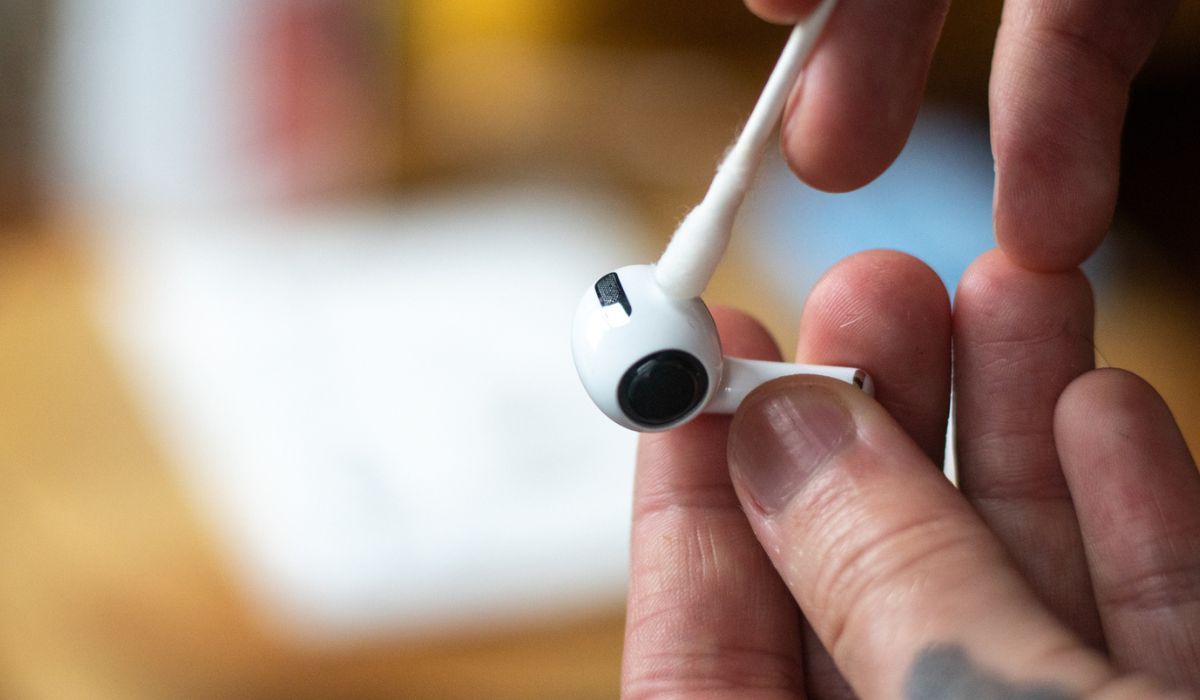
Utilize Cotton Swabs: For more stubborn debris or hard-to-reach areas, gently use a cotton swab to carefully remove any remaining dirt or grime from the grille. Take care to avoid applying excessive pressure or pushing debris further into the grille.
By following these steps, you can effectively clean the microphone grille, ensuring that it remains free of obstructions and buildup that could compromise the audio quality. With the exterior and grille of the microphone now clean and refreshed, it’s time to move on to the next essential step: disinfecting the microphone to eliminate any lingering bacteria or germs.
Step 4: Disinfect the Microphone
Step 4: Disinfect the Microphone
Disinfecting your microphone is a crucial step in the cleaning process, especially if it is shared among multiple users or used in public settings. By eliminating bacteria and germs, you can ensure a hygienic and safe audio capture experience. Here’s how you can effectively disinfect your microphone:
-
Prepare the Isopropyl Alcohol Solution: Create a solution of isopropyl alcohol and water by mixing them in a 1:1 ratio. This diluted solution will provide effective disinfection without causing damage to the microphone’s components.
-
Dampen a Microfiber Cloth: Moisten a microfiber cloth with the prepared isopropyl alcohol solution. Ensure that the cloth is damp but not dripping with the solution to prevent any liquid from entering the microphone’s internal components.
-
Wipe Down the Microphone: Gently wipe down the entire exterior of the microphone with the dampened microfiber cloth. Pay close attention to areas that come into direct contact with users’ hands or mouths, as these areas are more prone to bacterial buildup.
By following these steps, you can effectively disinfect your microphone, reducing the presence of harmful bacteria and germs. This simple yet crucial process contributes to a clean and hygienic audio recording environment. With the microphone now disinfected, it’s time to proceed to the final step: allowing the microphone to dry thoroughly before its next use.
Step 5: Allow the Microphone to Dry
Step 5: Allow the Microphone to Dry
After cleaning and disinfecting the microphone, it’s crucial to allow it to dry thoroughly before using it again. Proper drying ensures that no moisture remains trapped within the microphone, preventing potential damage and microbial growth. Follow these steps to facilitate the drying process:
-
Air Dry in a Clean Environment: Place the microphone in a clean, well-ventilated area to air dry naturally. Avoid using heat sources or direct sunlight to accelerate the drying process, as excessive heat can potentially damage the microphone’s components.
-
Allow Sufficient Drying Time: Depending on the ambient humidity and airflow, the drying time may vary. It’s essential to allow the microphone to dry completely before storing or using it again to prevent any residual moisture from causing issues.
By allowing the microphone to dry thoroughly, you can ensure that it remains in optimal condition for future use. Once the microphone is completely dry, it’s ready to be stored or utilized for your next recording or performance. With the entire cleaning process complete, you can enjoy the confidence of using a thoroughly cleaned and well-maintained microphone for your audio endeavors.
Conclusion
Keeping your microphone clean is essential for maintaining its performance and ensuring a hygienic audio recording environment. By following the step-by-step cleaning process outlined in this guide, you can effectively revitalize your microphone and prolong its longevity. From gathering the necessary supplies to allowing the microphone to dry, each step plays a crucial role in preserving the quality and functionality of your audio equipment.
Regular maintenance and cleaning not only contribute to the longevity of your microphone but also ensure that it continues to deliver pristine audio quality for your recordings, performances, and broadcasts. Additionally, proper cleaning and disinfection promote a healthy and sanitary environment, especially when the microphone is shared among multiple users.
By incorporating these cleaning practices into your microphone maintenance routine, you can enjoy peace of mind knowing that your audio equipment is in optimal condition. Whether you’re a podcaster, vocalist, content creator, or audio enthusiast, a clean microphone is essential for capturing clear and professional-grade audio.
So, the next time you pick up your microphone to lay down some tracks or record a podcast, remember the importance of regular cleaning and maintenance. Your microphone will thank you with reliable performance and pristine sound quality, ensuring that your voice is heard loud and clear.