Home>Devices & Equipment>Earbuds>How To Clean Samsung Earbuds
Earbuds
How To Clean Samsung Earbuds
Modified: January 22, 2024
Learn how to clean your Samsung earbuds and maintain their performance with our step-by-step guide. Keep your earbuds fresh and hygienic for an enhanced audio experience.
(Many of the links in this article redirect to a specific reviewed product. Your purchase of these products through affiliate links helps to generate commission for AudioLover.com, at no extra cost. Learn more)
Table of Contents
Introduction
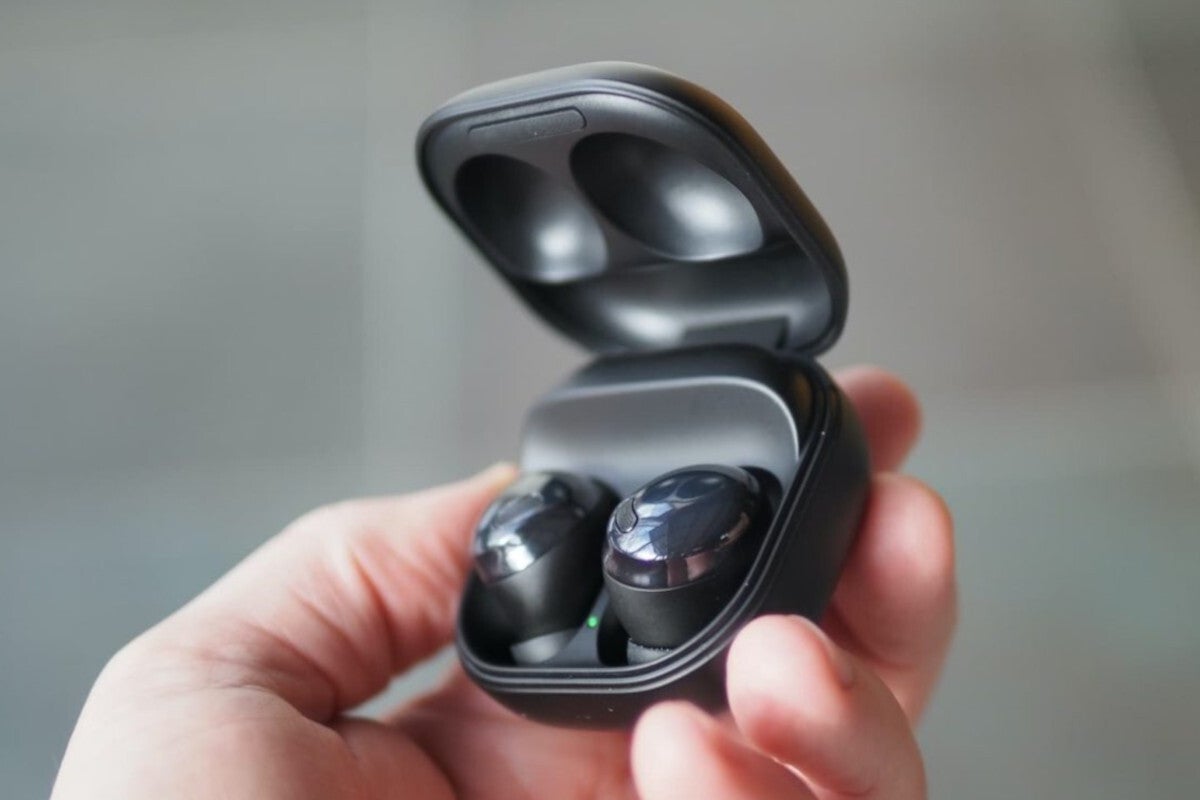
Samsung earbuds are a popular choice for many music enthusiasts and tech-savvy individuals. These compact and wireless devices offer a convenient way to enjoy your favorite tunes without the hassle of tangled cords. However, with regular use, earwax and dirt can accumulate on the ear tips and earbuds, affecting both the audio quality and overall cleanliness.
Properly cleaning your Samsung earbuds is essential not only for hygiene purposes but also to maintain optimal sound performance. Regular maintenance can extend the lifespan of your earbuds and ensure that they continue to deliver impressive audio quality. In this article, we’ll guide you through the process of cleaning your Samsung earbuds effectively.
Before we begin, it’s important to note that cleaning your earbuds may vary depending on the specific model you own. Make sure to refer to your user manual or manufacturer’s guidelines for any unique cleaning instructions. With that said, let’s gather the things you’ll need for the cleaning process.
Things You’ll Need
Before you start cleaning your Samsung earbuds, it’s essential to gather the necessary items to ensure a thorough and efficient cleaning process. Here are the things you’ll need:
- Soft, lint-free cloth or microfiber cloth: This is used to wipe down the earbuds and remove any dirt or debris without scratching them.
- Cotton swabs or soft-bristled brush: These can be used to clean the small crevices and hard-to-reach areas of the earbuds.
- Mild soap or cleaning solution: Avoid using harsh chemicals or solvents that can damage the earbuds. Instead, opt for a mild soap or a specialized cleaning solution designed for electronics.
- Warm water: Used to dilute the cleaning solution or to rinse the earbuds and ear tips.
- Isopropyl alcohol (optional): If your earbuds have stubborn stains or residue, you can use isopropyl alcohol to remove them. However, be cautious and check your manufacturer’s guidelines as excessive use of alcohol can damage certain materials.
- Toothpicks (optional): These can come in handy for removing larger debris or wax build-up on the ear tips.
By gathering these items, you’ll be well-prepared to clean your Samsung earbuds effectively and safely. Now that you have everything you need, let’s move on to the step-by-step cleaning process.
Step 1: Remove the Ear Tips
The first step in cleaning your Samsung earbuds is to remove the ear tips. These are the silicone or foam attachments that fit snugly into your ears. Removing the ear tips allows for easier access to clean both the tips and the earbuds themselves. Here’s how you can remove the ear tips:
- Gently grip the base of the ear tip and twist it counterclockwise to loosen it from the earbud.
- Once loosened, carefully pull the ear tip away from the earbud.
- Repeat the process for the other ear tip, ensuring that both are fully removed.
Be cautious while removing the ear tips to avoid damaging them or the earbuds. Some models may have a secure locking mechanism, so refer to your user manual if you encounter any difficulties. With the ear tips removed, you can now move on to cleaning them in the next step.
Step 2: Clean the Ear Tips
After removing the ear tips, it’s time to give them a good cleaning. Over time, earwax and dirt can accumulate on the surface, which can affect the fit and sound quality. Here’s how you can clean the ear tips:
- Inspect the ear tips for any visible debris or wax buildup. If you notice significant dirt or wax, you can use a toothpick or a soft brush to gently remove it. Be careful not to apply too much pressure to avoid damaging the ear tips.
- Fill a bowl or sink with warm water and add a small amount of mild soap. Alternatively, you can use a specialized cleaning solution designed for ear tips.
- Place the ear tips in the soapy water solution and let them soak for a few minutes. This will help loosen any remaining dirt or debris.
- Gently agitate the ear tips in the water to dislodge any stubborn dirt. You can also use your fingers to rub the surface of the ear tips to remove dirt and stains.
- Rinse the ear tips thoroughly with clean water to remove any soap residue. Make sure to hold them under running water and squeeze them gently to ensure all the soap is washed away.
- Pat dry the ear tips with a soft, lint-free cloth or leave them to air dry completely. Avoid using heat or direct sunlight to speed up the drying process, as this can damage the silicone or foam material.
Once the ear tips are dry, you can proceed to the next step and clean the earbuds themselves.
Step 3: Clean the Earbuds
Now that you’ve successfully cleaned the ear tips, it’s time to focus on cleaning the earbuds themselves. The earbuds can accumulate dirt, earwax, and other debris over time, which can affect their performance. Here’s how you can clean the earbuds:
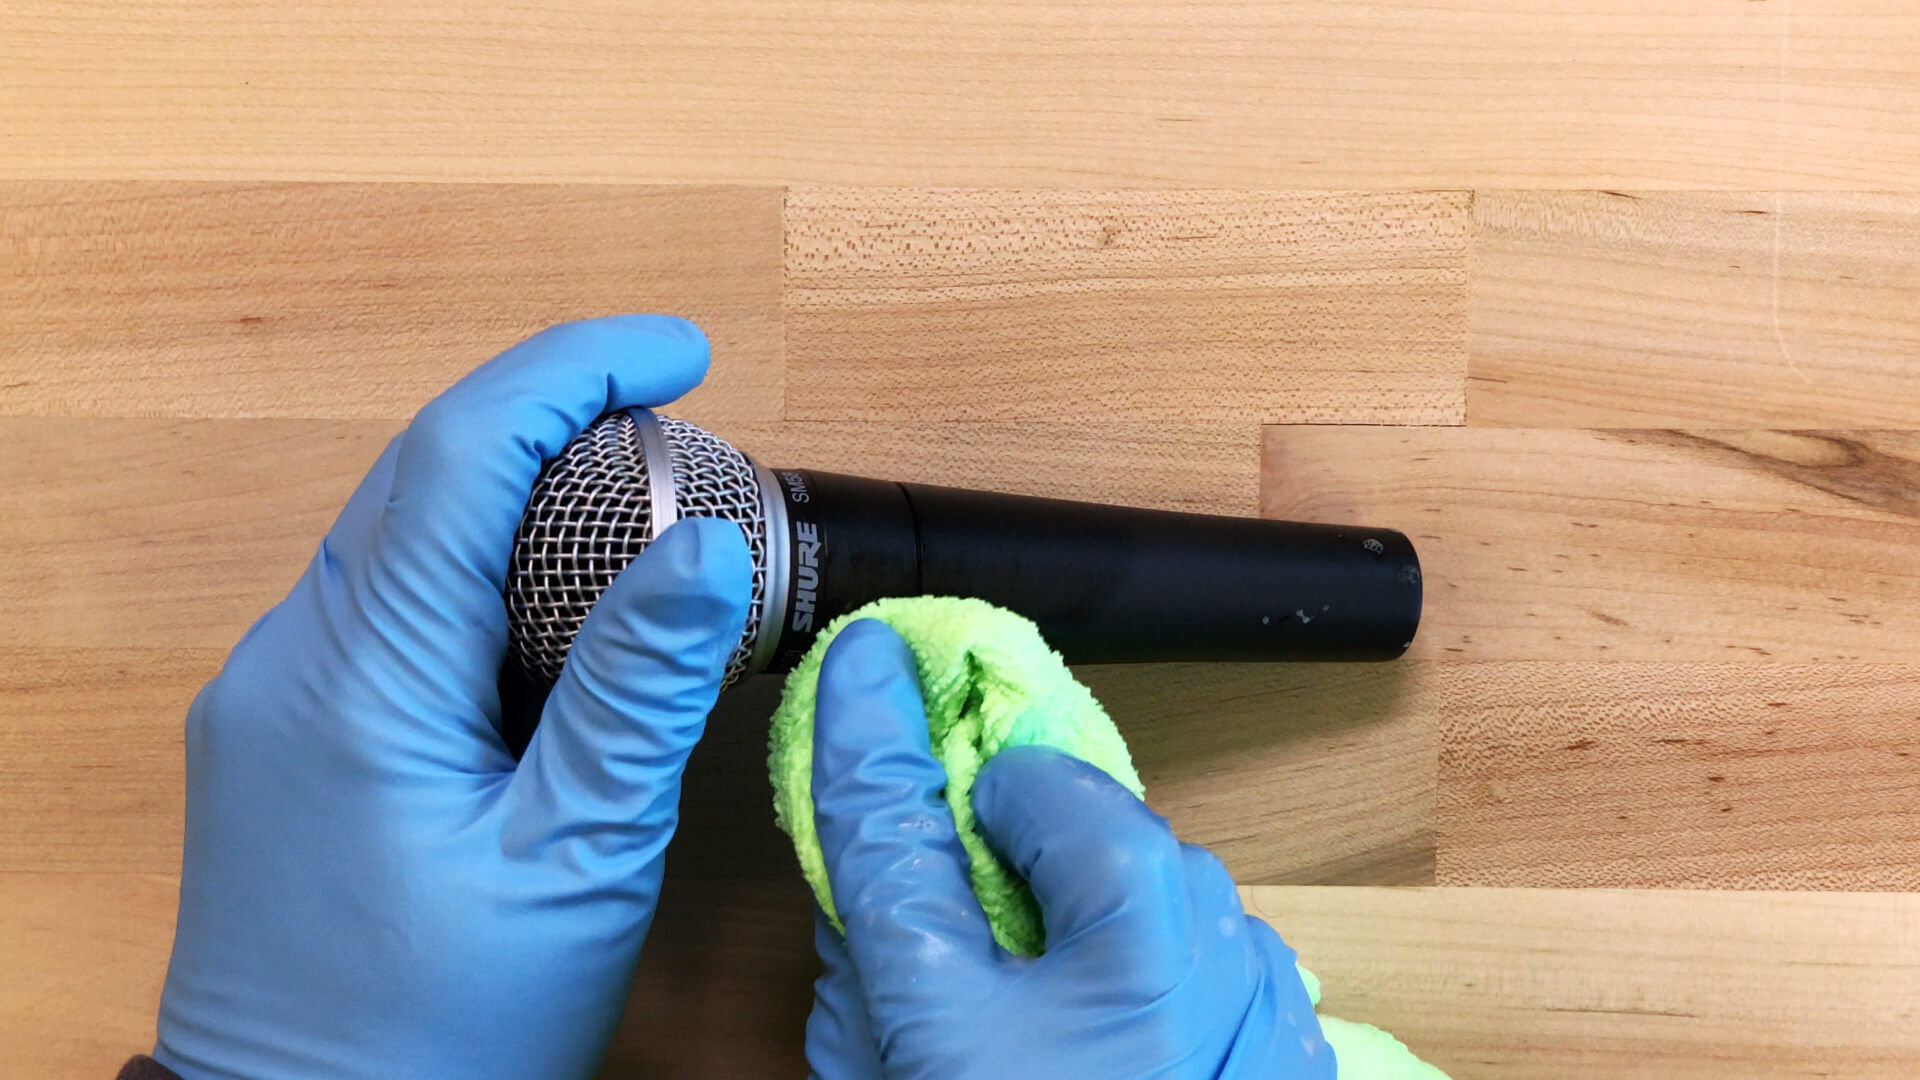
- Dampen a soft, lint-free cloth or microfiber cloth with a small amount of water. Make sure the cloth is not dripping wet.
- Gently wipe the surface of the earbuds, removing any visible dirt or grime. Pay attention to the speaker grilles and any other openings on the earbuds.
- If there are stubborn stains or residue on the earbuds, you can dampen the cloth with a mild soapy water solution or isopropyl alcohol (if recommended by the manufacturer). Rub the affected areas gently to remove the stains or residue.
- For hard-to-reach areas and crevices, you can use a cotton swab or a soft-bristled brush. Dampen the cotton swab or brush slightly and gently clean these areas, being careful not to apply too much pressure.
- Once you’ve cleaned the earbuds, use a dry part of the cloth to wipe away any excess moisture. Ensure they are completely dry before reassembling.
Remember, it’s essential to be gentle when cleaning the earbuds to avoid causing any damage. If you have any doubts or concerns, refer to the user manual or contact the manufacturer for specific cleaning instructions.
Now that the earbuds are clean, let’s move on to the next step and clean the charging case.
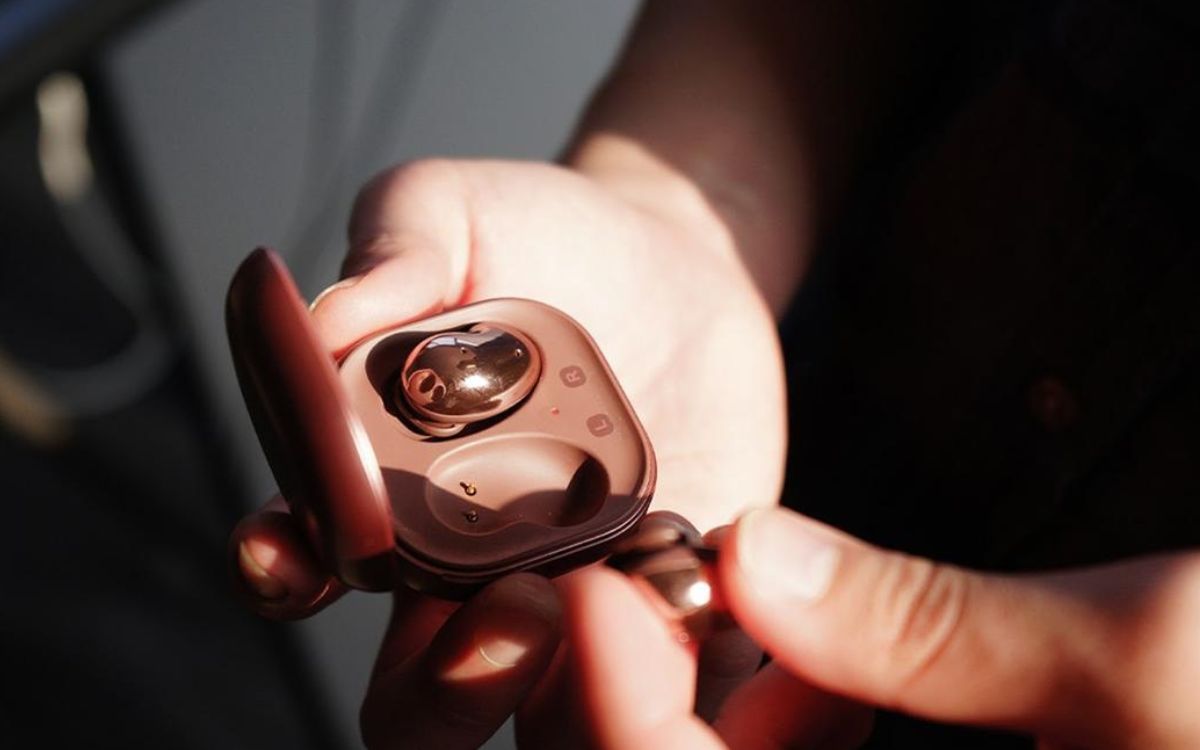
Step 4: Clean the Charging Case
In addition to cleaning the earbuds themselves, it’s crucial to keep the charging case clean as well. The charging case can accumulate dirt, dust, and debris, which can transfer onto the earbuds and affect their cleanliness. Here’s how you can clean the charging case:
- Unplug the charging cable and make sure the charging case is not connected to any power source.
- Using a soft, lint-free cloth or microfiber cloth, gently wipe the exterior of the charging case to remove any visible dirt or dust.
- If there are stains or smudges on the charging case, you can dampen the cloth with a mild soapy water solution or isopropyl alcohol (if recommended by the manufacturer). Gently rub the affected areas to remove the stains.
- For the charging ports and any other openings on the charging case, use a cotton swab or soft-bristled brush to remove any debris or dust. Be gentle and avoid inserting anything that may damage the contacts or internal components.
- Ensure that the charging case is completely dry before reassembling or reconnecting it to a power source.
By regularly cleaning the charging case, you can ensure that it remains free from dirt and debris that can impact the charging process and overall hygiene.
With the charging case cleaned, we’re almost finished! Let’s move on to the final step to dry and reassemble your Samsung earbuds.
Step 5: Dry and Reassemble
After cleaning the earbuds, ear tips, and charging case, it’s essential to ensure that they are completely dry before reassembling them. Moisture can damage the electronic components and compromise the performance of your Samsung earbuds. Here’s how you can dry and reassemble them:
- Place the cleaned ear tips and earbuds on a clean, dry surface. Allow them to air dry naturally for at least a couple of hours. Avoid using heat or direct sunlight to speed up the drying process, as this can damage the materials.
- Check that both the ear tips and earbuds are thoroughly dry before reattaching the ear tips. Moisture trapped between the ear tip and earbud can affect the fit and sound quality.
- Once the earbuds and ear tips are dry, carefully attach the ear tips back onto the earbuds. Twist them clockwise until they are securely in place. Ensure that they fit snugly but comfortably in your ears.
- If necessary, reconnect the charging cable to the charging case and plug it into a power source to ensure that the case is functioning properly.
With the earbuds and charging case dry and reassembled, you can now enjoy your Samsung earbuds with improved cleanliness and sound quality.
Regularly cleaning your Samsung earbuds is essential for maintaining optimal performance and hygiene. By following these steps, you can keep your earbuds free from dirt, earwax, and debris, ensuring a pleasant listening experience every time.
Remember to refer to your user manual or contact the manufacturer if you have any specific cleaning instructions or concerns.
Now that you know how to clean your Samsung earbuds, go ahead and enjoy your favorite music with crystal-clear audio and peace of mind!
Conclusion
Cleaning your Samsung earbuds is an essential part of maintaining their performance, longevity, and hygiene. By following the step-by-step process outlined in this article, you can effectively remove dirt, earwax, and debris from your earbuds, ear tips, and charging case.
Remember to gather the necessary materials before cleaning, including a soft cloth, cotton swabs, mild soap or cleaning solution, warm water, and possibly isopropyl alcohol for stubborn stains. Taking the time to gather these items ensures a thorough cleaning process.
Start by removing the ear tips and giving them a gentle cleaning. Soak them in soapy water, rinse, and air dry them completely before reattaching them to the earbuds. Next, clean the earbuds themselves using a damp cloth and be sure to reach into any crevices gently.
The charging case should not be forgotten, as it can accumulate dirt and debris as well. Wipe its surface clean and use a cotton swab to remove dust or debris from the charging ports.
Once everything is cleaned, make sure to dry them thoroughly before reassembling. Moisture can compromise the performance of the earbuds, so it’s essential to air dry them for a few hours.
Regularly cleaning your Samsung earbuds not only keeps them looking their best but also ensures optimal sound quality and hygiene. By following these cleaning steps, you can enjoy a crisp, clean sound and extend the lifespan of your earbuds.
Refer to your user manual or manufacturer’s guidelines for any specific cleaning instructions or recommendations tailored to your specific model. If you encounter any difficulties or concerns, don’t hesitate to reach out to the manufacturer for assistance.
Now, with your freshly cleaned Samsung earbuds, you can immerse yourself in your favorite music with clarity and comfort. Happy listening!