Home>Instruments>Piano>How To Paint Piano
Piano
How To Paint Piano
Published: February 10, 2024
Learn how to paint your piano with our step-by-step guide. Transform your piano with a fresh coat of paint and give it a new lease on life.
(Many of the links in this article redirect to a specific reviewed product. Your purchase of these products through affiliate links helps to generate commission for AudioLover.com, at no extra cost. Learn more)
Table of Contents
Introduction
Welcome to the wonderful world of piano customization! Painting a piano is a fantastic way to breathe new life into this timeless instrument and make it a stunning centerpiece in any room. Whether you’re looking to add a pop of color, create a vintage look, or simply refresh the existing finish, painting a piano can be a rewarding and creative endeavor.
Before embarking on this project, it’s important to understand that painting a piano requires careful preparation, attention to detail, and a love for both music and visual aesthetics. The process involves choosing the right type of paint, preparing the surface, applying multiple coats, and adding intricate details to achieve a professional and long-lasting finish.
In this comprehensive guide, we’ll explore the step-by-step process of painting a piano, from selecting the perfect paint to adding the finishing touches. Whether you’re a seasoned DIY enthusiast or a first-time painter, this guide will provide you with the knowledge and inspiration to transform your piano into a stunning work of art.
Choosing the Right Paint
When it comes to painting a piano, selecting the right type of paint is crucial for achieving a professional and durable finish. The ideal paint should adhere well to the piano’s surface, withstand regular use, and create a visually appealing result. Here are some key factors to consider when choosing the paint for your piano:
- Type of Paint: For pianos, it’s recommended to use high-quality enamel paint, as it provides a durable and smooth finish. Oil-based enamel paints are known for their excellent adhesion and resistance to wear and tear, making them an ideal choice for pianos that are frequently played.
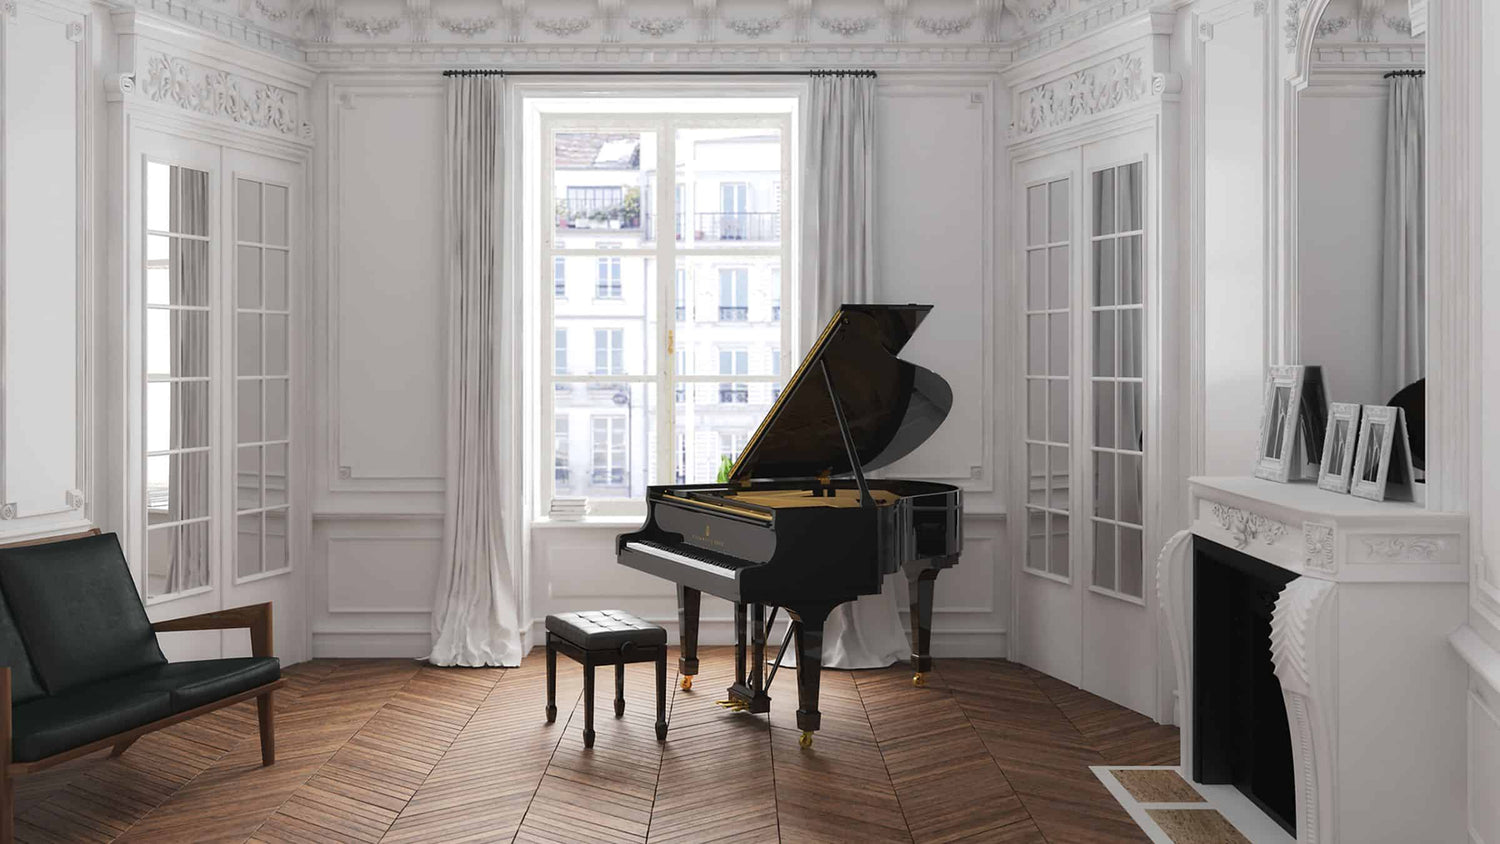
- Color and Finish: Consider the color scheme of the room where the piano will be placed. Whether you opt for a bold, vibrant color or a classic, understated finish, ensure that the paint complements the overall aesthetic of the space. Additionally, choose a paint finish that aligns with your desired look, such as glossy, satin, or matte.
- Primer: Using a high-quality primer specifically designed for glossy surfaces is essential for promoting paint adhesion and achieving a smooth, long-lasting finish. The primer will help the paint adhere to the piano’s surface and prevent chipping or peeling over time.
- Quality and Brand: Invest in reputable paint brands known for their durability and color consistency. While quality paint may come at a higher price, it ensures a professional result and long-term satisfaction with the finished product.
Before purchasing the paint, consider consulting with a professional at your local paint store to discuss the specific requirements for painting a piano. Additionally, inquire about any additional products, such as clear topcoats or sealants, that can further enhance the durability and aesthetic appeal of the painted surface.
By carefully selecting the right type of paint and related products, you can set the stage for a successful piano painting project that will stand the test of time and bring joy for years to come.
Preparing the Piano
Before diving into the exciting process of applying paint to your piano, it’s essential to thoroughly prepare the instrument to ensure a flawless and long-lasting finish. Proper preparation involves several key steps that lay the foundation for a successful painting project:
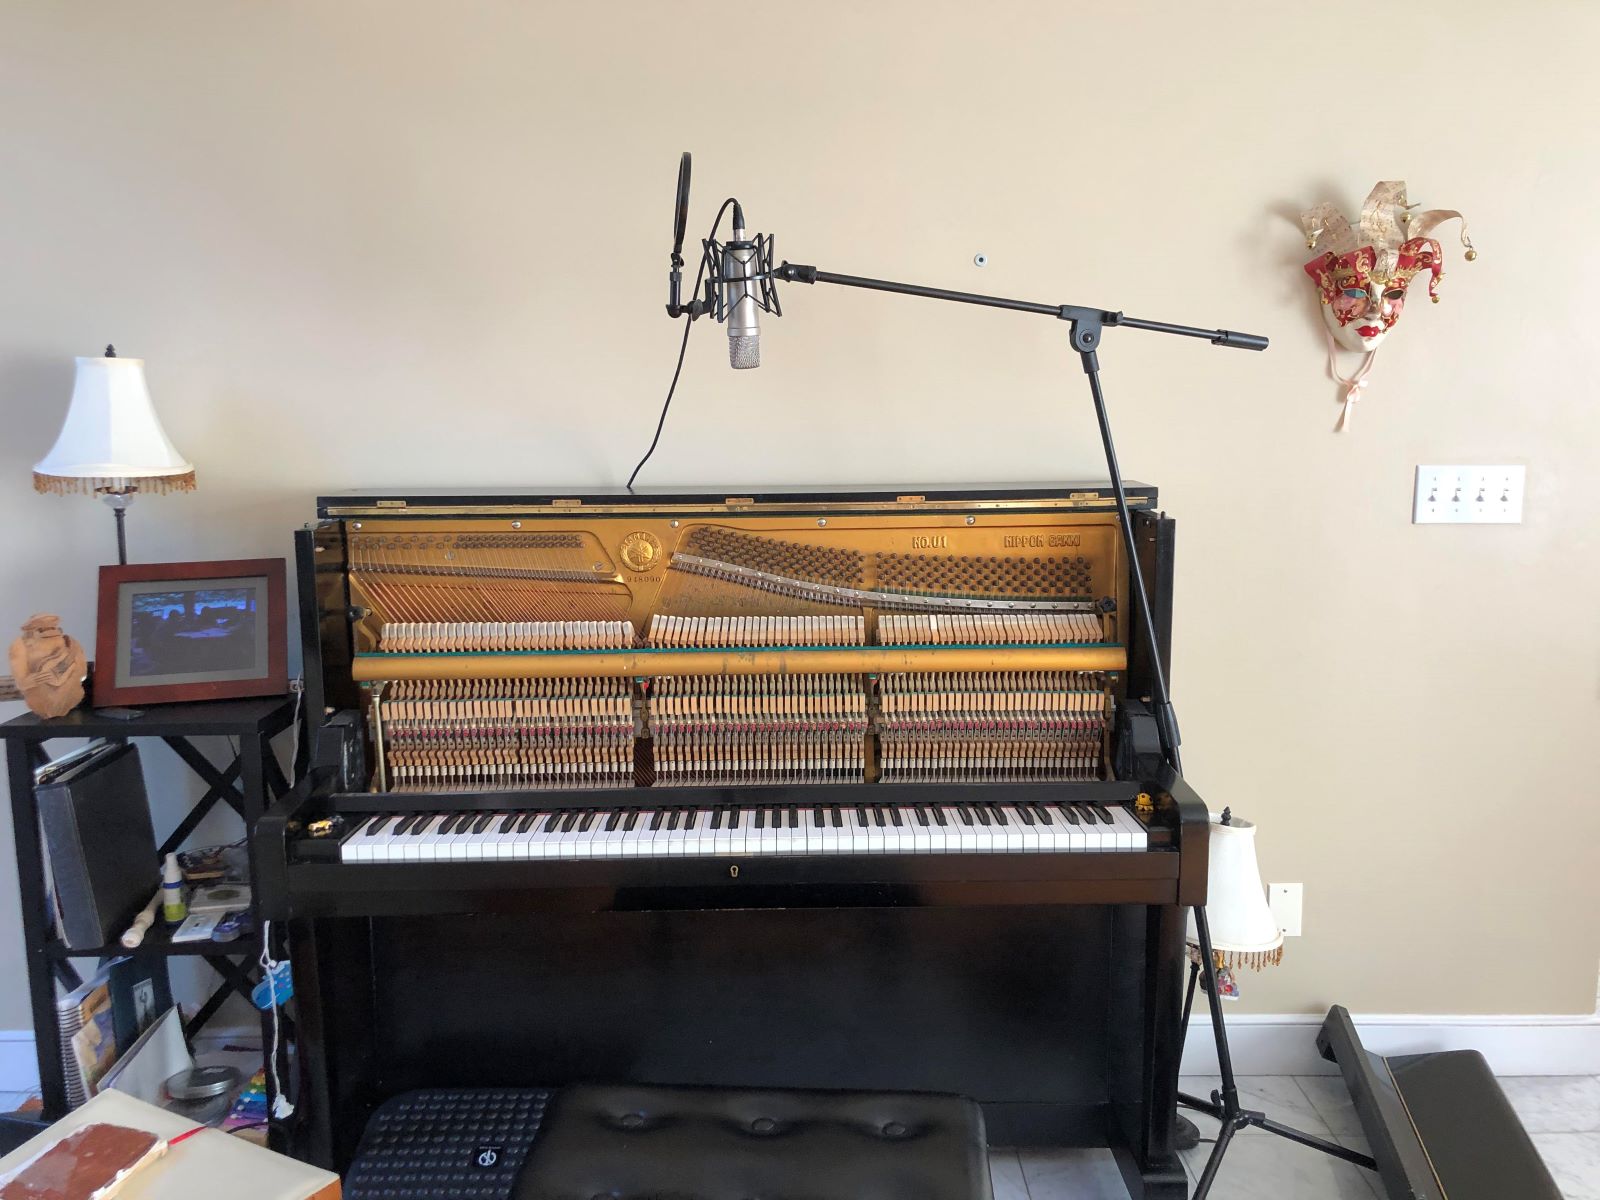
- Disassembly: Begin by carefully disassembling the piano, removing any hardware, keys, and other components that can be detached. This step allows for better access to all surfaces, ensuring that the paint can be applied evenly and thoroughly.
- Cleaning and Sanding: Clean the piano’s surface meticulously to remove any dirt, grime, or existing finish. Use a gentle cleaner to eliminate grease and residue, and then proceed to sand the entire surface to create a smooth and paint-receptive base. Pay close attention to detail, ensuring that all nooks and crannies are thoroughly cleaned and sanded.
- Priming: Applying a high-quality primer specifically designed for the piano’s material is essential for promoting paint adhesion and creating a uniform surface. The primer will help the paint adhere securely and prevent any potential chipping or peeling in the future.
- Masking and Protection: Carefully mask any areas that should not be painted, such as the piano’s internal mechanisms, keys, and other delicate components. Additionally, protect the surrounding area with drop cloths or plastic sheeting to prevent any accidental paint splatter or spills.
Each of these preparatory steps plays a crucial role in ensuring that the paint adheres properly and that the finished result is both visually stunning and durable. While the preparation process may require time and attention to detail, it sets the stage for a successful and rewarding painting experience.
By investing the necessary effort in preparing the piano, you’ll pave the way for a seamless and professional-looking finish that will bring new life and personality to this cherished instrument.
Applying the Base Coat
With the piano meticulously prepared, it’s time to embark on the exciting phase of applying the base coat of paint. This foundational layer sets the stage for the overall color and finish of the instrument, and it’s essential to approach this step with precision and care. Here’s a detailed guide to applying the base coat:
- Even Application: Begin by ensuring that the primer is smooth and free of any imperfections. Use a high-quality paintbrush or a paint sprayer to apply the base coat evenly across the piano’s surface. Work methodically, covering one section at a time to maintain a consistent application.
- Thin Layers: It’s crucial to apply the paint in thin, even layers to prevent drips, runs, or uneven drying. Multiple thin coats are preferable to a single thick coat, as they allow for better adhesion and a smoother finish.
- Drying Time: Allow each coat of paint to dry completely according to the manufacturer’s instructions before applying the next layer. Adequate drying time is essential for achieving a professional and durable finish.
- Sanding Between Coats: After each coat has dried, lightly sand the surface with fine-grit sandpaper to ensure a smooth and uniform base for the subsequent layers of paint. This step helps eliminate any minor imperfections and promotes optimal adhesion.
Throughout the base coat application process, maintain a keen eye for detail and ensure that the paint is applied evenly and consistently across the entire piano. By taking the time to execute this step with precision, you’ll lay the groundwork for a flawless and professional-looking finish.
As the base coat sets the stage for the overall aesthetic of the piano, it’s essential to approach this step with patience and attention to detail, setting the tone for the subsequent phases of the painting process.
Adding Details and Accents
Once the base coat has been applied and properly dried, it’s time to infuse the piano with unique details and accents that will elevate its visual appeal and make it a true centerpiece. Adding intricate designs, artistic motifs, or subtle embellishments can transform the instrument into a personalized work of art. Here’s how to approach this creative phase:
- Design Inspiration: Consider the overall aesthetic you wish to achieve and gather inspiration for the details and accents you’d like to incorporate. Whether it’s delicate floral patterns, geometric designs, or classic pinstripes, let your creativity guide the selection of motifs and embellishments.
- Precision and Patience: Use fine artist brushes, stencils, or masking tape to carefully execute the chosen designs. Approach this step with patience and precision, as attention to detail is crucial for achieving a professional and visually striking result.
- Complementary Colors: If incorporating multiple colors in the design, ensure that they harmonize with the base coat and the overall color scheme of the room where the piano will be placed. The details and accents should complement the existing palette and enhance the instrument’s visual impact.
- Protective Coating: Once the details and accents have been applied and allowed to dry, consider adding a protective clear coat to safeguard the designs and ensure their longevity. A clear topcoat will also provide a smooth and uniform finish across the entire piano.
By infusing the piano with carefully crafted details and accents, you’ll transform it into a one-of-a-kind artistic expression that reflects your personal style and creativity. This phase of the painting process offers an opportunity to add a touch of individuality and artistry to the instrument, making it a captivating focal point in any space.
Approach this step with a sense of artistic freedom and a commitment to precision, allowing your imagination to flourish as you embellish the piano with unique and captivating details.
Finishing Touches
As the painting process nears completion, it’s time to focus on the finishing touches that will enhance the overall appearance and durability of the newly painted piano. This phase involves carefully evaluating the instrument’s surface, ensuring that the paint has been applied flawlessly, and taking steps to protect the finish for years to come. Here are the essential elements of adding the finishing touches:
- Surface Evaluation: Thoroughly inspect the piano’s surface to identify any imperfections, uneven areas, or minor blemishes. Address any inconsistencies by gently sanding the affected areas and applying touch-up paint as needed to achieve a seamless and uniform finish.
- Clear Topcoat: Consider applying a clear topcoat to the entire piano to provide an additional layer of protection and create a uniform sheen across the painted surface. The topcoat will safeguard the paint from scratches, moisture, and everyday wear, ensuring that the finish remains vibrant and durable.
- Reassembly: Once the paint and topcoat have fully dried, carefully reassemble the piano, reattaching any hardware, keys, and components that were removed during the preparation phase. Exercise caution to avoid damaging the freshly painted surface during reassembly.
- Polishing and Buffing: Use a gentle polishing compound or buffing cloth to refine the piano’s finish, removing any minor imperfections and enhancing the overall luster of the paint. This step adds a final touch of refinement and ensures that the piano’s appearance is truly immaculate.
By meticulously attending to the finishing touches, you’ll elevate the piano’s aesthetic appeal and ensure that the painted surface is resilient and long-lasting. This phase represents the culmination of your efforts, resulting in a beautifully transformed instrument that exudes both visual charm and enduring quality.
Approach the final steps with care and attention to detail, taking pride in the meticulous craftsmanship that has gone into creating a stunning and personalized piano that will captivate all who behold it.
Conclusion
Embarking on the journey of painting a piano is a creative endeavor that combines artistic expression with a love for music and design. Throughout the process, you’ve transformed a beloved instrument into a personalized work of art, infusing it with character, style, and visual allure. As you conclude this gratifying project, reflect on the transformation that has taken place and the impact it will have on the piano’s presence in your home or space.
By carefully selecting the right paint, preparing the piano with meticulous attention to detail, and executing the painting process with precision and creativity, you’ve breathed new life into the instrument, making it a captivating focal point that reflects your unique aesthetic sensibilities. The addition of details and accents has elevated the piano into a one-of-a-kind artistic statement, while the finishing touches have ensured its durability and long-lasting beauty.
As you admire the freshly painted piano gracing its designated space, take pride in the craftsmanship and dedication that have gone into this transformative project. Whether the piano now exudes a vibrant burst of color, a timeless elegance, or a whimsical charm, it stands as a testament to your creativity and passion for both music and visual artistry.
May your newly painted piano continue to inspire and delight, serving as a harmonious union of music and creativity, and a cherished focal point in your home for years to come.