Home>Instruments>Piano>How To Record On A Piano
Piano
How To Record On A Piano
Modified: February 16, 2024
Learn how to record on a piano with expert tips and techniques. Capture the perfect sound and create professional-quality piano recordings.
(Many of the links in this article redirect to a specific reviewed product. Your purchase of these products through affiliate links helps to generate commission for AudioLover.com, at no extra cost. Learn more)
Table of Contents
Introduction
So, you've mastered the art of playing the piano and want to share your musical prowess with the world. Whether you're a budding pianist or a seasoned player looking to capture your latest composition, recording your piano performance can be an exciting and rewarding endeavor. With the right equipment and techniques, you can produce high-quality recordings that showcase the depth and beauty of the piano.
In this guide, we'll explore the essential steps to successfully record on a piano, covering everything from setting up your equipment to editing and mixing your recording. By the end of this article, you'll have a comprehensive understanding of the recording process, empowering you to capture stunning piano performances with confidence.
Recording on a piano allows you to preserve your musical creations, share them with a wider audience, and even collaborate with other musicians remotely. Whether you're aiming to produce professional-quality tracks or simply document your progress as a pianist, the ability to record your piano playing is a valuable skill that opens up a world of musical possibilities.
Throughout this guide, we'll delve into the technical aspects of recording, including microphone positioning, recording settings, and editing techniques. Additionally, we'll explore creative approaches to capturing the nuances of your piano performance, enabling you to convey emotion and artistry through your recordings.
As we embark on this journey to unlock the potential of piano recording, remember that the process is not just about capturing sound—it's about translating the soulful resonance of the piano keys into a captivating auditory experience. So, let's dive in and discover the art of recording on a piano, where technical precision meets artistic expression.
Setting Up Your Equipment
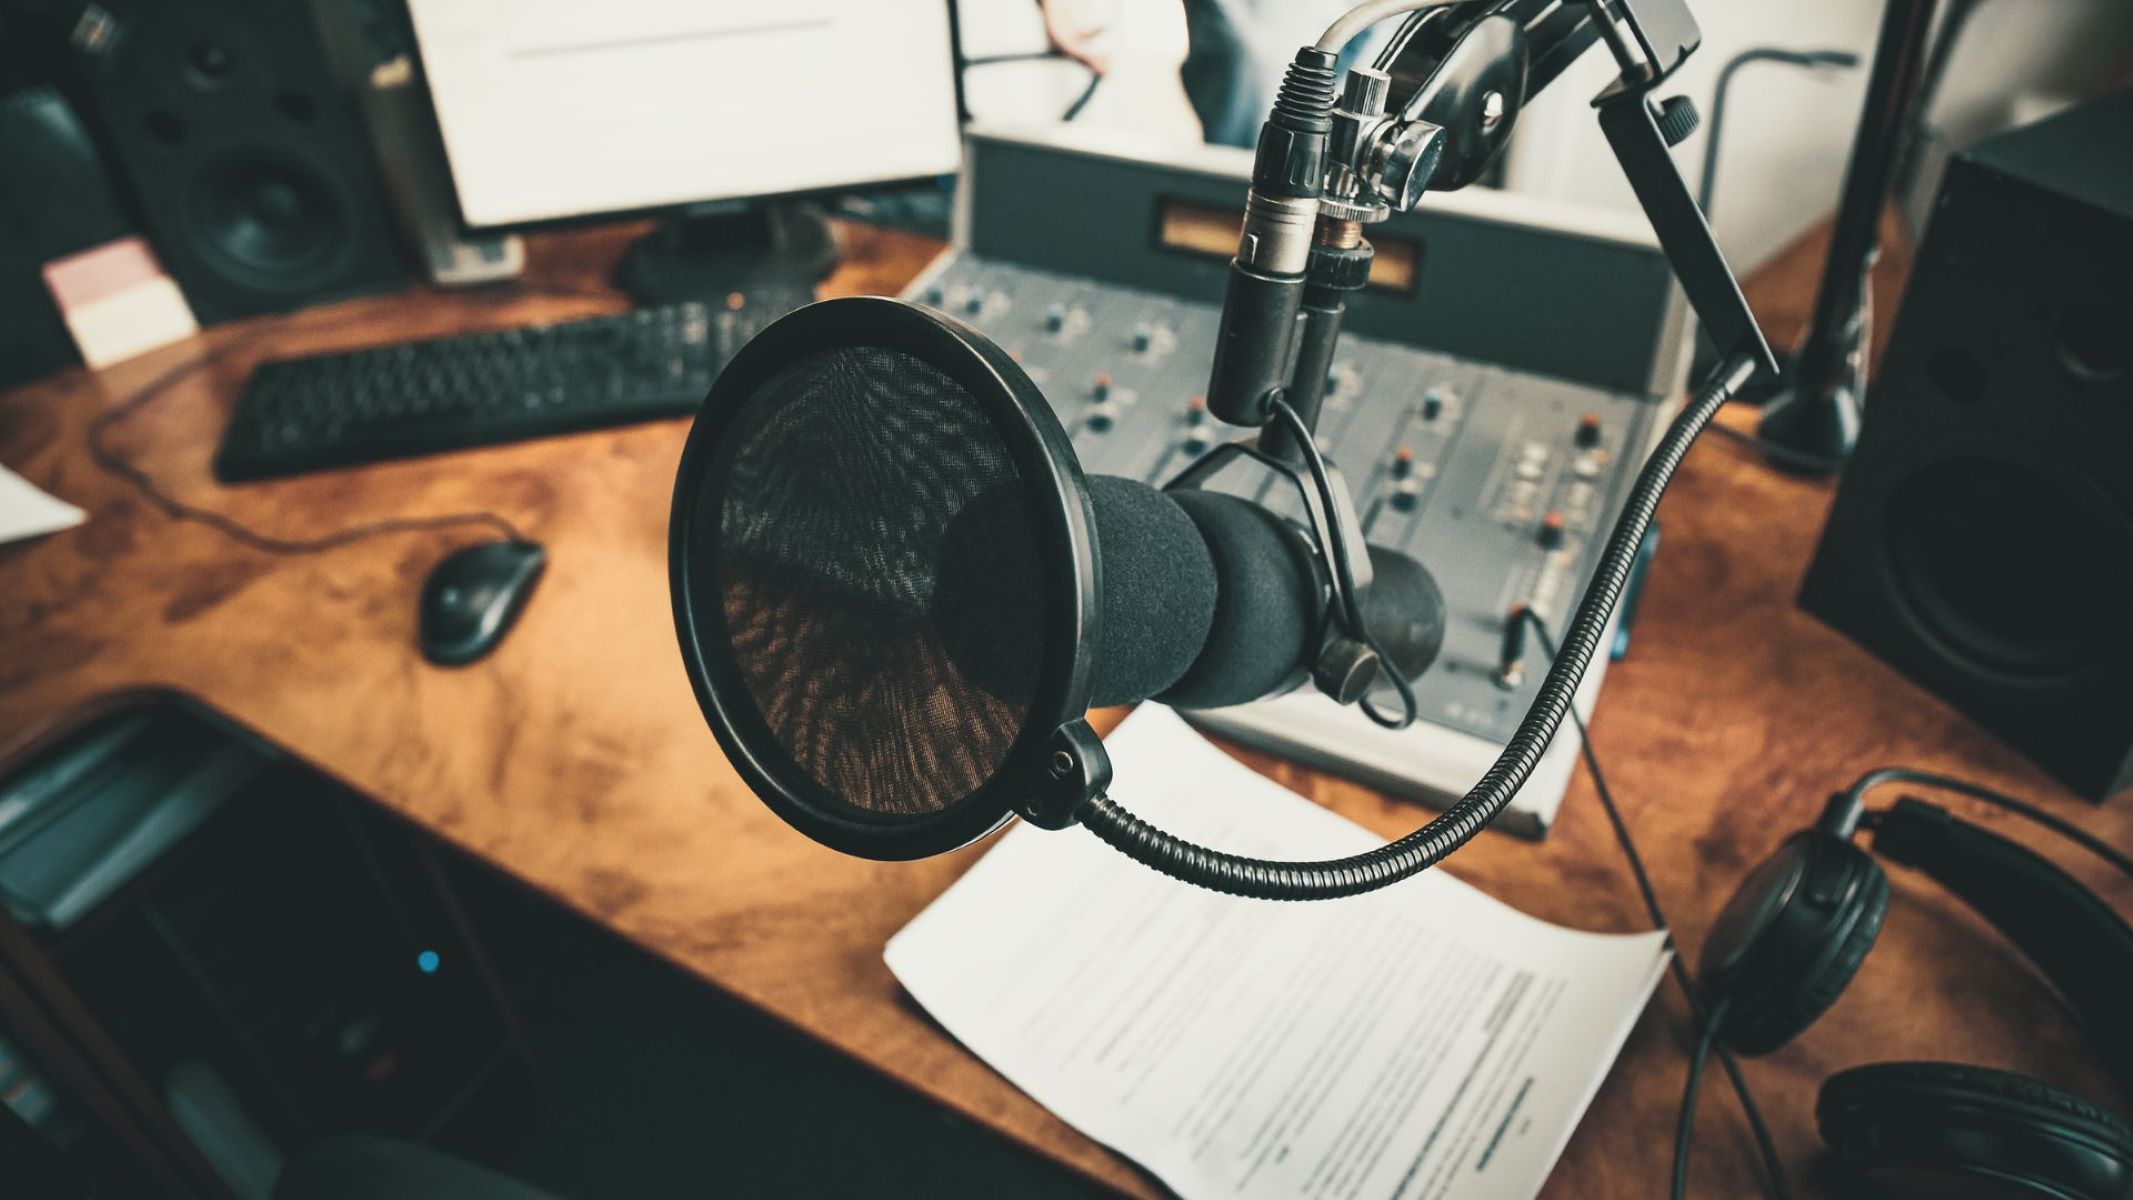
Before you begin recording on the piano, it’s essential to ensure that you have the right equipment in place. Here’s a breakdown of the key components you’ll need to set up for a successful recording session:
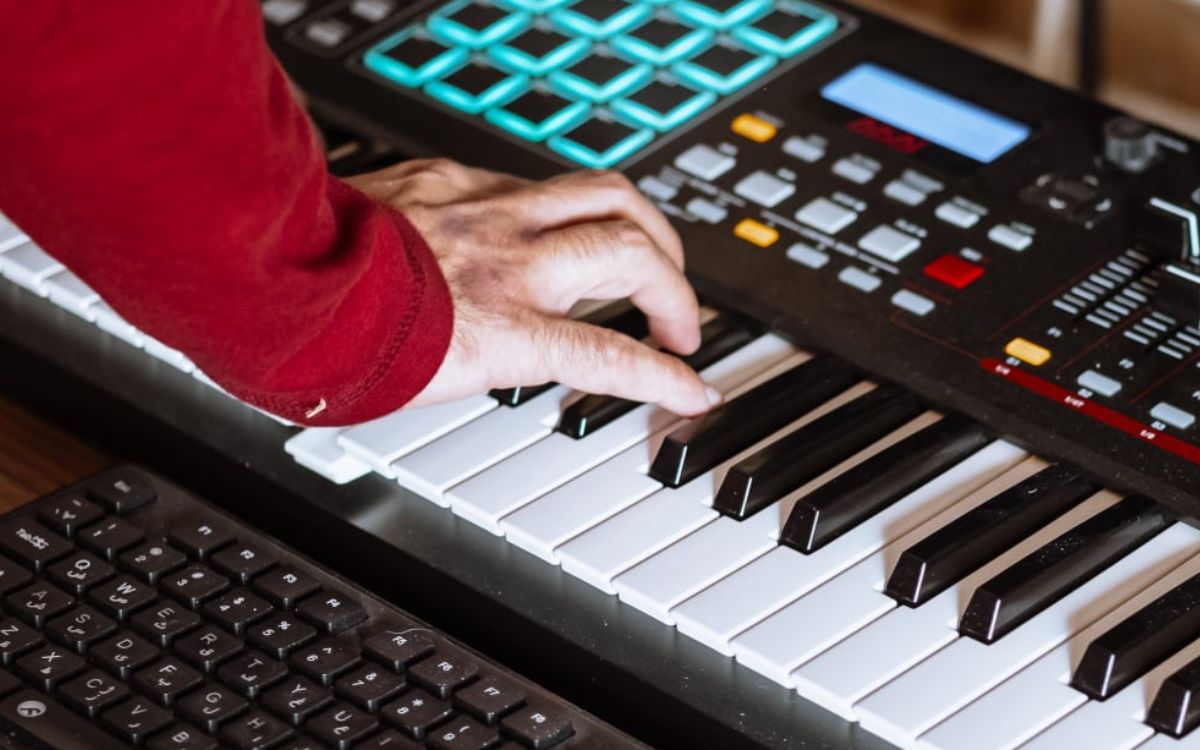
- Piano: Naturally, the first piece of equipment you’ll need is a well-maintained piano. Whether you have an acoustic grand piano, an upright piano, or a digital keyboard, it’s crucial to choose an instrument that resonates with the tonal qualities you wish to capture.
- Microphone: Selecting the right microphone is crucial for capturing the rich timbre and dynamics of the piano. A high-quality condenser microphone is often preferred for recording acoustic pianos, while dynamic microphones can be suitable for capturing the sound of digital keyboards.
- Audio Interface: An audio interface serves as the bridge between your microphone and your recording device, such as a computer or a digital recorder. It’s essential to choose an audio interface that offers clear and transparent preamps to faithfully capture the nuances of your piano performance.
- Recording Software: If you’re using a computer-based recording setup, you’ll need digital audio workstation (DAW) software to capture and edit your piano recordings. There are various DAW options available, each offering unique features for recording and producing music.
- Headphones: While not mandatory, a good pair of headphones can be invaluable for monitoring your piano performance during the recording process. They allow you to hear the nuances of your playing and make necessary adjustments in real time.
Once you have gathered all the necessary equipment, it’s crucial to set up your recording space thoughtfully. Choose a room with acoustics that complement the sound of the piano, and consider using acoustic treatment to minimize unwanted reflections and reverberations.
By meticulously setting up your equipment and creating an optimal recording environment, you’ll lay the foundation for capturing the full sonic spectrum of the piano with clarity and fidelity. With your equipment in place, you’re ready to move on to the next step: positioning the microphone for optimal sound capture.
Positioning the Microphone
Proper microphone placement is crucial for capturing the rich and nuanced sound of a piano. The goal is to position the microphone in a way that faithfully reproduces the instrument’s tonal characteristics while minimizing unwanted noise and distortion. Here are some essential tips for positioning your microphone when recording a piano:
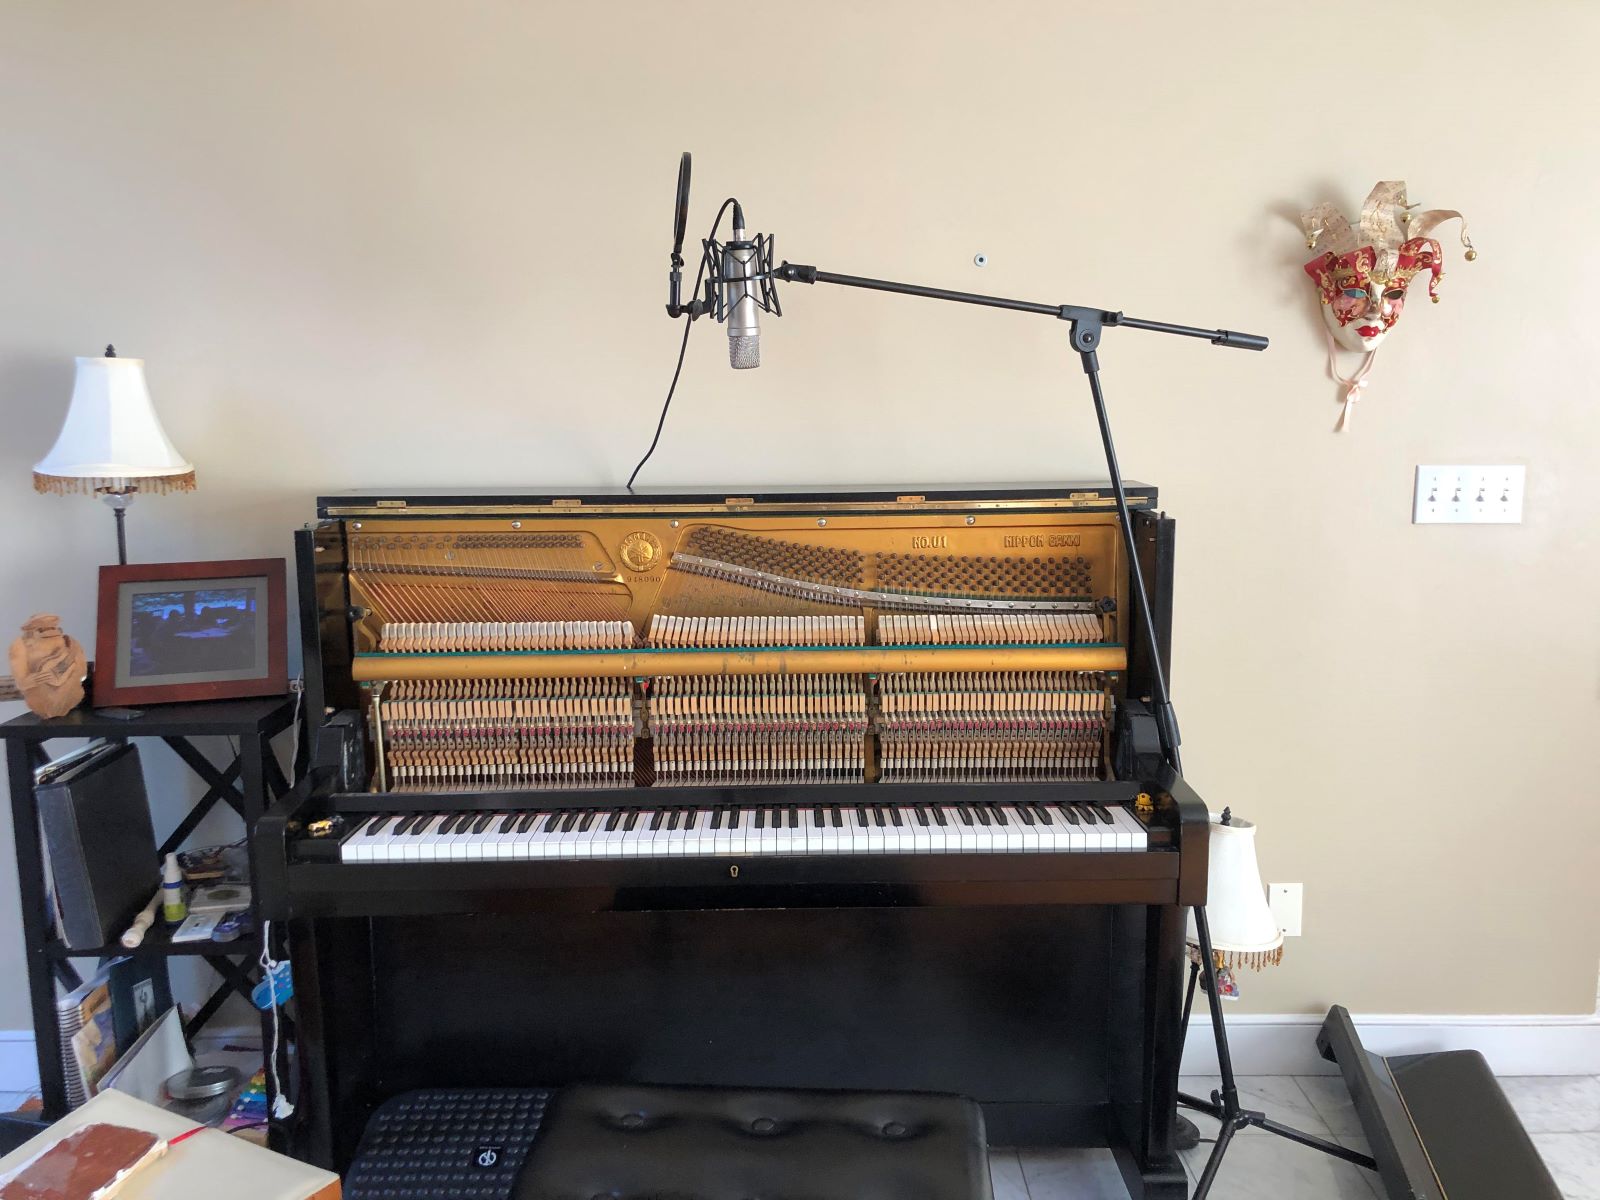
- Placement for Acoustic Pianos: When recording an acoustic piano, a common approach is to position the microphone above the strings, slightly inside the open lid. This placement allows the microphone to capture the full range of frequencies produced by the instrument, from the resonant bass notes to the shimmering treble tones.
- Distance and Angle: Experiment with the distance between the microphone and the piano to find the sweet spot that captures a balanced blend of direct sound and room ambience. Additionally, angling the microphone slightly toward the hammers can help emphasize the attack and dynamics of the notes.
- Stereo Miking: For a more immersive recording, consider using a stereo miking technique. This typically involves placing two microphones in a spaced pair or an XY configuration to capture the stereo image of the piano, creating a sense of depth and spaciousness in the recording.
- Direct and Ambient Miking: Depending on the desired sound, you can choose between focusing the microphone placement directly over the strings for a more intimate sound, or positioning the microphone further back to capture a blend of direct and ambient sound for a more expansive sonic character.
When recording a digital keyboard, the microphone placement considerations may differ. Some digital pianos offer line outputs that can be connected directly to the audio interface, bypassing the need for microphone placement. However, if you prefer to capture the sound of the built-in speakers, positioning a microphone at a suitable distance and angle can still yield excellent results.
Remember that microphone positioning is not a one-size-fits-all endeavor, and the optimal placement may vary based on the specific characteristics of your piano, the room acoustics, and your sonic preferences. Don’t hesitate to experiment with different microphone positions to find the arrangement that best captures the essence of your piano playing.
With the microphone in position, you’re now ready to delve into the intricacies of adjusting the recording settings to ensure optimal sound capture.
Adjusting the Recording Settings
Once you have your equipment set up and the microphone positioned, it’s time to fine-tune the recording settings to ensure that you capture the nuances of your piano performance with precision and clarity. Whether you’re using a digital audio workstation (DAW) or a standalone recorder, the following considerations will help you optimize your recording settings:
- Input Levels: Before you start recording, it’s crucial to set the input levels on your audio interface or recorder. Aim to achieve a healthy signal level without allowing the input to clip, which can result in distorted recordings. Monitor the input levels as you play various passages on the piano to ensure that the signal remains within the optimal range.
- Sample Rate and Bit Depth: Most recording devices and software allow you to select the sample rate and bit depth for your recordings. Higher sample rates (e.g., 48 kHz or 96 kHz) and bit depths (e.g., 24-bit) can capture more detail and dynamic range, especially in complex piano performances with subtle tonal variations.
- File Format: Choose a suitable file format for your recordings, such as WAV or FLAC, to preserve the integrity of the audio data. Lossless formats are preferred for capturing the full fidelity of the piano, ensuring that no sonic details are compromised during the recording process.
- Monitoring and Playback: Set up your monitoring system to listen to the piano performance in real time. Ensure that your headphones or studio monitors provide an accurate representation of the recorded sound, allowing you to make informed adjustments as needed during the recording process.
- Room Acoustics: Consider the acoustic characteristics of the recording space and how they influence the sound capture. If the room exhibits excessive reverberation or unwanted ambient noise, you may need to implement acoustic treatment or adjust the microphone placement to mitigate these factors.
When adjusting the recording settings, it’s important to strike a balance between capturing a clean, detailed sound and preserving the natural tonal qualities of the piano. By optimizing the input levels, sample rate, file format, and monitoring setup, you can ensure that your recordings faithfully represent the expressive nuances of your piano playing.
With the recording settings dialed in, you’re now poised to embark on the next crucial phase: employing effective recording techniques to capture the full emotional impact of your piano performance.
Recording Techniques
Recording on a piano presents a myriad of creative possibilities, allowing you to capture the expressive nuances and dynamic range of the instrument. Whether you’re aiming for a pristine, transparent sound or a more atmospheric, immersive recording, employing the right techniques can elevate your piano performances to new heights. Here are some essential recording techniques to consider:
- Close Miking: For capturing the intimate details of your piano playing, close miking can be highly effective. Positioning the microphone close to the strings or soundboard can yield a focused, detailed sound with minimal room ambience, ideal for highlighting the intricacies of your performance.
- Room Miking: If you’re seeking a more expansive, ambient sound, room miking techniques can enhance the spatial characteristics of your piano recordings. By placing the microphone further away from the instrument, you can capture the natural reverberation and resonance of the room, adding depth and warmth to the sound.
- Dynamic Mic Placement: Experiment with dynamic microphone placement to emphasize different tonal elements of the piano. Placing the microphone closer to the hammers can accentuate the percussive attack of the notes, while positioning it near the soundboard can capture the instrument’s resonant body and sustain.
- Stereo Miking: Utilizing stereo miking techniques, such as the spaced pair or XY configuration, can create a broad, immersive stereo image of the piano. This approach enhances the spatial dimension of the recording, allowing the listener to experience the full sonic panorama of the instrument.
- Performance Considerations: Beyond technical recording techniques, it’s essential to approach your piano performance with attention to dynamics, phrasing, and expression. Consider how your playing style and articulation translate into the recorded sound, and strive to convey the emotional depth of your musical interpretation through your performance.
As you explore these recording techniques, keep in mind that the optimal approach may vary based on the specific characteristics of your piano, the genre of music you’re recording, and the sonic aesthetic you wish to achieve. Don’t be afraid to experiment with different mic placements and recording methods to discover the approach that best complements your musical vision.
By leveraging these recording techniques, you can capture the essence of your piano playing with fidelity and artistry, creating recordings that resonate with depth and emotion. With your recording techniques honed, it’s time to transition to the post-production phase: editing and mixing your piano recordings to refine their sonic impact.
Editing and Mixing Your Recording
Once you’ve captured a compelling piano performance, the next step is to refine and enhance the recorded tracks through the processes of editing and mixing. These stages allow you to sculpt the sonic characteristics of the recordings, ensuring that the final output reflects your artistic vision with precision and clarity. Here’s a breakdown of the essential steps involved in editing and mixing your piano recordings:
- Editing: Begin by reviewing the recorded tracks and identifying any imperfections or inconsistencies in the performance. Use your recording software’s editing tools to address timing issues, correct wrong notes, and refine the overall musical flow. Pay attention to subtle details such as pedal noise, key release sounds, and any unwanted artifacts that may detract from the purity of the piano sound.
- Dynamic Processing: Apply dynamic processing techniques, such as compression and expansion, to ensure a balanced and controlled dynamic range in the recordings. By taming excessive peaks and enhancing the sustain of quieter passages, dynamic processing can help maintain a cohesive and polished sonic character throughout the performance.
- Equalization (EQ): Use EQ to shape the tonal balance of the piano recordings, accentuating the desired frequencies and addressing any tonal irregularities. Pay attention to the low, mid, and high-frequency ranges, aiming to achieve a natural and transparent tonal profile that complements the inherent characteristics of the piano.
- Reverberation and Ambience: Enhance the spatial dimension of the recordings by judiciously applying reverberation and ambience effects. Carefully adjust the reverb settings to create a sense of acoustic space that complements the mood and character of the piano performance, adding depth and dimension to the overall sound.
- Stereo Imaging: When working with stereo recordings, consider the stereo imaging of the piano tracks. Use panning and spatial enhancement tools to create a balanced and immersive stereo field, allowing the listener to experience the full breadth of the piano’s sonic presence.
Throughout the editing and mixing process, it’s important to maintain a delicate balance between refining the sonic qualities of the recordings and preserving the authenticity and emotional impact of the original performance. By applying thoughtful editing and mixing techniques, you can elevate your piano recordings to a professional standard, ready to be shared and enjoyed by audiences worldwide.
With the final touches applied to your piano recordings, you’ve completed a comprehensive journey through the art of recording on a piano. Whether you’re creating captivating solo piano compositions, accompanying other musicians, or producing full-fledged piano arrangements, the knowledge and techniques you’ve acquired will empower you to capture the essence of the piano with finesse and artistry.
Conclusion
Recording on a piano is a multifaceted endeavor that blends technical precision with artistic expression, offering a gateway to preserving and sharing the captivating sound of the instrument. Throughout this guide, we’ve delved into the essential steps for successfully recording on a piano, from setting up your equipment to refining your recordings through editing and mixing. By mastering the art of piano recording, you have the power to capture the soul-stirring resonance of the piano and create captivating musical experiences for yourself and your audience.
As you embark on your piano recording journey, remember that the process is not merely about capturing sound—it’s about translating the emotive depth and expressive nuances of your piano playing into a captivating auditory experience. Whether you’re a solo pianist, a composer, or a collaborator in musical projects, the ability to record on a piano opens up a world of creative possibilities, allowing you to document your musical journey and share your artistry with the world.
From selecting the right equipment and positioning the microphone to employing creative recording techniques and refining your recordings through editing and mixing, each step in the recording process contributes to the sonic tapestry of your piano performances. Embrace the opportunity to experiment, innovate, and imbue your recordings with your unique musical identity, transforming each recording into a testament of your artistic vision.
As you continue to hone your piano recording skills, remember that the journey is as enriching as the destination. Embrace the learning process, celebrate the moments of creative discovery, and let your passion for the piano resonate through every recording you create. Whether you’re capturing the delicate intimacy of a solo piano piece or the grandeur of a virtuosic performance, your recordings have the potential to inspire and move listeners, transcending the boundaries of time and space.
So, with your newfound knowledge and expertise in piano recording, step confidently into the realm of sonic exploration and musical storytelling. The piano awaits as your faithful companion, ready to channel your creativity and convey the depth of human emotion through its resounding keys. As you embark on this musical odyssey, may your recordings echo with the timeless allure of the piano, weaving tales of beauty, passion, and artistry for all who lend their ears to listen.