Home>Production & Technology>Acoustic>How To Paint An Acoustic Guitar
Acoustic
How To Paint An Acoustic Guitar
Published: March 11, 2024
Learn how to paint an acoustic guitar with our step-by-step guide. Transform your instrument with our expert tips and techniques for a stunning finish.
(Many of the links in this article redirect to a specific reviewed product. Your purchase of these products through affiliate links helps to generate commission for AudioLover.com, at no extra cost. Learn more)
Table of Contents
Introduction
Painting an acoustic guitar can be a rewarding and creative endeavor that allows you to personalize your instrument and make it truly your own. Whether you're looking to add a splash of color, intricate designs, or a vintage-inspired finish, the process of painting an acoustic guitar requires careful consideration, attention to detail, and a passion for craftsmanship.
When it comes to transforming the appearance of your acoustic guitar, the possibilities are virtually endless. From classic solid colors to elaborate custom designs, the choice of paint and the application technique can significantly impact the final result. However, before diving into the painting process, it's crucial to understand the fundamentals of guitar painting, including the selection of the right paint, surface preparation, and the application of base and top coats.
In this comprehensive guide, we will explore the step-by-step process of painting an acoustic guitar, covering everything from choosing the appropriate paint to adding intricate designs and applying the final protective coat. By following these detailed instructions and tips, you can embark on a creative journey to transform your acoustic guitar into a unique work of art that reflects your personal style and musical identity.
So, whether you're a seasoned luthier or a passionate DIY enthusiast, join us as we delve into the art of painting acoustic guitars and unlock the potential to breathe new life into your beloved instrument. Get ready to unleash your creativity and elevate the visual appeal of your acoustic guitar through the transformative power of paint.
Choosing the Right Paint
Selecting the appropriate paint for your acoustic guitar is a critical decision that will significantly influence the final outcome of your painting project. When it comes to choosing the right paint, several factors must be taken into consideration to ensure a successful and durable finish. Here's a detailed look at the key considerations when selecting paint for your acoustic guitar:
Acrylic vs. Nitrocellulose Lacquer
Acrylic and nitrocellulose lacquer are two popular types of paint used for guitar finishing. Acrylic paint, known for its versatility and ease of use, offers a wide range of colors and finishes, making it an attractive option for DIY guitar painters. On the other hand, nitrocellulose lacquer, favored for its vintage appeal and ability to enhance the guitar's tonal qualities, requires more expertise in application but yields a professional and authentic finish.
Color and Finish Options
When choosing the paint for your acoustic guitar, consider the desired color and finish options that align with your creative vision. Whether you prefer a classic solid color, a vibrant metallic finish, or a translucent stain that showcases the wood grain, it's essential to explore the diverse range of paint colors and finishes available to achieve the desired aesthetic for your instrument.
Durability and Protection
The durability and protective qualities of the paint are crucial factors to ensure the longevity of the guitar's finish. Look for high-quality paints that offer excellent adhesion, resistance to wear and tear, and protection against environmental elements. Additionally, consider the compatibility of the paint with clear top coats and sealers to enhance the overall durability of the finish.
Application Method
Consider the application method required for the chosen paint. Some paints may be suitable for spray application, while others are designed for brush or sponge application. Understanding the application requirements will help you determine the most suitable painting technique and equipment needed to achieve a professional and flawless finish.
Compatibility with Guitar Materials
Ensure that the chosen paint is compatible with the materials of your acoustic guitar, especially the wood and existing finish. Certain paints may require specific primers or preparation techniques to ensure proper adhesion and compatibility with the guitar's surface, preventing potential issues such as peeling or cracking over time.
By carefully considering these factors and exploring the diverse options available, you can make an informed decision when choosing the right paint for your acoustic guitar painting project. Whether you opt for the versatility of acrylic paint or the vintage charm of nitrocellulose lacquer, selecting the appropriate paint sets the foundation for a successful and visually stunning transformation of your beloved instrument.
Preparing the Guitar Surface
Preparing the surface of the acoustic guitar is a crucial step that sets the stage for a flawless and long-lasting paint finish. Proper surface preparation not only ensures optimal adhesion of the paint but also contributes to the overall aesthetic quality of the final result. Here's a detailed overview of the essential steps involved in preparing the guitar surface for painting:
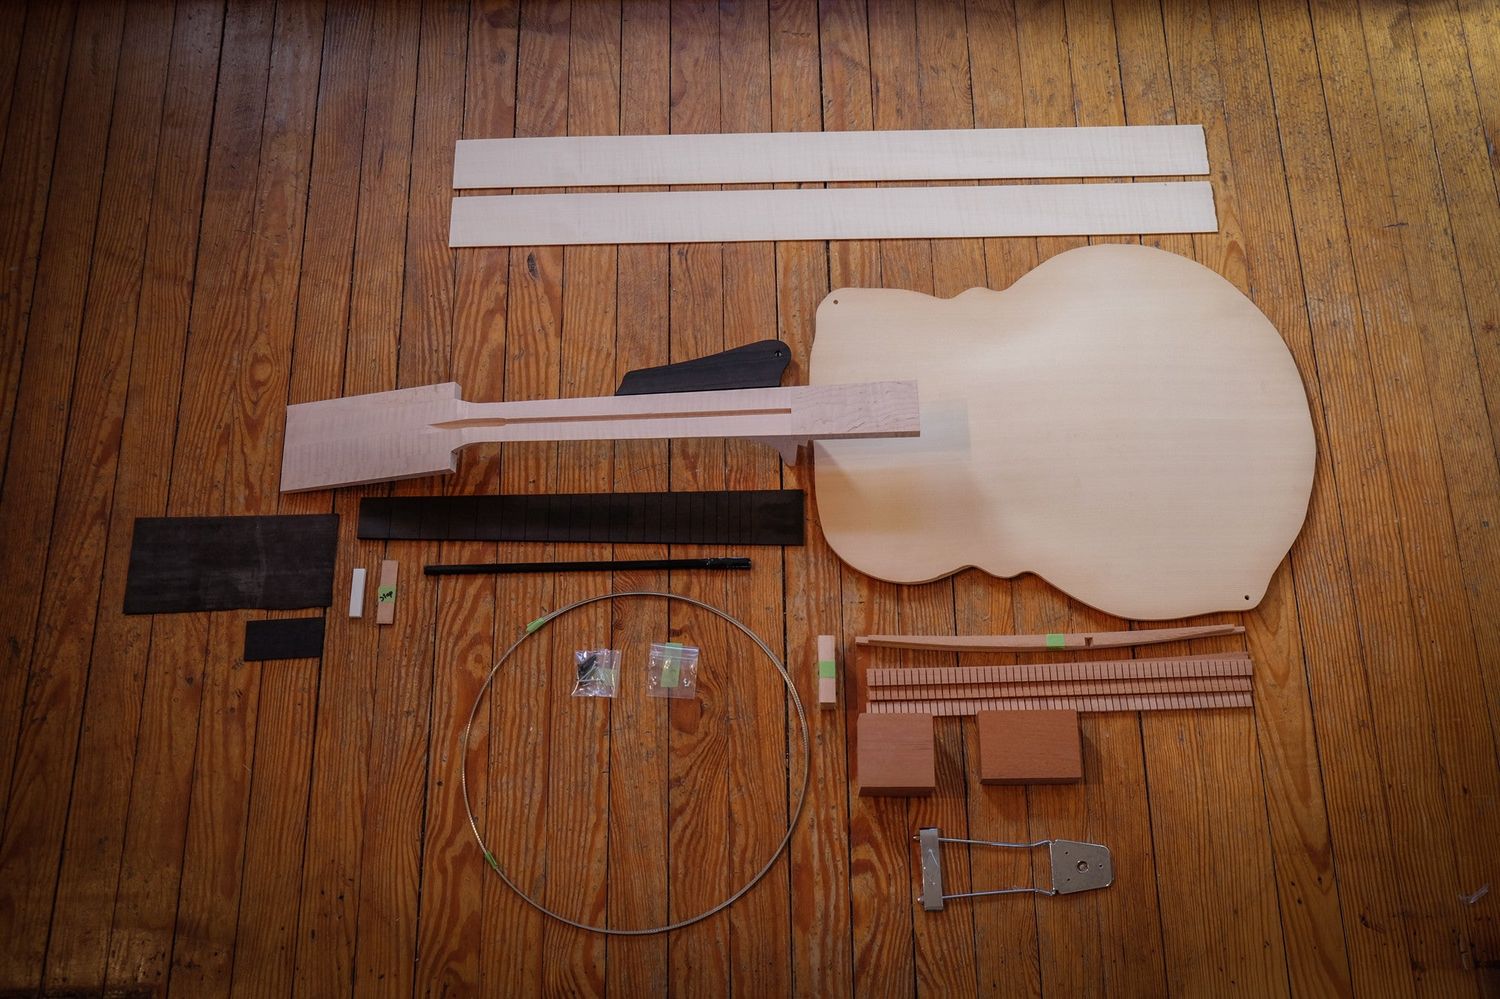
Disassembly and Inspection
Before initiating the surface preparation process, it's advisable to disassemble the guitar, removing the strings, hardware, and any other components that may interfere with the painting process. This allows for thorough access to the guitar's body, enabling a comprehensive inspection of the surface for any imperfections, existing finish irregularities, or structural issues that may require attention before proceeding with the painting process.
Cleaning and Stripping
The next step involves thoroughly cleaning the guitar's surface to remove any dirt, oils, or residues that could hinder paint adhesion. Using a mild detergent or specialized guitar cleaning solution, gently clean the body of the guitar, ensuring that it is free from any contaminants. Additionally, if the guitar has an existing finish, it may be necessary to strip the old paint or clear coat using appropriate stripping agents and techniques to create a clean and uniform surface for the new paint application.
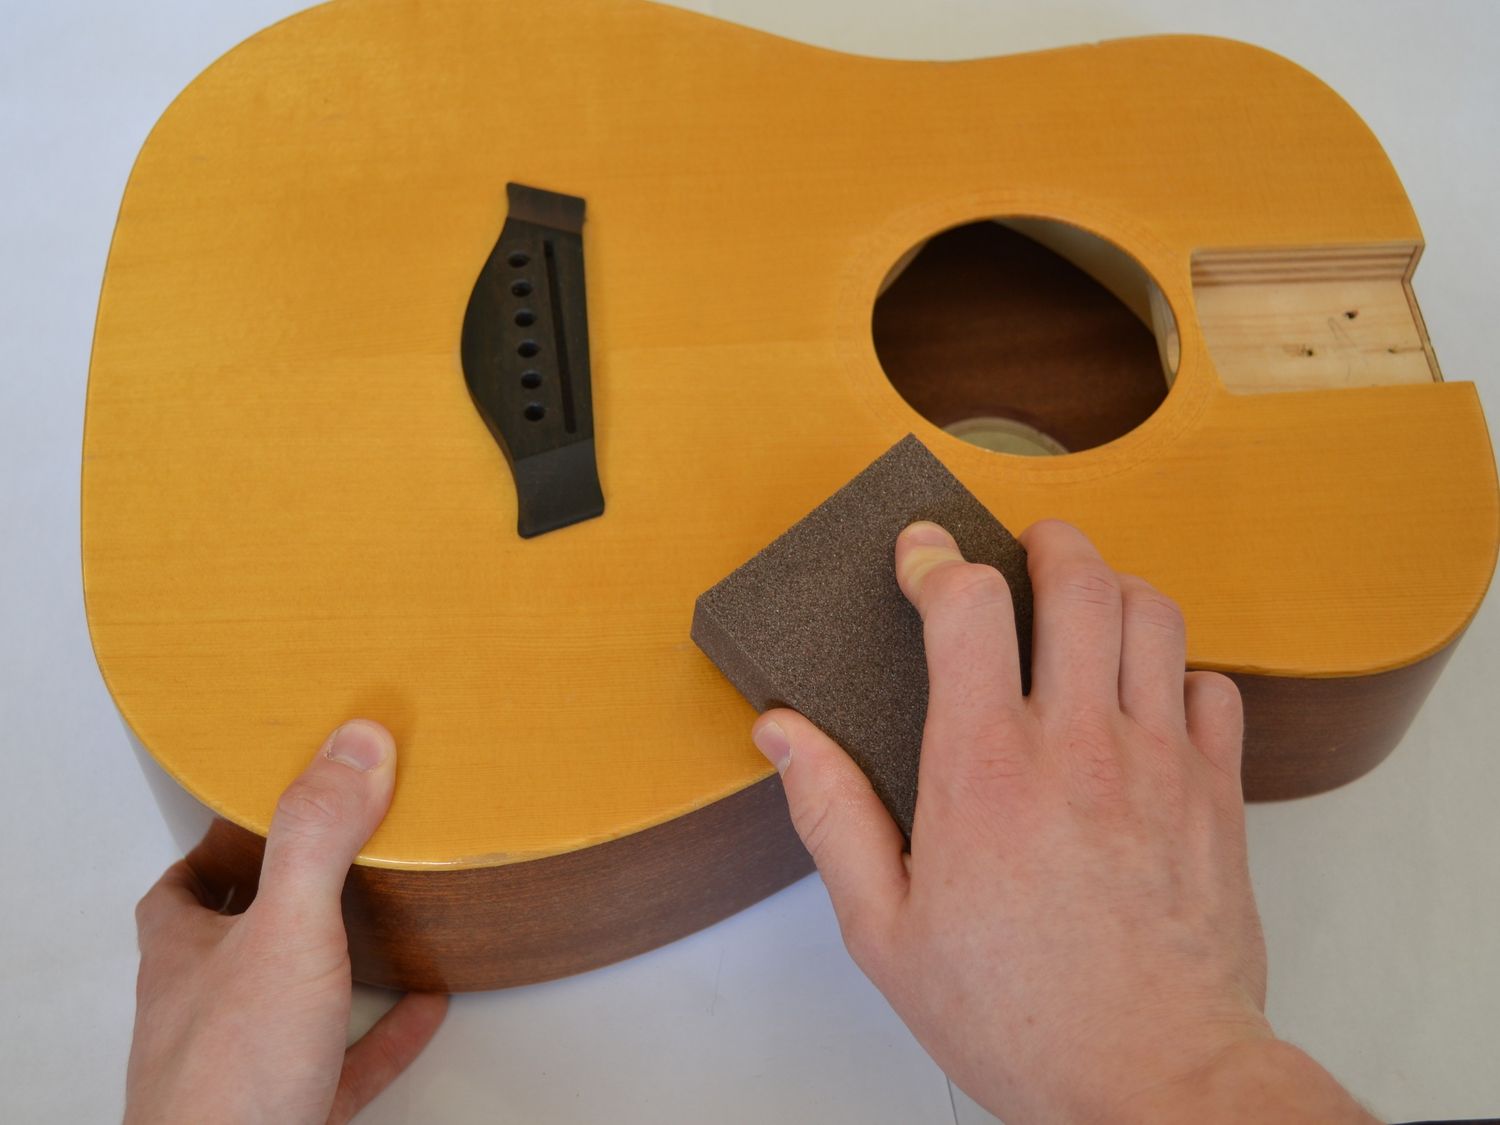
Sanding and Smoothing
Once the surface is clean and free of any previous finish, the guitar body should be carefully sanded to promote adhesion and create a smooth canvas for the paint. Begin with a coarse-grit sandpaper to remove any imperfections, blemishes, or uneven surfaces, gradually progressing to finer-grit sandpapers to achieve a uniformly smooth and scuff-free surface. This meticulous sanding process not only prepares the wood for paint but also promotes a professional-looking finish.
Filling and Sealing
In cases where the guitar body exhibits minor dents, scratches, or imperfections, it's essential to address these issues before painting. Utilizing wood fillers or grain fillers, carefully fill any small gaps or imperfections, followed by sanding to ensure a seamless and level surface. Additionally, applying a suitable wood sealer or pore filler can help enhance the uniformity of the guitar's surface, minimizing the visibility of grain irregularities and ensuring a consistent paint absorption across the body.
Masking and Protection
To safeguard the guitar's internal components, fretboard, and other non-paintable areas, meticulous masking and protection are essential. Using high-quality masking tape, carefully cover the fretboard, soundhole, binding, and any other areas that should remain unpainted. Additionally, consider using protective materials to shield the guitar's interior and neck joint, ensuring that only the designated areas are exposed for the paint application.
By meticulously following these preparatory steps, you can establish a solid foundation for the subsequent stages of the guitar painting process. The attention to detail and precision in preparing the guitar surface not only facilitates a seamless and professional paint application but also contributes to the overall visual appeal and durability of the finished paintwork. With the guitar surface meticulously prepared, you are now ready to embark on the transformative journey of adding color, designs, and protective coatings to your acoustic instrument.
Applying the Base Coat
The application of the base coat marks a pivotal stage in the process of painting an acoustic guitar, laying the groundwork for the desired color and providing a solid foundation for subsequent layers of paint. This critical step requires precision, patience, and a keen eye for detail to achieve a flawless and uniform base that serves as the canvas for the final finish. Here's a comprehensive overview of the essential considerations and steps involved in applying the base coat to your acoustic guitar:
Surface Preparation
Before applying the base coat, it's imperative to ensure that the guitar surface is meticulously prepared as per the previously outlined steps. The surface should be clean, smooth, and free from any contaminants, ensuring optimal adhesion and a professional-quality finish. Any imperfections or blemishes should be addressed, and the masked areas should be thoroughly protected to prevent unintended paint application.
Choosing the Application Method
The selection of the application method plays a crucial role in achieving a consistent and even base coat. Depending on the chosen paint type and personal preference, the base coat can be applied using various techniques such as spray painting, brush application, or airbrushing. Each method offers distinct advantages, and the choice should align with the desired finish and the painter's proficiency with the selected application technique.
Applying Thin and Even Layers
When applying the base coat, it's essential to start with thin and even layers to build up the color gradually. This approach promotes better adhesion, minimizes the risk of runs or drips, and allows for precise control over the depth of color. By applying multiple thin coats, each layer can be allowed to dry before the next application, ensuring a smooth and uniform base without the risk of overloading the surface with excessive paint.
Ensuring Uniform Coverage
Achieving uniform coverage across the entire guitar body is paramount to the success of the base coat application. Careful attention should be given to avoid uneven patches or streaks, and the paint should be applied consistently to all visible surfaces, including the sides, back, and top of the guitar. This meticulous approach contributes to a professional-looking base coat that sets the stage for the subsequent decorative or protective layers.
Allowing Sufficient Drying Time
After each application of the base coat, allowing sufficient drying time is crucial to ensure that the paint cures properly and forms a durable foundation for the subsequent layers. Depending on the paint type and environmental conditions, the drying time may vary, and it's essential to follow the manufacturer's recommendations for optimal drying and curing.
By meticulously following these steps and considerations, you can achieve a flawless and uniform base coat that serves as the cornerstone of your acoustic guitar painting project. The base coat not only sets the stage for the creative expression of color and design but also contributes to the overall durability and aesthetic appeal of the finished paintwork. With the base coat expertly applied, you are now poised to explore the exciting realm of adding intricate designs, patterns, and the protective top coat to elevate your acoustic guitar into a true work of art.
Adding Designs or Patterns
Once the base coat has been expertly applied and allowed to dry, the stage is set for the creative infusion of designs or patterns that will impart a unique and personalized aesthetic to your acoustic guitar. Whether you envision intricate motifs, striking graphics, or subtle embellishments, the process of adding designs or patterns demands precision, artistic flair, and a meticulous approach to achieve a visually captivating result.
Sketching and Planning
Before delving into the actual application of designs or patterns, it's beneficial to sketch and plan the visual elements that will adorn the guitar's surface. Whether you opt for freehand drawing, stencils, or templates, outlining the intended designs on paper or digitally allows for experimentation and refinement of the visual concept. This preliminary phase enables you to visualize the placement, proportions, and overall composition of the designs, ensuring a cohesive and harmonious integration with the guitar's contours and features.
Selection of Application Techniques
The selection of application techniques plays a pivotal role in bringing the envisioned designs to life. Depending on the complexity and intricacy of the patterns, options such as brush painting, airbrushing, decal application, or intricate inlay work can be considered. Each technique offers distinct advantages in terms of precision, control, and the ability to achieve intricate details, and the choice should align with the desired visual impact and the painter's proficiency with the selected method.
Precision and Attention to Detail
When applying designs or patterns, precision and attention to detail are paramount to achieving a professional and visually striking result. Whether executing freehand designs or utilizing templates, maintaining a steady hand and exercising patience is essential to ensure clean lines, consistent shapes, and accurate replication of the intended motifs. Meticulous attention to detail contributes to the overall refinement and visual impact of the designs, elevating the aesthetic appeal of the guitar's appearance.
Harmonizing with the Base Coat
Harmonizing the designs or patterns with the base coat color and texture is crucial to achieving a cohesive and visually appealing finish. Whether the designs complement the base color, create a striking contrast, or seamlessly integrate with the underlying hues, the harmonious interplay between the base coat and the applied designs enhances the overall visual impact and cohesiveness of the painted surface.
Protective Considerations
Incorporating protective considerations into the design application process is essential to ensure the longevity and durability of the visual elements. Whether utilizing specialized sealants, clear coats, or protective finishes, safeguarding the applied designs from wear, abrasion, and environmental factors is crucial. Additionally, selecting materials that offer excellent adhesion to the base coat and compatibility with the chosen paint type contributes to the overall resilience and longevity of the designs.
By meticulously navigating the process of adding designs or patterns, you can infuse your acoustic guitar with a personalized and visually captivating aesthetic that reflects your artistic vision and creative expression. Whether opting for intricate motifs, bold graphics, or subtle embellishments, the meticulous execution of designs or patterns elevates your guitar into a unique and captivating work of art, showcasing your individuality and passion for craftsmanship.
Applying the Top Coat
The application of the top coat represents the final stage in the process of painting an acoustic guitar, culminating in the protective sealing of the base coat and any applied designs or patterns. This critical step not only enhances the visual appeal of the guitar's finish but also ensures durability, resilience, and long-term protection against wear, environmental factors, and the rigors of musical performance. Here's a comprehensive exploration of the essential considerations and steps involved in applying the top coat to your acoustic guitar:
Selecting the Protective Finish
Choosing the appropriate protective finish is a pivotal decision that directly influences the longevity and visual impact of the painted surface. Options such as clear lacquer, polyurethane, or specialized guitar finishes offer varying degrees of durability, gloss levels, and protective qualities. Consider the desired sheen, level of UV protection, and compatibility with the base coat and applied designs when selecting the protective finish, ensuring that it aligns with the overall aesthetic vision and performance requirements.
Application Method and Technique
The selection of the application method and technique plays a crucial role in achieving a flawless and uniform top coat. Whether opting for spray application, brush-on techniques, or specialized coating processes, the chosen method should facilitate even coverage, minimize the risk of imperfections, and allow for precise control over the thickness of the protective layer. Each application technique offers distinct advantages, and the choice should align with the desired finish and the painter's proficiency with the selected method.
Building Up Protective Layers
Applying multiple thin layers of the protective finish is essential to build up a resilient and uniform coating that safeguards the underlying paintwork. Each layer should be applied with precision, ensuring consistent coverage and allowing sufficient drying time between applications. This meticulous approach not only enhances the protective qualities of the top coat but also contributes to the overall depth and luster of the finished surface, creating a visually captivating and professional-quality appearance.
Ensuring Uniform Coverage and Smooth Finish
Achieving uniform coverage and a smooth finish across the entire guitar body is paramount to the success of the top coat application. Careful attention should be given to avoid drips, runs, or uneven patches, and the protective finish should be meticulously applied to all visible surfaces, including the sides, back, and top of the guitar. This meticulous approach contributes to a professional-looking top coat that enhances the visual appeal and durability of the painted surface.
Curing and Final Polishing
After the application of the top coat, allowing sufficient curing time is crucial to ensure that the protective finish fully sets and forms a resilient barrier. Depending on the type of protective finish and environmental conditions, the curing time may vary, and it's essential to adhere to the manufacturer's recommendations for optimal drying and curing. Once the protective finish has cured, a final polishing process can be undertaken to refine the surface, enhance the luster, and achieve a mirror-like sheen, elevating the overall visual impact of the painted guitar.
By meticulously navigating the process of applying the top coat, you can achieve a visually stunning and durable finish that not only enhances the aesthetic appeal of the acoustic guitar but also ensures long-term protection and resilience. The top coat serves as the final layer of craftsmanship, encapsulating the creative vision and dedication poured into the painting process, and elevating the acoustic guitar into a true work of art that reflects your individuality and passion for musical expression.
Finishing Touches
After completing the application of the top coat, attention turns to the crucial phase of adding the finishing touches to elevate the visual appeal and overall presentation of the painted acoustic guitar. This stage encompasses meticulous detailing, final inspections, and the integration of additional elements that contribute to the cohesiveness and refinement of the instrument's appearance.
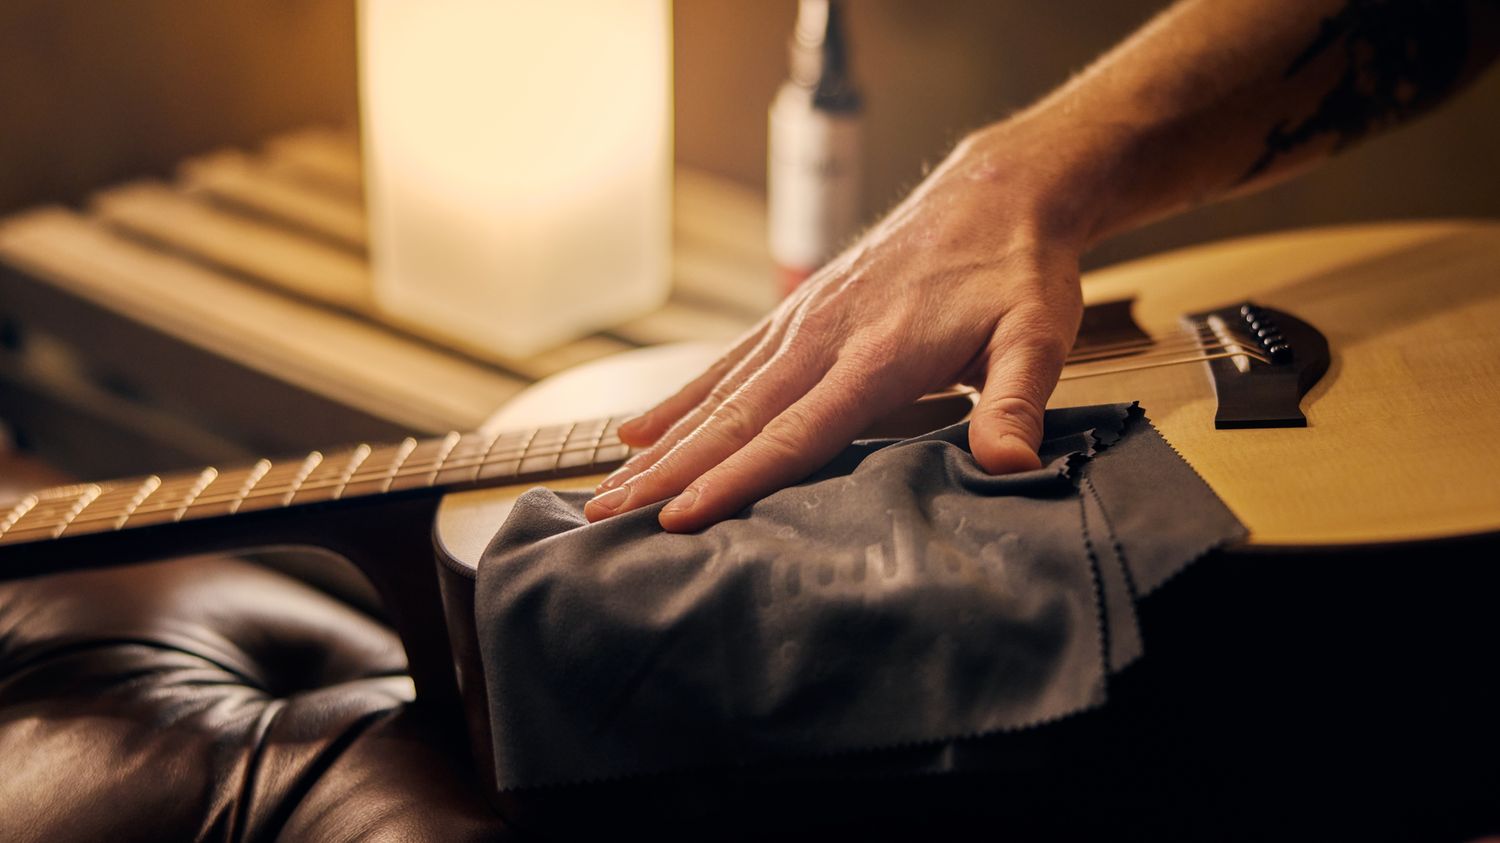
Detailing and Polishing
Detailing the guitar's surface involves a meticulous assessment of the top coat to identify any imperfections, irregularities, or blemishes that may require attention. This process may entail light sanding to address minor flaws, followed by a final polishing to enhance the luster and smoothness of the finish. By meticulously refining the surface, the guitar's appearance is elevated to a professional standard, showcasing a flawless and mirror-like sheen that captivates the eye.
Hardware and Component Reassembly
With the painted surface perfected, the reassembly of hardware and components commences, marking the transition from a canvas of creativity to a fully functional and visually striking musical instrument. Careful attention is given to the installation of tuning pegs, bridge components, and other hardware, ensuring a seamless integration that complements the painted finish and enhances the overall aesthetic harmony of the guitar.
String Installation and Setup
The installation of strings represents a pivotal moment as the guitar is brought to life through the harmonious union of visual artistry and musical functionality. String installation is accompanied by meticulous adjustments to achieve optimal string tension, intonation, and playability, culminating in a fully restored and personalized acoustic guitar that embodies both visual allure and musical prowess.
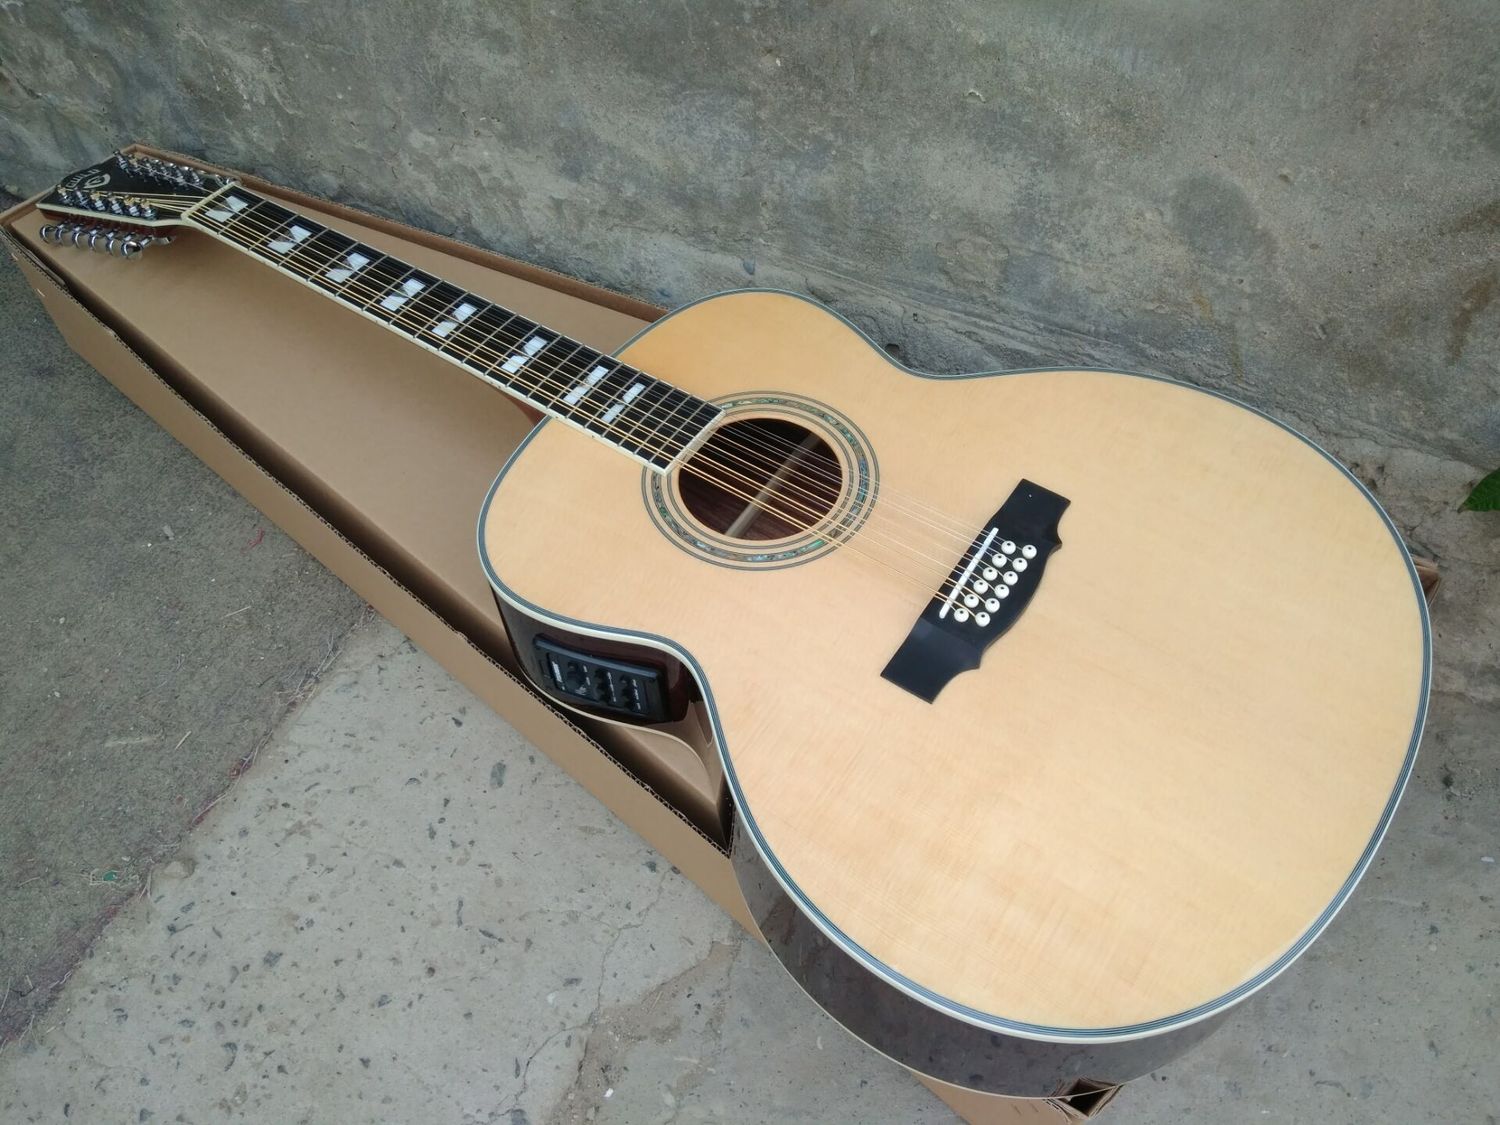
Final Inspection and Quality Assurance
A comprehensive final inspection is conducted to meticulously scrutinize every aspect of the painted acoustic guitar, ensuring that the finishing touches are flawlessly executed and that the instrument meets the highest standards of craftsmanship. This meticulous quality assurance process encompasses a keen assessment of the paintwork, hardware functionality, and overall presentation, affirming that the guitar is poised to inspire and delight both visually and musically.
Personalization and Identity
The finishing touches encapsulate the essence of personalization and identity, as the painted acoustic guitar emerges as a unique and expressive reflection of the artist's vision and passion. Whether adorned with intricate designs, vibrant colors, or subtle embellishments, the finishing touches imbue the instrument with a distinct character and narrative, establishing a profound connection between the artist and their musical companion.
By meticulously attending to the finishing touches, the painted acoustic guitar transcends its functional purpose, evolving into a captivating and evocative work of art that resonates with individuality, creativity, and the transformative power of craftsmanship. With the completion of the finishing touches, the painted acoustic guitar stands as a testament to the fusion of artistic expression and musical excellence, ready to inspire and enchant both players and admirers alike.
Conclusion
In conclusion, the process of painting an acoustic guitar is a transformative journey that combines artistic expression, craftsmanship, and a profound connection to musical creativity. From the meticulous selection of paint and surface preparation to the application of base coats, intricate designs, protective top coats, and finishing touches, every step in the painting process contributes to the evolution of the acoustic guitar into a personalized work of art.
The act of painting an acoustic guitar transcends the boundaries of traditional instrument customization, offering a canvas for self-expression and individuality. Each brushstroke, design element, and protective layer encapsulates the artist's vision, passion, and dedication, culminating in a visually captivating and emotionally resonant instrument that reflects the artist's unique identity.
Furthermore, the process of painting an acoustic guitar fosters a deep appreciation for the instrument's craftsmanship and construction. It invites artists, luthiers, and DIY enthusiasts to engage with the guitar on a profound level, gaining insight into its structural intricacies, tonal characteristics, and visual aesthetics. This intimate connection with the instrument fosters a sense of reverence and admiration, elevating the painting process into a transformative and enriching artistic endeavor.
Moreover, the painted acoustic guitar serves as a testament to the fusion of art and music, embodying the harmonious convergence of visual allure and sonic expression. As the vibrant colors, intricate designs, and protective finishes come together, the guitar emerges as a captivating storyteller, weaving a narrative of creativity, passion, and individuality through its meticulously painted surface.
Ultimately, the painted acoustic guitar stands as a symbol of artistic ingenuity, personalization, and the enduring spirit of musical innovation. It represents a tangible manifestation of the artist's creative vision, resonating with the power of self-expression and the boundless possibilities of artistic transformation.
In essence, the process of painting an acoustic guitar transcends the realm of mere customization, evolving into a profound artistic odyssey that celebrates the fusion of visual artistry and musical craftsmanship. It invites individuals to embark on a journey of self-discovery, creativity, and boundless imagination, culminating in the creation of a visually stunning and emotionally resonant instrument that embodies the artist's unique voice and passion for musical expression.