Home>Instruments>Guitar>How To Paint A Guitar Body
Guitar
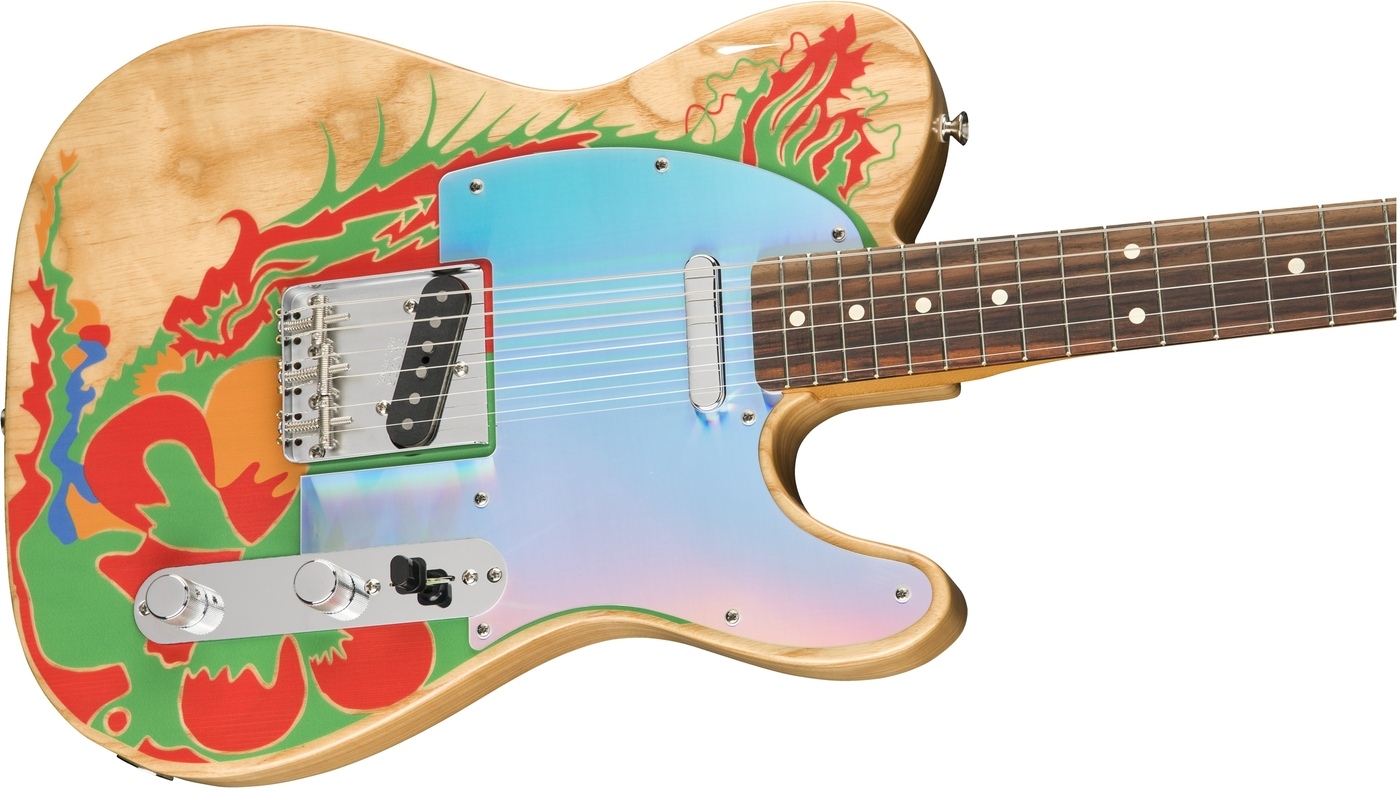
How To Paint A Guitar Body
Published: February 13, 2024
Learn how to paint a guitar body with our step-by-step guide. Transform your guitar with our expert tips and techniques. Perfect for guitar enthusiasts!
(Many of the links in this article redirect to a specific reviewed product. Your purchase of these products through affiliate links helps to generate commission for AudioLover.com, at no extra cost. Learn more)
Table of Contents
Introduction
So, you've decided to give your beloved guitar a fresh new look by painting its body. Whether you're aiming for a vibrant burst of color, a sleek metallic finish, or a vintage relic-style appearance, painting a guitar body can be a rewarding and creative endeavor. Not only does it allow you to personalize your instrument, but it also provides an opportunity to showcase your artistic flair.
Before embarking on this project, it's essential to familiarize yourself with the necessary steps and materials required to achieve professional-looking results. From preparing the guitar body to applying primer, adding the perfect coat of paint, and finishing with a protective clear coat, each stage demands precision and attention to detail. With the right guidance and a touch of patience, you can transform your guitar into a stunning work of art that reflects your unique style.
In this comprehensive guide, we'll walk through the step-by-step process of painting a guitar body, covering everything from the essential materials to the final assembly. By the end of this journey, you'll be equipped with the knowledge and confidence to breathe new life into your instrument, making it a true reflection of your creativity and individuality. So, roll up your sleeves, gather your supplies, and let's dive into the exciting world of guitar body painting.
Materials Needed
Before delving into the process of painting a guitar body, it’s crucial to gather all the essential materials. Each item plays a vital role in achieving a professional and long-lasting finish. Here’s a comprehensive list of the materials you’ll need:
- Guitar Body: The guitar body to be painted, preferably stripped of any existing finish and sanded to a smooth surface.
- Sandpaper: Various grits for sanding the guitar body, typically ranging from 120 to 400 grit.
- Masking Tape: High-quality tape for covering any areas of the guitar body that should not be painted.
- Drop Cloths or Newspapers: To protect the work area from paint and primer overspray.
- Primer: A high-quality primer suitable for the guitar body material, such as wood or metal.
- Paint: Acrylic, nitrocellulose, or polyurethane paint in the color of your choice.
- Clear Coat: A clear topcoat for protecting the paint and adding a glossy finish.
- Spray Gun or Aerosol Cans: Depending on the paint type, a spray gun or aerosol cans for applying the primer and paint.
- Sanding Sealer (Optional): Used to seal the guitar body before applying the primer.
- Respirator Mask: A mask designed for painting to protect against fumes and particles.
- Protective Gloves: To shield your hands from chemicals and paint.
- Respirator Mask: A mask designed for painting to protect against fumes and particles.
- Protective Gloves: To shield your hands from chemicals and paint.
- Buffer and Polishing Compounds: For buffing and polishing the clear coat to a high gloss (if desired).
- Workspace: A well-ventilated and dust-free area for painting and allowing the guitar body to dry.
By ensuring that you have all these materials on hand, you’ll be fully equipped to commence the guitar body painting process with confidence and precision.
Preparing the Guitar Body
Before applying a fresh coat of paint, the guitar body must undergo meticulous preparation to ensure optimal adhesion and a flawless finish. This phase involves a series of steps aimed at creating a clean, smooth surface that is ready to receive the primer and paint. Here’s a detailed breakdown of the preparatory process:
- Stripping the Existing Finish: If the guitar body has an existing finish, it must be completely removed to expose the bare wood or base material. This can be achieved through sanding, chemical stripping, or a combination of both methods, depending on the original finish.
- Sanding: Once the existing finish is removed, the guitar body needs to be sanded thoroughly to create a smooth surface for the new paint. Begin with a coarse grit sandpaper, such as 120 or 150, to eliminate any imperfections or blemishes. Gradually progress to finer grits, such as 220, 320, and 400, until the entire surface feels uniformly smooth to the touch.
- Cleaning: After sanding, it’s crucial to remove all dust and debris from the guitar body. Wipe it down with a tack cloth or a clean, lint-free cloth dampened with a suitable cleaning solvent to ensure that the surface is free of any contaminants that could affect the paint’s adhesion.
- Masking: Use high-quality masking tape to cover any areas of the guitar body that should not be painted, such as the neck pocket, pickup cavities, and any binding or inlay details. This meticulous masking ensures that the paint is applied only to the intended areas.
By meticulously preparing the guitar body, you create the ideal foundation for the subsequent stages of the painting process. This attention to detail sets the stage for a professional-quality finish that will enhance the aesthetic appeal of your instrument.
Applying Primer
Once the guitar body is meticulously prepared, the next crucial step in the painting process is the application of a high-quality primer. The primer serves as a bonding agent, creating a uniform surface for the paint while enhancing adhesion and promoting a durable finish. Here’s a detailed overview of the process of applying primer to the guitar body:
- Choosing the Right Primer: Select a primer specifically formulated for the material of the guitar body, whether it’s wood, metal, or another composite. Ensure that the primer is compatible with the type of paint you intend to use, whether it’s acrylic, nitrocellulose, or polyurethane.
- Setting Up the Workspace: Prepare a well-ventilated and dust-free area for priming the guitar body. Lay down drop cloths or newspapers to protect the surroundings from overspray, and ensure that the workspace is free of any airborne particles that could compromise the primer application.
- Application Method: Depending on the type of primer chosen, it can be applied using a spray gun or aerosol cans. Ensure that the primer is applied evenly and with smooth, overlapping strokes to achieve a consistent coat across the entire surface of the guitar body.
- Allowing for Drying Time: After the primer is applied, allow sufficient time for it to dry completely according to the manufacturer’s recommendations. This typically involves waiting for the primer to cure to a tack-free state, ensuring that it’s ready for the subsequent painting stage.
- Sanding the Primer (Optional): Depending on the desired finish and the condition of the primer coat, it may be necessary to lightly sand the primed surface with fine-grit sandpaper, such as 400 or 600, to achieve a smooth and uniform base for the paint.
By applying the primer with precision and attention to detail, you establish a solid foundation for the paint while ensuring a professional-quality finish that will endure the rigors of playing and performing. The primer sets the stage for the exciting transformation of the guitar body into a stunning visual masterpiece.
Painting the Guitar Body
With the guitar body meticulously prepared and the primer successfully applied, it’s time to infuse your instrument with the perfect hue that reflects your personal style. The painting stage is where your creativity takes center stage, as you bring your vision to life through carefully chosen paint and application techniques. Here’s a comprehensive guide to painting the guitar body:
- Choosing the Right Paint: Select a high-quality paint that is compatible with the primer and suitable for the guitar body material. Whether you opt for vibrant solid colors, metallic finishes, or intricate custom designs, ensure that the paint type aligns with your desired aesthetic and performance expectations.
- Setting Up the Workspace: Prepare a well-ventilated and dust-free area for painting the guitar body. Lay down drop cloths or newspapers to protect the surroundings from overspray, and ensure that the workspace is free of any airborne particles that could compromise the paint application.
- Application Method: Depending on the type of paint chosen, it can be applied using a spray gun for larger surfaces or aerosol cans for intricate details and smaller areas. Apply the paint evenly and with smooth, overlapping strokes to achieve a consistent and uniform coat across the entire surface of the guitar body.
- Building Up Layers: Depending on the depth of color and finish you desire, it may be necessary to apply multiple coats of paint, allowing each coat to dry completely before applying the next. This layering process contributes to a rich and lustrous finish that enhances the visual appeal of the guitar body.
- Allowing for Drying Time: After the final coat of paint is applied, allow the guitar body to dry thoroughly in a dust-free environment. This crucial drying period ensures that the paint cures to a resilient finish, ready for the next stage of the painting process.
By approaching the painting process with precision and a keen eye for detail, you have the opportunity to elevate your guitar into a stunning work of art that reflects your unique personality and musical identity. The painting stage is where the transformation truly takes shape, breathing new life and character into your beloved instrument.
Adding a Clear Coat
After the paint has been applied and allowed to dry thoroughly, the addition of a clear coat serves as the final protective and aesthetic layer in the guitar body painting process. The clear coat not only enhances the visual appeal of the finish but also provides durability and resistance to wear, ensuring that your instrument maintains its stunning appearance over time. Here’s a detailed overview of the process of adding a clear coat to the guitar body:
- Choosing the Clear Coat: Select a high-quality clear coat that is compatible with the type of paint used and suitable for the guitar body material. Whether you opt for a glossy, satin, or matte finish, ensure that the clear coat aligns with your desired aesthetic and protective requirements.
- Setting Up the Workspace: Prepare a well-ventilated and dust-free area for applying the clear coat. It’s essential to maintain a clean environment to prevent any particles or debris from settling on the surface during the application process.
- Application Method: Similar to the paint application, the clear coat can be applied using a spray gun for larger surfaces or aerosol cans for detailed areas. Apply the clear coat evenly and with smooth, overlapping strokes to achieve a uniform and flawless finish across the entire surface of the guitar body.
- Building Up Layers: Depending on the desired level of sheen and protection, it may be necessary to apply multiple coats of clear coat, allowing each coat to dry completely before applying the next. This layering process contributes to a resilient and lustrous finish that enhances the overall appearance of the guitar body.
- Allowing for Curing Time: Once the final coat of clear coat is applied, allow the guitar body to cure in a dust-free environment. This critical curing period ensures that the clear coat hardens to form a robust and protective layer that safeguards the underlying paint and provides long-term durability.
By adding the clear coat with precision and care, you not only elevate the visual allure of the guitar body but also fortify it against the demands of regular use, ensuring that your instrument maintains its captivating finish for years to come. The clear coat marks the culmination of the painting process, encapsulating your artistic vision in a resilient and breathtaking exterior.
Final Touches and Assembly
As the freshly painted and clear-coated guitar body emerges with a stunning new appearance, the final touches and assembly bring the transformative journey to its culmination. This stage involves meticulous attention to detail and the assembly of components, ultimately breathing life back into the instrument. Here’s a comprehensive guide to the final touches and assembly process:
- Inspecting the Finish: Carefully examine the painted and clear-coated surface for any imperfections or blemishes. Address any irregularities with fine-grit sandpaper and polishing compounds to achieve a flawless and lustrous finish that showcases the craftsmanship of your work.
- Reassembling Components: Once the finish is perfected, proceed with reassembling the guitar components, including the bridge, pickups, control knobs, and any other hardware. Exercise caution and precision to ensure that each component is securely and accurately installed, contributing to the instrument’s functionality and aesthetic appeal.
- Polishing and Buffing: Utilize polishing compounds and a buffing wheel or cloth to refine the clear-coated surface to a high gloss, if a mirror-like finish is desired. This step adds an extra dimension of visual allure and elevates the overall presentation of the guitar body.
- Protective Measures: Prior to final assembly, take measures to protect the newly painted and clear-coated surface from scratches or damage. Handle the guitar body with care and consider using a soft cloth or protective covering to shield it during the assembly process.
- Celebrating the Transformation: As the final touches are completed and the guitar components are seamlessly reassembled, take a moment to celebrate the remarkable transformation of your instrument. Admire the vibrant new finish and appreciate the dedication and artistry that have revitalized your guitar.
With the final touches and assembly completed, the once-familiar guitar has been reborn with a captivating new identity. The harmonious fusion of artistry and functionality culminates in an instrument that not only reflects your unique style but also embodies the passion and creativity infused into every brushstroke and meticulous detail.
Conclusion
Embarking on the journey of painting a guitar body is a transformative and deeply rewarding experience, offering a canvas for self-expression and individuality. Throughout this comprehensive guide, we’ve delved into the intricacies of each stage, from meticulous preparation to the final assembly, providing a roadmap for achieving a professional-quality finish that reflects your unique vision.
By immersing yourself in the process, you’ve not only revitalized your instrument but also infused it with a piece of your artistic identity. The careful selection of materials, precision in application, and attention to detail at every turn have culminated in a stunning visual masterpiece that resonates with your personal style.
As you witness the rebirth of your guitar, adorned with a vibrant new finish and protected by a resilient clear coat, take pride in the craftsmanship and dedication that have brought this vision to life. Each brushstroke and each meticulous step have contributed to a transformation that extends beyond the aesthetic, breathing new life and character into your beloved instrument.
With the final touches and assembly complete, your guitar stands as a testament to your creativity and passion. It embodies the harmonious blend of artistry and functionality, ready to inspire and accompany you on countless musical journeys. As you strum its strings and feel the resonance of your artistry, may it serve as a constant reminder of the transformative power of creativity and the enduring allure of self-expression.
So, as you gaze upon the resplendent new finish of your guitar, know that it is more than a mere coat of paint—it is a reflection of your creativity, a testament to your dedication, and a symbol of the boundless possibilities that unfold when art and music converge.