Home>Production & Technology>Acoustic>How To String An Acoustic Guitar Properly

Acoustic
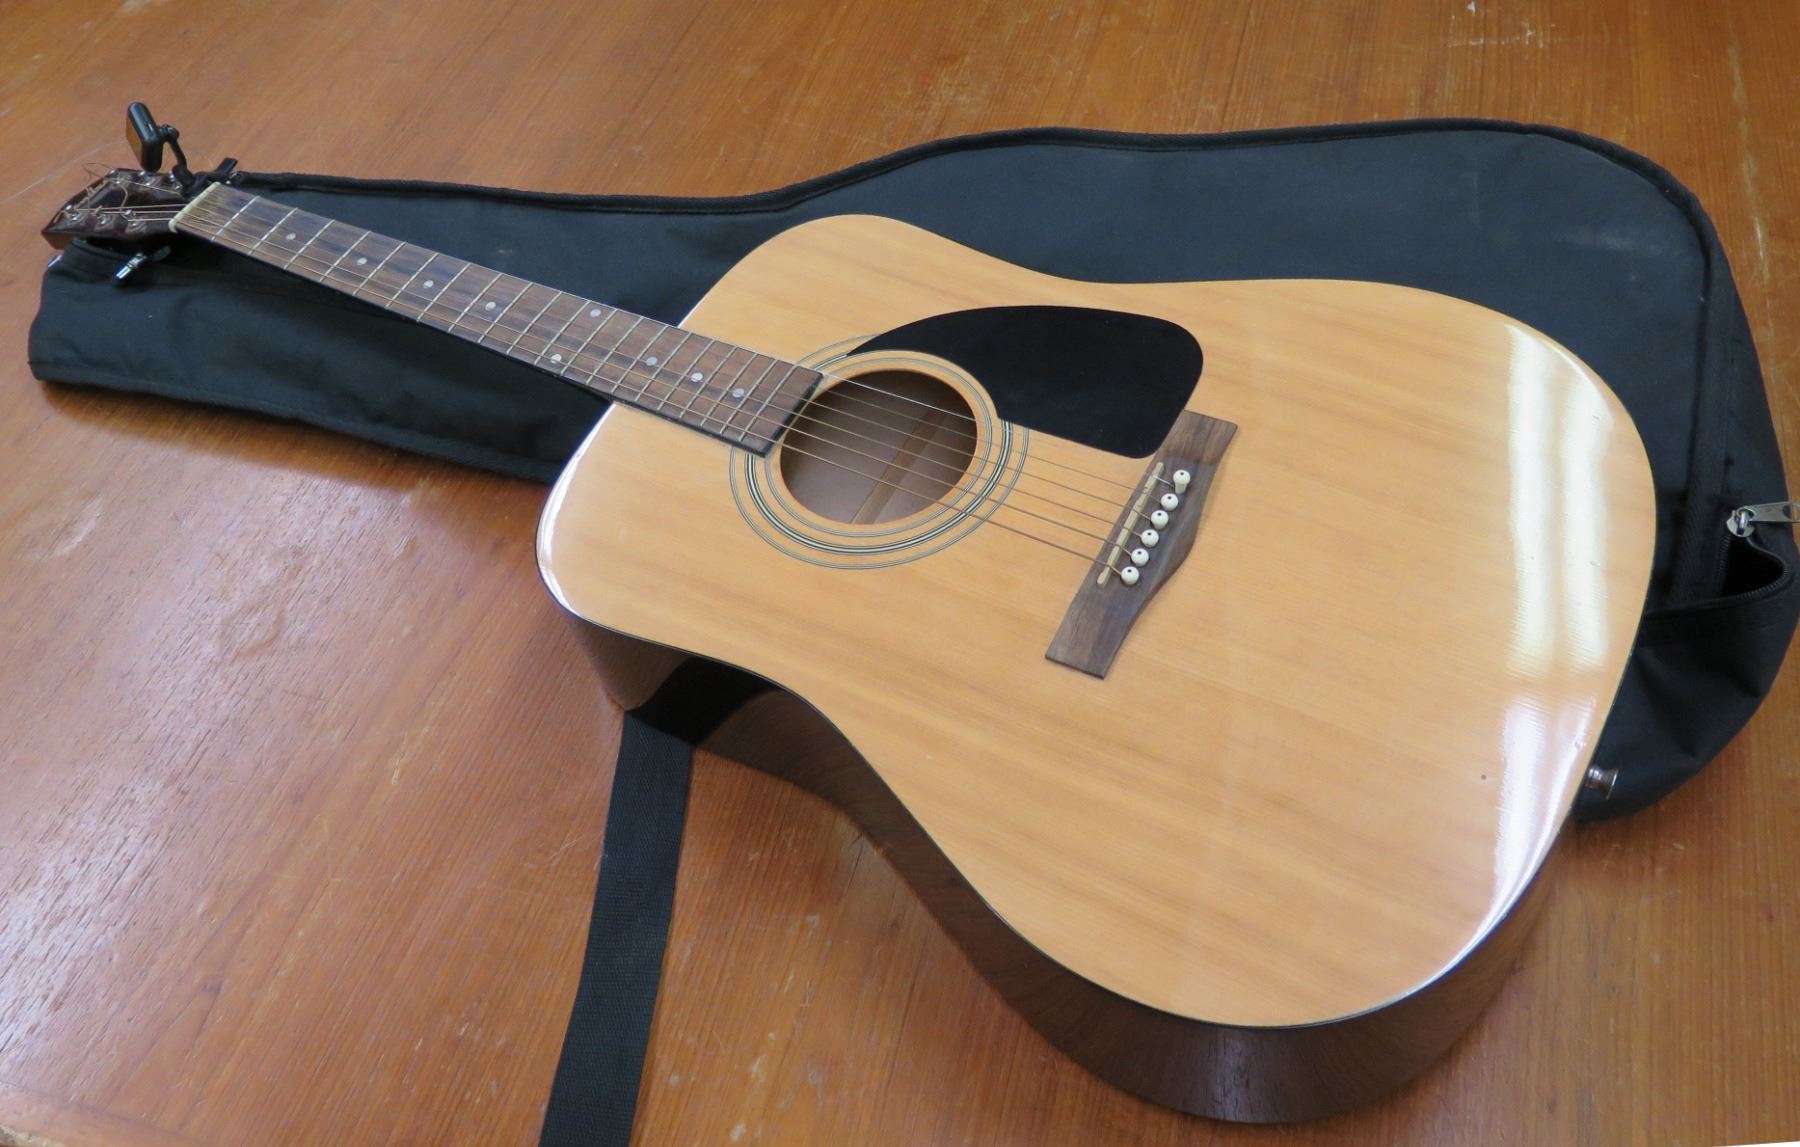
How To String An Acoustic Guitar Properly
Published: March 12, 2024
Learn the proper technique for stringing an acoustic guitar to ensure optimal sound quality and playability. Follow these step-by-step instructions for a smooth and efficient process.
(Many of the links in this article redirect to a specific reviewed product. Your purchase of these products through affiliate links helps to generate commission for AudioLover.com, at no extra cost. Learn more)
Table of Contents
Introduction
Stringing an acoustic guitar is a fundamental skill that every guitarist should master. Whether you're a seasoned musician or a novice player, understanding the intricacies of this process is crucial for maintaining the instrument's sound quality and playability. Properly stringing an acoustic guitar not only ensures optimal tone and resonance but also contributes to the overall longevity of the instrument.
In this comprehensive guide, we will delve into the art of stringing an acoustic guitar, covering everything from selecting the right strings to the final adjustments. By the end of this article, you will have a thorough understanding of the entire stringing process, empowering you to confidently maintain your acoustic guitar's optimal performance.
Stringing an acoustic guitar may seem like a simple task, but it involves several critical steps that directly impact the instrument's sound and playability. From choosing the appropriate strings to correctly installing and tuning them, each stage plays a pivotal role in achieving the desired tonal quality and ensuring a comfortable playing experience.
Whether you're a performer gearing up for a live show or an enthusiast looking to maintain your beloved instrument, the knowledge and skills gained from this guide will serve you well. So, grab your acoustic guitar and let's embark on this journey to master the art of stringing it properly.
Choosing the Right Strings
Selecting the appropriate strings for your acoustic guitar is a crucial decision that significantly influences the instrument's tone, playability, and overall performance. With a myriad of options available in the market, understanding the key factors to consider when choosing strings is essential for achieving the desired sound and feel.
Factors to Consider
-
Gauge: The gauge of a string refers to its thickness, which directly impacts the tension and playability. Lighter gauge strings offer easier playability and are ideal for beginners or those who prefer a softer touch. On the other hand, heavier gauge strings produce a fuller, more resonant sound and are favored by experienced players or those seeking a robust tone.
-
Material: Strings are commonly made from various materials such as bronze, phosphor bronze, and silk. Each material contributes distinct tonal characteristics to the guitar. For instance, bronze strings deliver bright and crisp tones, while phosphor bronze strings offer a warmer, more balanced sound. Silk and steel strings provide a mellow, smooth tone, making them suitable for fingerstyle playing.
-
Coating: Coated strings feature a protective layer that enhances their durability and longevity. They are less prone to corrosion and retain their tone for a prolonged period, making them an excellent choice for frequent performers or those in humid environments.
-
Playing Style: Consider your playing style and musical preferences when selecting strings. If you predominantly strum chords, you may opt for strings that emphasize clarity and projection. Conversely, if fingerpicking is your forte, strings with a balanced response and enhanced sustain would be more suitable.
Experimentation and Personal Preference
Ultimately, the choice of strings is a personal decision that often involves experimentation and fine-tuning. It's advisable to try out different string sets to discern their tonal nuances and gauge their compatibility with your playing style. By exploring various options and considering the aforementioned factors, you can pinpoint the strings that best complement your acoustic guitar, thereby elevating your playing experience to new heights.
In the next section, we will delve into the crucial preparatory steps required before stringing your acoustic guitar, setting the stage for a seamless and effective stringing process.
Preparing the Guitar
Before embarking on the actual stringing process, it is imperative to prepare the guitar adequately. This preparatory phase lays the foundation for a smooth and effective string installation, ensuring optimal performance and longevity of the new strings.
Cleaning the Guitar
Begin by thoroughly cleaning the guitar, paying close attention to the fretboard, bridge, and headstock. Use a soft, lint-free cloth to remove any accumulated dust, dirt, or residue from these areas. Cleaning the guitar not only enhances its visual appeal but also prevents potential damage to the new strings caused by debris or contaminants.
Inspecting the Hardware
Carefully inspect the hardware components, including the tuning pegs, bridge pins, and saddle. Ensure that these elements are in good condition and functioning properly. If any components show signs of wear or damage, consider replacing them before proceeding with the stringing process to avoid potential issues with the new strings' stability and tuning.
Conditioning the Fretboard
Next, consider conditioning the fretboard to maintain its optimal condition and prevent it from drying out. Apply a small amount of high-quality fretboard conditioner or lemon oil to a clean cloth, and gently rub it onto the fretboard, following the wood grain. This step helps to moisturize the fretboard, preserving its structural integrity and preventing potential cracking or warping.
Adjusting the Truss Rod (If Necessary)
If you notice any significant changes in the guitar's neck relief or experience fret buzzing issues, it may be necessary to adjust the truss rod. However, truss rod adjustments should be performed with caution and are best handled by experienced individuals or professional luthiers. If you are uncertain about making truss rod adjustments, seek guidance from a qualified guitar technician to ensure the neck's proper alignment and stability.
Setting Up a Stable Work Area
Lastly, establish a stable and well-lit work area where you can comfortably string the guitar without any distractions or hindrances. A clean, flat surface with ample space for maneuvering the guitar is ideal for executing the stringing process with precision and ease.
By meticulously preparing the guitar through cleaning, inspection, conditioning, and, if necessary, truss rod adjustments, you set the stage for a successful stringing endeavor. These preparatory measures contribute to the overall health and performance of the instrument, laying the groundwork for a seamless transition to the next phase of the stringing process.
Stringing the Guitar
With the guitar adequately prepared, it's time to embark on the pivotal stage of stringing the instrument. This process involves carefully installing the new strings, ensuring proper alignment, and securing them to achieve optimal tension and stability. Follow these step-by-step instructions to effectively string your acoustic guitar:
-
Removing the Old Strings: Begin by unwinding and carefully removing the old strings from the tuning pegs and bridge. Loosen the strings gradually to release the tension, then unwind them from the tuning pegs and detach them from the bridge pins. Dispose of the old strings responsibly.
-
Attaching the New Strings to the Bridge: Take one of the new strings and insert it through the corresponding bridge pin hole, ensuring that the ball end is securely seated against the bridge plate. Apply gentle pressure to hold the string in place as you proceed to the next step.
-
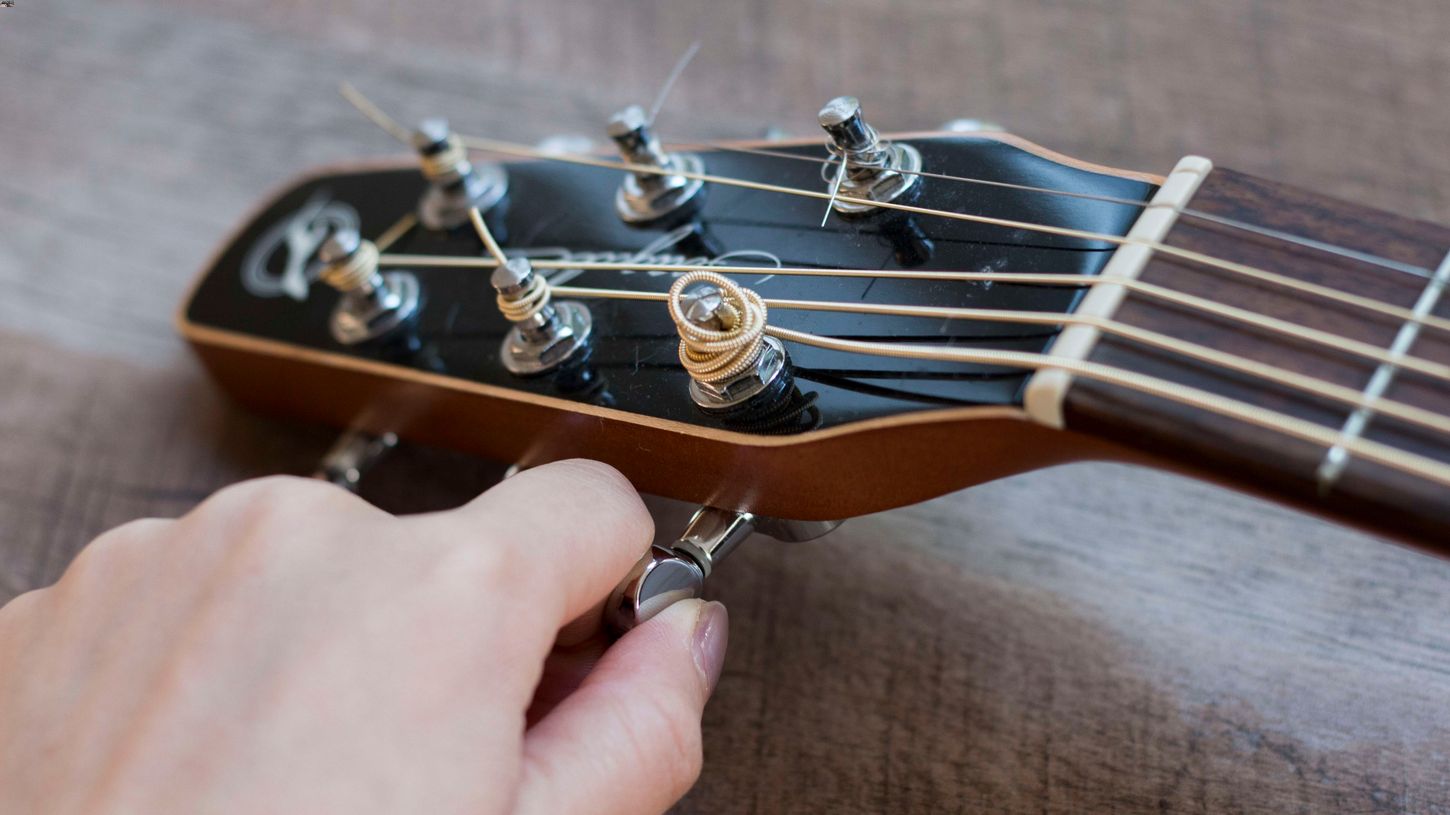
Securing the Strings to the Tuning Pegs: Moving to the headstock, insert the opposite end of the string through the corresponding tuning peg hole. Leave a sufficient length of the string protruding beyond the peg, allowing for several winds around the peg for secure tuning stability.
-
Winding the Strings: Begin winding the string around the tuning peg in the direction that tightens the string when tuned. Maintain even and neat windings, ensuring that the string wraps downward from the top of the peg. Leave a slight slack in the string as you wind it to prevent excessive tension and potential breakage.
-
Repeating the Process: Repeat the above steps for the remaining strings, ensuring that each string is inserted through the correct bridge pin hole and wound onto the corresponding tuning peg with consistent tension and alignment.
-
Trimming Excess String Length: Once all the strings are securely attached and tuned to approximate pitch, use a suitable string cutter to trim the excess length protruding from the tuning pegs. Exercise caution to avoid any sharp ends that may cause injury or damage to the guitar.
By meticulously following these steps, you will effectively string your acoustic guitar, setting the stage for the subsequent tuning and stretching process. The proper installation of the new strings is crucial for achieving optimal tone, stability, and playability, ensuring that your acoustic guitar delivers the desired sonic characteristics and responsiveness.
Tuning and Stretching the Strings
Tuning and stretching the newly installed strings are critical steps in the stringing process, as they directly impact the stability, intonation, and overall performance of the acoustic guitar. Proper tuning ensures that the strings are at the correct pitch, while stretching helps to minimize the inherent elasticity of the new strings, reducing the likelihood of frequent retuning and enhancing their longevity.
Tuning the Strings
Begin by tuning the strings to their approximate pitches using a reliable electronic tuner or tuning app. Starting with the low E string and progressing to the high E string, carefully adjust the tuning pegs to achieve the desired pitch for each string. It's essential to tune the strings gradually, ensuring that they are neither excessively tight nor too loose, as extreme tension or slackness can compromise the strings' integrity and the guitar's structural stability.
Once the strings are tuned to their approximate pitches, proceed to fine-tune each string, ensuring precise intonation and harmonious resonance across the fretboard. Pay close attention to any signs of pitch instability or wavering, making subtle adjustments to achieve optimal tuning accuracy. A well-tuned acoustic guitar not only produces a pleasing and consistent sound but also facilitates comfortable playing and seamless chord transitions.
Stretching the Strings
After tuning the strings to their approximate pitches, it's crucial to stretch them to minimize their inherent elasticity and stabilize their tuning. Gently grasp each string between your thumb and forefinger, applying gradual pressure along its length to induce stretching. As you stretch the strings, you may notice a gradual drop in pitch, indicating the initial elasticity being mitigated.
Continue stretching each string systematically, focusing on the areas between the bridge and the nut, where the strings are most susceptible to slippage and tuning instability. By effectively stretching the strings, you reduce the likelihood of frequent retuning and minimize the settling period, allowing the strings to stabilize more rapidly.
Iterative Tuning and Stretching
Following the initial stretching, re-tune the strings to their respective pitches, compensating for any pitch deviations resulting from the stretching process. Repeat the stretching and tuning sequence iteratively until the strings exhibit minimal pitch fluctuation and maintain stable tuning across the fretboard.
It's important to exercise patience and diligence during the tuning and stretching process, as achieving optimal stability and tonal consistency requires meticulous attention to detail. By adhering to these steps, you ensure that the newly installed strings settle into their optimal state, delivering reliable performance and enduring tonal quality.
By meticulously following these steps, you will effectively string your acoustic guitar, setting the stage for the subsequent tuning and stretching process. The proper installation of the new strings is crucial for achieving optimal tone, stability, and playability, ensuring that your acoustic guitar delivers the desired sonic characteristics and responsiveness.
Final Adjustments
After completing the stringing, tuning, and stretching processes, it is essential to perform final adjustments to fine-tune the acoustic guitar's playability, intonation, and overall performance. These adjustments encompass a series of meticulous steps aimed at optimizing the instrument's functionality and ensuring that it meets the player's specific preferences and requirements.
Checking String Height and Action
Begin by evaluating the string height, commonly referred to as the "action," to determine if it aligns with your playing style and comfort. Using a feeler gauge or specialized action gauge, measure the distance between the strings and the frets at various points along the fretboard. Adjust the saddle height as necessary to achieve the desired action, balancing playability and string resonance.
Intonating the Guitar
Intonation refers to the accuracy of the guitar's pitch across the fretboard. Using a reliable electronic tuner, assess the instrument's intonation by comparing the open string pitch with the pitch at the 12th fret. If discrepancies are detected, make precise adjustments to the saddle positions to ensure consistent pitch accuracy, facilitating harmonious chord voicings and accurate fretted notes.
Evaluating Nut Slot Depth
Inspect the nut slots to ensure that they accommodate the strings adequately without causing excessive friction or impeding tuning stability. The nut slot depth directly influences string spacing and clearance, impacting the guitar's playability and tonal characteristics. If necessary, adjust the nut slot depths to optimize string alignment and minimize binding, promoting smooth string movement and reliable tuning.
Lubricating Contact Points
Apply a small amount of high-quality nut lubricant or graphite powder to the nut slots and bridge saddles to reduce friction and enhance string movement. Lubricating these contact points minimizes tuning instability caused by string binding, ensuring smooth string action and consistent pitch stability across the fretboard.
Fine-Tuning the Truss Rod
Evaluate the neck relief and curvature, making subtle adjustments to the truss rod if necessary to achieve optimal playability and string clearance. Carefully monitor the neck's response to truss rod adjustments, ensuring that the curvature aligns with the instrument's structural requirements and the player's ergonomic preferences.
Polishing and Conditioning
Conclude the final adjustments by polishing the guitar's body, frets, and hardware components to maintain their aesthetic appeal and structural integrity. Additionally, consider conditioning the fretboard with a suitable fretboard conditioner to preserve its moisture content and prevent potential drying or cracking.
By meticulously performing these final adjustments, you elevate the acoustic guitar's overall functionality, playability, and tonal characteristics, culminating in a meticulously tailored instrument that resonates with your musical expression and performance aspirations. These adjustments not only optimize the guitar's performance but also contribute to its long-term durability and sonic excellence.