Home>Instruments>Guitar>How To String An Acoustic Guitar
Guitar
How To String An Acoustic Guitar
Modified: February 15, 2024
Learn how to string an acoustic guitar with our step-by-step guide. Keep your guitar sounding great with our expert tips and techniques.
(Many of the links in this article redirect to a specific reviewed product. Your purchase of these products through affiliate links helps to generate commission for AudioLover.com, at no extra cost. Learn more)
Table of Contents
Introduction
Introduction
Hey there, fellow guitarist! Whether you're a seasoned strummer or just starting your musical journey, knowing how to restring your acoustic guitar is an essential skill. Over time, the strings on your guitar wear out, lose their tone, and even break. When that happens, it's time to roll up your sleeves and give your beloved instrument some much-needed TLC.
Restringing your acoustic guitar may seem like a daunting task, especially for beginners, but fear not! With a bit of guidance and the right tools, you'll be swapping out those old strings like a pro in no time. Not only will your guitar look and sound better with fresh strings, but you'll also gain a deeper understanding of your instrument's mechanics.
In this comprehensive guide, we'll walk through the step-by-step process of restringing an acoustic guitar. From removing the old strings to tuning up your newly strung guitar, we've got you covered. So, grab your acoustic guitar, set aside some time, and let's dive into the wonderful world of restringing!
Now, before we jump into the nitty-gritty of restringing, let's gather the essential tools and materials you'll need for this restringing adventure.
Tools and Materials Needed
Tools and Materials Needed
Before you embark on your restringing journey, it’s crucial to gather the necessary tools and materials. Here’s a rundown of what you’ll need:
-
Fresh Set of Strings: Acoustic guitar strings come in various materials, such as bronze, phosphor bronze, and silk, each offering unique tonal characteristics. Choose a set that aligns with your musical preferences and playing style. If you’re unsure, don’t hesitate to seek advice from your local music store or fellow guitarists.
-
String Winder: This handy tool makes winding the strings quicker and more efficient. It typically features a built-in bridge pin puller, streamlining the string-changing process.
-
Wire Cutters: Precision wire cutters are essential for trimming the excess string length after installation. They ensure a clean and professional-looking result.
-
Tuner: A reliable guitar tuner is indispensable for achieving accurate pitch and ensuring your guitar produces harmonious sounds. Whether you prefer a digital tuner or a clip-on model, having one on hand is non-negotiable.
-
Clean Cloth: Before installing the new strings, it’s beneficial to wipe down your guitar’s fretboard, bridge, and body with a clean cloth. This simple step helps remove any accumulated grime and preserves the instrument’s overall condition.
-
String Lubricant (Optional): While not mandatory, a small amount of string lubricant can minimize friction at contact points, such as the nut and bridge, enhancing tuning stability and prolonging string life.
By ensuring you have these tools and materials at your disposal, you’ll set yourself up for a smooth and successful restringing process. With everything in place, it’s time to move on to the first step: removing the old strings from your acoustic guitar.
Step 1: Remove Old Strings
Step 1: Remove Old Strings
Before diving into the restringing process, it’s essential to bid farewell to your guitar’s worn-out strings. Follow these steps to remove the old strings with ease:
-
Loosen the Strings: Using your guitar tuner, gradually detune each string to relieve tension. This step prevents the strings from snapping uncontrollably during removal, ensuring a safer experience.
-
Unwind and Remove: Once the strings are sufficiently loosened, unwind them from the tuning pegs. Next, remove the bridge pins located near the soundhole. Gently tug the bridge pins upward using a bridge pin puller or a suitable tool, allowing the strings to come free from the bridge.
-
Dispose of the Old Strings: After removing all the strings, safely dispose of them. Due to their metal composition, old guitar strings should be discarded responsibly to prevent harm to the environment and others.
With the old strings out of the way, your acoustic guitar is now ready to receive its fresh set of strings. Proceed to the next step to learn how to attach the new strings securely.
Step 2: Attach New Strings
Step 2: Attach New Strings
Now that your acoustic guitar is stringless and eager for a rejuvenation, it’s time to install a new set of strings. Here’s a detailed guide on how to attach your fresh strings with precision:
-
Insert the Bridge Pins: Begin by inserting the bridge pins into the bridge, ensuring a snug fit. These pins will anchor the ball ends of the strings, so make sure they are secure.
-
Thread the Strings: Taking one of the new strings, identify the end with the brass or bronze ball. Insert this end into the corresponding bridge pin hole, then guide the opposite end up towards the headstock.
-
Secure the Strings to the Tuning Pegs: With the string’s opposite end, thread it through the appropriate tuning peg hole. Leave a few inches of slack to work with, ensuring that the string sits snugly in the peg’s hole.
-
Wind the Strings: Using your string winder, begin winding the string onto the tuning peg. Ensure that the winds are neat and orderly, allowing for smooth tuning adjustments later on.
-
Repeat the Process: Follow the same threading and winding process for the remaining strings, ensuring that each one is placed in its designated position on the bridge and secured to the corresponding tuning peg.
As you carefully attach each new string, take a moment to appreciate the transformative process unfolding before your eyes. Once all the strings are securely fastened, it’s time to move on to the final step: tuning your freshly strung acoustic guitar to perfection.
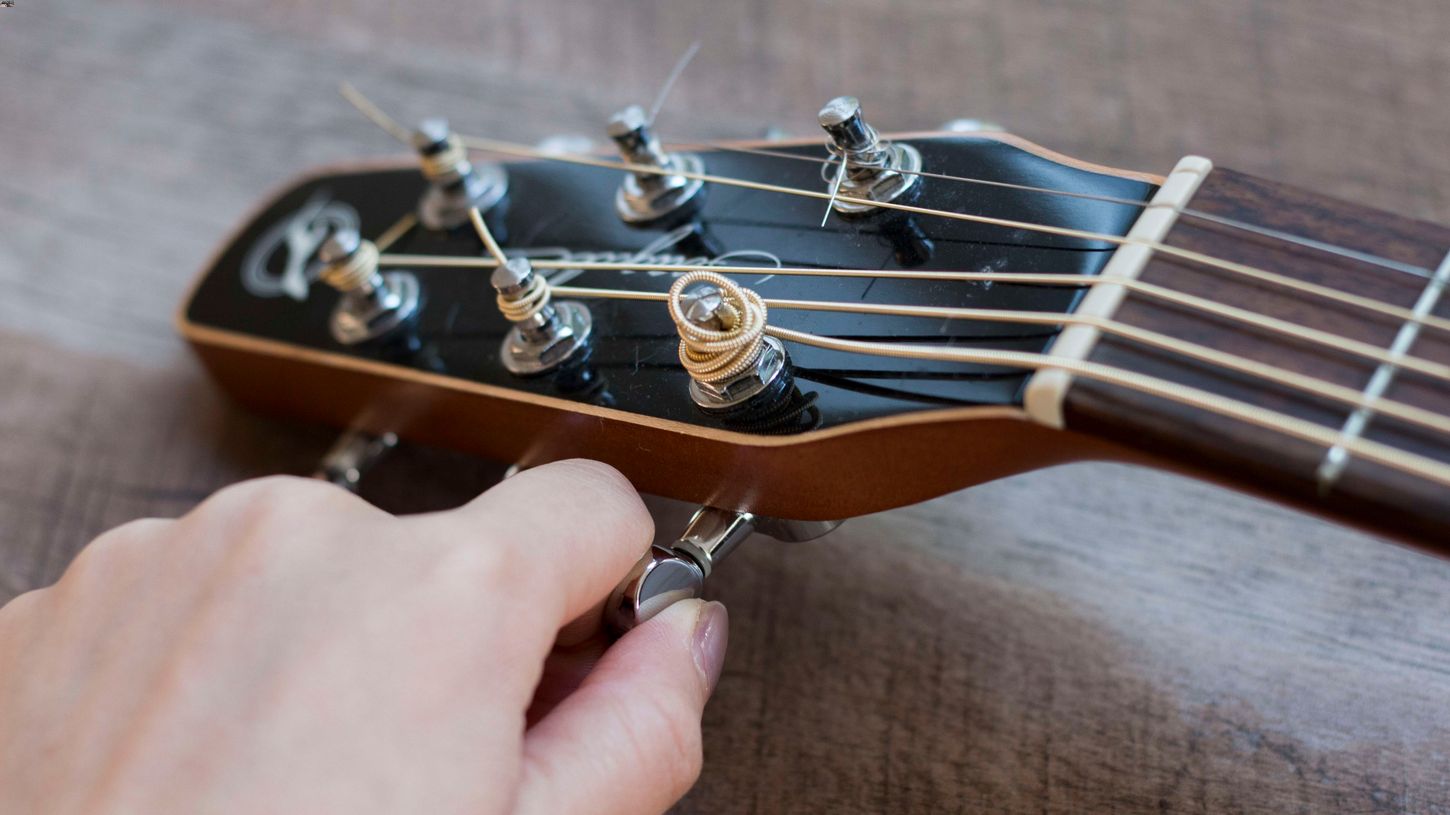
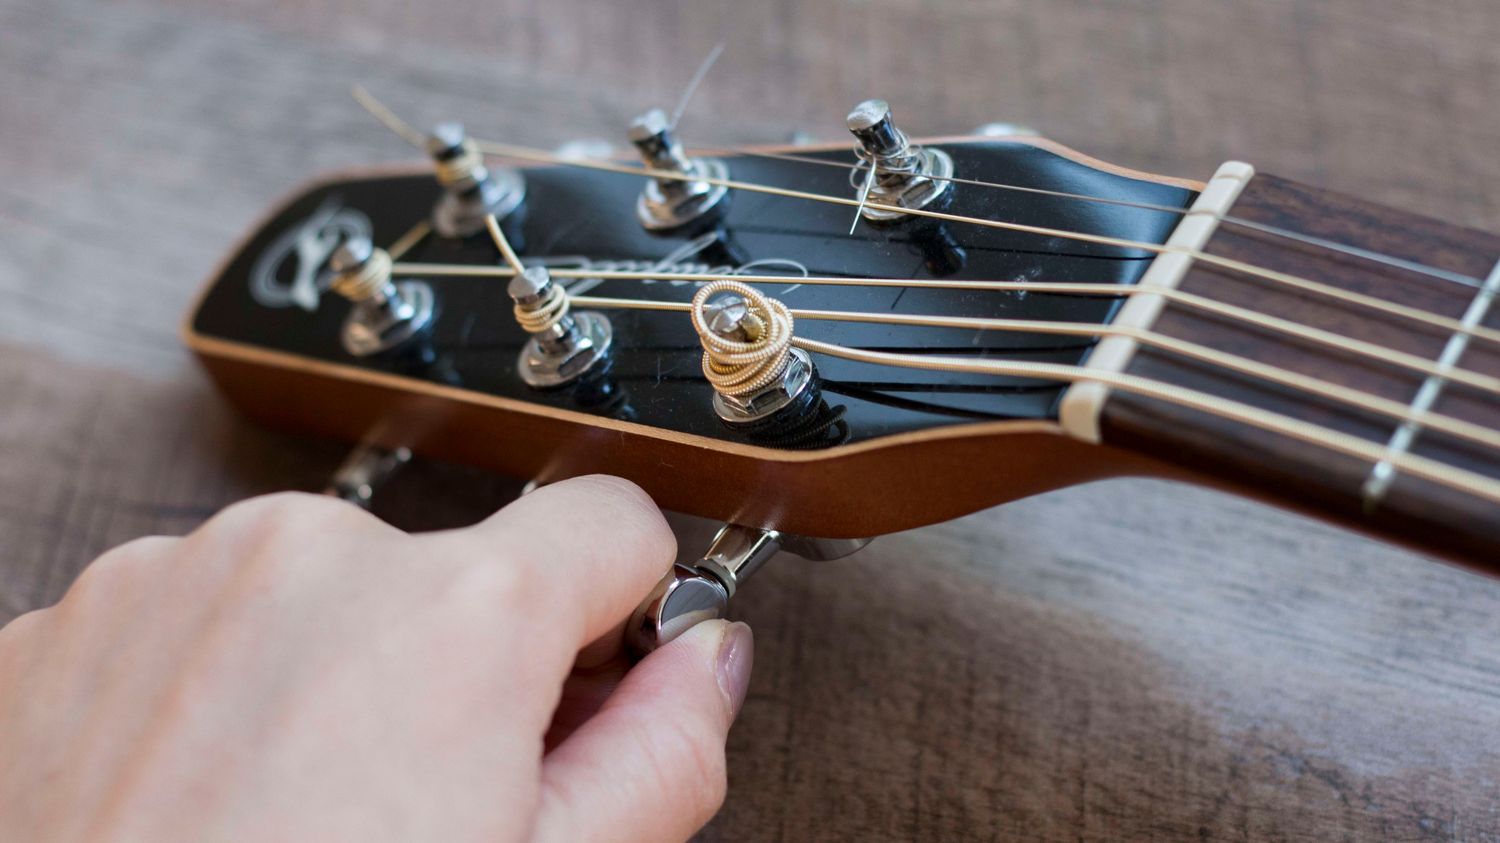
Step 3: Tune the Guitar
Step 3: Tune the Guitar
With the new strings adorning your acoustic guitar, it’s crucial to tune them to the correct pitches for optimal sound quality. Follow these steps to ensure your guitar produces harmonious melodies:
-
Initial Tuning: Begin by tuning each string to a close approximation of the correct pitch. You can use a digital tuner or a tuning app to assist you in achieving an initial tuning.
-
Stretch the Strings: Gently tug on each string to stretch them, helping to minimize future tuning instability. Repeat this process a few times for each string.
-
Fine-Tuning: Once the strings are stretched, fine-tune each one, ensuring they match the standard tuning for an acoustic guitar (EADGBE).
-
Check Intonation: After tuning, check the guitar’s intonation by playing a few fretted notes on each string. Adjust the bridge saddle if necessary to ensure accurate intonation across the fretboard.
As you meticulously tune your guitar, listen to the gradual transformation of sound as each string reaches its optimal pitch. Once your acoustic guitar is finely tuned and the intonation is spot on, you’re ready to unleash its full sonic potential.
With the restringing process complete and your guitar tuned to perfection, take a moment to strum a few chords and revel in the revitalized tones emanating from your instrument. Your dedication to maintaining your acoustic guitar’s playability and resonance is a testament to your passion for music.
Conclusion
Conclusion
Congratulations, you’ve successfully navigated the art of restringing an acoustic guitar! By following the steps outlined in this guide, you’ve not only refreshed your guitar’s appearance but also revitalized its sonic capabilities. As you strum your first chords on the newly strung instrument, take pride in the care and attention you’ve devoted to your musical companion.
Restringing your acoustic guitar is a valuable skill that empowers you to maintain your instrument’s playability and tonal richness. The process of removing old strings, attaching new ones, and tuning the guitar is a ritual that fosters a deeper connection with your instrument.
Remember, as your new strings settle in, they may require periodic tuning adjustments. This is perfectly normal, as the strings acclimate to their new environment. Embrace this opportunity to fine-tune your guitar and explore the nuances of its refreshed sound.
Whether you’re a seasoned guitarist or a novice player, mastering the art of restringing is a rite of passage in your musical journey. It’s a hands-on experience that allows you to engage with the mechanics of your guitar, fostering a deeper understanding of its construction and functionality.
As you continue to hone your craft and explore the boundless possibilities of your acoustic guitar, remember that restringing is not just a maintenance task; it’s a celebration of your dedication to the art of music-making. Each strum and chord resonates with the care and attention you’ve invested in your instrument.
So, with your freshly strung acoustic guitar in hand, let the music flow and the melodies soar. Your commitment to maintaining your instrument ensures that it will accompany you faithfully on your musical odyssey, enriching your sonic adventures with its renewed vitality.
Now, go forth and let your newly strung acoustic guitar be the catalyst for countless musical inspirations and harmonious journeys. Happy strumming!