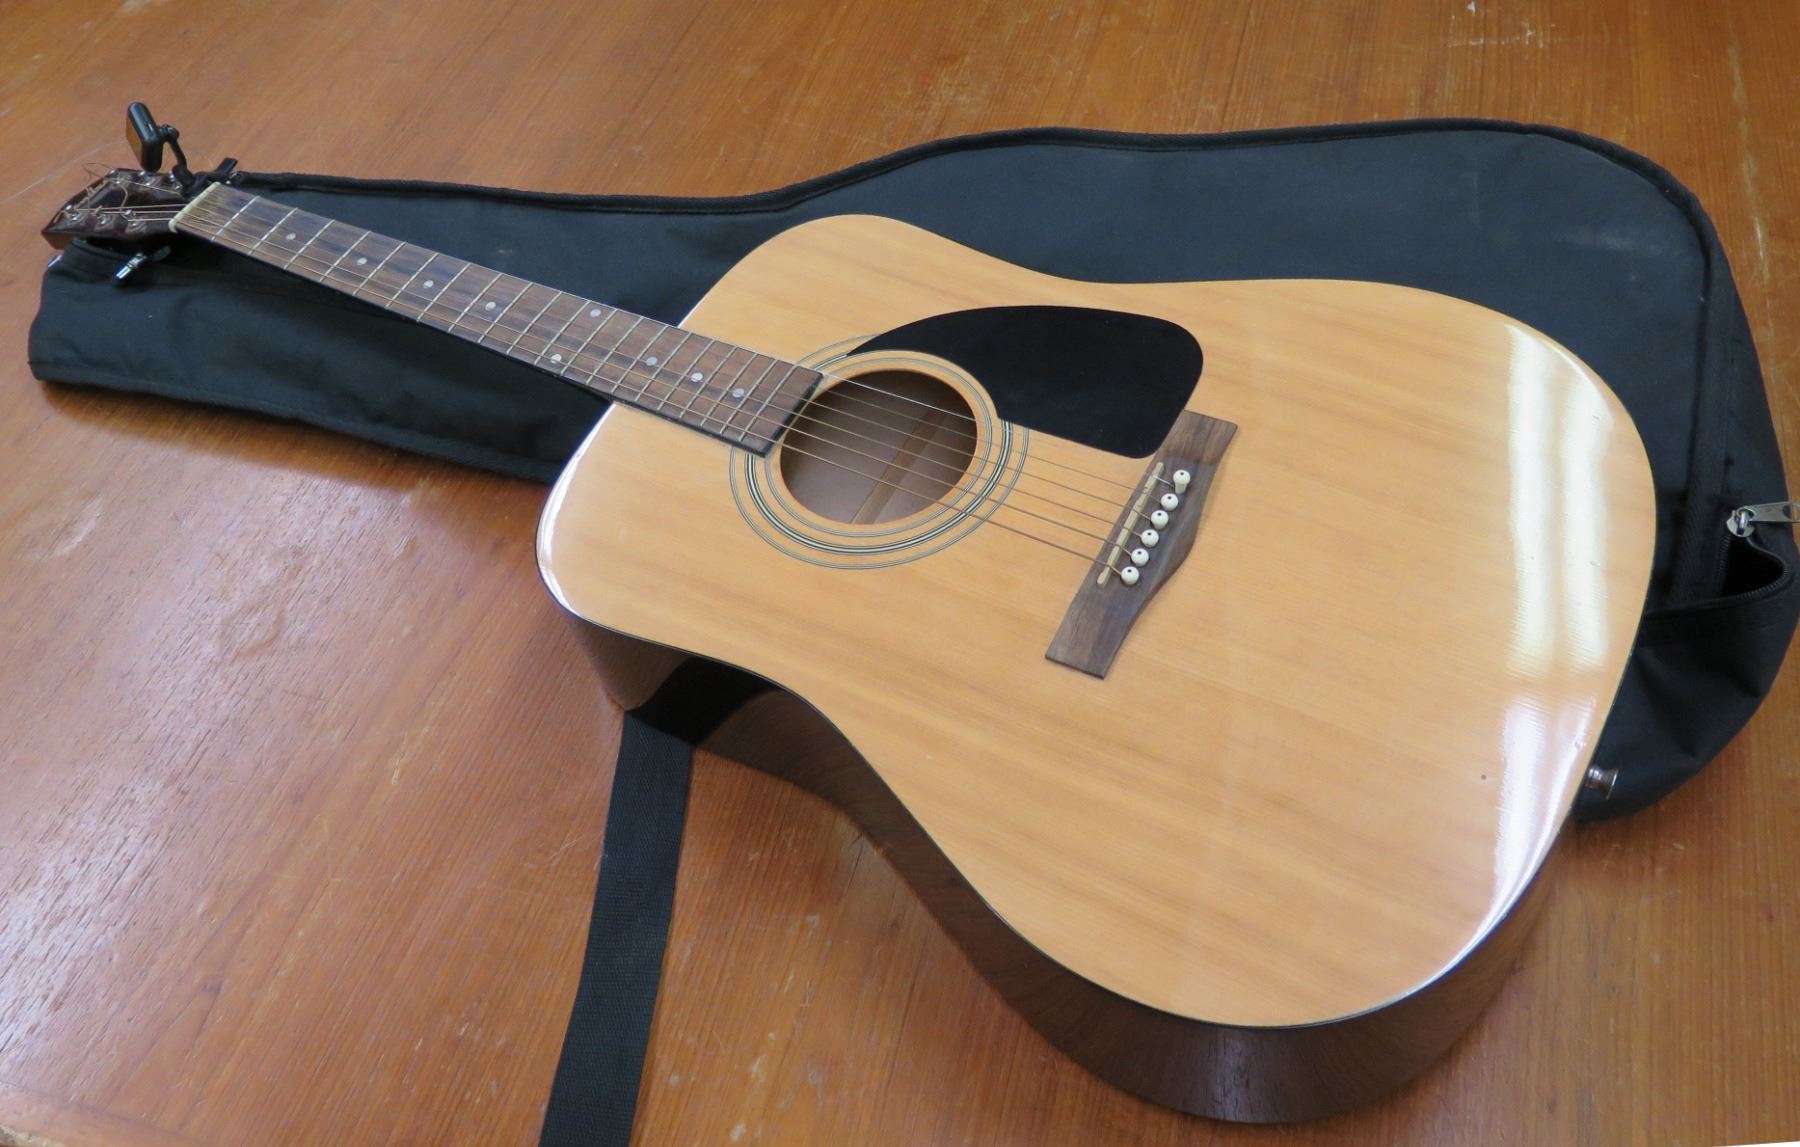
Home>Production & Technology>Acoustic>How To Change Guitar Strings On Acoustic Without Tools
Acoustic
How To Change Guitar Strings On Acoustic Without Tools
Published: March 10, 2024
Learn how to change guitar strings on acoustic without tools with our easy step-by-step guide. Keep your acoustic guitar sounding great with our expert tips.
(Many of the links in this article redirect to a specific reviewed product. Your purchase of these products through affiliate links helps to generate commission for AudioLover.com, at no extra cost. Learn more)
Table of Contents
Introduction
Changing the strings on your acoustic guitar is an essential skill that every guitarist should master. Whether you're a seasoned musician or a beginner, knowing how to change guitar strings without tools can be incredibly useful, especially when you find yourself without a string winder or wire cutters. By learning this technique, you can ensure that your guitar always sounds its best, even in situations where you don't have access to specialized tools.
In this comprehensive guide, we will walk you through the step-by-step process of changing your acoustic guitar strings without the need for any additional tools. By following these instructions, you'll be able to maintain your instrument's optimal performance and keep the music flowing, regardless of your location or resources.
As we delve into this tutorial, it's important to note that changing guitar strings without tools requires a bit of patience and precision. While it may seem daunting at first, with practice, you'll become more confident in your ability to perform this task efficiently. Additionally, mastering this technique can be particularly beneficial for musicians who frequently travel or perform in various settings where access to tools may be limited.
So, whether you're preparing for an impromptu jam session, a performance in a remote location, or simply want to expand your skill set, learning how to change guitar strings on your acoustic without tools is a valuable endeavor. With that said, let's dive into the step-by-step process and equip you with the knowledge and confidence to tackle this essential task.
Step 1: Loosen the Old Strings
Before you can replace the strings on your acoustic guitar, it's crucial to start by loosening the old ones. This step is essential to ensure a smooth and safe removal process, preventing any potential damage to the instrument. Here's a detailed guide on how to effectively loosen the old strings without the need for specialized tools.
-
Prepare Your Workspace: Find a comfortable and well-lit area to work on your guitar. It's important to have ample space to maneuver without any obstructions. Additionally, ensure that the guitar is placed securely on a stable surface to prevent any accidental slips or falls during the string loosening process.
-
Positioning the Guitar: Hold the guitar in a way that allows easy access to the tuning pegs. You can either lay the guitar flat on your lap or use a guitar stand to keep it steady. This positioning will enable you to reach the tuning pegs effortlessly, facilitating a smoother string loosening process.
-
Loosen the Tuning Pegs: Start by turning the tuning pegs in a counterclockwise direction. Use your fingers to rotate the pegs, gradually reducing the tension on the strings. It's important to loosen the strings gradually to prevent them from snapping or causing damage to the guitar. As you turn the pegs, you'll notice the strings becoming slack, indicating that the tension is decreasing.
-
Check the String Tension: After loosening each string, gently pluck it to assess the level of tension. The goal is to ensure that the strings are loose enough to be safely removed from the guitar. If any of the strings still feel taut, continue to loosen the corresponding tuning peg until the tension is significantly reduced.
-
Repeat the Process: Work your way through each string, repeating the loosening process until all the strings are sufficiently slack. Take your time and pay attention to the tension of each string, ensuring that they are all adequately loosened before proceeding to the next step.
By following these steps, you can effectively loosen the old strings on your acoustic guitar without the need for specialized tools. This careful approach sets the stage for the subsequent steps in the string replacement process, ensuring a seamless transition to the next phase of the restringing procedure.
Step 2: Remove the Old Strings
With the old strings sufficiently loosened, the next crucial step in the restringing process is to remove them from the acoustic guitar. This phase requires a delicate touch to ensure that the strings are safely detached without causing any damage to the instrument. Here's a detailed guide on how to effectively remove the old strings without the need for specialized tools.
-
Unwind the Strings: Begin by unwinding each string from its respective tuning peg. Hold the guitar in a stable position and carefully unwind the strings in a clockwise direction, ensuring that they are smoothly released from the pegs. As you unwind each string, maintain a firm grip to prevent any sudden movements that could potentially scratch the guitar's surface.
-
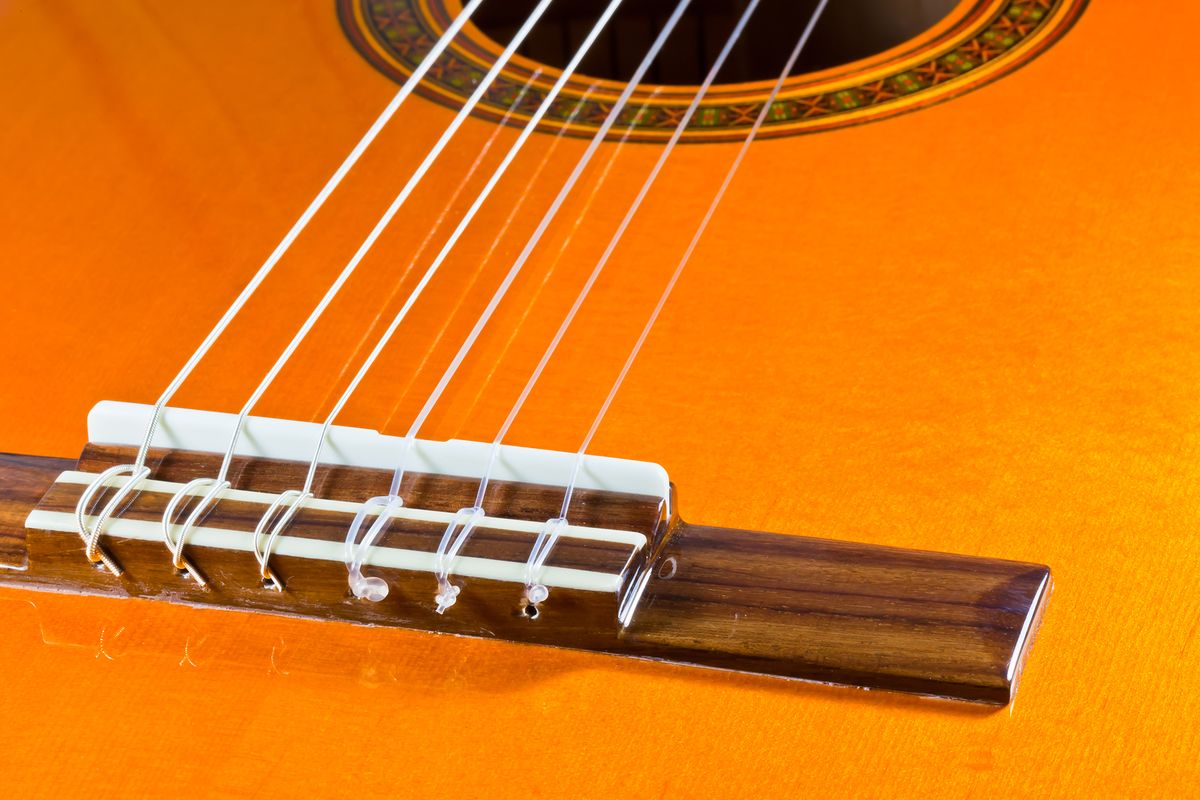
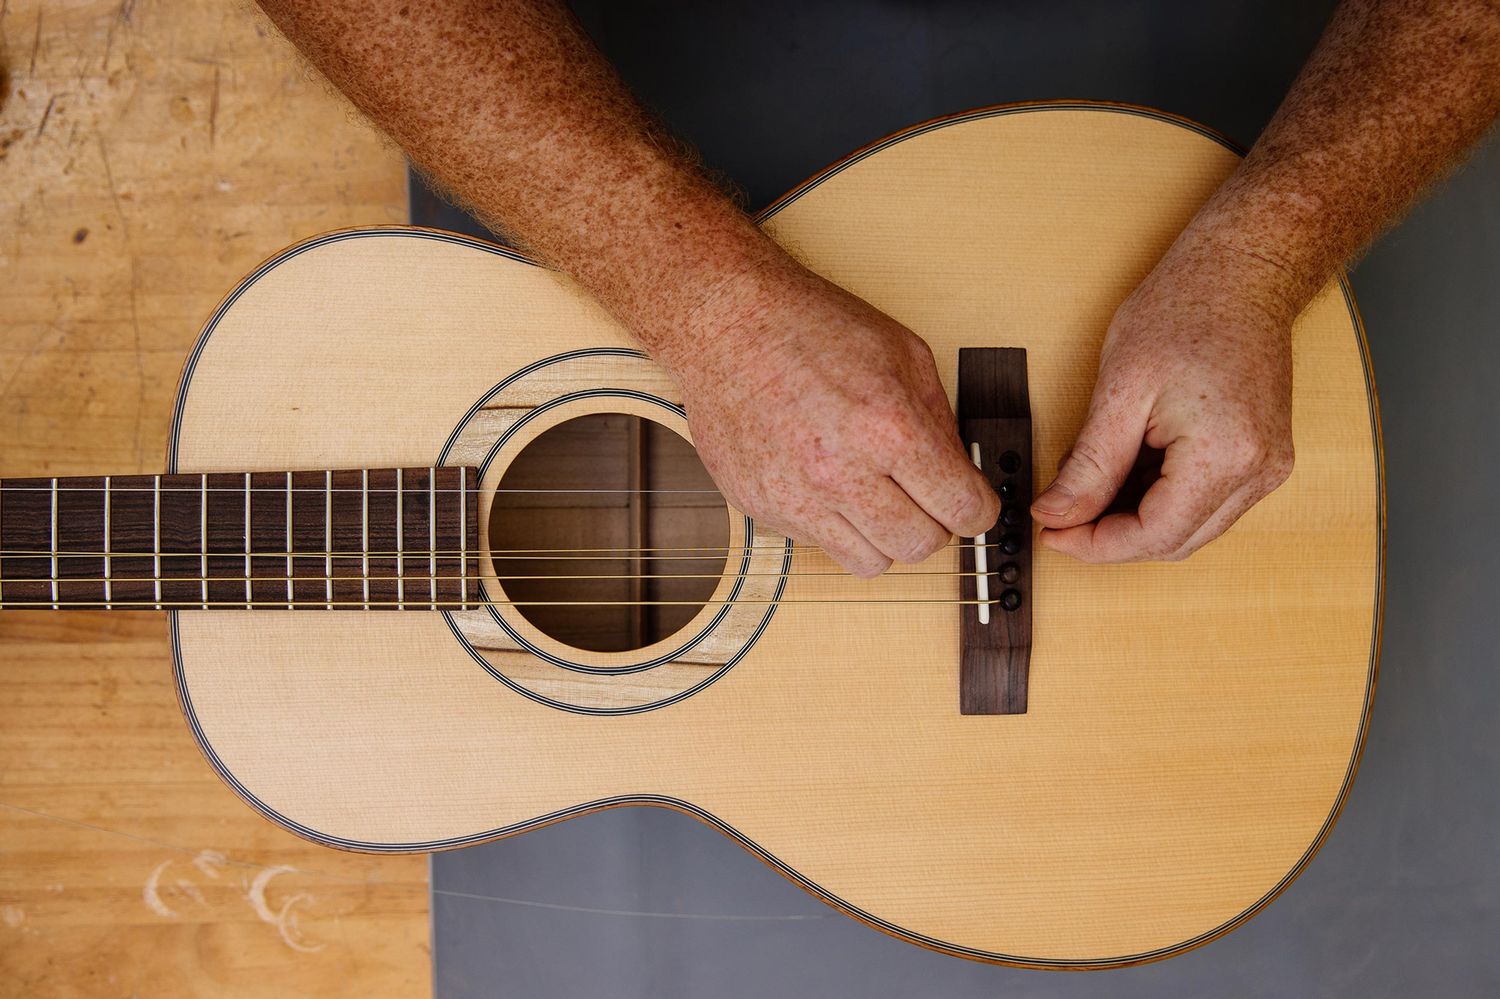
Remove the Bridge Pins: For acoustic guitars with bridge pins securing the strings, gently push the bridge pins inward while simultaneously pulling the strings away from the bridge. This technique allows the bridge pins to disengage, releasing the strings from the guitar's body. Exercise caution to avoid applying excessive force, as this could lead to damage to the bridge or the guitar's finish.
-
Discard the Old Strings: Once the strings are completely detached from the guitar, carefully set them aside for proper disposal. It's important to handle the old strings with care, as they may still have residual tension that could cause injury if mishandled. Dispose of the old strings responsibly, considering recycling options if available in your area.
-
Inspect the Guitar: With the old strings removed, take a moment to inspect the guitar's bridge and tuning pegs. Ensure that there are no loose components or debris that could interfere with the installation of the new strings. This brief inspection allows you to address any potential issues before proceeding to the next phase of the restringing process.
By following these steps, you can safely and effectively remove the old strings from your acoustic guitar without the need for specialized tools. This meticulous approach sets the stage for the subsequent steps in the restringing process, ensuring that the guitar is prepared for the installation of the new strings.
Step 3: Clean the Guitar
After removing the old strings, it's essential to take a moment to clean your acoustic guitar thoroughly. This step not only enhances the instrument's aesthetic appeal but also contributes to its overall maintenance and longevity. Cleaning the guitar provides an opportunity to remove accumulated dust, grime, and residue, ensuring that the instrument remains in optimal condition for years to come. Here's a detailed guide on how to effectively clean your acoustic guitar without the need for specialized tools.
Gather Cleaning Supplies
Before commencing the cleaning process, gather the necessary supplies to ensure a thorough and efficient cleaning session. You'll need a soft, lint-free cloth, preferably made of microfiber or similar material, to prevent scratching the guitar's finish. Additionally, a small amount of guitar polish or a mild cleaning solution specifically formulated for musical instruments can be used to remove stubborn smudges and fingerprints.
Wipe Down the Guitar Body
Start by gently wiping down the guitar body with the soft cloth, ensuring that you cover all surfaces, including the top, back, and sides. Use light, circular motions to remove any visible dust or smudges, taking care to avoid applying excessive pressure. This gentle approach helps prevent potential damage to the guitar's finish while effectively lifting away surface debris.
Clean the Fretboard
Next, focus on cleaning the fretboard, which is prone to accumulating dirt and oils from prolonged playing. If the fretboard appears particularly grimy, a small amount of fretboard conditioner can be applied to a clean section of the cloth and gently rubbed onto the fretboard surface. This conditioning step helps nourish the wood and maintain its integrity, especially in dry or humid environments.
Polish the Guitar
Once the guitar body and fretboard are thoroughly cleaned, apply a small amount of guitar polish or cleaning solution to the cloth and gently polish the entire instrument. This step not only adds a lustrous shine to the guitar's finish but also helps protect it from environmental elements. Be mindful of using minimal polish or solution to avoid excess residue buildup.
Inspect and Reassemble
After cleaning and polishing the guitar, take a moment to inspect the instrument for any remaining smudges or areas that may require additional attention. Once satisfied with the cleanliness of the guitar, reassemble any components that were temporarily removed, such as the bridge pins, and prepare the instrument for the installation of the new strings.
By following these steps, you can effectively clean your acoustic guitar without the need for specialized tools, ensuring that the instrument remains in pristine condition and ready for the installation of the new strings. This meticulous cleaning process contributes to the overall care and maintenance of your guitar, preserving its beauty and performance for years to come.
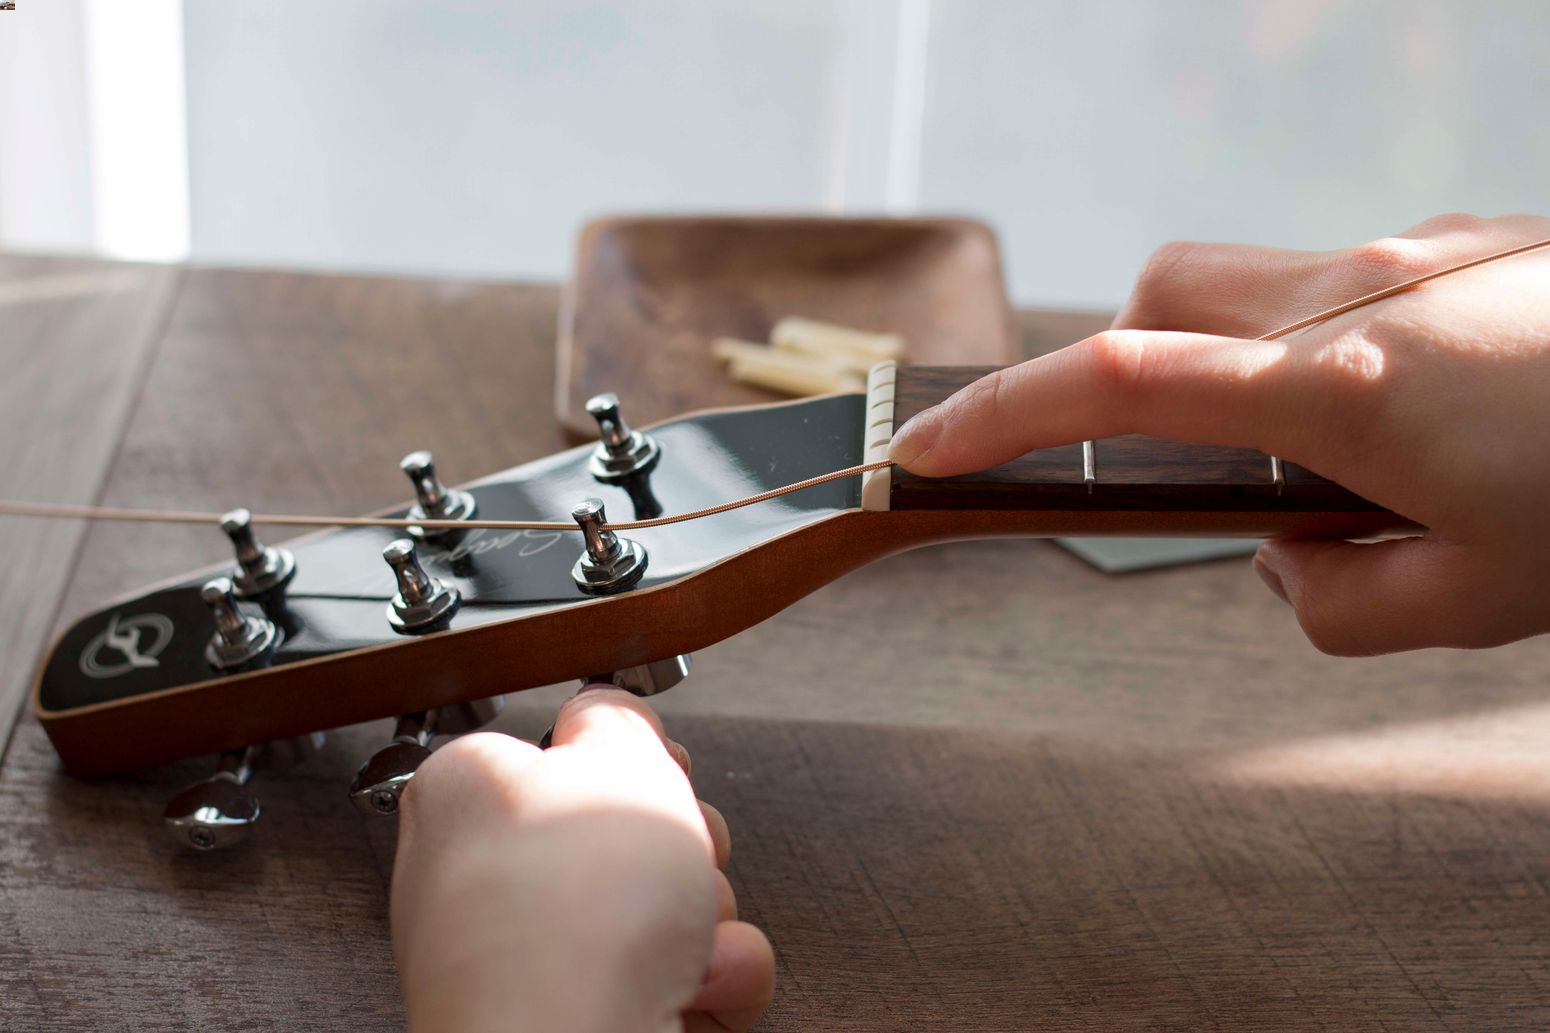
Step 4: Insert the New Strings
With the old strings removed and the guitar thoroughly cleaned, the next crucial step in the restringing process is to insert the new strings onto your acoustic guitar. This phase requires precision and attention to detail to ensure that the strings are properly secured and tuned to the correct pitch. Here's a detailed guide on how to effectively insert the new strings without the need for specialized tools.
Prepare the New Strings
Before inserting the new strings, it's essential to prepare them for installation. Uncoil each string carefully, taking care to prevent any kinks or tangles that could affect their performance. Additionally, ensure that you have the correct set of strings for your acoustic guitar, as using the wrong gauge or type of strings can impact the instrument's playability and tone.
Thread the Strings
Begin by threading the end of the first string through the corresponding bridge pin hole, ensuring that it is securely positioned against the bridge. For guitars with bridge pins, gently press the bridge pin into place, securing the string against the bridge. If your guitar features a tailpiece, carefully thread the string through the designated anchor point, ensuring a snug fit to prevent slippage during tuning.
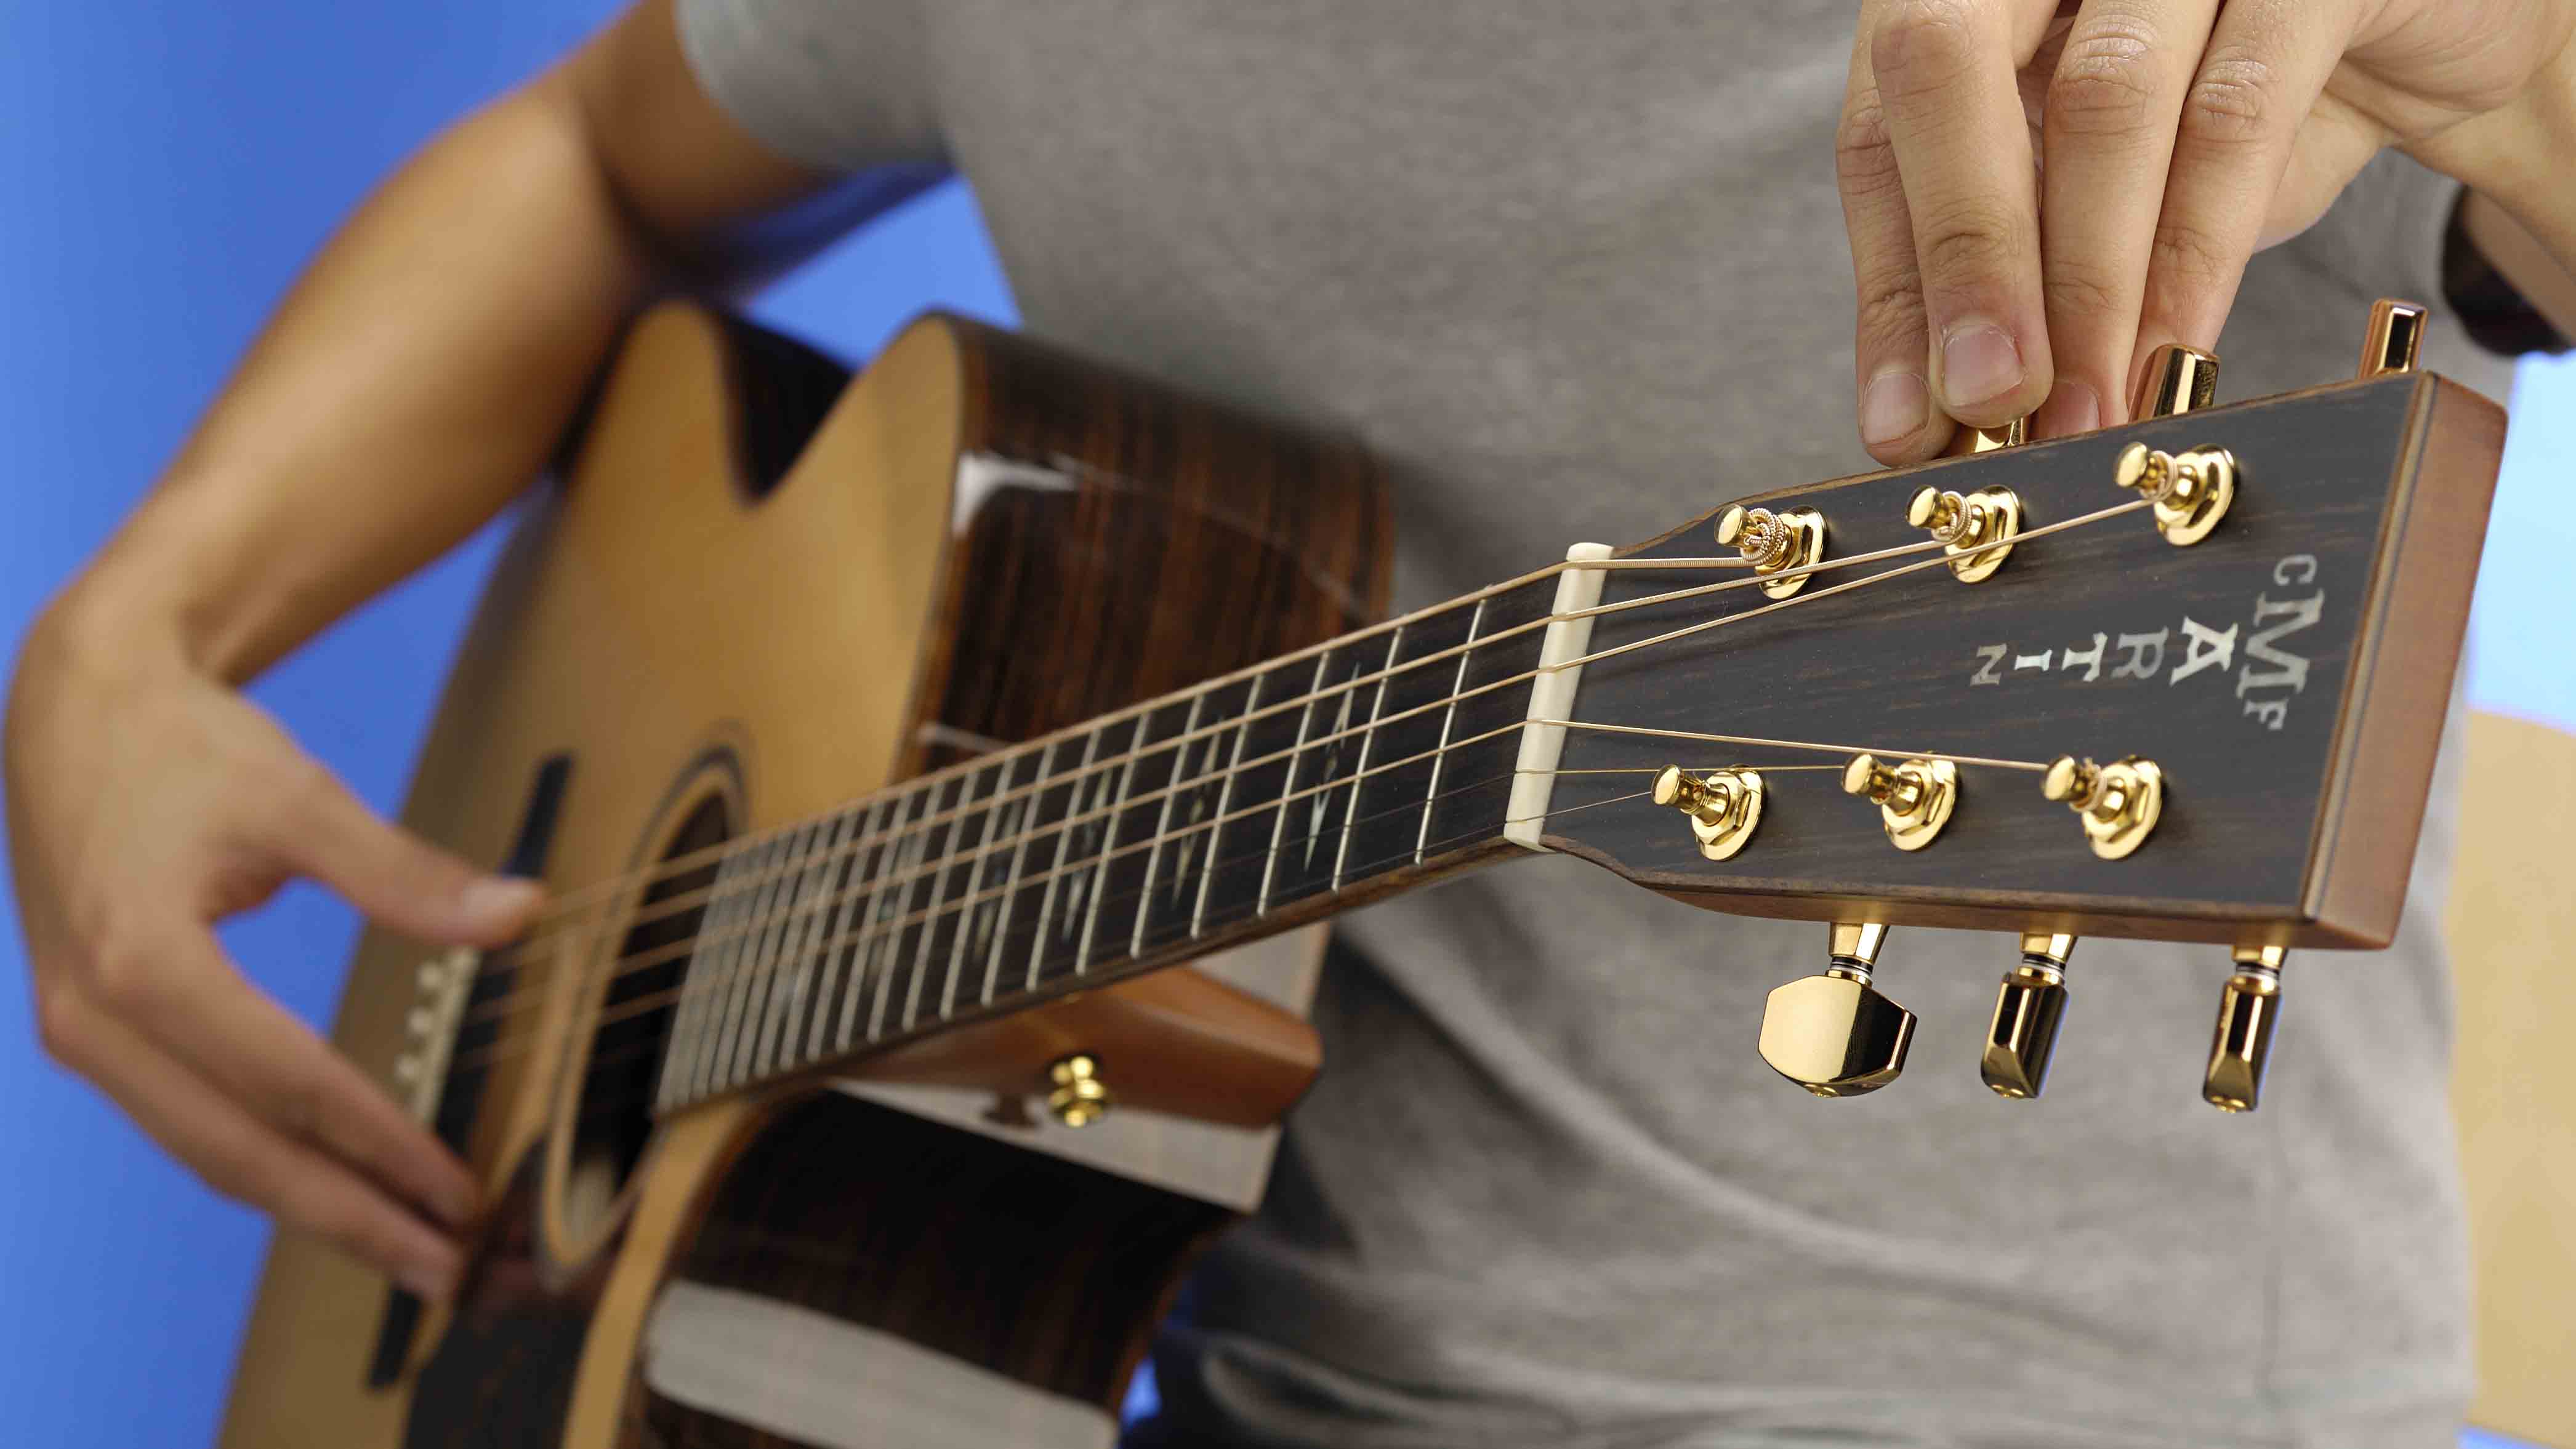
Wind the Strings
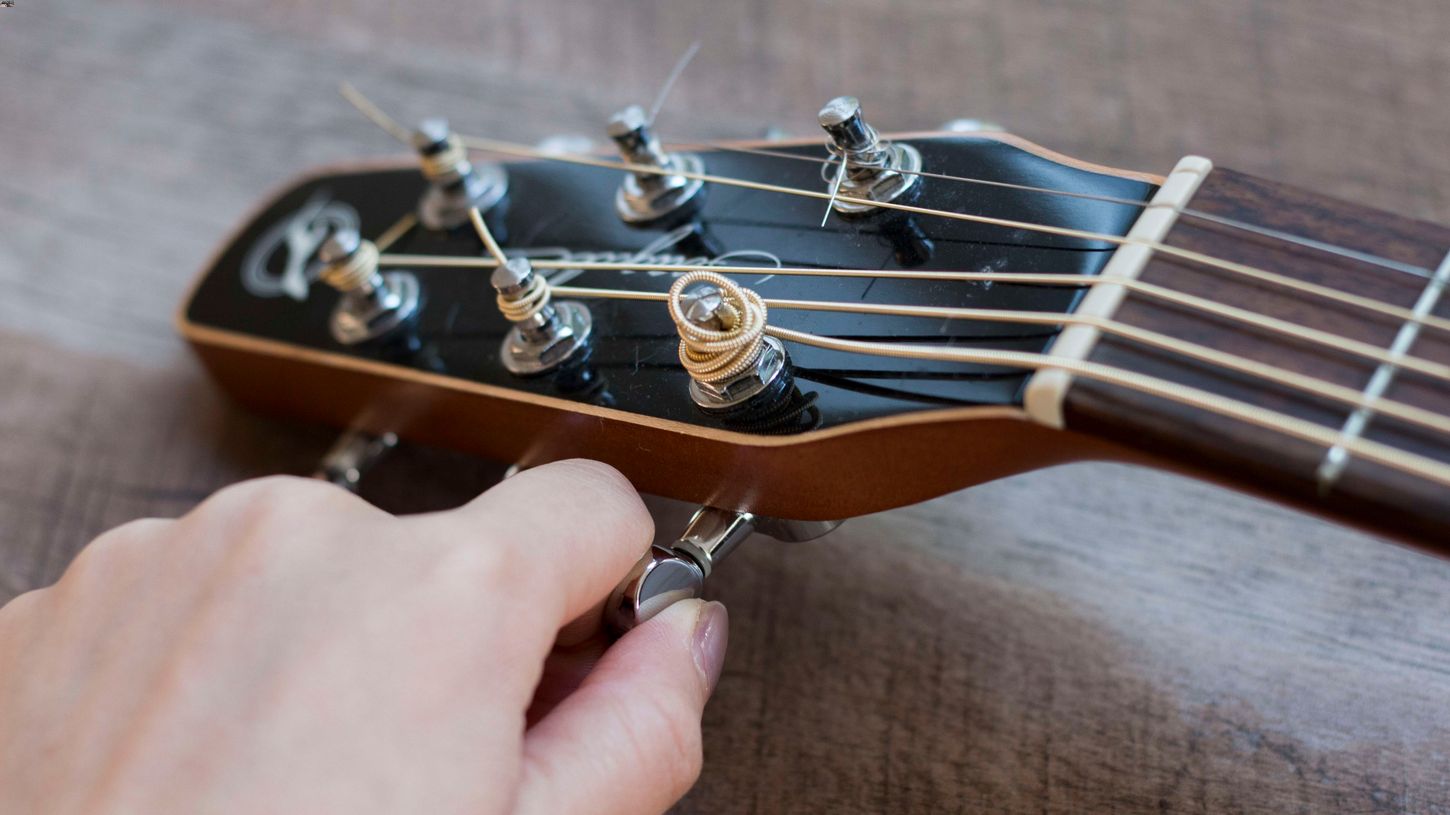
Once the strings are properly threaded through the bridge or tailpiece, guide the opposite end of each string up towards the tuning pegs. Insert the string through the corresponding peg hole, leaving a few inches of excess string to allow for winding. Begin winding the string around the tuning peg in a clockwise direction, ensuring that each turn is neat and tight to prevent slippage during tuning.
Secure and Tune
As you wind each string, ensure that it wraps neatly around the tuning peg without overlapping or crossing over itself. Once the string is securely wound, use your fingers to apply gentle tension to the string, ensuring that it is seated properly in the nut and bridge slots. With the strings in place, use a tuner to gradually bring each string to its correct pitch, making any necessary adjustments to achieve optimal tuning stability.
By following these steps, you can effectively insert the new strings onto your acoustic guitar without the need for specialized tools. This meticulous approach sets the stage for the final phase of the restringing process, ensuring that your guitar is ready to deliver exceptional tone and playability.
Step 5: Tune the Guitar
Tuning your acoustic guitar is the pivotal final step in the restringing process, ensuring that each string is precisely adjusted to its correct pitch. Proper tuning not only enhances the instrument's tonal quality but also contributes to its playability and overall performance. Whether you're a seasoned guitarist or a beginner, mastering the art of tuning by ear can significantly elevate your musical experience. In this detailed guide, we'll explore the step-by-step process of tuning your acoustic guitar without the need for specialized tools, allowing you to achieve optimal pitch accuracy and musical harmony.
Prepare for Tuning
Before commencing the tuning process, ensure that your acoustic guitar is positioned securely and comfortably for tuning. Whether using a guitar stand or holding the instrument, maintaining a stable and ergonomic posture facilitates efficient tuning. Additionally, it's beneficial to minimize external noise and distractions to focus on the subtle nuances of each string's pitch.
Tune by Ear
Tuning your acoustic guitar by ear involves attuning each string to the correct pitch without relying on electronic tuners or digital aids. This method hones your listening skills and fosters a deeper connection with your instrument. To begin, pluck the low E string and adjust its tuning peg until the note matches the standard E2 pitch. As you progress to the A, D, G, B, and high E strings, use the reference pitches of A2, D3, G3, B3, and E4, respectively, to guide your tuning adjustments.
Harmonize the Strings
As you tune each string, pay attention to the harmonious resonance between adjacent strings. For instance, when tuning the A string, listen for the consonance with the low E string, ensuring that the interval between the two notes is harmonically pleasing. This attentive approach fosters a balanced and cohesive tonal spectrum across all strings, enriching the guitar's overall sound.
Fine-Tune for Precision
After initially tuning each string, revisit the entire set of strings to fine-tune their pitches, refining their accuracy and stability. This iterative process allows for subtle adjustments to achieve optimal intonation and tonal balance. By meticulously refining the tuning of each string, you cultivate a heightened sensitivity to pitch and develop a discerning ear for musical nuances.
Validate the Tuning
Once all strings are tuned to their respective pitches, strum the guitar gently to assess the overall tonal coherence and resonance. Listen for any discrepancies or dissonances, and make minor adjustments as needed to ensure that the guitar produces a harmonically rich and balanced sound. This final validation solidifies the tuning accuracy and prepares the guitar for a seamless transition into playing mode.
By following these steps, you can effectively tune your acoustic guitar without the need for specialized tools, honing your ear for pitch and fostering a deeper connection with your instrument. This meticulous tuning process elevates the guitar's tonal quality and sets the stage for an immersive and rewarding musical experience.
Conclusion
In conclusion, mastering the art of changing guitar strings on your acoustic instrument without the need for specialized tools is a valuable skill that empowers musicians to maintain their guitars under various circumstances. By following the step-by-step process outlined in this comprehensive guide, you can confidently navigate the restringing procedure with precision and care, ensuring that your acoustic guitar remains in optimal playing condition.
The journey begins with loosening the old strings, a crucial step that sets the stage for a seamless transition to the subsequent phases of the restringing process. By carefully loosening the tension on each string, you pave the way for safe and efficient removal, minimizing the risk of damage to the instrument.
Removing the old strings requires a delicate touch, as you gently unwind and detach them from the guitar, paying close attention to the bridge pins and overall cleanliness of the instrument. This phase sets the foundation for a fresh start, preparing the guitar for the installation of new strings.
Thoroughly cleaning the guitar not only enhances its aesthetic appeal but also contributes to its overall maintenance and longevity. By meticulously wiping down the body, conditioning the fretboard, and polishing the instrument, you elevate its visual allure while preserving its structural integrity.
Inserting the new strings onto your acoustic guitar demands precision and attention to detail, ensuring that each string is securely positioned and tuned to the correct pitch. This phase marks the culmination of the restringing process, setting the stage for the final and pivotal step: tuning the guitar by ear.
Tuning your acoustic guitar by ear fosters a deeper connection with your instrument, honing your listening skills and enhancing your musical experience. By harmonizing the strings and fine-tuning for precision, you cultivate a heightened sensitivity to pitch, enriching the guitar's tonal quality and playability.
In essence, the ability to change guitar strings on your acoustic instrument without tools empowers you to maintain your musical companion with confidence and proficiency. Whether you find yourself in a remote location, a spontaneous jam session, or simply without access to specialized tools, this skill ensures that your guitar always sounds its best, ready to resonate with the music within you.