Home>Production & Technology>Audio Interface>How Do You Turn Off Audio Interface
Audio Interface
How Do You Turn Off Audio Interface
Published: February 4, 2024
Learn how to turn off your audio interface with this step-by-step guide. Stop unwanted sound and conserve energy with our easy-to-follow instructions.
(Many of the links in this article redirect to a specific reviewed product. Your purchase of these products through affiliate links helps to generate commission for AudioLover.com, at no extra cost. Learn more)
Table of Contents
Introduction
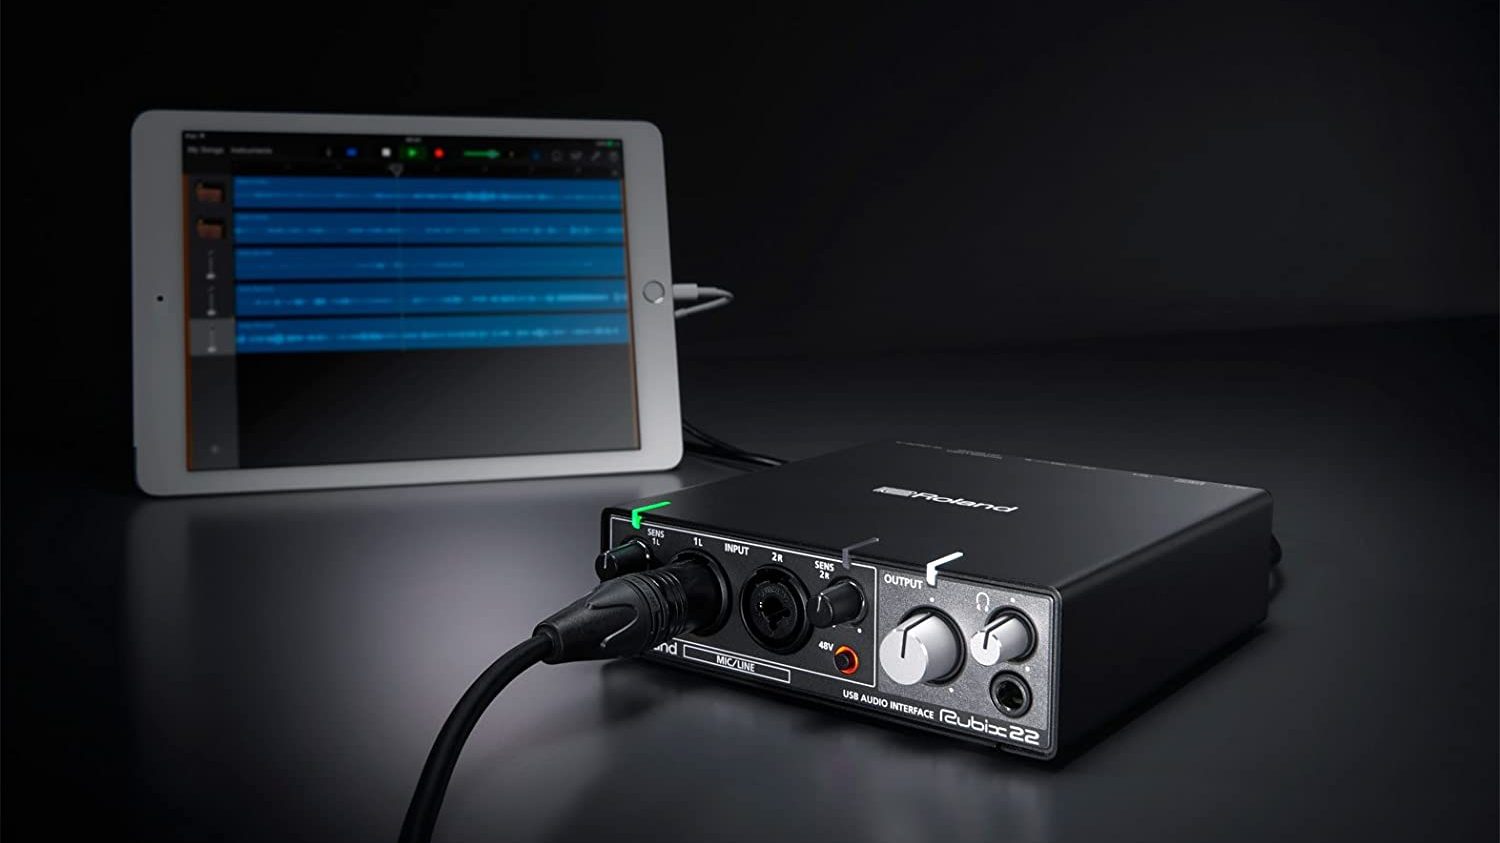
An audio interface is an essential piece of equipment for anyone involved in audio production, whether it be recording music, podcasting, or mixing audio for videos. It serves as a bridge between your computer and the world of audio, allowing you to connect microphones, instruments, and other audio devices to your computer for recording and playback.
While audio interfaces offer numerous benefits, there may be instances where you need to turn them off. This could be for various reasons, such as conserving power, troubleshooting connectivity issues, or simply wanting to disconnect your equipment temporarily.
In this article, we will explore how to turn off an audio interface on both Windows and Mac operating systems. We will guide you through the steps required to access the audio interface settings and provide troubleshooting tips for common issues you may encounter along the way.
Whether you are new to audio production or a seasoned professional, knowing how to properly turn off your audio interface is an essential skill that will come in handy in various situations. So, let’s dive in and learn how to power down your audio interface.
Step 1: Accessing the audio interface settings
Before you can turn off your audio interface, you need to access its settings. The steps to access these settings vary depending on the operating system you are using. Let’s look at how you can do it:
- Windows:
- Click on the Windows Start menu and type “Control Panel” in the search box. Click on the Control Panel app to open it.
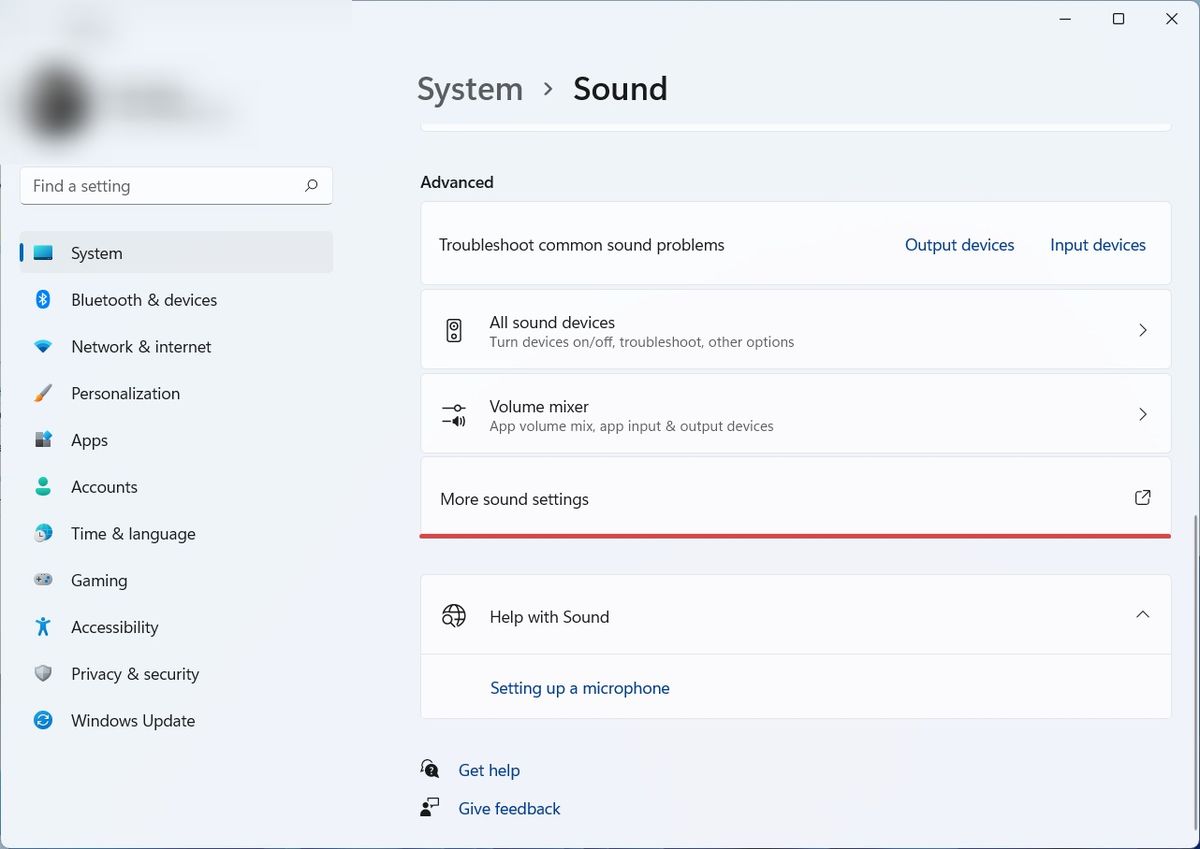
- In the Control Panel, navigate to the “Hardware and Sound” section and click on “Sound.”
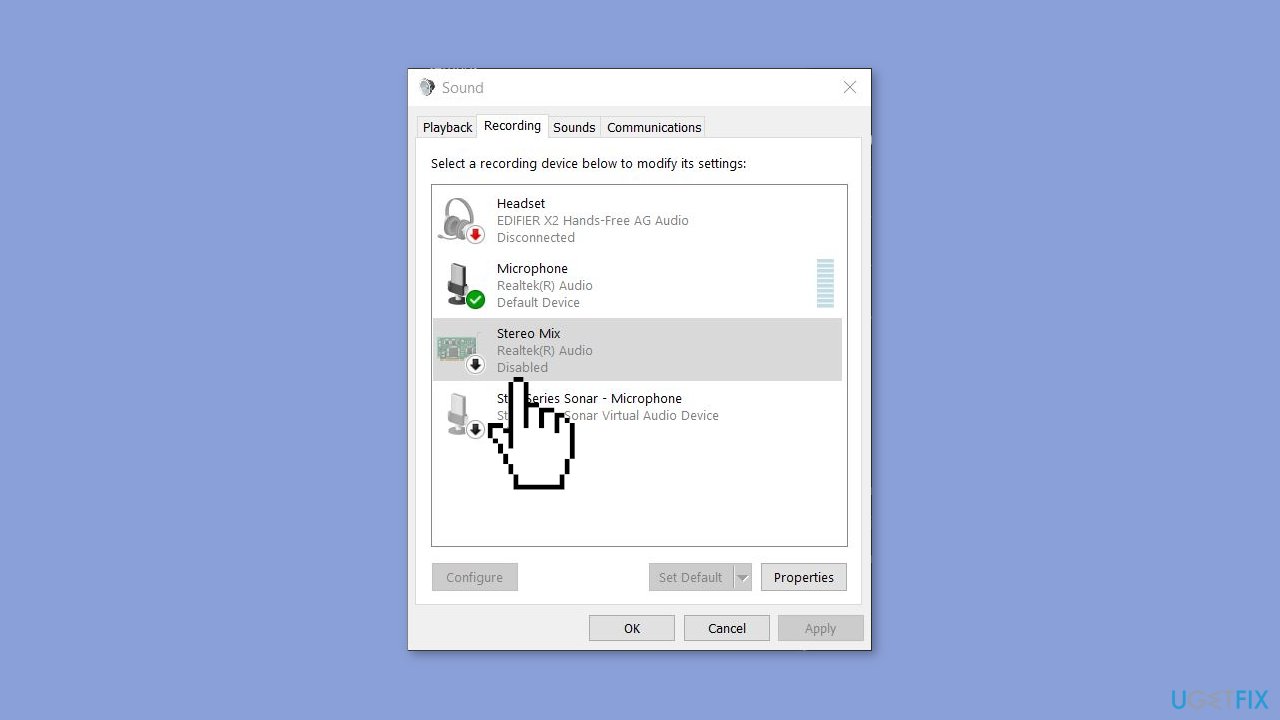
- A window will open, displaying a list of audio devices connected to your computer. Look for your audio interface in the list and click on it to select it.
- Click on the “Properties” button to open the audio interface settings.
- Mac:
- Click on the Apple menu at the top-left corner of the screen and select “System Preferences.”
- In the System Preferences window, click on the “Sound” icon.
- Navigate to the “Output” or “Input” tab, depending on whether you want to turn off playback or recording functionality, respectively.
- Select your audio interface from the list of devices.
- Locate the “Playback” or “Recording” tab in the audio interface settings window, depending on whether you want to turn off playback or recording functionality.
- Select your audio interface device from the list of options.
- Click on the “Properties” or “Advanced” button, depending on the version of Windows you are using.
- In the properties window, you should see an option to disable the device. Check the box or toggle the switch to disable the audio interface.
- Click “OK” or “Apply” to save the changes.
- Open the System Preferences by clicking on the Apple menu at the top-left corner of the screen and selecting “System Preferences.”
- In the System Preferences window, click on the “Sound” icon.
- Navigate to the “Output” or “Input” tab, depending on whether you want to turn off playback or recording functionality.
- Select your audio interface from the list of devices.
- Click on the “-” button below the device list to remove the audio interface.
- No option to disable: If you cannot find an option to disable the audio interface in the settings, try unplugging the device from your computer. This will effectively turn off the audio interface by disconnecting it from the system.
- Device not recognized: If your audio interface is not being recognized by your computer, ensure that it is properly connected via USB, Thunderbolt, or another applicable connection. Additionally, check if you have the necessary drivers or software installed for your specific audio interface model.
- Driver conflicts: Sometimes, conflicts can arise between audio interface drivers and other software on your computer. Make sure you have the latest drivers installed and consider updating or reinstalling them if necessary.
- Audio glitches or latency: If you experience audio glitches or latency issues when using your audio interface, try adjusting the buffer size or sample rate settings in the audio interface control panel. Experiment with different settings to find the optimal balance between performance and audio quality.
- Power management: If you are turning off your audio interface to conserve power, you can often configure power management settings within the audio interface control panel or your computer’s power settings. Adjust these settings to automatically power off the device after a period of inactivity.
To access the audio interface settings on Windows, follow these steps:
Accessing the audio interface settings on a Mac involves the following steps:
Once you have accessed the audio interface settings, you can proceed to the next steps to turn off the device on your specific operating system.
It’s important to note that the names and layout of these settings may vary depending on the audio interface model and the version of the operating system you are using. However, the general steps should help guide you in the right direction to access the necessary settings.
Step 2: Turning off the audio interface on Windows
Now that you have accessed the audio interface settings on your Windows computer, let’s explore how to turn off the device:
Once you have disabled the audio interface, it will no longer function as the default playback or recording device on your Windows computer. This means that any audio output or input will be redirected to the computer’s built-in speakers or microphone.
It’s important to note that different audio interfaces may have additional settings or software provided by the manufacturer. In such cases, you can explore the manufacturer’s documentation or software for specific instructions on how to turn off the device.
If you ever need to turn on the audio interface again, simply follow these steps and uncheck the box or toggle the switch to re-enable it.
Step 3: Turning off the audio interface on Mac
If you are using a Mac and want to turn off your audio interface, follow these steps:
Once you remove the audio interface, it will no longer be available as the default output or input device on your Mac. The system will use the built-in speakers or microphone for audio playback or recording.
It’s important to note that some audio interfaces may require additional software or drivers to be installed on your Mac. In such cases, you may need to explore the manufacturer’s documentation or software for specific instructions on how to turn off the device.
If you ever need to use the audio interface again, simply follow these steps and click on the “+” button below the device list to add it back as an output or input device.
Step 4: Troubleshooting common issues
While turning off an audio interface is typically a straightforward process, there can be some common issues that you may encounter. Here are some troubleshooting tips to help you resolve these issues:
If you encounter persistent issues with your audio interface, it is recommended to consult the manufacturer’s documentation, support resources, or online forums for further assistance. They will have specific troubleshooting steps tailored to your audio interface model and may be able to provide more in-depth guidance.
Remember, troubleshooting can vary depending on the specific audio interface and the operating system you are using. These general tips should help you get started in addressing common issues that may arise when turning off an audio interface.
Conclusion
Taking the time to learn how to turn off your audio interface can be beneficial in various situations, whether you want to conserve power, troubleshoot issues, or temporarily disconnect your equipment. By following the steps outlined in this article, you can easily access the audio interface settings on both Windows and Mac operating systems and turn off the device.
Remember that the process may vary slightly depending on your specific audio interface model and the version of the operating system you are using. However, the general steps provided should help you navigate the settings and disable the audio interface effectively.
Additionally, we discussed some common issues that you may encounter and provided troubleshooting tips to address them. From resolving device recognition problems to optimizing audio performance, these tips can help you overcome challenges and make the most out of your audio interface.
Whether you are a musician, podcaster, or audio enthusiast, understanding how to turn off your audio interface is a valuable skill that can enhance your overall audio production experience. It allows you to have more control over your setup and ensures smooth operation when needed.
As you become more familiar with your audio interface, remember to consult the manufacturer’s documentation and support resources for specific instructions and troubleshooting guidance. They are your best source of information to address any device-specific issues you may encounter.
Now you have the knowledge and tools to successfully power down your audio interface. So go ahead, confidently turn off your device when necessary, and continue creating amazing audio content!