Home>Production & Technology>Audio Interface>What Does An Audio Interface Do
Audio Interface
What Does An Audio Interface Do
Modified: March 11, 2024
Learn what an audio interface does and why it is essential for recording and editing music. Discover the benefits of using an audio interface for improved sound quality and connectivity.
(Many of the links in this article redirect to a specific reviewed product. Your purchase of these products through affiliate links helps to generate commission for AudioLover.com, at no extra cost. Learn more)
Table of Contents
Introduction
Welcome to the world of audio interfaces! If you’re a music producer, podcaster, or audio enthusiast, you’ve probably come across this term before. But what exactly is an audio interface and why is it so important?
An audio interface is a crucial piece of equipment that connects your computer or recording device to your audio gear, such as microphones, instruments, and studio monitors. It acts as the intermediary between your analog audio signals and the digital domain, allowing you to capture, process, and playback high-quality audio with minimal latency.
Without an audio interface, you may encounter limitations in both the input and output capabilities of your setup. Built-in sound cards on computers or portable recording devices are typically designed for basic audio tasks and may lack the necessary features and quality required for professional-grade recordings.
Whether you’re a musician looking to record your latest masterpiece, a podcaster in need of crystal-clear voice recordings, or a home studio enthusiast aiming for top-notch production quality, an audio interface is essential for achieving your audio goals.
In this article, we’ll explore the various aspects of audio interfaces, including their definition, purpose, components, types, specifications, and selection process. We’ll also provide tips for setting up and troubleshooting common issues. By the end of this article, you’ll have a solid understanding of audio interfaces and how they can supercharge your audio recording and production setup.
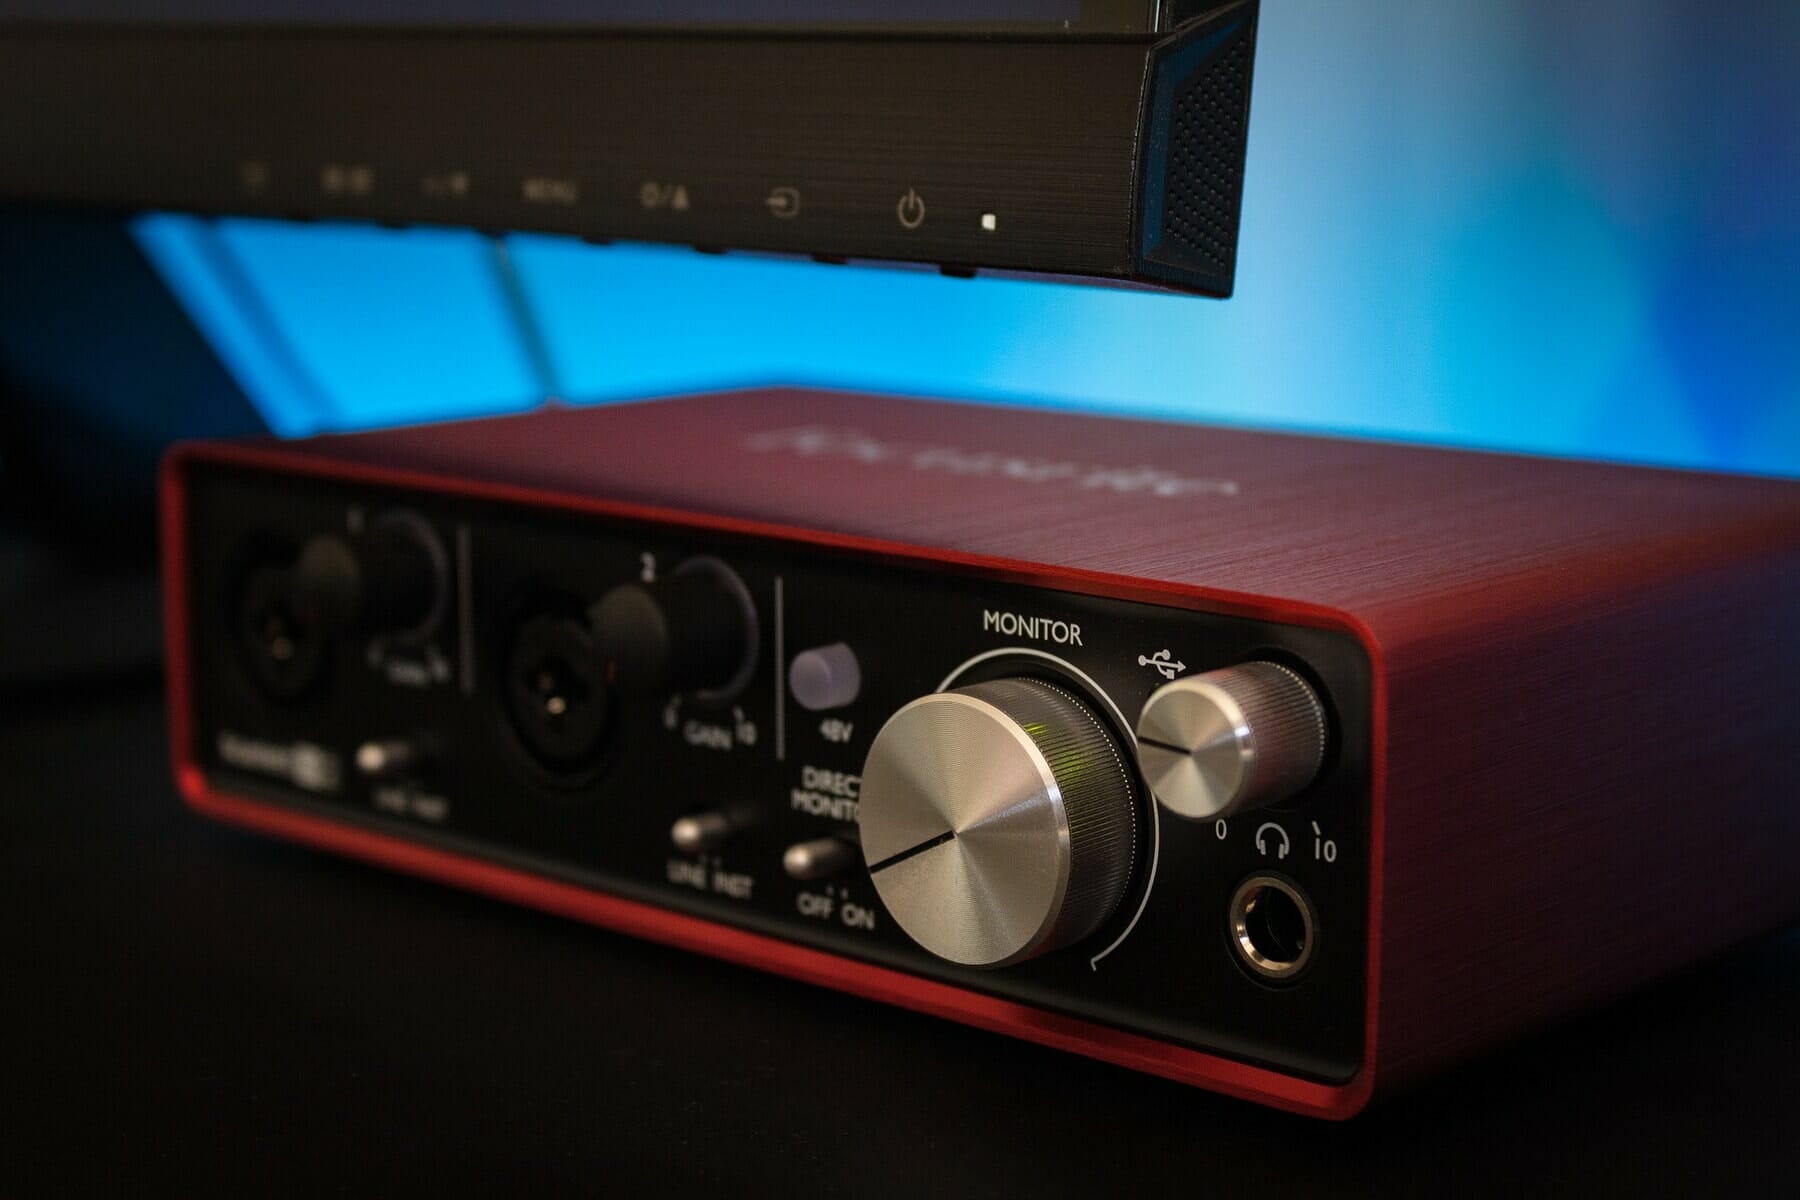
Definition of an Audio Interface
An audio interface, also known as a sound card or audio converter, is an external hardware device that connects to your computer or recording device and facilitates the input and output of audio signals. It serves as the bridge between analog audio signals and digital data, allowing you to record, process, and play back audio with high fidelity and precision.
At its core, an audio interface acts as a translator, converting analog signals from microphones, instruments, and other audio sources into digital data that your computer can understand. Conversely, it also transforms digital audio signals from your computer into analog signals that can be sent to speakers, headphones, or other output devices.
One of the key functions of an audio interface is its ability to provide high-quality analog-to-digital (ADC) and digital-to-analog (DAC) conversion. ADCs ensure accurate and precise capturing of audio signals, preserving the nuances and dynamics of the original sound source. DACs ensure smooth and accurate playback of digital audio, translating the digital data into analog signals that can be heard by human ears.
In addition to analog-to-digital and digital-to-analog conversion, audio interfaces often include preamps, which amplify the low-level analog signals from microphones and instruments to a usable level. Preamps are crucial for achieving clean and professional-sounding recordings, as they boost the signal strength while maintaining a low noise floor.
Audio interfaces come in a variety of sizes and configurations, ranging from portable models designed for solo recording on the go to multi-channel interfaces optimized for professional studios. They connect to computers and recording devices via USB, Thunderbolt, FireWire, or PCIe connections, each offering different levels of data transfer speed and bandwidth.
Overall, an audio interface is a vital tool for anyone involved in audio recording, production, or broadcasting. It enables musicians, podcasters, sound engineers, and content creators to capture and manipulate audio with precision, ensuring the highest quality results for their projects.
Purpose of an Audio Interface
The primary purpose of an audio interface is to enhance the audio recording and playback capabilities of your computer or recording device. It serves as a dedicated and specialized hardware device that improves the quality, flexibility, and latency performance of your audio setup. Here are some key purposes of an audio interface:
- High-Quality Audio Capture: An audio interface ensures accurate and faithful capturing of audio signals from microphones, instruments, and other audio sources. With its analog-to-digital conversion capabilities, it preserves the nuances, dynamics, and details of your sound source, allowing for high-quality recordings.
- Low Latency Performance: Latency refers to the delay between the time you input a sound signal and the time it takes for the computer to process and output that signal. Audio interfaces are designed to minimize latency, providing real-time monitoring capabilities to ensure seamless recording and zero latency during playback.
- Improved Sound Quality: Built-in sound cards on computers or portable recording devices may not deliver the same level of audio quality as dedicated audio interfaces. With advanced analog components, premium digital converters, and high-quality preamps, audio interfaces offer superior sound reproduction and a cleaner signal path.
- Expanded Input and Output Options: Audio interfaces come with a variety of input and output options, allowing you to connect multiple microphones, instruments, headphones, and studio monitors simultaneously. This flexibility enables you to create complex audio setups and record multiple sound sources at the same time.
- Integration with Professional Audio Gear: If you’re using professional microphones, instruments, or studio monitors, an audio interface acts as the necessary intermediary to connect and interface with these external audio devices. It ensures proper signal routing, impedance matching, and voltage levels for seamless integration.
- Software Control and Routing: Many audio interfaces come with software control panels, allowing you to adjust input gain levels, monitor mix settings, and apply software effects in real-time. This intuitive control over your audio setup enhances your workflow and gives you greater creative control over your recordings.
In summary, the purpose of an audio interface is to elevate the audio quality, reduce latency, offer flexibility, and provide seamless integration between your computer and external audio devices. It is a necessary tool for anyone serious about achieving professional-grade recordings and delivering top-notch sound for their projects.
Components of an Audio Interface
An audio interface is made up of several essential components that work together to facilitate the input and output of audio signals. Understanding these components will give you a better grasp of how an audio interface functions. Here are the key components of an audio interface:
- Analog-to-Digital Converters (ADC): ADCs are responsible for converting incoming analog audio signals from microphones, instruments, and other sources into digital data that the computer can process. The quality of the ADC determines the accuracy and fidelity of the captured audio.
- Digital-to-Analog Converters (DAC): DACs perform the opposite function of ADCs. They convert digital audio signals from the computer into analog signals that can be sent to speakers, headphones, or other output devices. The quality of the DAC affects the clarity and accuracy of the playback audio.
- Microphone Preamps: Preamps are crucial components that amplify the low-level analog signals from microphones and instruments to a usable level. They ensure that the audio signals are boosted adequately while maintaining a low noise floor and preserving the dynamics of the sound.
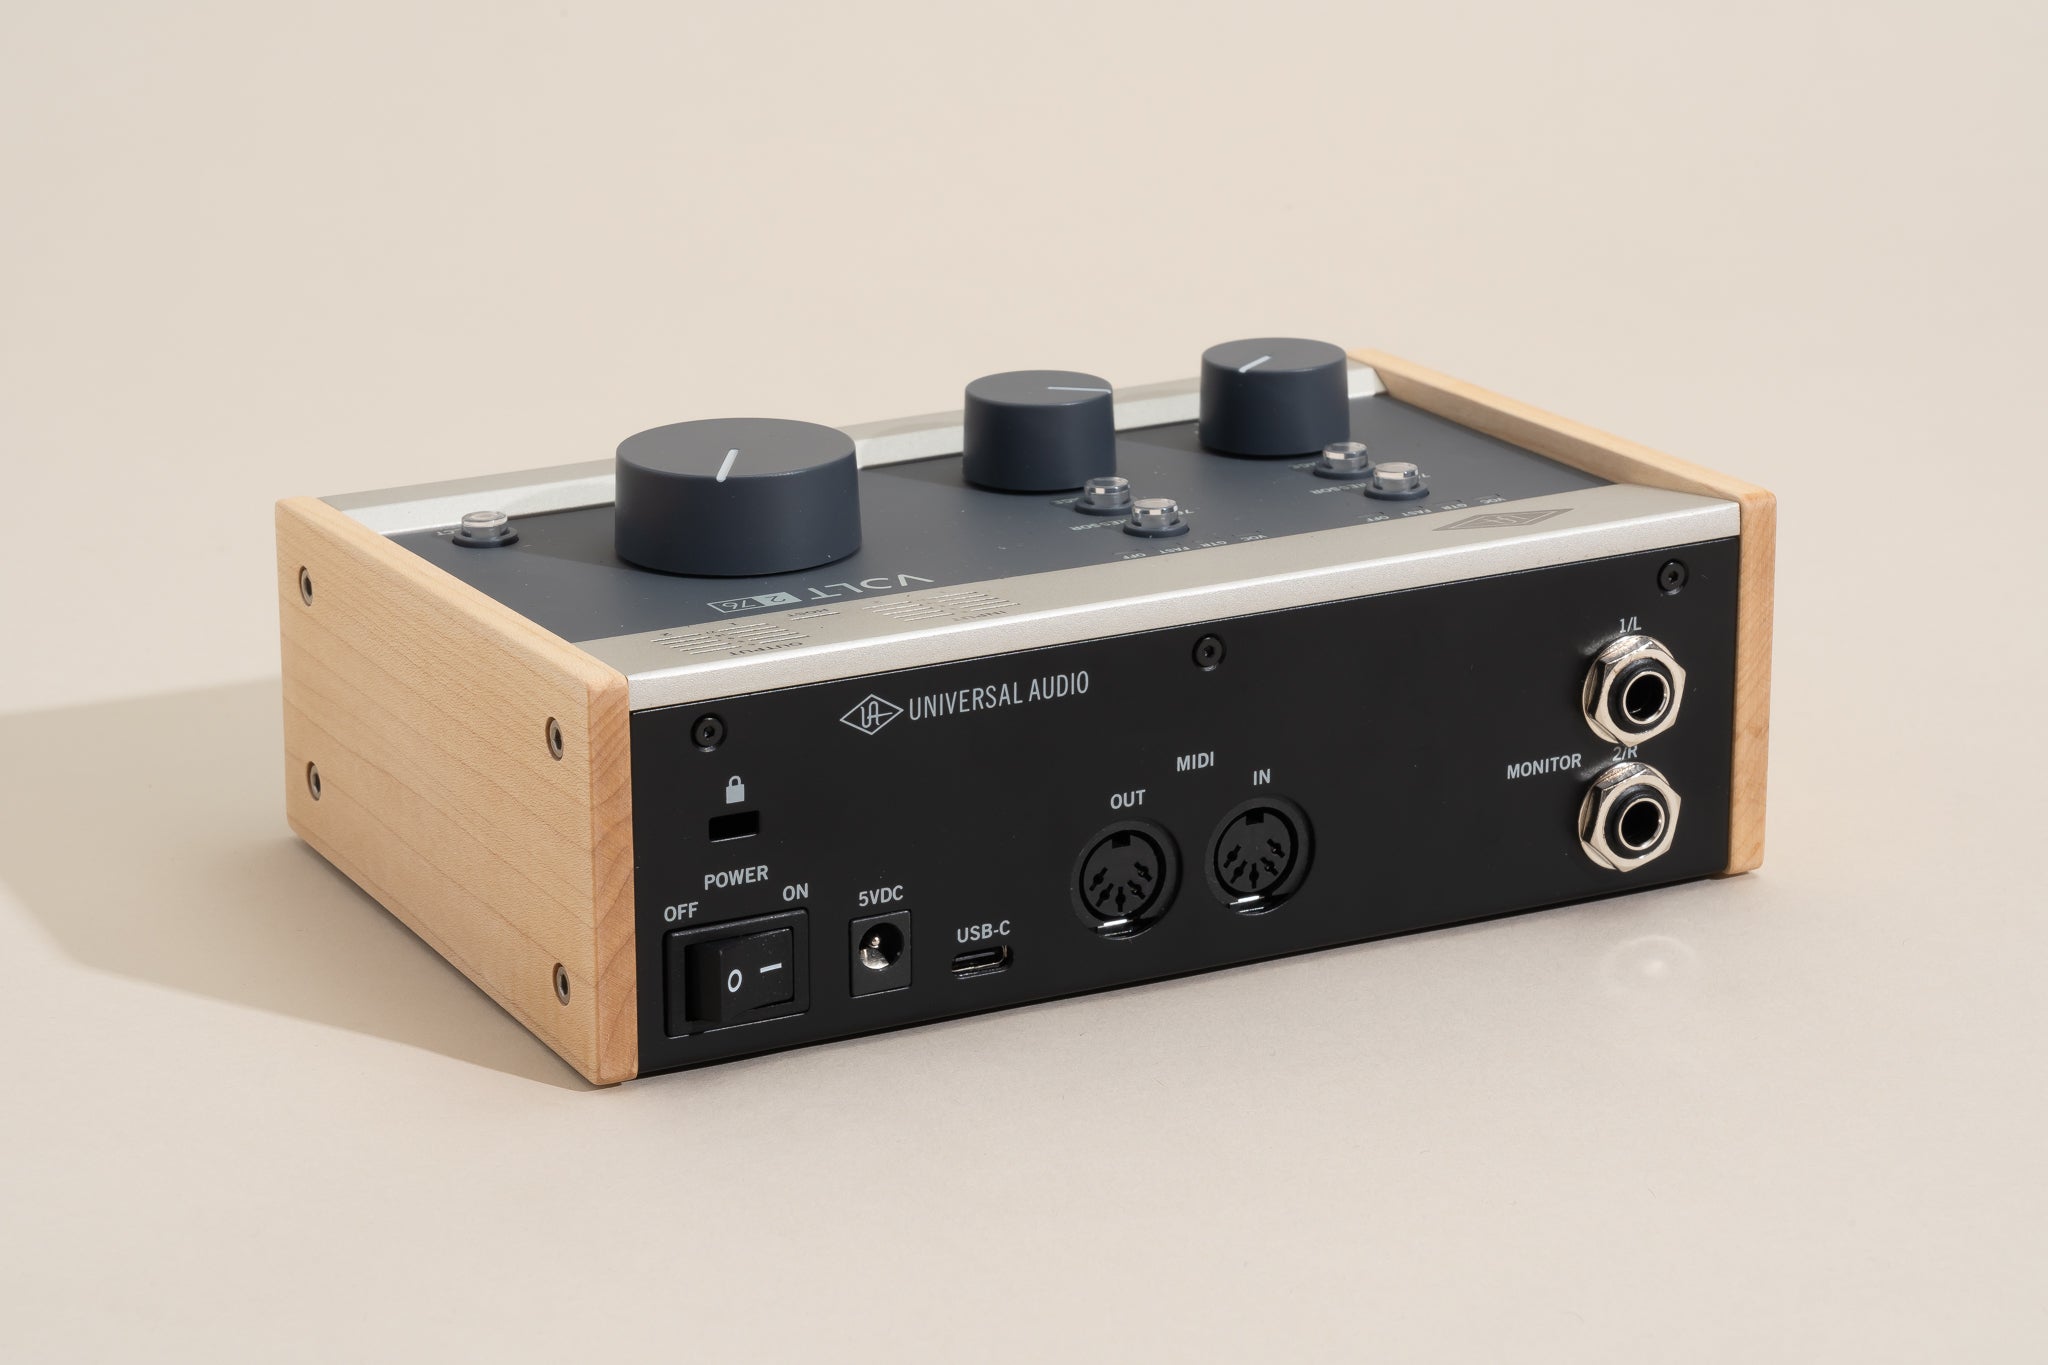
- Input and Output Connections: Audio interfaces offer various input and output connections to accommodate different audio sources and devices. Common input connections include XLR, 1/4-inch TRS, and RCA, while output connections may include 1/4-inch TRS, RCA, and headphone jacks.
- Headphone Amplifiers: Some audio interfaces include dedicated headphone amplifiers. These amplifiers ensure sufficient power to drive headphones and provide detailed and accurate monitoring of the audio during recording or playback.
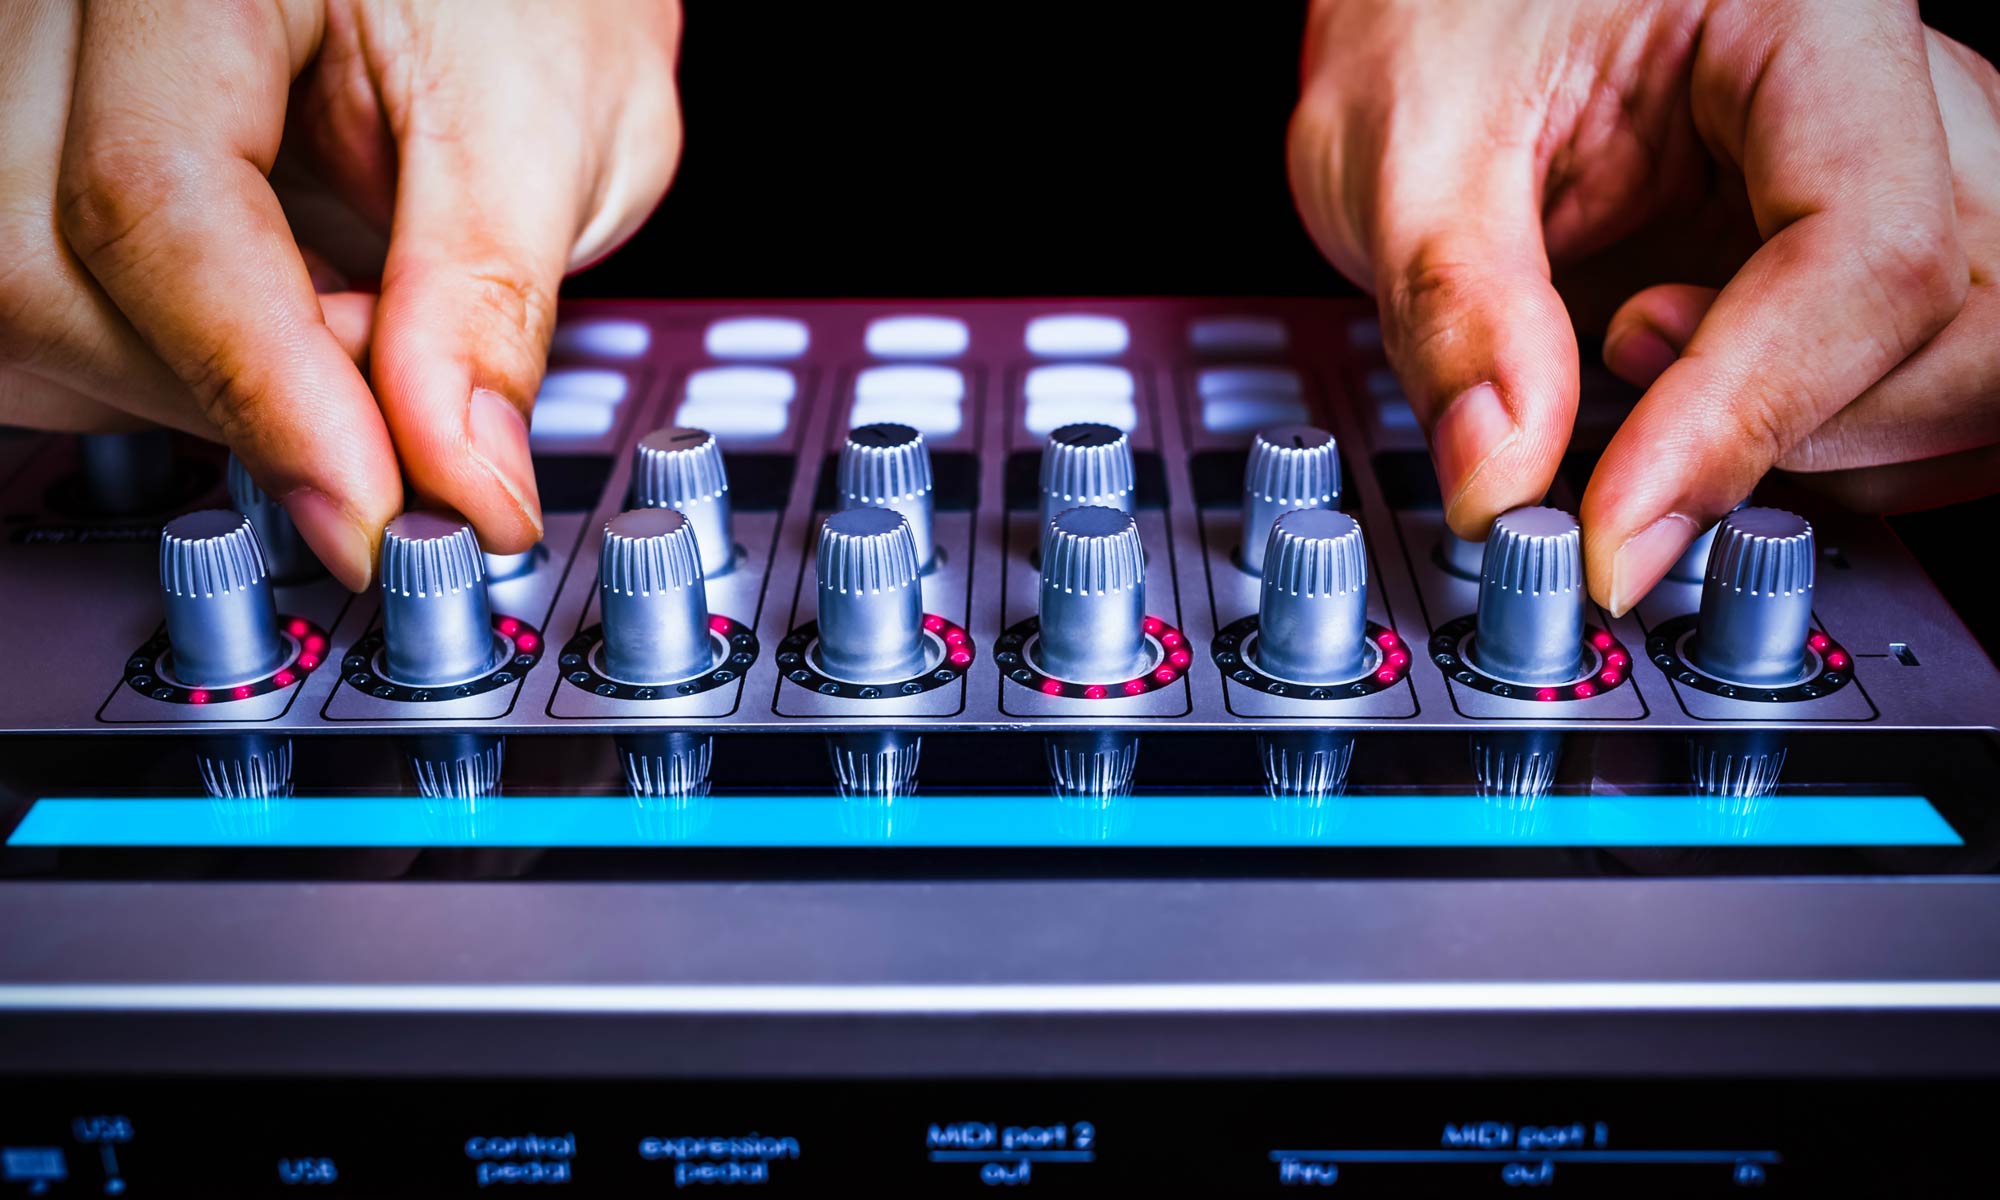
- MIDI I/O: Many audio interfaces also feature MIDI input and output ports. These ports allow for the connection and communication with MIDI controllers, synthesizers, and other MIDI-compatible devices, expanding your musical possibilities.
- Control Knobs and Buttons: Audio interfaces often have physical controls, such as gain knobs, volume knobs, and buttons, for easy and quick access to essential functions. These controls allow you to adjust input levels, monitoring levels, and other settings without relying solely on software controls.
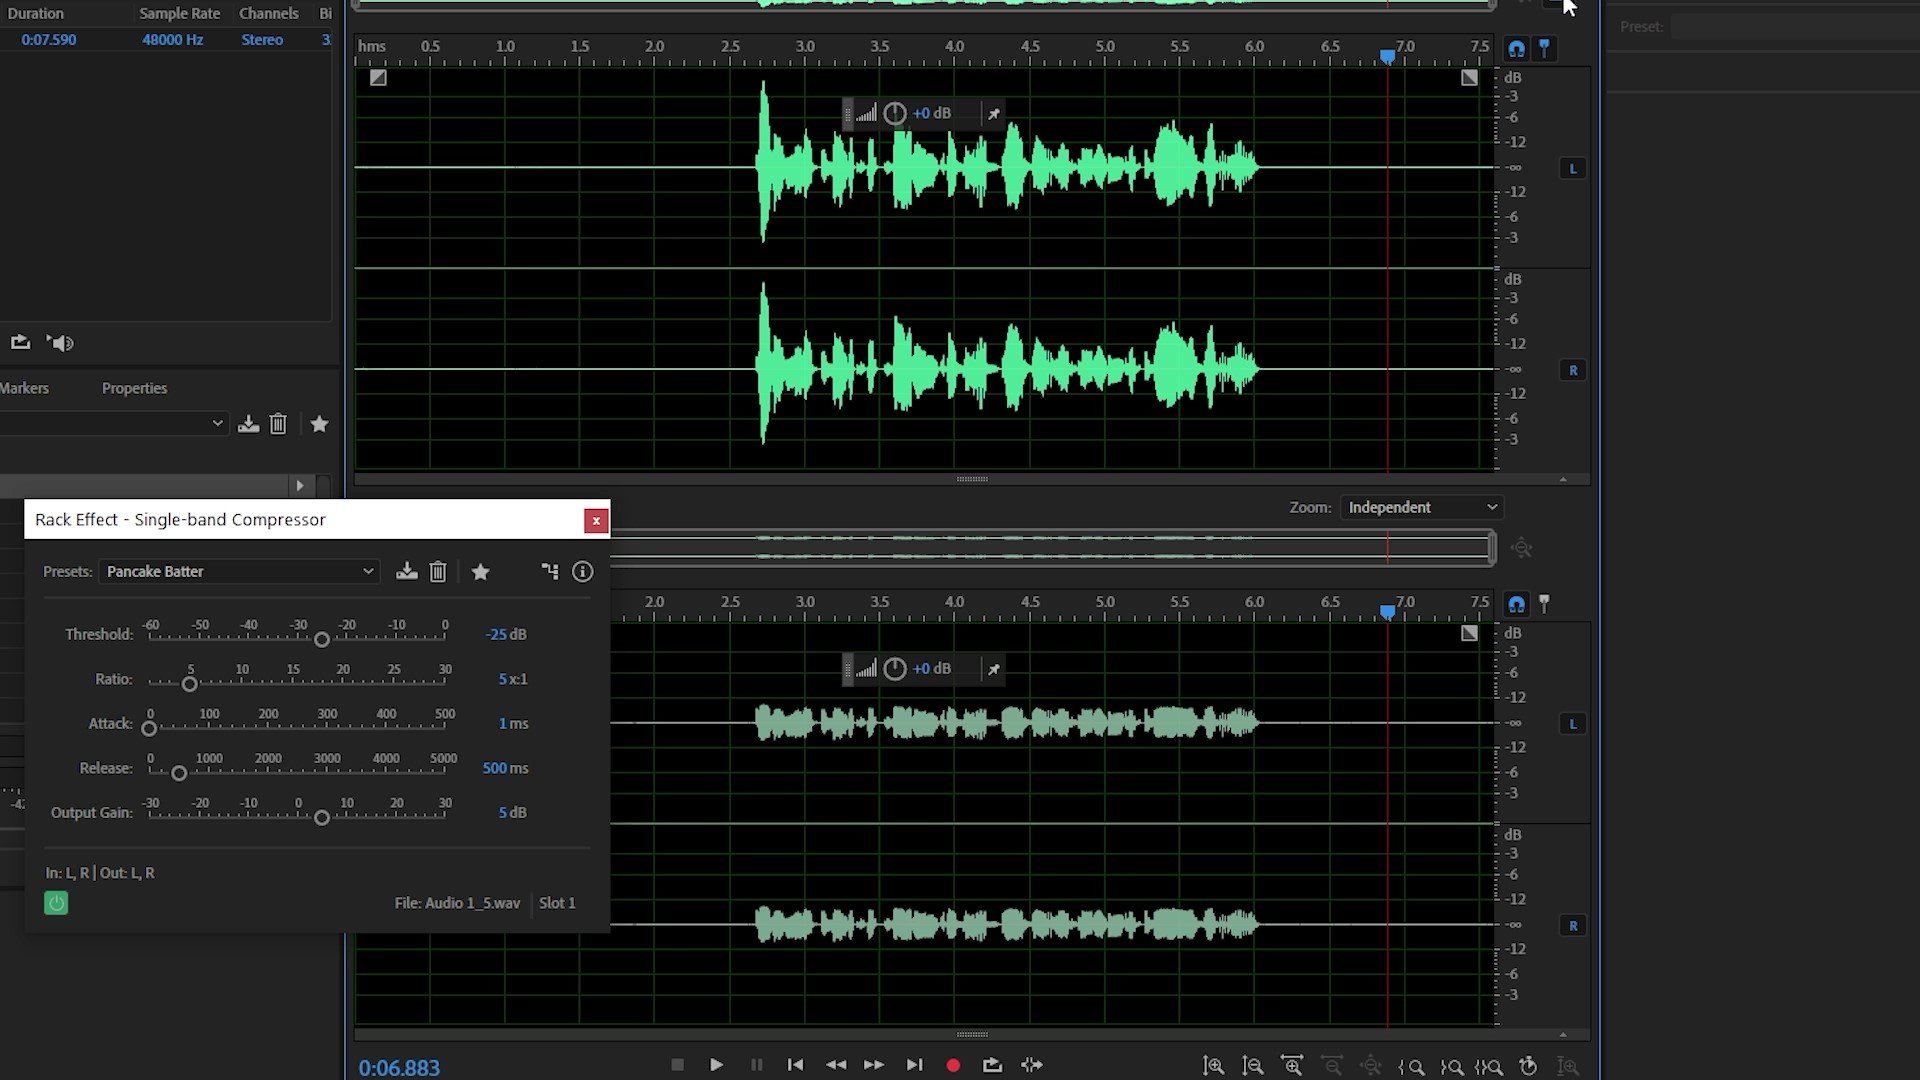
- Software Control Panel: Audio interfaces typically come with software control panels or companion software that provides access to additional settings and functionalities. These control panels allow you to configure input and output routing, adjust gain levels, apply DSP effects, and control monitoring mix settings.
By understanding the various components of an audio interface, you can make informed decisions when selecting one that best suits your specific audio recording and production needs. Each component plays a critical role in ensuring optimal audio performance and flexibility for your setup.
Types of Audio Interfaces
Audio interfaces come in a variety of types, each catering to different recording and production needs. Let’s explore the common types of audio interfaces available:
- USB Audio Interfaces: USB interfaces are the most popular and widely used type of audio interface. They connect to your computer via USB ports and offer a range of input and output options. USB interfaces are known for their ease of use, portability, and compatibility with both Mac and PC systems.
- Thunderbolt Audio Interfaces: Thunderbolt interfaces provide high-speed data transfer and low latency performance, making them ideal for professional audio applications. They are mainly found in high-end audio interfaces and are commonly used in professional recording studios where ultra-low latency is essential.
- PCIe Audio Interfaces: PCIe interfaces are designed to be installed directly into your computer’s PCIe slot, providing a dedicated connection for audio data transfer. They offer extremely low latency and high data throughput, making them suitable for high-demand audio recording and processing tasks.
- FireWire Audio Interfaces: FireWire interfaces were once popular but have become less common in recent years. They offer fast data transfer rates and low latency performance, making them suitable for multi-channel audio recording and playback. However, FireWire ports are no longer standard on most computers.
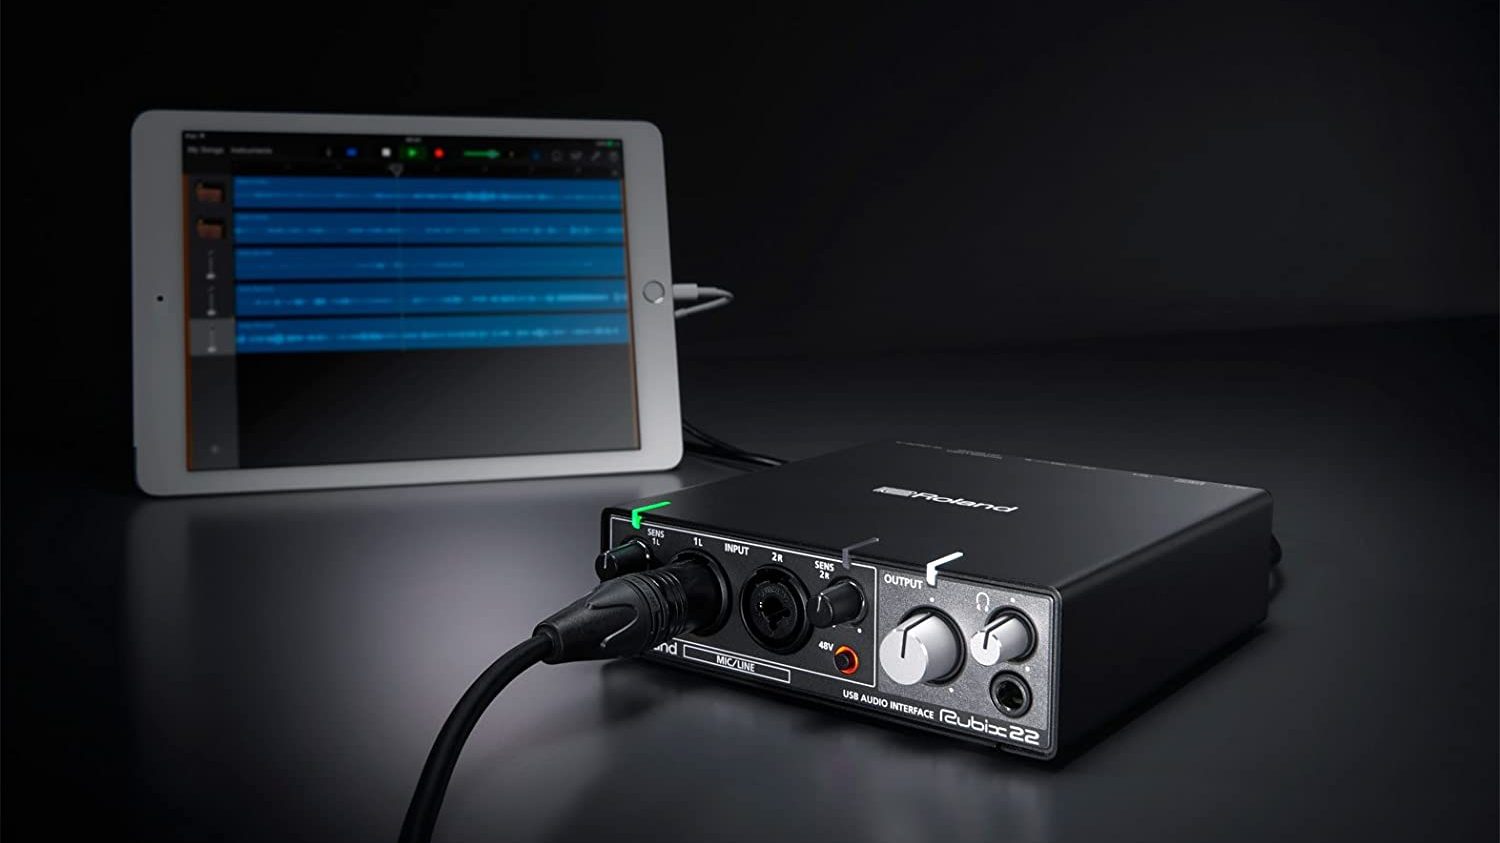
- IOS Audio Interfaces: IOS interfaces are specifically designed for use with iOS devices such as iPhones and iPads. They connect to the iOS device via the Lightning or USB-C port and provide high-quality audio recording capabilities. They are convenient for on-the-go recording and mobile music production.
- Ethernet Audio Interfaces: Ethernet or AVB (Audio Video Bridging) interfaces use Ethernet cables to transfer audio data, providing high-bandwidth connectivity for multi-channel audio recording and playback. They are commonly used in professional audio installations and live sound setups that require extensive routing and seamless integration.
It’s worth noting that each type of audio interface may offer a different number of inputs and outputs, ranging from single-channel interfaces ideal for solo recordings to multi-channel interfaces suitable for capturing a full band or orchestra. Additionally, some audio interfaces may specialize in specific applications, such as podcasting, broadcast, or studio recording.
When choosing an audio interface, consider factors like your recording needs, the number of simultaneous inputs and outputs required, desired connectivity options, and compatibility with your recording software and hardware. By selecting the right type and configuration of audio interface, you can optimize your recording workflow and achieve high-quality results.
Comparing Audio Interface Specs
When searching for an audio interface, it’s essential to consider the technical specifications that impact its performance and compatibility with your setup. Here are the key specs to compare when evaluating different audio interfaces:
- Sample Rate: The sample rate determines the number of samples taken per second to capture and reproduce audio. Common sample rates for audio interfaces are 44.1 kHz, 48 kHz, 96 kHz, and 192 kHz. Higher sample rates provide greater audio detail and fidelity.
- Bit Depth: The bit depth refers to the number of bits used to represent each sample. Common bit depths include 16-bit, 24-bit, and 32-bit. Higher bit depths allow for a wider dynamic range and more precise representation of audio signals, resulting in improved audio quality and reduced noise levels.
- Input and Output Configuration: Consider the number and type of inputs and outputs required for your specific recording needs. This includes XLR, 1/4-inch, RCA, or digital connections. Evaluate the number of microphone preamps, instrument inputs, line inputs, headphone outputs, and monitor outputs available on the audio interface.
- Preamp Quality: Pay attention to the quality of the microphone preamps on the audio interface. Look for specifications such as signal-to-noise ratio (SNR) and total harmonic distortion (THD), which indicate the preamp’s ability to amplify the audio signal cleanly and accurately.
- Latency Performance: Latency refers to the delay between inputting a sound and hearing the processed sound. Lower latency is desirable for real-time monitoring during recording. Compare the round-trip latency specs of each interface to determine the delay you may experience when monitoring or using software effects.
- Connectivity Options: Consider the available connection types such as USB, Thunderbolt, FireWire, or PCIe, and ensure compatibility with your computer or recording device. Additionally, check for MIDI inputs and outputs if you work with MIDI controllers or keyboards.
- Software Compatibility: Ensure that the audio interface is compatible with your preferred recording software and operating system. Compatibility is crucial to ensure seamless integration and proper functionality.
- Build Quality and Design: Assess the build quality, durability, and ergonomics of the interface. Look for features like rugged metal construction, convenient knob placement, and intuitive control layouts.
- Price and Value: Compare the prices of different audio interfaces, keeping in mind the features, specifications, and quality they offer. It’s important to strike a balance between your budget and the features required for your specific recording needs.
By comparing these specifications, you can narrow down your options and choose an audio interface that meets your recording requirements while providing the necessary connectivity, quality, and performance for your projects.
How to Choose the Right Audio Interface
Choosing the right audio interface for your needs can be a critical decision in achieving high-quality audio recordings. Here are some factors to consider when selecting an audio interface:
- Recording Needs: Determine the type of audio recording you plan to do. Are you a solo artist recording vocals and instruments? Or do you need to capture multiple microphones and instruments simultaneously for band recordings? Understanding your recording needs will help determine the number of inputs and outputs required.
- Audio Quality: Assess the audio quality and performance of the audio interface. Look for interfaces with high-quality analog-to-digital and digital-to-analog converters (ADC/DAC). Consider the bit depth and sample rate capabilities to ensure accurate and detailed audio reproduction.
- Connectivity: Consider the type of connectivity options that best suit your recording setup. USB interfaces are widely compatible and portable, while Thunderbolt or PCIe interfaces offer high-speed data transfer for low latency performance. Ensure that the interface is compatible with your computer or recording device.
- Preamp Quality: If you plan on recording vocals or acoustic instruments, pay attention to the quality of the preamps. Look for specifications such as signal-to-noise ratio (SNR) and total harmonic distortion (THD) to ensure clean and transparent audio capture.
- Latency Performance: If real-time monitoring or using software effects is important to you, consider the interface’s latency performance. Look for interfaces with low round-trip latency specifications to minimize the delay between input and output.
- Software Compatibility: Ensure that the audio interface is compatible with your preferred recording software and operating system. Compatibility is crucial for seamless integration and reliable performance.
- Budget: Determine your budget for an audio interface. Consider the features and specifications that are essential for your recording needs and find a balance between your budget and the quality of the interface.
- User Reviews and Recommendations: Read user reviews and seek recommendations from trusted sources to gain insights into the real-world performance and reliability of different audio interfaces. Hearing from other users can provide valuable perspectives when making your decision.
Ultimately, the right audio interface for you will depend on your specific recording needs, budget, and desired audio quality. Take the time to research and compare different models, considering the factors mentioned above. By choosing the right audio interface, you’ll ensure a solid foundation for capturing and producing professional-grade audio recordings.
Setting Up and Using an Audio Interface
Setting up and using an audio interface may seem intimidating at first, but with a few simple steps, you’ll be up and running in no time. Here’s a guide to help you get started:
- Read the Manual: Familiarize yourself with the user manual of your specific audio interface model. The manual will provide detailed instructions and specifications for setting up and using the interface correctly.
- Download and Install Drivers: Visit the manufacturer’s website and download the latest drivers for your operating system. Install the drivers before connecting the audio interface to your computer to ensure proper functionality and compatibility.
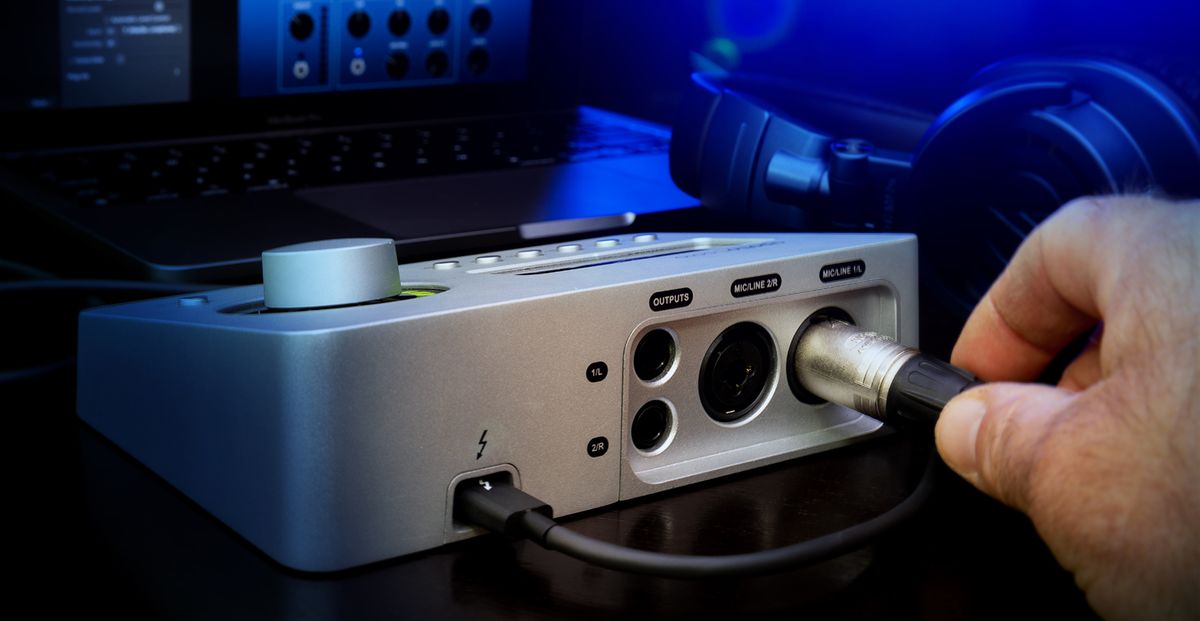
- Connect the Audio Interface: Depending on the interface type, use the appropriate cables to connect the audio interface to your computer. USB interfaces will require a USB cable, Thunderbolt interfaces will use a Thunderbolt cable, and so on. Ensure a secure connection.
- Configure Input and Output Levels: Use the gain knobs or software control panel provided by the audio interface to adjust the input gain levels. Start with low gain levels to avoid clipping or distortion. Set the output levels to an appropriate listening level for your monitoring setup.
- Select Input and Output Sources: In your recording software or system preferences, select the audio interface as the input and output device. Configure the input and output sources according to your recording and monitoring requirements.
- Enable Phantom Power: If you’re using condenser microphones or active DI boxes, enable phantom power (+48V) on the audio interface. This provides power to the microphones and ensures proper operation.
- Monitor with Headphones or Speakers: Connect your headphones or studio monitors to the appropriate output jacks on the audio interface. Use the software control panel or the volume knob on the interface to adjust the listening level to your preference.
- Test and Troubleshoot: Before starting your recording session, conduct a test to ensure proper audio signal flow. Check for any potential issues with noise, distorted audio, or latency. Refer to the troubleshooting section in the user manual or seek online resources if you encounter any problems.
- Experiment and Learn: Take the time to explore your audio interface’s features and capabilities. Experiment with different settings and software effects to fine-tune your recordings. This will help you get the most out of your audio interface and enhance your recording and production workflow.
Remember to refer to the user manual for your specific audio interface model and consult online resources or customer support for any assistance or further guidance. With patience and practice, you’ll become familiar with using your audio interface, enabling you to achieve professional-grade audio recordings and unleash your creativity.
Troubleshooting Common Audio Interface Issues
While audio interfaces are reliable tools, occasional technical issues may arise. Understanding common audio interface problems and how to troubleshoot them can save you time and frustration. Here are some common audio interface issues and potential solutions:
- No Audio Signal: If you’re not getting any audio signal, first check the connection between the audio interface and your computer. Ensure that all cables are securely plugged in. Also, verify that the correct input and output sources are selected in your recording software or system preferences.
- High Latency: If you experience noticeable delay between inputting sound and hearing it through your headphones or speakers, lower the buffer size in your recording software’s settings. Lower buffer sizes decrease latency but may increase the risk of audio dropouts. Ensure that your computer meets the minimum system requirements for the interface and that you have installed the latest drivers.
- Noise or Distortion: If you hear background noise, distortion, or buzzing, check the gain levels on the audio interface. If the gain is set too high, it can introduce noise or cause the audio to distort. Adjust the gain levels to an appropriate level. Additionally, make sure the cables are not damaged and properly shielded.
- Phantom Power Issues: If you’re using a condenser microphone and it’s not working, ensure that phantom power is enabled on the audio interface. If it’s still not functioning, check the microphone or try a different XLR cable. Faulty cables can sometimes cause phantom power issues.
- Inadequate or Uneven Volume: If you’re experiencing uneven volume levels across different audio sources, check the input gain levels. Adjust the gain settings to ensure balanced levels. It’s also worth checking the audio levels within your recording software to ensure they are appropriately set.
- Driver or Software Issues: If you’re encountering stability or compatibility issues, make sure you have the latest drivers installed for the audio interface. Check the manufacturer’s website for any available driver updates. Additionally, ensure that your recording software is up to date and compatible with your operating system.
- Computer Power Management: Some computers have power-saving features that can interfere with audio interface performance. Disable power-saving mode or adjust the power management settings to prevent the computer from entering sleep or hibernation mode while the interface is in use.
- Check for Updates: Regularly check for firmware updates for your audio interface. Manufacturers often release updates to address bugs, improve performance, and enhance compatibility. Keeping your interface’s firmware up to date can help resolve issues and ensure optimal functionality.
If you encounter persistent issues that you are unable to resolve, consult the user manual of your audio interface or reach out to customer support for further assistance. They can provide specific guidance tailored to your particular interface and help resolve any complex problems you may encounter.
Conclusion
Audio interfaces play a crucial role in enhancing the recording and production capabilities of musicians, podcasters, and audio enthusiasts. These devices provide high-quality analog-to-digital and digital-to-analog conversion, expand input and output options, and ensure low latency performance. By bridging the gap between analog audio signals and digital data, audio interfaces enable users to capture, process, and play back audio with exceptional clarity and fidelity.
In this article, we explored the definition and purpose of audio interfaces, discussed the key components and types of interfaces available, and provided guidance on comparing their specifications. We also delved into the process of choosing the right audio interface, setting it up, and troubleshooting common issues that may arise.
When selecting an audio interface, it’s essential to consider your specific recording needs, desired audio quality, connectivity options, and budget. Comparing technical specifications, such as sample rate, bit depth, and preamp quality, can help you find the interface that best suits your requirements.
Setting up an audio interface involves connecting it to your computer, configuring input and output levels, and selecting the appropriate input and output sources in your recording software. Troubleshooting common issues, such as latency, noise, or driver problems, requires careful examination of connection points, gain settings, and software configurations.
By investing in a high-quality audio interface and understanding how to use it effectively, you can significantly improve your audio recordings and elevate your creative projects. Whether you’re a musician capturing a song, a podcaster delivering top-notch audio, or an audio enthusiast seeking professional-grade sound, an audio interface is an indispensable tool in your arsenal.
Remember to consult the user manual for your specific audio interface model, keep your drivers and firmware updated, and reach out to customer support when needed. With dedication, practice, and the right audio interface, you’ll be well-equipped to embark on a journey of exceptional audio production.