Home>Production & Technology>Metronome>How To Remove Metronome From Recording
Metronome
How To Remove Metronome From Recording
Modified: January 22, 2024
Learn how to remove the irritating metronome from your recordings. Follow our step-by-step guide to eliminate the metronome and get clean, professional audio.
(Many of the links in this article redirect to a specific reviewed product. Your purchase of these products through affiliate links helps to generate commission for AudioLover.com, at no extra cost. Learn more)
Table of Contents
- Introduction
- Understanding the Metronome in Recordings
- Why Remove the Metronome?
- Methods for Removing the Metronome from a Recording
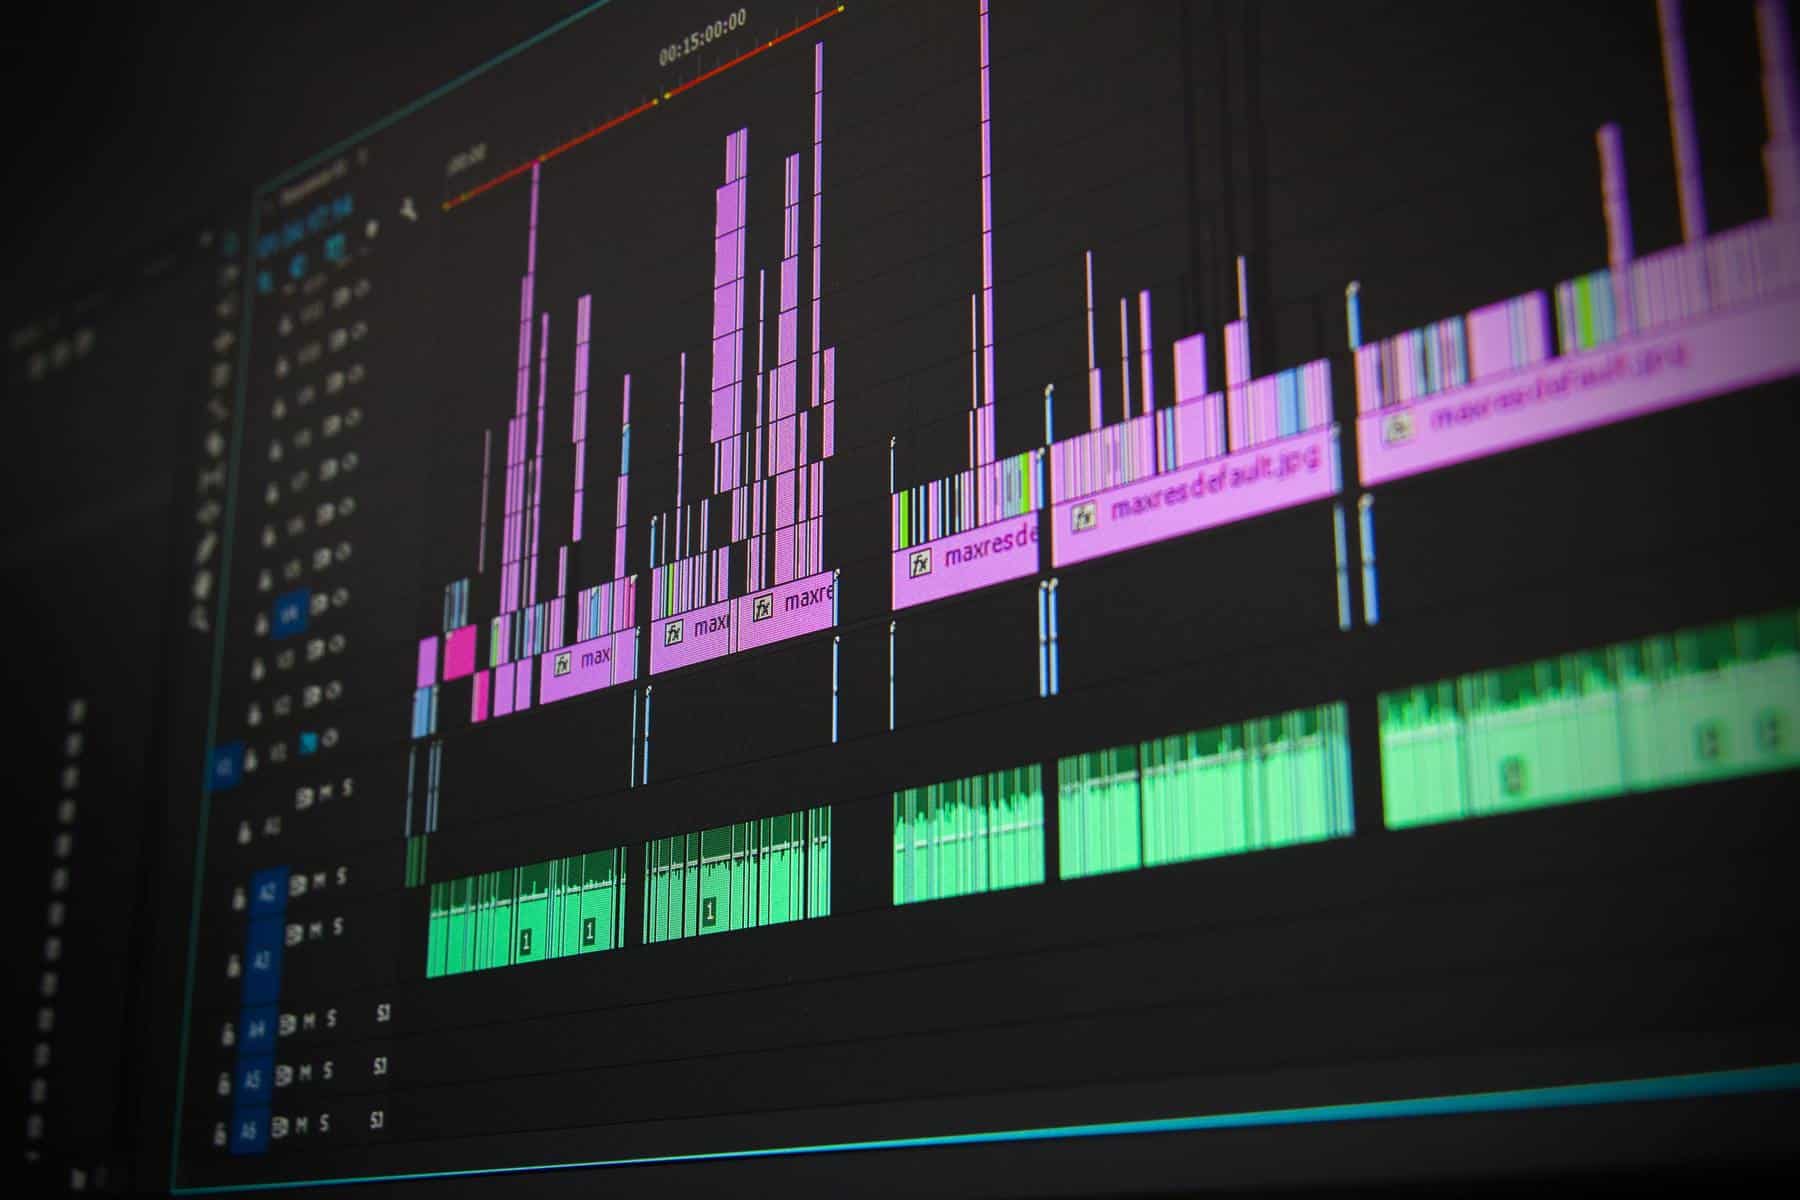
- Method 1: Manual Editing in an Audio Editing Software
- Method 2: Using Noise Reduction Techniques
- Method 3: Utilizing Phase Cancellation
- Tips and Considerations for Removing the Metronome Effectively
- Conclusion
Introduction
Welcome to a guide on how to remove the metronome from a recording. If you’re a musician or an audio enthusiast, you know that a metronome is a valuable tool for keeping time and maintaining rhythm during recordings. However, there may be instances where you want to remove the metronome sound from your recording, whether it’s because you forgot to record a metronome-free version or you simply want a clean and polished final product.
In this article, we will explore various methods and techniques that you can use to remove the metronome from your recordings. We’ll discuss both manual editing approaches using audio editing software and more advanced techniques like noise reduction and phase cancellation. By following these methods, you’ll be able to achieve metronome-free recordings without compromising the overall quality of your tracks.
Before we dive into the methods, it’s important to note that removing the metronome from a recording can be a challenging task. The metronome sound is often intertwined with the rest of the audio, making it difficult to isolate and remove without affecting other elements of the recording. With that said, let’s explore some effective techniques to tackle this task and achieve clean, professional-sounding recordings.
Understanding the Metronome in Recordings
Before we can effectively remove the metronome from a recording, it’s important to understand how it is typically captured in the first place. In music, a metronome is a device that produces a consistent ticking sound at a specific tempo, helping musicians stay in time.
When recording music, the metronome sound is often included in the final mix to serve as a reference point for the musicians. It helps them stay synchronized and ensures consistent timing throughout the recording. However, there are situations where you might want to remove the metronome from the recording entirely.
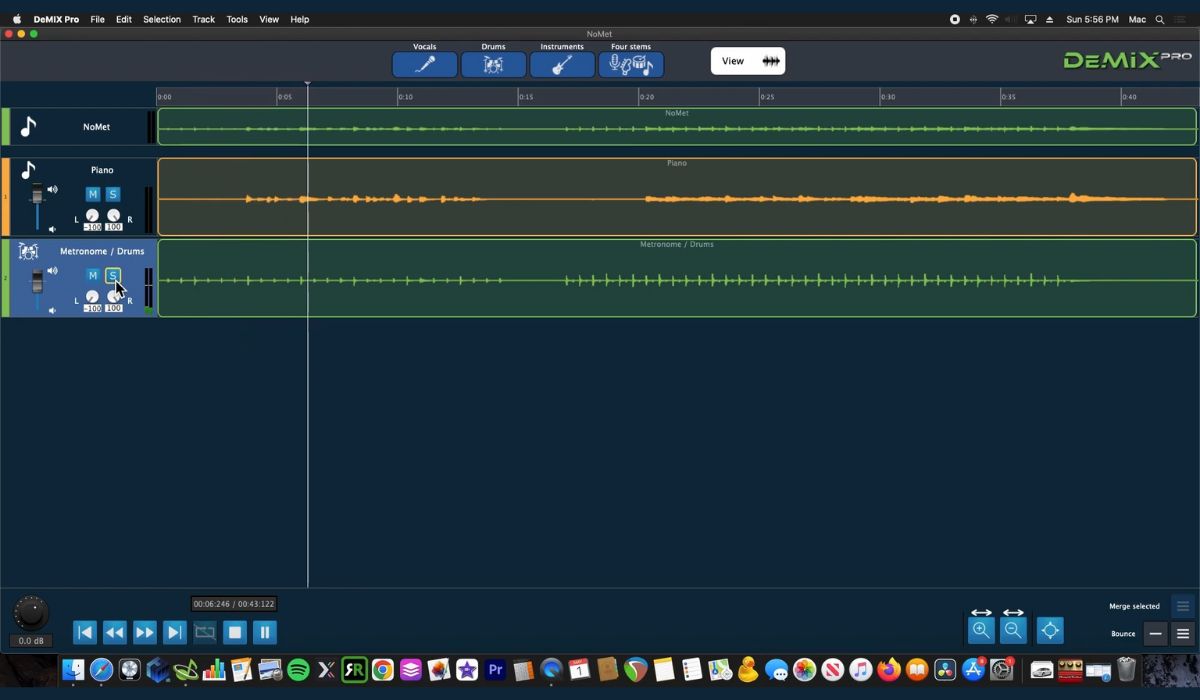
The metronome sound is typically recorded along with the other instruments or vocals, either through a dedicated metronome track or bleed from the headphones used by the musicians. This means that the metronome sound is present on the same audio track as the rest of the music.
It’s important to note that different recording techniques can affect the presence of the metronome in the recording. For example, if the metronome volume is low and there is minimal bleed into the microphone, the metronome sound may be easier to remove. On the other hand, if the metronome is recorded at a high volume level or the bleed is significant, removing it can be more challenging.
When it comes to removing the metronome, it’s crucial to approach the task with caution. You want to remove the metronome sound without negatively impacting the quality of the rest of the audio. This requires careful editing and precise techniques to minimize artifacts and preserve the integrity of the recording.
Now that we have a better understanding of how the metronome is recorded and its role in the recording process, let’s move on to the reasons why you might want to remove the metronome from your recordings.
Why Remove the Metronome?
There are several reasons why you may want to remove the metronome from your recordings. Let’s take a look at a few common scenarios:
- Aesthetics: One of the primary reasons for removing the metronome is to achieve a clean and polished final product. The metronome sound, especially if it’s loud or distracting, can take away from the overall listening experience. By removing the metronome, you can create a more professional and immersive recording.
- Mixing and mastering flexibility: Removing the metronome gives you greater flexibility in the mixing and mastering process. With the metronome out of the way, you can make precise adjustments to individual tracks, apply effects, or even change the tempo without being constrained by the original metronome recording.
- Creative freedom: By removing the metronome, you have the freedom to experiment with different musical elements, add new layers, or rearrange sections of your recording. This allows for greater creativity and the ability to craft the perfect sound for your musical vision.
- Cover versions or collaborations: If you’re creating a cover version of a song or collaborating with other musicians, removing the metronome is essential. It allows you to recreate the track without the reference of the original metronome, ensuring that your performance is not constrained by the timing of the original recording.
- Enhancing live recordings: For live recordings where a metronome was used to help the musicians stay in sync, removing the metronome can improve the overall quality and create a more natural sound. It can bring out the nuances of the live performance and make it feel less constrained by the mechanical timing device.
By removing the metronome from your recordings, you can achieve a more professional and polished sound, have greater creative flexibility, and ensure that your recordings are not limited by the timing of a reference device. With these benefits in mind, let’s explore the different methods you can use to remove the metronome from your recordings.
Methods for Removing the Metronome from a Recording
Removing the metronome from a recording can be a challenging task, but there are several methods and techniques that you can employ to achieve a clean and metronome-free result. Let’s explore three popular methods:
- Method 1: Manual Editing in an Audio Editing Software: This method involves manually editing the audio waveform in an audio editing software, such as Adobe Audition or GarageBand. By zooming in on the waveform and carefully selecting and deleting sections corresponding to the metronome sound, you can gradually remove the metronome from the recording. Be cautious to not remove or disrupt other important elements of the audio while doing so.
- Method 2: Using Noise Reduction Techniques: Another approach is to use noise reduction techniques to minimize or eliminate the metronome sound. Noise reduction plugins and tools, like iZotope RX or Waves NS1, can help in identifying and reducing unwanted noise, including the metronome sound. These tools use advanced algorithms to analyze the audio and selectively remove specific frequencies associated with the metronome.
- Method 3: Utilizing Phase Cancellation: Phase cancellation is a technique where you create a phase-inverted version of the metronome sound and layer it on top of the original recording, effectively cancelling out the metronome frequencies. This method requires a clean and isolated metronome track recorded alongside the original performance. By aligning the two tracks and adjusting their volumes, you can minimize or eliminate the metronome sound. This technique may require some experimentation and precise adjustment to achieve the desired result.
It’s worth mentioning that the effectiveness of each method can vary depending on the specific recording, the quality of the metronome sound, and the original mix. It may be necessary to combine multiple methods or employ additional techniques to achieve optimal results.
Before applying any method, it’s important to make a backup copy of your original recording so that you can revert to it if needed. This ensures that you have a safety net in case something goes wrong during the editing process.
In the next sections, we will dive deeper into each method, providing step-by-step instructions and tips to help you successfully remove the metronome from your recordings. Whether you prefer manual editing, noise reduction techniques, or phase cancellation, these methods will give you the tools you need to achieve metronome-free recordings.
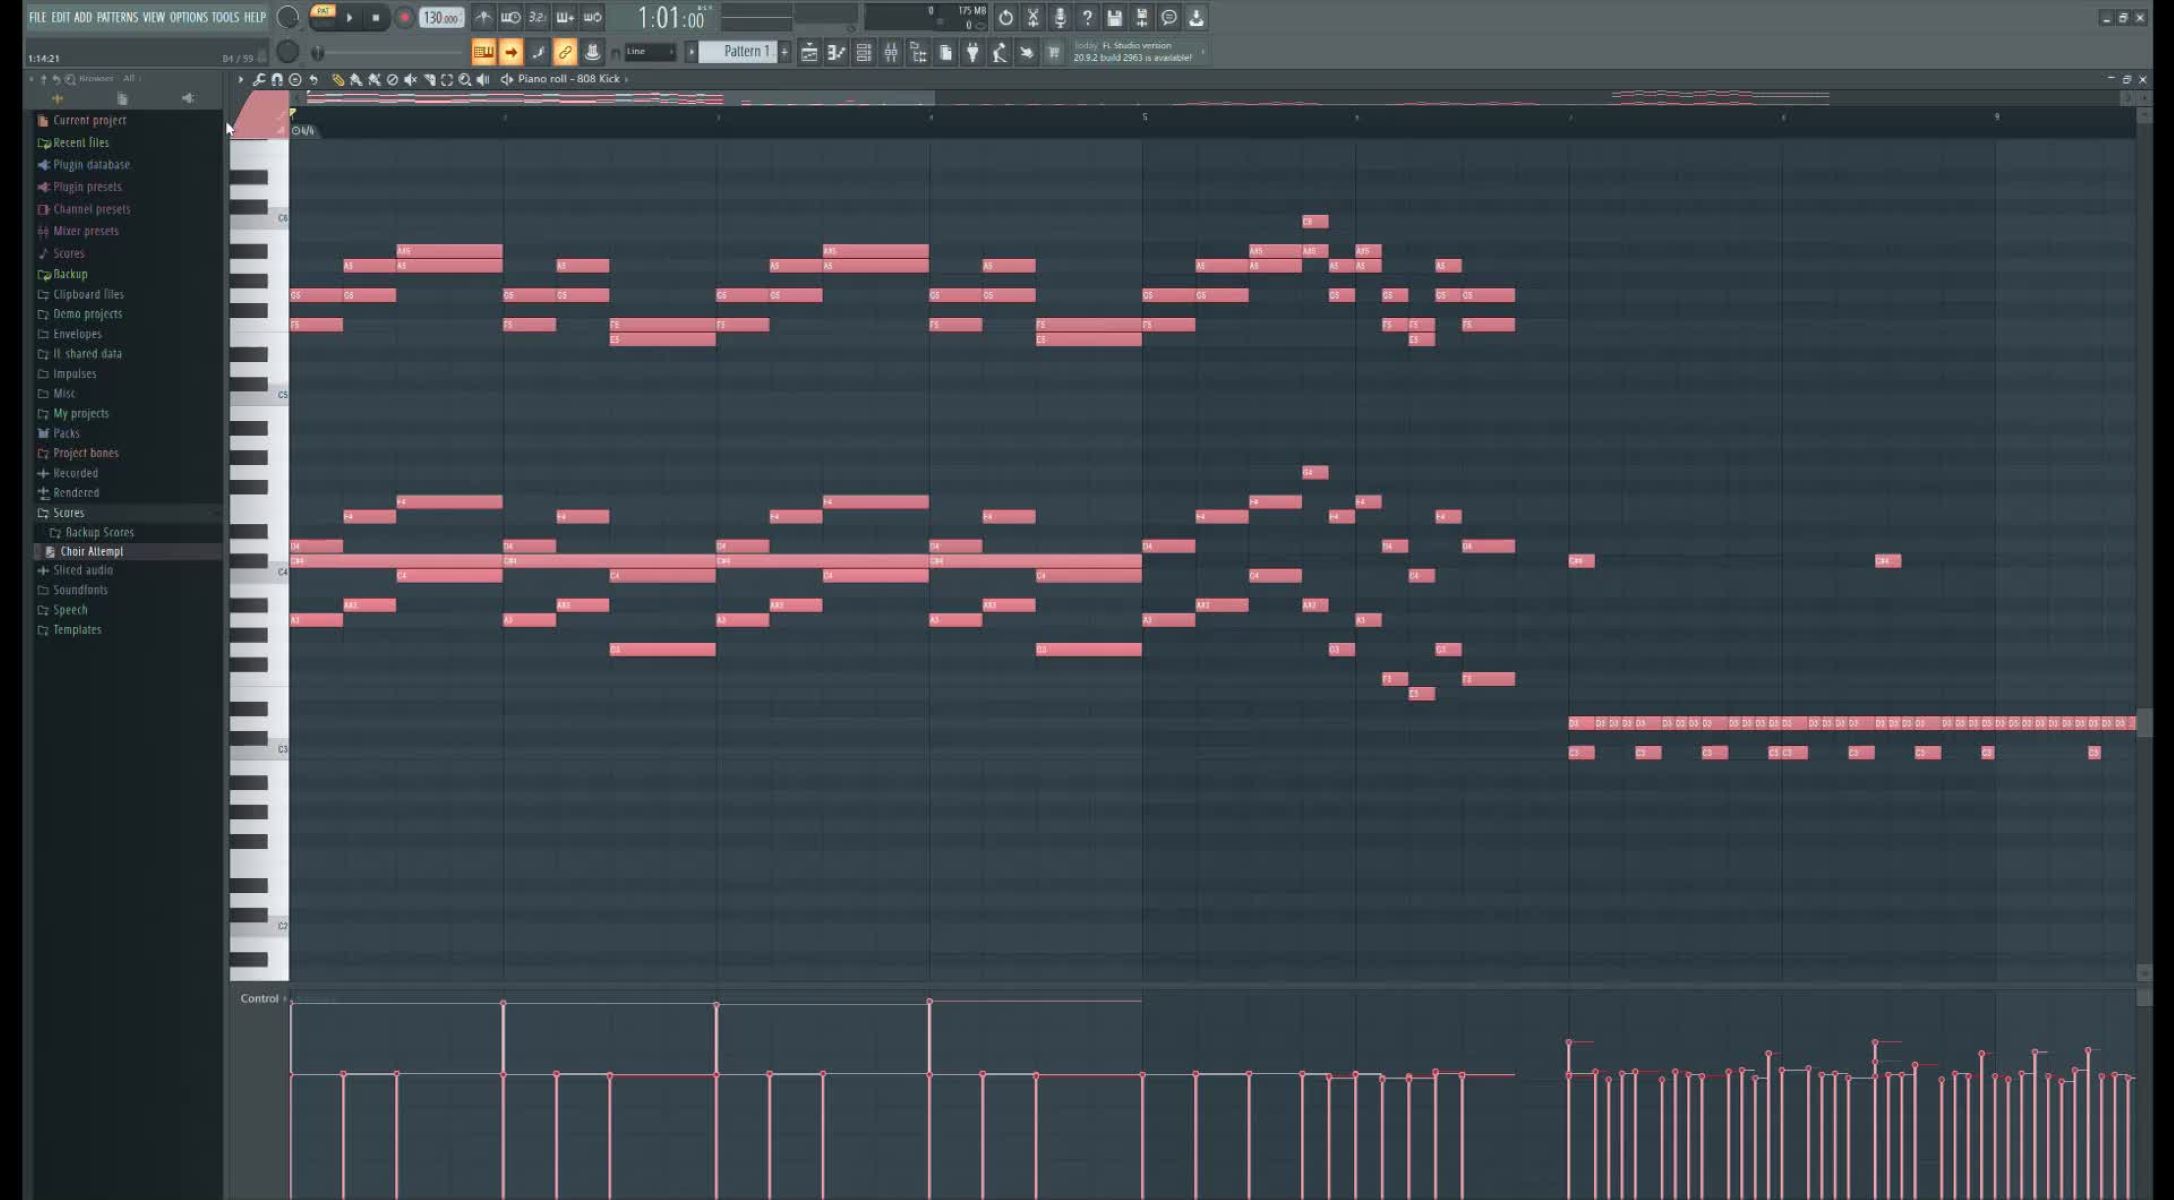
Method 1: Manual Editing in an Audio Editing Software
One of the most straightforward methods for removing the metronome from a recording is through manual editing in an audio editing software. This method allows you to visually identify and remove the metronome sound waveform from your recording. Here’s how you can do it:
- Open your recording in an audio editing software: Start by opening your recording in a suitable audio editing software, such as Adobe Audition, GarageBand, or Audacity. Make sure you have a clear view of the waveform for precise editing.
- Zoom in on the waveform: Zoom in on the section of the recording where the metronome sound is most prominent. This will help you accurately select and remove the metronome without affecting other elements of the audio.
- Select the metronome sound: Use your mouse or selection tools in the software to carefully select the sections of the waveform that correspond to the metronome sound. Be precise in your selection to avoid removing any important audio content.
- Delete the selected sections: Once you have selected the metronome sound, delete or silence the selected sections using the editing tools provided by the software. This will effectively remove the metronome sound from the recording.
- Preview and adjust as needed: After removing the selected metronome sections, play back the recording to ensure that the removal is seamless and does not cause any noticeable artifacts. If necessary, make further adjustments to the edits to achieve a natural and clean result.
- Save the edited recording: Once you are satisfied with the removal of the metronome sound, save the edited recording as a new file to preserve the original recording. This way, you can always go back to the original if needed.
It’s important to exercise caution while manually editing the recording to remove the metronome, as any careless edits can unintentionally affect the overall quality of the audio. Additionally, depending on the complexity of the metronome sound and its presence in the recording, this method may require more time and precision to achieve the desired result.
Remember to save your progress frequently and work on a copy of your original recording to avoid any irreversible changes. With patience and careful editing, you can successfully remove the metronome sound from your recording using the manual editing method.
Method 2: Using Noise Reduction Techniques
If manual editing proves to be challenging or time-consuming, you can utilize noise reduction techniques to minimize or eliminate the metronome sound from your recording. Here’s how you can use noise reduction techniques to achieve a metronome-free result:
- Identify the metronome sound: Start by identifying the frequency range of the metronome sound in your recording. Listen closely and note the specific frequencies or range of frequencies where the metronome is most prominent.
- Apply a noise reduction plugin or tool: Use a noise reduction plugin or tool that allows for precise frequency-based filtering. Plugins like iZotope RX, Waves NS1, or Adobe Audition’s Noise Reduction effect are popular choices. Apply the plugin to the audio track and access the settings to set the frequency range accordingly.
- Adjust noise reduction settings: Fine-tune the noise reduction settings, such as the threshold, reduction amount, attack, and release to achieve the desired effect. Be mindful not to over-process the audio, as it can lead to artifacts or affect the overall quality of the recording.
- Preview and refine: After applying the noise reduction, preview the audio to assess the effectiveness of the removal. Listen for any unwanted artifacts or changes in the remaining audio. If necessary, make adjustments to the plugin settings to minimize artifacts and preserve the quality of the recording.
- Iterate if needed: In some cases, a single pass of noise reduction may not completely remove the metronome sound. If that’s the case, you can apply the noise reduction process multiple times, making careful adjustments each time, until you achieve the desired result. However, be cautious not to over-process the audio, as it can introduce unwanted artifacts.
- Save the processed recording: Once you are satisfied with the removal of the metronome sound, save the processed recording as a new file. This will ensure that you have a clean version of the recording without the metronome.
Using noise reduction techniques can be an effective way to remove the metronome sound from your recording, especially if the metronome frequencies are distinct and separable from the rest of the audio. Experiment with different settings and adjustments to achieve the best outcome, balancing between removing the metronome and preserving the quality of the recording.
Keep in mind that the effectiveness of noise reduction techniques can vary depending on the complexity of the metronome sound and its presence in the recording. In some cases, a combination of noise reduction techniques and manual editing may be necessary to achieve optimal results.
Method 3: Utilizing Phase Cancellation
Another effective method for removing the metronome from a recording is through the technique of phase cancellation. This method involves layering a phase-inverted version of the metronome sound on top of the original recording to cancel out the specific frequencies associated with the metronome. Here’s how you can utilize phase cancellation to achieve a metronome-free result:
- Obtain a clean metronome track: Start by ensuring that you have a clean and isolated metronome track that was recorded alongside the original performance. This metronome track should capture the exact timing and rhythm of the metronome used during the recording.
- Align the metronome track with the original recording: Import the metronome track into your audio editing software and align it with the original recording. Make sure that the metronome track is synced perfectly with the metronome sound in the original recording. It’s essential to have precise alignment for phase cancellation to work effectively.
- Invert the phase of the metronome track: In your audio editing software, apply a phase inversion effect to the metronome track. This will reverse the polarity of the waveform, effectively creating a phase-inverted version of the metronome sound.
- Layer the phase-inverted metronome track on top: Mix the phase-inverted metronome track with the original recording, making sure that they are perfectly aligned. Adjust the volume levels of the two tracks until the metronome sound is minimized or canceled out. This process utilizes the principle of phase cancellation, where the identical signals but with opposite phases neutralize each other.
- Preview and fine-tune: Play back the mixed tracks and listen carefully for any remaining artifacts or remnants of the metronome sound. Adjust the volume balance and alignment as needed to achieve a clean and metronome-free result. Be mindful not to disrupt other elements of the audio while doing so.
- Save the phase-cancelled recording: Once you are satisfied with the removal of the metronome sound, save the phase-cancelled recording as a new file. This will preserve the original recording while providing you with a metronome-free version.
Utilizing phase cancellation can be a powerful method to remove the metronome sound from a recording, especially when you have a clean metronome track that is properly aligned with the original recording. However, the success of this method relies heavily on the accuracy of the phase inversion and the quality of the alignment. It may require some experimentation and fine-tuning to achieve the desired result.
Take care to not introduce any artifacts or affect the overall quality of the audio while applying phase cancellation. With practice and attention to detail, phase cancellation can be an effective tool in your arsenal to remove the metronome from your recordings.
Tips and Considerations for Removing the Metronome Effectively
Removing the metronome from a recording can be a delicate process, requiring careful attention to detail. Here are some tips and considerations to help you achieve effective metronome removal:
- Make a backup of the original recording: Before applying any edits or changes to your recording, always make a backup copy. This ensures that you have a safety net in case something goes wrong during the removal process.
- Work on a high-quality audio file: Start with the best quality audio file available to you. Use lossless formats like WAV or AIFF, as they preserve the original audio quality and provide better editing flexibility compared to compressed formats.
- Take time for meticulous editing: Whether you opt for manual editing, noise reduction, or phase cancellation, it’s crucial to be meticulous in your editing process. Zoom in on the waveform, use precise selection tools, and make careful adjustments to minimize artifacts and preserve the quality of the remaining audio.
- Test different methods and combinations: Don’t hesitate to experiment with different methods and techniques to find the most effective approach for your specific recording. You may need to combine methods or apply multiple passes of editing to achieve the best results.
- Listen critically for artifacts: After each editing pass, take the time to listen closely to the results. Pay attention to any artifacts, changes in tone, or unwanted artifacts that may have been introduced during the removal process. Adjustments may be necessary to maintain the overall quality of the recording.
- Use headphones for accurate monitoring: When fine-tuning the metronome removal, use high-quality headphones for accurate monitoring. This allows you to hear subtle details and ensure precision in the editing process.
- Document your edits and settings: Keep track of the edits you make, including the settings used for noise reduction plugins or phase cancellation. This documentation can be helpful if you need to go back and make adjustments or if you want to recreate the same process in the future.
- Trust your ears: Ultimately, trust your ears during the metronome removal process. Listen critically and trust your judgment on the final result. If it sounds natural and meets your expectations, you’ve achieved a successful metronome removal.
Remember, removing the metronome from a recording requires patience, practice, and careful attention to detail. It’s important to strike a balance between removing the metronome and preserving the overall quality of the audio. With perseverance and the right techniques, you can successfully remove the metronome and achieve a clean, professional recording.
Conclusion
Removing the metronome from a recording is a task that requires skill, patience, and the right techniques. Whether you choose to manually edit the audio, utilize noise reduction tools, or employ phase cancellation, each method offers its own advantages and challenges.
Manual editing allows for precise control over the removal process but can be time-consuming, especially for complex recordings. Noise reduction techniques can be effective in minimizing or eliminating metronome sound, but they require careful adjustment to avoid unwanted artifacts. Phase cancellation offers an innovative approach, but it relies on having a clean, isolated metronome track that aligns perfectly with the original recording.
Regardless of the method you choose, it’s crucial to make a backup of your original recording and work on a high-quality audio file. Taking the time for meticulous editing, testing different methods and combinations, and critically listening to the results are all important considerations in achieving successful metronome removal.
Remember, there is no one-size-fits-all solution, and it may take some experimentation and fine-tuning to achieve the desired result. Trust your ears and make adjustments as needed to maintain the overall quality of the recording.
Removing the metronome from a recording requires a balance between precision and preserving the essence of the original audio. With practice and attention to detail, you can achieve clean and metronome-free recordings that showcase your music or audio production in the best possible light.
So, go ahead and apply the methods and techniques outlined in this guide to remove the metronome from your recordings. Enjoy the freedom and creative control that comes with creating a polished, metronome-free final product.