Home>Events & Info>Playback>How To Not Have Playback While Recording In FL Studio
Playback
How To Not Have Playback While Recording In FL Studio
Modified: January 22, 2024
Learn how to prevent playback during recording in FL Studio with these helpful tips and techniques. Stop interruptions and enhance your recording experience now!
(Many of the links in this article redirect to a specific reviewed product. Your purchase of these products through affiliate links helps to generate commission for AudioLover.com, at no extra cost. Learn more)
Table of Contents
- Introduction
- Why is playback while recording a problem?
- Steps to Avoid Playback While Recording in FL Studio
- Adjusting the audio buffer size
- Utilizing loop recording
- Enable the ‘Disk recording’ option
- Disable plugin processing during recording
- Freezing tracks
- Utilizing the ‘Clone playlist’ feature
- Conclusion
Introduction
When it comes to recording music or any audio content in FL Studio, playback interruption can be a frustrating issue. Imagine being in the zone, capturing a perfect take, only to be interrupted by unwanted playback. Not only does this disrupt the creative flow, but it can also result in wasted time and energy.
However, there are ways to avoid playback interruptions while recording in FL Studio. By implementing some simple techniques and making use of the software’s features, you can ensure a smooth recording experience without any unwelcome surprises.
In this article, we’ll dive into specific steps you can take to not have playback while recording in FL Studio. From adjusting audio buffer size to utilizing loop recording, we’ll explore various approaches to minimize the chances of playback interruptions during your recording sessions.
So, if you’re ready to enhance your workflow and avoid those annoying playback interruptions, let’s dive in and discover how you can optimize your recording process in FL Studio.
Why is playback while recording a problem?
Playback interruptions during recording in FL Studio can hinder the creative process and disrupt the flow of your work. Here are a few reasons why it’s crucial to address this issue:
- Loss of concentration: When you’re in the midst of recording a take, an unexpected playback can break your concentration and throw you off balance. This can result in mistakes or a loss of the intended emotion in your performance.
- Timing and synchronization issues: Playback interruptions can cause timing and synchronization problems, especially if you’re recording along with other tracks or instruments. Inconsistent timing can make it difficult to layer your recordings effectively, leading to a messy and unprofessional sound.
- Quality concerns: Frequent interruptions during recording can affect the overall quality of the audio. It can introduce glitches, artifacts, or clicks that are difficult to remove in post-production. This can compromise the final output and require additional time and effort for fixing.
- Wasted time and energy: Dealing with playback interruptions can consume valuable time and energy that could be better spent on creative endeavors. It can be frustrating to constantly pause and restart your recording, affecting your productivity and overall enjoyment of the process.
- Limited recording capability: Recording in FL Studio involves managing CPU resources efficiently. Playback interruptions can be a sign that your system is not optimized for recording, potentially limiting the number of tracks or plugins you can use simultaneously.
By understanding the implications of playback interruptions, you can appreciate the importance of finding solutions to eliminate or minimize them. The following sections will provide practical steps to help you avoid playback interruptions while recording in FL Studio, empowering you to focus on creating your best music without any interruptions.
Steps to Avoid Playback While Recording in FL Studio
Now that we understand the problems caused by playback interruptions, let’s explore some effective steps you can take to avoid these issues when recording in FL Studio:
- Adjusting the audio buffer size: One of the primary causes of playback interruptions is an inadequate audio buffer size. To avoid this, go to the FL Studio audio settings and increase the buffer size. This will allocate more processing power to recording, reducing the chances of playback interruptions.
- Utilizing loop recording: Instead of recording the entire track in one take, consider using the loop recording feature in FL Studio. This allows you to record smaller sections repeatedly until you achieve the desired performance. By focusing on shorter segments, you can ensure consistent quality and mitigate the risk of playback interruptions.
- Enable the ‘Disk recording’ option: FL Studio offers a ‘Disk recording’ option that allows you to record directly to the hard drive, bypassing the need for real-time playback during recording. Enabling this feature reduces the strain on your system and minimizes the chances of playback interruptions.
- Disable plugin processing during recording: Some resource-intensive plugins can lead to playback interruptions during recording. To prevent this, disable processing on unnecessary plugins while recording. You can reactivate the plugins later during the mixing and editing stage, ensuring a seamless recording experience.
- Freezing tracks: In FL Studio, freezing tracks temporarily renders them into audio files, relieving the CPU load. Freezing tracks that are not being actively recorded or modified can help optimize system performance and prevent playback interruptions.
- Utilizing the ‘Clone playlist’ feature: If you’re working with a large number of tracks, utilizing the ‘Clone playlist’ feature can help streamline the recording process. By creating a separate clone playlist dedicated solely to recording, you can minimize the need for playback interruptions caused by excessive track activation and deactivation.
By implementing these steps and utilizing the capabilities of FL Studio, you can significantly reduce or eliminate playback interruptions during recording. Experiment with these techniques to find the ones that work best for your workflow and enjoy a seamless recording experience in FL Studio.
Adjusting the audio buffer size
One of the most effective ways to avoid playback interruptions while recording in FL Studio is by adjusting the audio buffer size. The buffer size refers to the amount of audio data that is processed and held in memory before being sent to your audio interface for playback. Setting the buffer size too low can lead to playback interruptions as the system struggles to keep up with the real-time processing demands.
To adjust the audio buffer size in FL Studio, follow these steps:
- Open FL Studio and go to the “Options” menu.
- Select “Audio Settings” to open the audio settings window.
- In the audio settings window, locate the “Buffer length” or “Buffer size” option.
- Increase the buffer size by moving the slider or adjusting the numerical value. A larger buffer size allows more time for the system to process the audio data, reducing the chances of playback interruptions.
- Test the new buffer size by recording and playing back audio to ensure a smooth and uninterrupted playback experience.
While increasing the buffer size helps prevent playback interruptions, it’s important to find the right balance. Setting the buffer size too high can introduce noticeable latency between the time you play a note or sound and when you hear it. This latency can negatively impact your performance and make it difficult to play in time with other tracks or instruments.
Experiment with different buffer sizes to find the ideal setting for your system. It’s recommended to start with a higher value and gradually decrease it until you find the lowest buffer size that still provides smooth playback without introducing significant latency.
By adjusting the audio buffer size, you can optimize the performance of FL Studio during recording, reducing the likelihood of playback interruptions and ensuring a seamless recording experience.
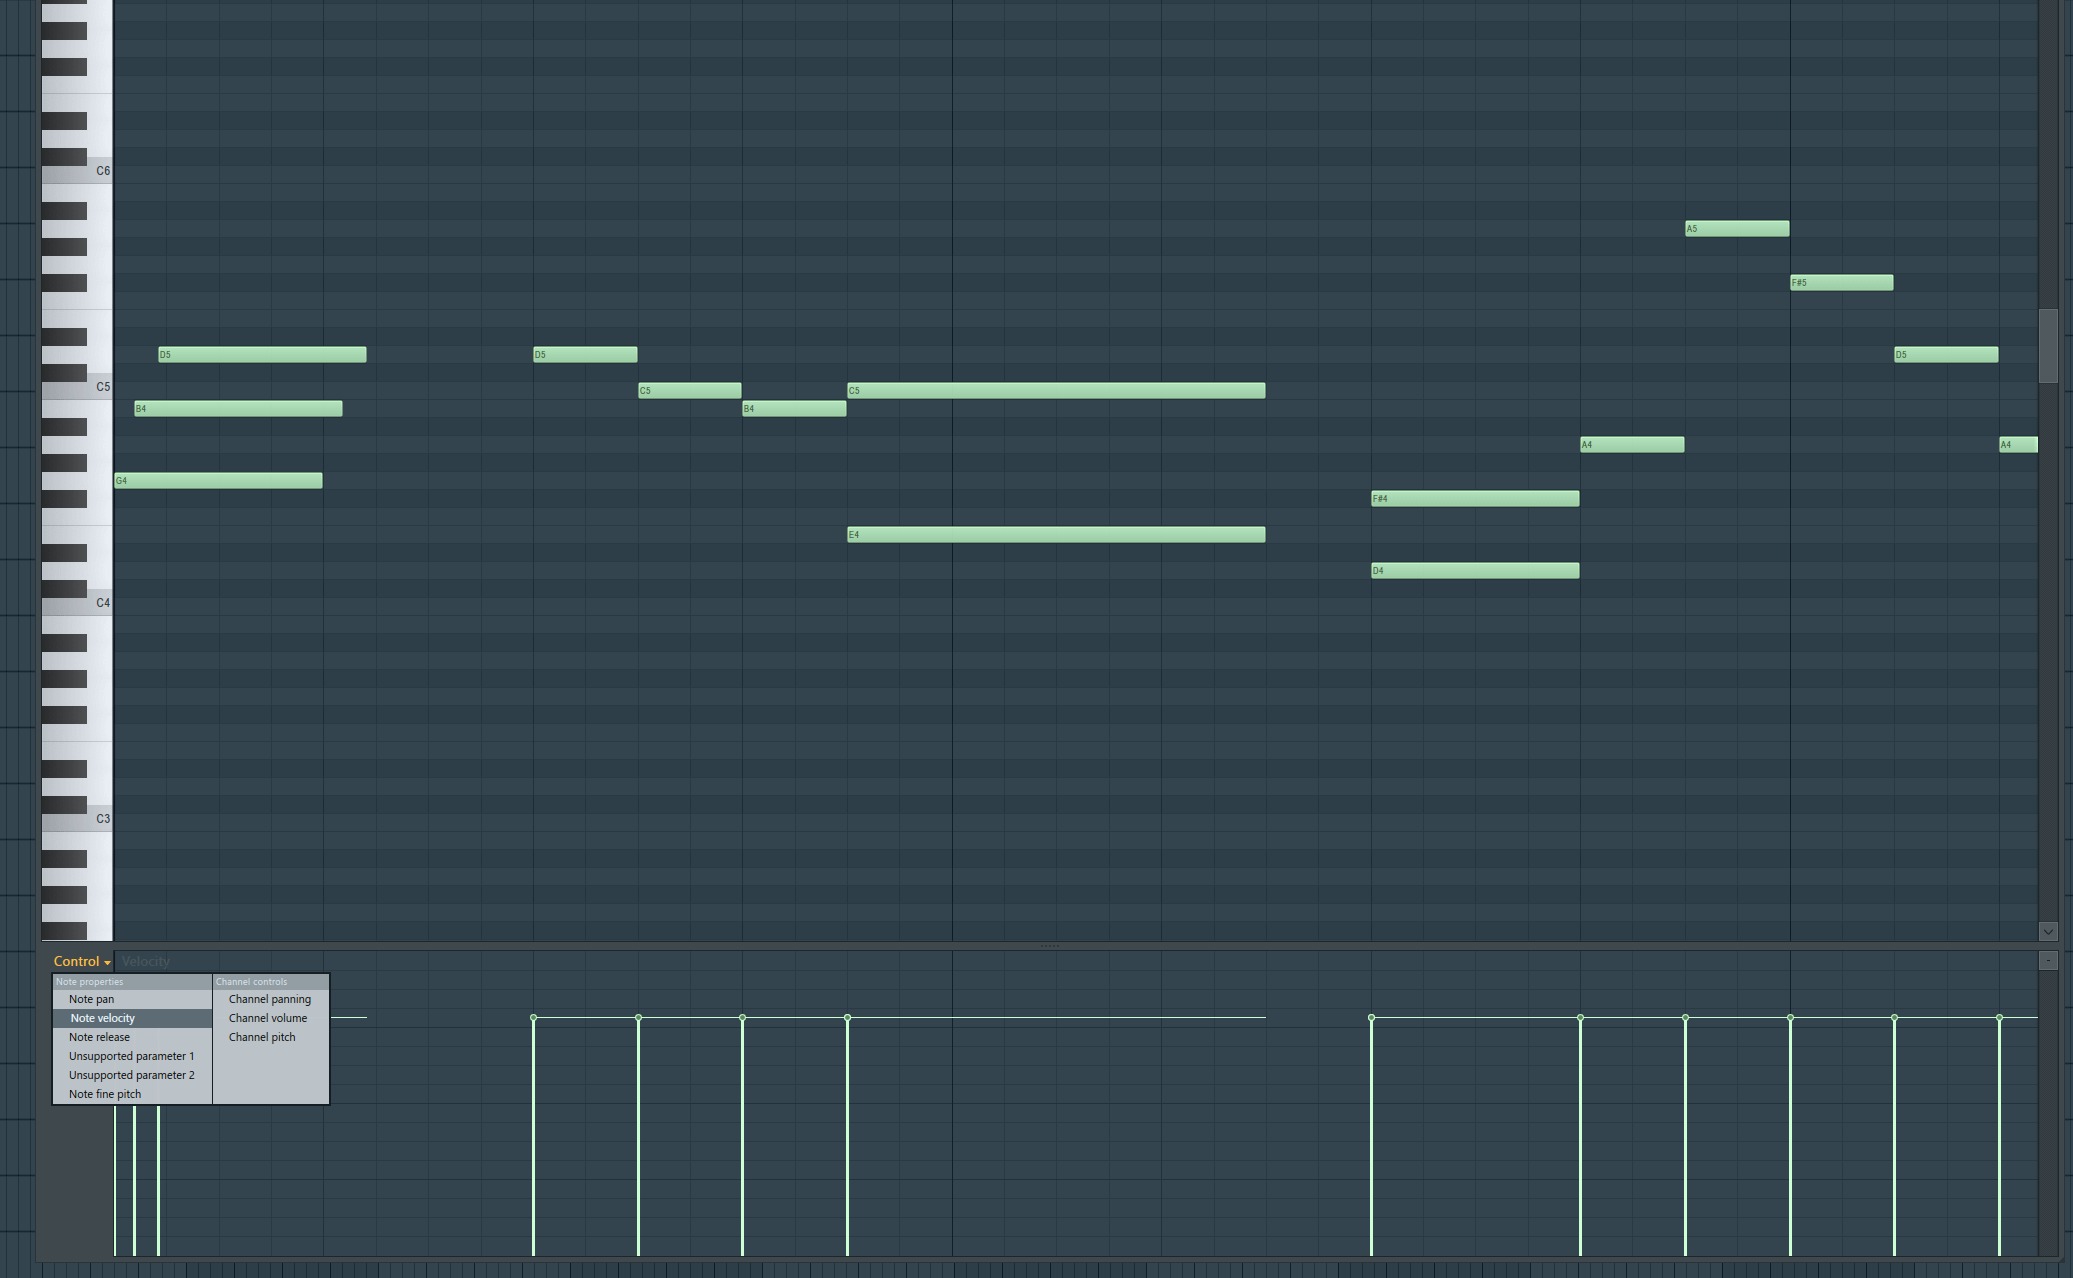
Utilizing loop recording
Loop recording is a powerful feature in FL Studio that can help you avoid playback interruptions while recording. With loop recording, you can break down your recording into smaller sections, allowing you to focus on capturing the best performance without the need for continuous playback.
To utilize loop recording in FL Studio, follow these steps:
- Set up a loop region in the playlist or arrange window by selecting the desired section.
- Enable the loop by clicking the loop button or by pressing “Ctrl + L” on your keyboard.
- Arm the track or tracks you want to record on by clicking the record enable button for each track.
- Make sure the metronome is enabled if you want a guide during recording.
- Start recording by pressing the record button or by pressing “F9” on your keyboard.
- FL Studio will automatically record in the looped region, creating a new take each time the loop restarts.
- Continue performing or recording until you are satisfied with your takes.
Loop recording offers several advantages. Firstly, it allows you to focus on smaller sections of your performance, ensuring better control and consistency. You can record multiple takes within the loop region, giving you the opportunity to capture different variations or experiment with different approaches. By breaking down your recording into manageable sections, you can avoid the need for continuous playback and minimize the risk of playback interruptions.
After completing the loop recording, you can review and select the best takes for further editing or comping. FL Studio automatically stores each take as a separate clip, making it easy to compare and choose the best parts of your performance.
Utilizing loop recording not only helps you avoid interruptions but also enhances your workflow, allowing you to focus on delivering your best performance. Give it a try in your next recording session and experience the benefits of this powerful feature in FL Studio.
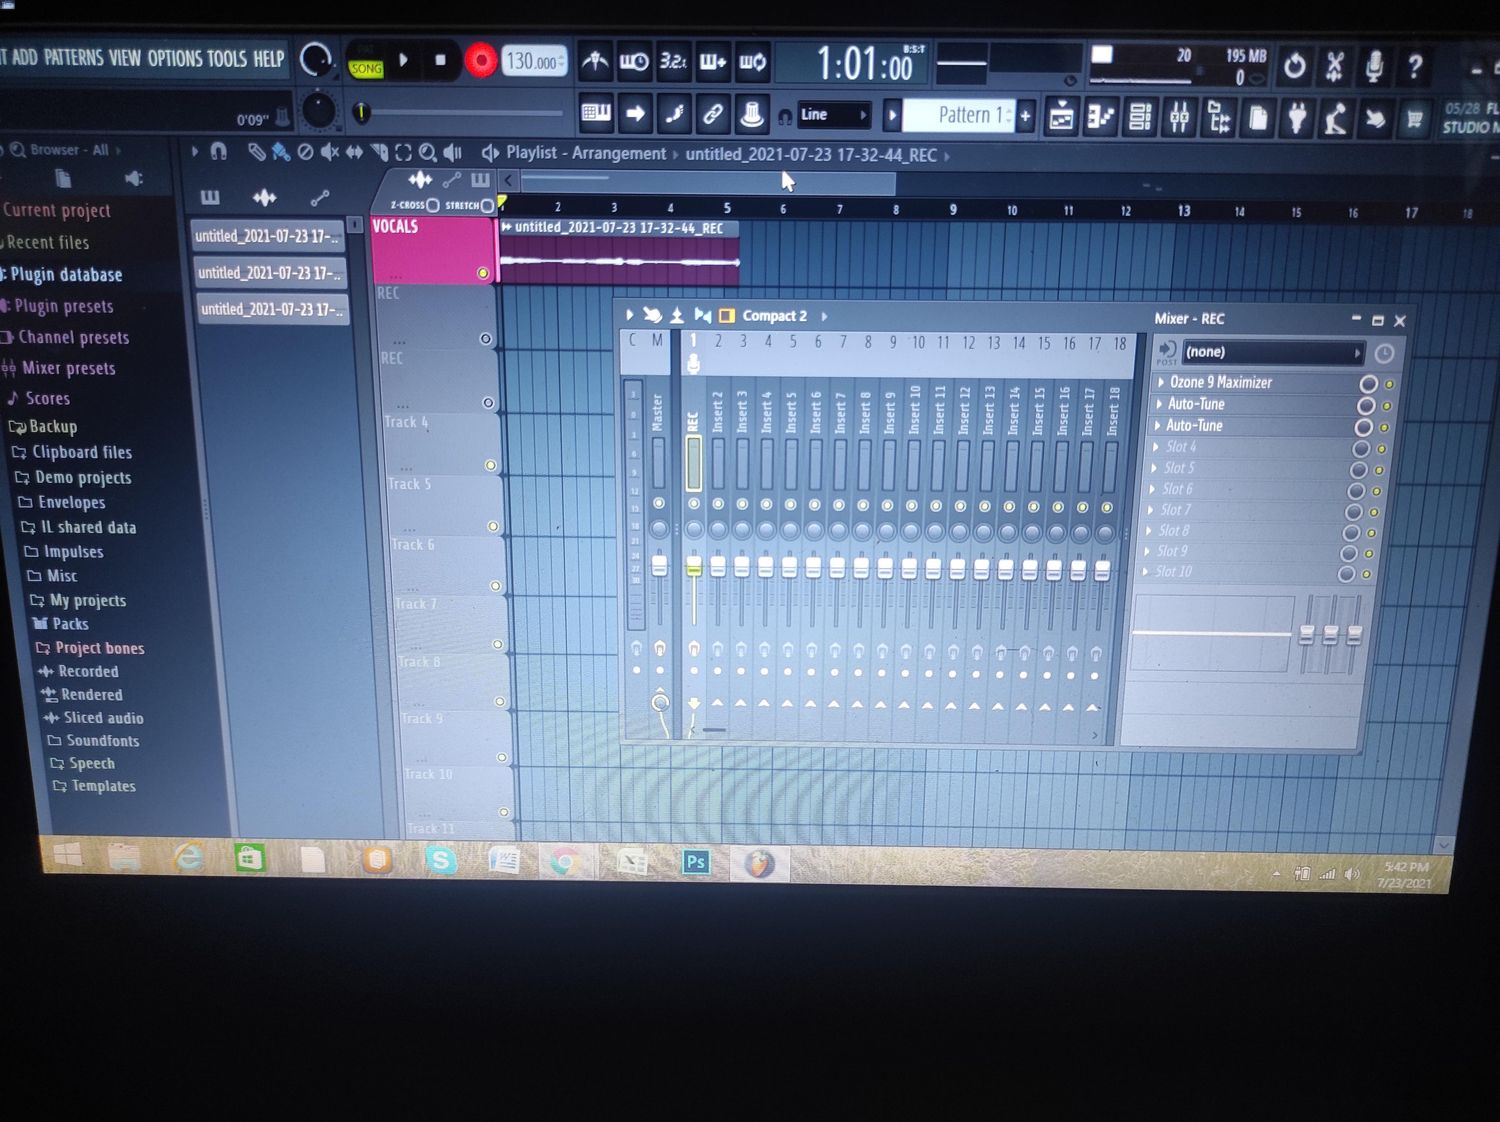
Enable the ‘Disk recording’ option
Another effective way to prevent playback interruptions while recording in FL Studio is by enabling the ‘Disk recording’ option. This feature allows you to bypass the need for real-time playback during recording by directly recording the audio data to your hard drive. By doing so, you reduce the strain on your system and minimize the chances of playback interruptions.
To enable the ‘Disk recording’ option in FL Studio, follow these steps:
- Go to the “Options” menu in FL Studio.
- Select “Audio Settings” to access the audio settings window.
- In the audio settings window, locate the “Disk Recording” section.
- Enable the “Disk recording” option by selecting it.
When the ‘Disk recording’ option is enabled, FL Studio will directly record the audio data to your hard drive in the background while you perform or record. This frees up system resources that would otherwise be used for real-time playback, reducing the risk of playback interruptions.
It’s worth noting that enabling the ‘Disk recording’ option might increase the load on your hard drive, especially if you’re recording multiple tracks simultaneously or using high-quality audio settings. Ensure that your hard drive has sufficient space and is able to write data at a fast enough rate to handle the recording demands.
Once you’ve finished recording, you can easily access the recorded audio clips in the Playlist or Browser window for further editing and arranging. The ‘Disk recording’ option provides a reliable and efficient way to record without the need for real-time playback, ensuring a smooth and uninterrupted recording experience in FL Studio.
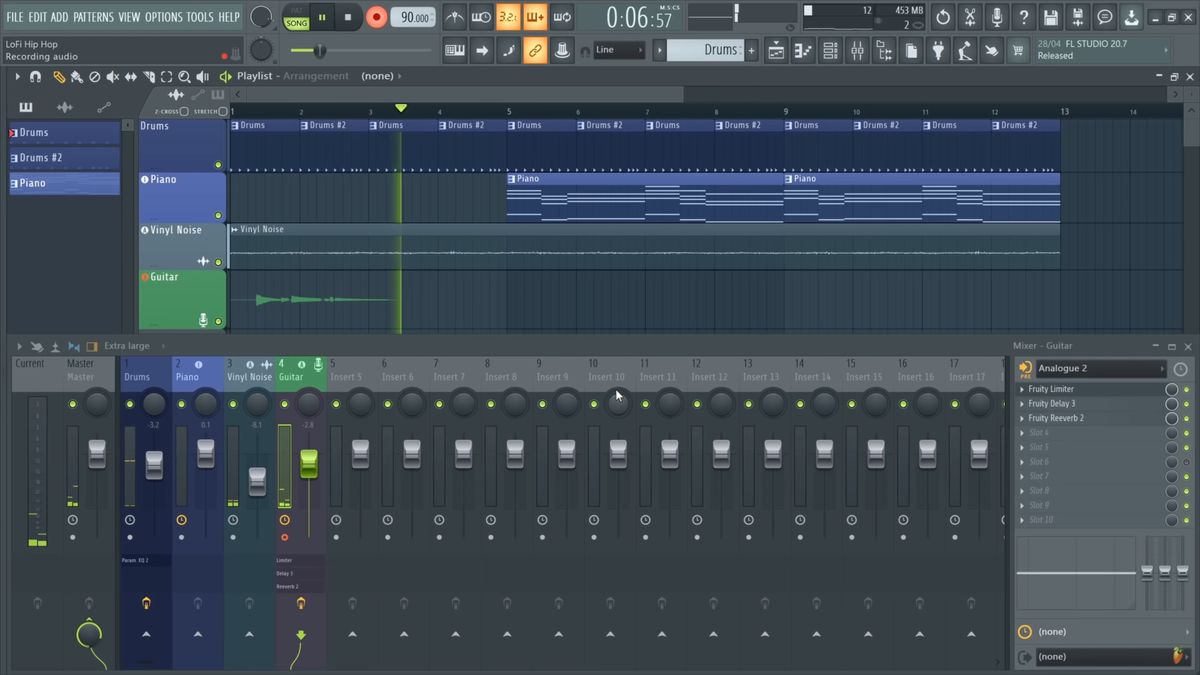
Disable plugin processing during recording
During recording sessions in FL Studio, certain resource-intensive plugins can consume valuable processing power and potentially cause playback interruptions. To avoid this issue, it’s advisable to disable plugin processing during recording, thereby reducing the strain on your system and ensuring a smooth recording experience.
Here’s how you can disable plugin processing during recording in FL Studio:
- Select the track or tracks that you want to record on.
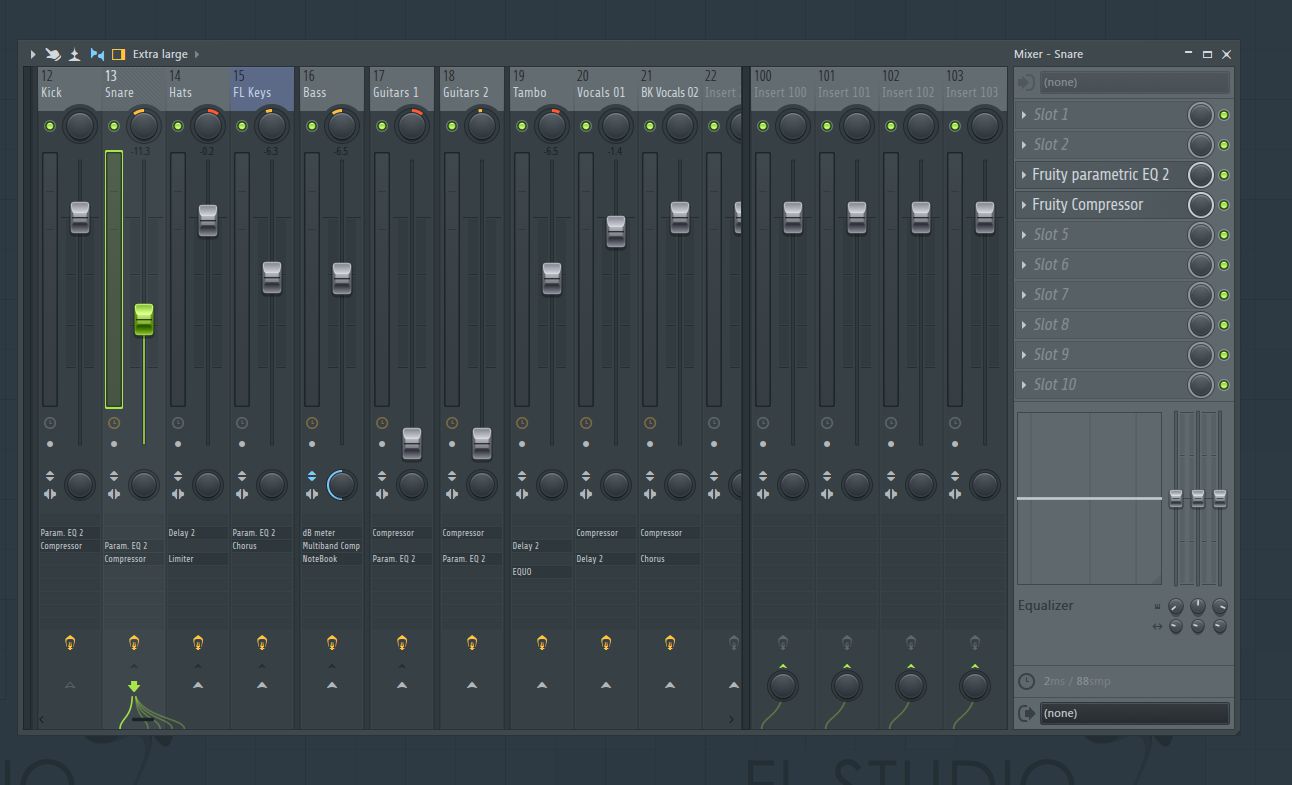
- Click on the “Mixer” tab at the top of the FL Studio interface to access the mixer view.
- Locate the track or tracks in the mixer view and look for the plugin slots where your plugins are loaded.
- Temporarily bypass or disable the plugins by clicking on the power button or bypass button for each plugin.
Disabling plugin processing during recording can be beneficial for a couple of reasons. Firstly, it reduces the CPU load during the recording process since FL Studio doesn’t have to process the plugins in real-time. This frees up more processing power for the actual recording, lowering the chances of playback interruptions.
Additionally, disabling plugins can also help minimize latency issues that may occur during recording. Some plugins introduce noticeable latency due to their processing algorithms. By bypassing or disabling these plugins, you can achieve a more immediate and responsive monitoring experience, improving the overall recording performance.
It’s important to note that disabling plugin processing during recording doesn’t remove the plugins from your project. They are simply bypassed or disabled temporarily for recording purposes. Once you’ve completed your recording, you can reactivate the plugins for mixing and further processing.
By strategically disabling plugin processing during recording in FL Studio, you can optimize your system resources and ensure a smooth recording experience without any unwanted playback interruptions.
Freezing tracks
Another technique you can employ to avoid playback interruptions while recording in FL Studio is by freezing tracks. Freezing tracks temporarily renders them into audio files, alleviating the CPU load and reducing the chances of playback interruptions.
To freeze tracks in FL Studio, follow these steps:
- Identify the tracks that are not actively being recorded or modified during your recording session.
- Right-click on the track you want to freeze in the playlist or mixer view.
- Select “Freeze track” from the context menu.
- FL Studio will render the track as an audio file, saving it to your project folder.
By freezing tracks, you essentially convert them from CPU-intensive synthesizer or plugin tracks into pre-rendered audio tracks. This reduces the CPU load during recording since FL Studio doesn’t have to process the plugins in real-time. It also minimizes the risk of playback interruptions by freeing up system resources.
Freezing tracks can be particularly useful when working with tracks that contain heavy effects processing or complex virtual instruments. By rendering them into audio files, you eliminate the need for real-time processing during recording, ensuring a smoother experience.
It’s worth noting that freezing tracks is not a permanent change, and you can unfreeze them at any time if you need to make further adjustments. Once you’re done with the recording phase, you can unfreeze the tracks and continue with mixing, editing, or additional processing as needed.
By strategically freezing tracks that are not actively being recorded or modified, you can optimize CPU resources and minimize playback interruptions, allowing for a more seamless recording experience in FL Studio.
Utilizing the ‘Clone playlist’ feature
The ‘Clone playlist’ feature in FL Studio can be a helpful tool to streamline your recording process and minimize the need for playback interruptions caused by constant track activation and deactivation. By creating a separate clone playlist dedicated solely to recording, you can maintain a smooth workflow without interruptions.
Here’s how you can utilize the ‘Clone playlist’ feature in FL Studio:
- Open your project in FL Studio.
- Right-click on the playlist tab at the top of the interface.
- Select the ‘Clone’ option from the context menu.
- A new playlist will be created, identical to the original one, allowing you to work separately on each playlist.
- Switch to the clone playlist by clicking on its tab.
- In the clone playlist, make sure to activate only the tracks you want to record on and deactivate the rest.
- You can now focus on recording without worrying about playback interruptions caused by tracks in the main playlist.
The ‘Clone playlist’ feature provides a convenient way to create a dedicated workspace for your recording sessions. By separating the recording tracks from the rest of the project, you can avoid the need to constantly activate and deactivate tracks, minimizing the chances of playback interruptions.
Additionally, having a separate clone playlist allows you to set up specific routing, effects, and settings tailored to the recording process. This can help optimize the performance and achieve the desired sound quality without compromising the recording experience.
Once you’ve finished recording in the clone playlist, you can easily transfer the recorded clips to the main playlist for further editing, mixing, or arranging. This seamless integration between the main playlist and the clone playlist ensures a smooth transition from the recording phase to the post-production phase.
By utilizing the ‘Clone playlist’ feature in FL Studio, you can maintain an organized workflow and minimize playback interruptions, allowing for a more efficient and focused recording process.
Conclusion
Playback interruptions while recording in FL Studio can be frustrating and disruptive to your creative process. However, with the right techniques and proper utilization of FL Studio’s features, you can avoid these interruptions and ensure a smooth recording experience.
In this article, we explored various steps to help you prevent playback interruptions while recording in FL Studio. Adjusting the audio buffer size, utilizing loop recording, enabling the ‘Disk recording’ option, disabling plugin processing, freezing tracks, and utilizing the ‘Clone playlist’ feature are all effective strategies to minimize the chances of interruptions and enhance your workflow.
By adjusting the audio buffer size, you optimize the processing power and reduce the risk of playback interruptions. Loop recording allows you to focus on smaller sections, ensuring consistency and easier editing. Enabling the ‘Disk recording’ option reduces the strain on your system by recording directly to the hard drive. Disabling plugin processing during recording improves CPU performance and lowers latency. Freezing tracks temporarily converts them into audio files, optimizing system resources. Utilizing the ‘Clone playlist’ feature creates a dedicated workspace for recording, minimizing track activation and deactivation.
Implementing these techniques not only helps you avoid playback interruptions but also enhances your efficiency, allowing you to fully focus on delivering your best performance. Each of these methods has its own merits, so feel free to experiment and find what works best for your specific recording needs.
Remember, a smooth recording experience sets the stage for a successful and enjoyable music production journey. By implementing these steps and making the most of FL Studio’s features, you can eliminate playback interruptions and unleash your creativity with confidence.