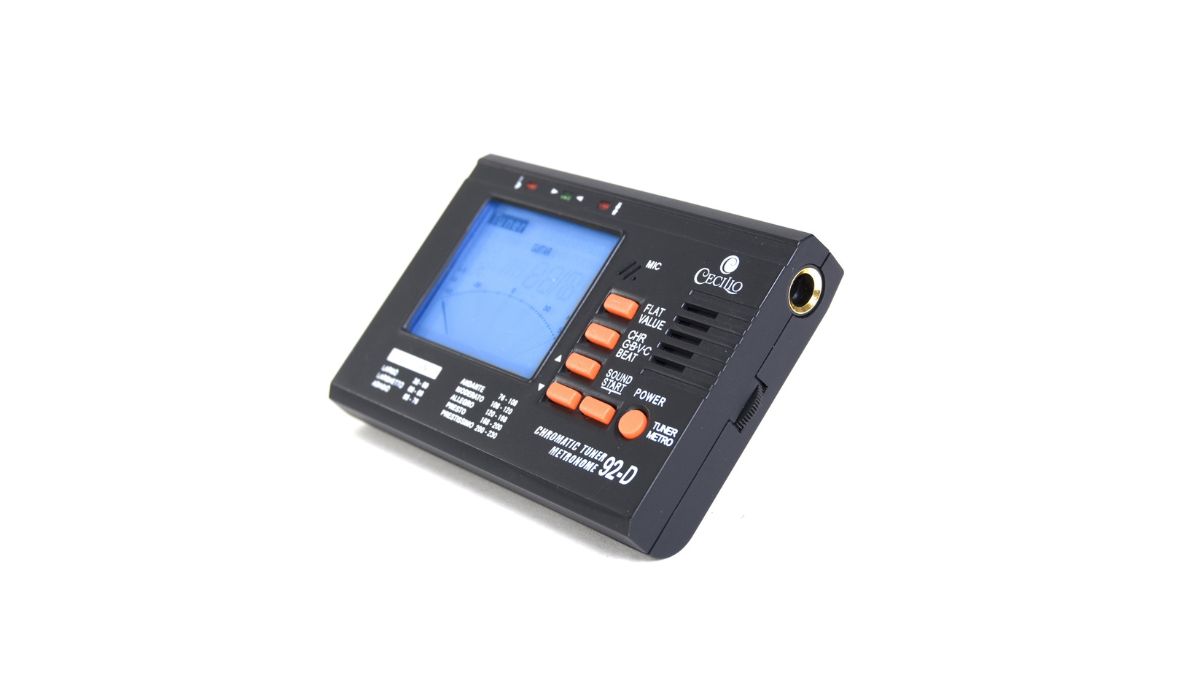
Home>Production & Technology>Metronome>How To Use Chromatic Tuner Metronome 92-D
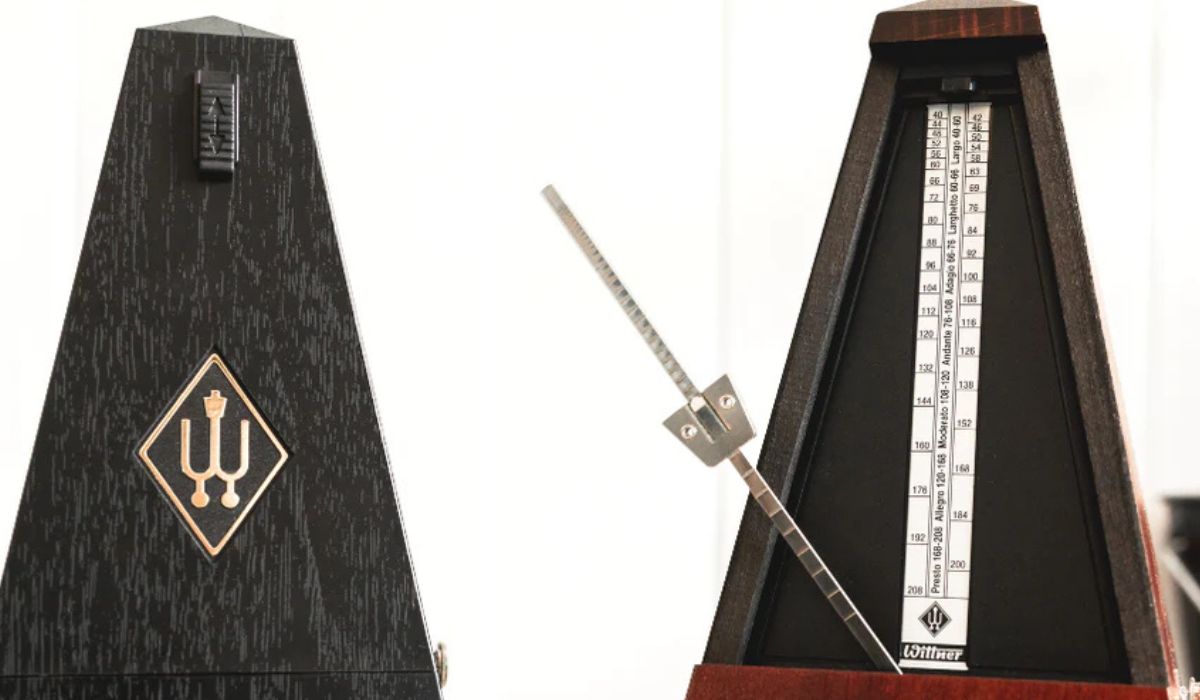
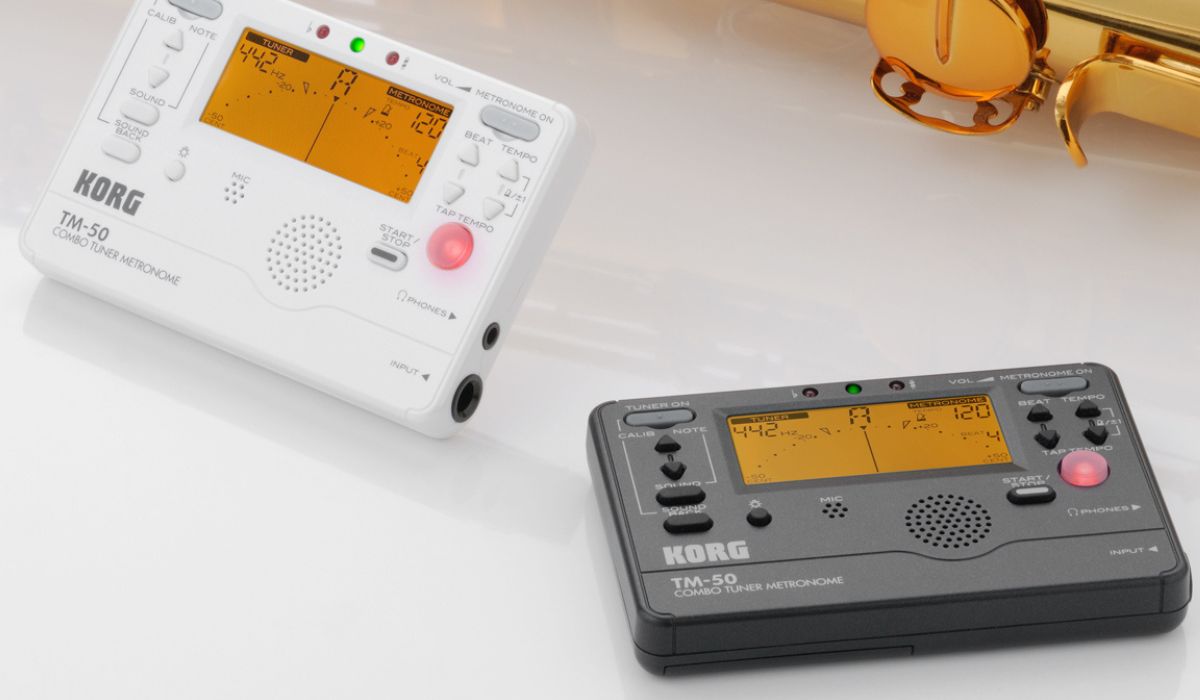
Metronome
How To Use Chromatic Tuner Metronome 92-D
Published: January 14, 2024
Learn how to utilize the Chromatic Tuner Metronome 92-D, a versatile device that guarantees precise timing. Enhance your musical skills with this essential metronome.
(Many of the links in this article redirect to a specific reviewed product. Your purchase of these products through affiliate links helps to generate commission for AudioLover.com, at no extra cost. Learn more)
Table of Contents
- Introduction
- Overview of the Chromatic Tuner Metronome 92-D
- Step 1: Turning on the Device
- Step 2: Selecting the Tuning Mode
- Step 3: Tuning Your Instrument
- Step 4: Setting the Metronome Tempo
- Step 5: Adjusting Metronome Settings
- Step 6: Using the Built-in Tuning Fork
- Step 7: Utilizing the Memory Function
- Step 8: Adjusting the Screen Brightness
- Conclusion
Introduction
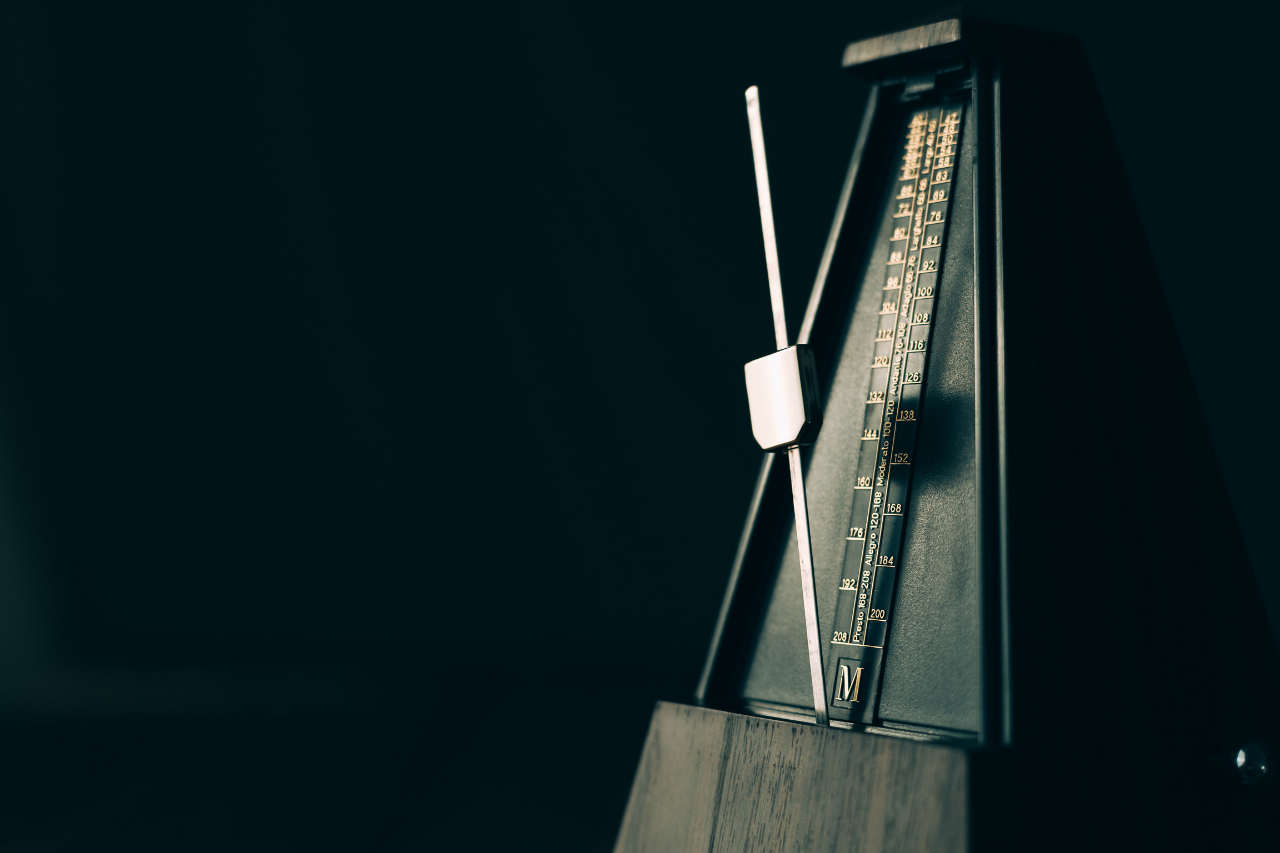
Welcome to the world of music! Whether you are a passionate musician or just starting your musical journey, having a reliable tool to help you stay in tune and keep time is essential. That’s where the Chromatic Tuner Metronome 92-D comes in. This versatile device combines the functions of a chromatic tuner and a metronome, making it a must-have for any musician.
The Chromatic Tuner Metronome 92-D is designed to provide accurate tuning for a variety of instruments, including guitars, basses, violins, ukuleles, and more. It offers precise tuning capabilities, ensuring that your instrument is in perfect pitch. Additionally, it features a built-in metronome with a wide range of tempo options, helping you develop a solid sense of rhythm and timing.
In this article, we will guide you through the process of using the Chromatic Tuner Metronome 92-D effectively. You’ll learn how to turn on the device, navigate through different modes, tune your instrument, set the metronome tempo, adjust the settings, and more. So grab your instrument, sit back, and let’s dive into the world of musical precision and rhythm!
Overview of the Chromatic Tuner Metronome 92-D
The Chromatic Tuner Metronome 92-D is a powerful and versatile tool designed to assist musicians in achieving accurate tuning and precise rhythm. This compact device offers a range of features that make it an essential companion for musicians of all levels.
One of the key features of the Chromatic Tuner Metronome 92-D is its chromatic tuning capability. Unlike standard tuners that are limited to specific instrument tunings, the 92-D can tune a wide variety of instruments, including guitars, basses, violins, ukuleles, and more. It uses advanced technology to detect the pitch of your instrument and displays whether it is sharp, flat, or in tune.
With its bright and easy-to-read display, the 92-D provides visual feedback that helps you quickly and accurately tune your instrument. The screen displays the note being played and shows a needle that indicates whether you need to adjust the pitch. This makes tuning your instrument a breeze, even in low-light environments.
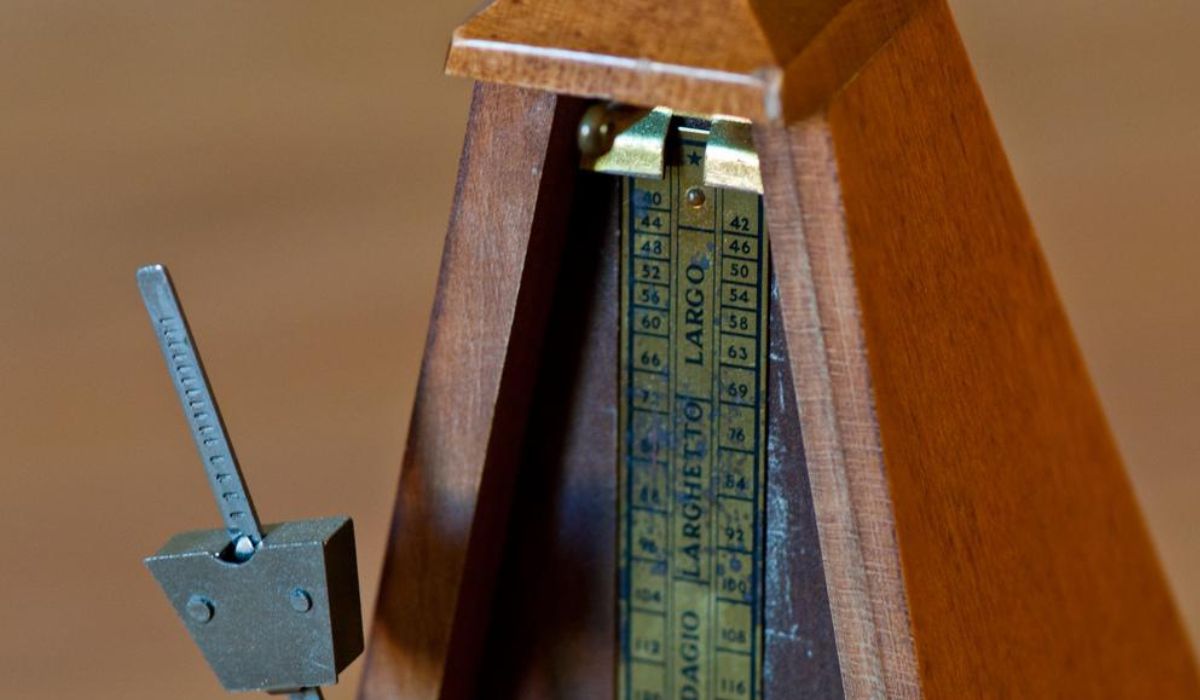
In addition to its tuning capabilities, the Chromatic Tuner Metronome 92-D features a built-in metronome. The metronome function allows you to set the tempo, helping you stay in time and develop your sense of rhythm. You can choose from a wide range of tempo options, from slow, steady beats to fast, energetic tempos.
The 92-D metronome also provides a variety of useful features to customize your practice sessions. You can adjust the time signature to match the music you’re playing, helping you stay in sync with the rhythm. It also offers different beat options, such as accents on the first beat or a variety of subdivisions, to accommodate different musical styles and preferences.
Additionally, the Chromatic Tuner Metronome 92-D includes a built-in tuning fork. This allows you to generate a reference pitch for tuning by ear or practicing ear training exercises. It provides an accurate and stable pitch, making it a valuable tool for refining your ear and improving your musicality.
Overall, the Chromatic Tuner Metronome 92-D offers a comprehensive solution for musicians seeking precision tuning and rhythmic accuracy. Its user-friendly design, versatility, and advanced features make it an indispensable tool for rehearsals, performances, and practice sessions. So, let’s dive into the steps of using this fantastic device and unlock its full potential!
Step 1: Turning on the Device
Before we can start using the Chromatic Tuner Metronome 92-D, let’s first learn how to turn it on and get it ready for use. Follow these simple steps:
- Locate the power button on the device. It is usually located on the front or side panel.
- Press and hold the power button for a few seconds until the device powers on. You should see the screen light up, indicating that the tuner metronome is now active.
- If the device has separate buttons for the tuner and metronome functions, you may need to select the desired mode after turning it on. Consult the user manual or look for prompts on the screen to switch between modes.
Once you have successfully turned on the Chromatic Tuner Metronome 92-D and selected the desired mode, you are now ready to tune your instrument or use the metronome function. It’s important to familiarize yourself with the device’s various features to make the most out of your musical practice sessions.
Remember to keep the device in a convenient and accessible location, such as a music stand or table, to easily access it during your practice sessions. This will help you streamline your tuning and timing process, allowing you to focus more on your music and less on the technical aspects.
In the next step, we will explore how to select the appropriate tuning mode for your instrument. So, let’s move forward and uncover more about the versatile features of the Chromatic Tuner Metronome 92-D!
Step 2: Selecting the Tuning Mode
Now that you have turned on the Chromatic Tuner Metronome 92-D, it’s time to select the appropriate tuning mode for your instrument. The device offers different tuning modes to accommodate various instruments and tuning systems. Follow these steps to choose the right tuning mode:
- Look for the mode button on the device. It is typically labeled or indicated with a musical note symbol.
- Press the mode button to cycle through the available tuning modes. The specific modes may vary depending on the model, but common options include chromatic, guitar, bass, violin, ukulele, and more.
- Once you have selected the desired tuning mode, the device is now set up to accurately detect the pitches of your instrument in that specific tuning system.
If you are unsure about the tuning mode to use for your instrument, consult a reliable tuning guide or tutorial specific to your instrument. It’s important to ensure that you are using the correct tuning mode to achieve optimal accuracy and precise tuning.
Additionally, some models of the Chromatic Tuner Metronome 92-D may offer additional features within the tuning mode selection, such as alternate tunings or customizable presets. Take some time to explore the options available in your specific device to make the most out of its capabilities.
Now that you have selected the appropriate tuning mode, you are ready to tune your instrument using the Chromatic Tuner Metronome 92-D. In the next step, we will guide you through the process of tuning your instrument accurately and efficiently. So, let’s get in tune and unleash the musical potential within!
Step 3: Tuning Your Instrument
With the Chromatic Tuner Metronome 92-D and the proper tuning mode selected, it’s time to tune your instrument. Follow these steps for accurate and efficient tuning:
- Position the tuner in a convenient location where you can easily see the display and access your instrument.
- Play an open string or the desired note on your instrument that you want to tune.
- The display will show the name of the note being played and a needle or indicator that will move to indicate whether the note is sharp, flat, or in tune.
- Adjust the tuning pegs or keys of your instrument based on the visual feedback on the tuner. If the indicator points to the left of the center, it means the note is flat, and you need to tighten the string. If the indicator points to the right, it means the note is sharp, and you need to loosen the string.
- Continue adjusting the tuning pegs or keys until the needle or indicator on the tuner aligns with the center, indicating that the note is perfectly in tune.
- Repeat the process for each string or note you want to tune on your instrument.
It’s important to tune each string individually, starting with the lowest-pitched string and moving towards the highest. This ensures that each string is accurately tuned relative to the others, allowing for proper harmony and intonation.
For instruments with multiple strings, such as guitars or basses, you may need to use the tuner’s pitch detection capabilities to ensure each string is tuned to the correct pitch. The display will indicate the name of the string you are tuning, helping you keep track of your progress.
Remember to tune your instrument regularly, as changes in temperature, humidity, and playing conditions can cause it to go out of tune. Regular tuning ensures optimal sound quality and allows you to play in tune with other musicians or recorded music.
Once you have successfully tuned your instrument using the Chromatic Tuner Metronome 92-D, you are ready to move on to the next step: setting the metronome tempo. So, let’s keep the rhythm and continue with our musical journey!
Step 4: Setting the Metronome Tempo
Now that your instrument is in tune, it’s time to set the tempo on the Chromatic Tuner Metronome 92-D’s built-in metronome. Follow these steps to set the desired tempo:
- Locate the tempo button on the device. It is usually labeled with a tempo marking or indicated with a metronome symbol.
- Press the tempo button to enter the tempo adjustment mode. The display will typically show the default tempo, such as 120 beats per minute (BPM), and allow you to modify it.
- Use the plus and minus buttons (or similar controls) to increase or decrease the tempo in incremental steps. Some devices may have a numeric keypad for direct input of the desired tempo.
- As you adjust the tempo, the display will update to show the new tempo value. Take your time to find the tempo that suits your musical needs and preferences.
- Once you have set the desired tempo, press the tempo button again to exit the adjustment mode and start the metronome at the selected tempo.
The tempo represents the speed at which the metronome will tick or click, providing a consistent beat to help you stay in time. The metronome’s tempo range may vary depending on the model, but commonly covers a wide range of tempos from slow to fast.
It’s important to choose a tempo that matches the musical piece you are playing or practicing. Slower tempos are suitable for practicing technical exercises or slow-paced music, while faster tempos are ideal for energetic and up-tempo compositions.
Experiment with different tempos and try to challenge yourself by gradually increasing the tempo as you become more comfortable with a particular piece. This will help improve your sense of rhythm, timing, and overall musicality.
Now that you have set the metronome tempo, you can start incorporating the rhythmic element into your practice sessions. In the next step, we will explore how to adjust additional metronome settings to further customize your experience. So, let’s keep the beat and dive deeper into the world of metronomes!
Step 5: Adjusting Metronome Settings
While the default metronome settings on the Chromatic Tuner Metronome 92-D are suitable for most musicians, you may wish to further customize your metronome experience. Here are some common metronome settings that you can adjust:
- Time Signature: The time signature sets the number of beats per measure and the type of note that receives the beat. Press the time signature button, and use the plus and minus buttons (or similar controls) to select the desired time signature for your music.
- Volume: Adjust the volume level of the metronome to a comfortable level. Use the volume button or controls to increase or decrease the volume as needed.
- Accent: Some metronomes allow you to emphasize or accentuate specific beats in the measure. This can be helpful for practicing syncopated rhythms or musical styles that emphasize certain beats. Explore the options and activate the desired accent pattern if available.
- Subdivisions: Depending on your musical needs and preferences, you may want to divide each beat into smaller subdivisions. This can be useful for practicing complex rhythms or working on precision. Check if your metronome offers subdivision options, and select the desired subdivision pattern if available.
- Sound: Some metronomes allow you to choose different sounds for the metronome click, such as a traditional click, beep, or even a drum sound. Explore the sound options and select the one that you find most appealing or suitable for your musical context.
These additional settings can enhance your metronome experience and make your practice sessions more tailored to your specific needs. Feel free to experiment with different settings and find what works best for you and your musical goals.
Remember to consult the user manual or explore the device’s menu options to access these customizable settings. Each model may have slight variations in the available options and how to navigate through the settings.
Now that you have adjusted the metronome settings, you are ready to practice with precision and develop your sense of rhythm. In the next step, we will explore the built-in tuning fork feature of the Chromatic Tuner Metronome 92-D. So, let’s continue our musical journey and explore the versatility of this fantastic device!
Step 6: Using the Built-in Tuning Fork
In addition to its chromatic tuning capabilities and metronome function, the Chromatic Tuner Metronome 92-D also features a built-in tuning fork. The tuning fork provides a reference pitch for tuning your instrument by ear or practicing ear training exercises. Here’s how you can use the built-in tuning fork:
- Locate the tuning fork button on the device. It is usually labeled or indicated with a tuning fork symbol.
- Press the tuning fork button to activate the built-in tuning fork.
- Listen carefully to the sound produced by the tuning fork.
- Use your instrument to match the pitch of the tuning fork. Adjust the strings, keys, or slides until the pitch of your instrument matches the pitch of the tuning fork.
- Strive for accuracy and try to develop your ear for pitch by relying on the tuning fork as a reference.
The built-in tuning fork provides a stable and accurate pitch, making it a valuable tool for honing your ear and improving your intonation skills. It can also be used for ear training exercises, such as identifying intervals or testing your ability to match pitches.
Remember that using the tuning fork is an alternative method to tuning your instrument. While it may not provide the same level of precision as using the chromatic tuner, it can be a useful tool for developing your sense of pitch and musicality.
Now that you have learned how to use the built-in tuning fork, you are ready to explore another handy feature: the memory function. In the next step, we will discover how to utilize this function to store and recall specific tuner and metronome settings. So, let’s continue our musical journey and unlock more possibilities with the Chromatic Tuner Metronome 92-D!
Step 7: Utilizing the Memory Function
The Chromatic Tuner Metronome 92-D comes equipped with a convenient memory function that allows you to store and recall specific tuner and metronome settings. This feature is particularly helpful if you have preferred settings for different songs or if you frequently switch between different instruments. Here’s how you can utilize the memory function:
- Access the memory function by locating the memory button on the device. It is usually labeled or indicated with a memory symbol.
- Press the memory button to enter the memory mode.
- Use the plus and minus buttons (or similar controls) to navigate through the available memory slots.
- Select an empty memory slot where you want to store your desired settings.
- Adjust the tuner and metronome settings, such as tuning mode, tempo, time signature, accents, subdivisions, and other customizable options, to your preference.
- Once you have customized the settings to your liking, press and hold the memory button to store the settings in the selected memory slot.
- To recall the saved settings, simply navigate back to the desired memory slot and press the memory button to activate the stored settings.
With the memory function, you can quickly switch between different instrument tunings, tempo settings, or specific metronome configurations without having to manually adjust each setting every time. This makes it easier to transition between songs, genres, or different musical contexts seamlessly.
By utilizing the memory function, you can streamline your practice or performance preparations and focus more on your music rather than spending time adjusting settings. Take advantage of this feature to enhance your efficiency and make the most out of your musical sessions.
Now that you have learned how to utilize the memory function, we have one more step to explore: adjusting the screen brightness. In the next step, we will discover how to optimize the display to ensure optimal visibility. So, let’s proceed and uncover the final piece of the puzzle with the Chromatic Tuner Metronome 92-D!
Step 8: Adjusting the Screen Brightness
Ensuring optimal visibility of the display on your Chromatic Tuner Metronome 92-D is crucial for a seamless and enjoyable user experience. Fortunately, most models offer the option to adjust the screen brightness to suit your specific needs. Here’s how you can adjust the screen brightness:
- Locate the screen brightness button on the device. It is typically labeled or indicated with a sun or brightness symbol.
- Press the screen brightness button to enter the brightness adjustment mode.
- Use the plus and minus buttons (or similar controls) to increase or decrease the brightness level of the display.
- Observe the changes in the screen brightness and stop adjusting when you find a comfortable and clear level that suits your preferences.
- Some models may offer a range of brightness options, while others have continuous adjustments. Explore the available options and select the one that works best for your visibility needs.
- Once you have adjusted the screen brightness to your liking, press the screen brightness button again to exit the adjustment mode and set the chosen brightness level.
By adjusting the screen brightness, you can ensure that the display is neither too dim nor too bright, providing optimal visibility in various lighting conditions. Whether you are practicing on stage, in your studio, or in a dimly lit environment, setting the appropriate brightness level can make a significant difference in your overall user experience.
Take some time to experiment with different brightness levels and find the one that suits your visual comfort and needs. Remember to also consider factors such as battery life, as higher brightness settings may drain the device’s battery more quickly.
Now that you have adjusted the screen brightness, you have successfully completed all the steps to effectively use the Chromatic Tuner Metronome 92-D. From turning on the device to utilizing advanced features like the memory function, tuning fork, and more, you are now equipped to enhance your musical practice sessions and performances.
Remember to refer to the device’s user manual for specific instructions and explore any additional features or functionalities that your specific model may offer. Enjoy making music with the Chromatic Tuner Metronome 92-D and let it be your reliable companion on your musical journey!
Thank you for reading and happy playing!
Conclusion
The Chromatic Tuner Metronome 92-D is a versatile and powerful tool that offers musicians a range of features to enhance their musical practice and performance. With its accurate tuning capabilities, built-in metronome, tuning fork, memory function, and adjustable screen brightness, it provides a comprehensive solution for musicians of all levels.
In this article, we have walked you through the process of using the Chromatic Tuner Metronome 92-D step by step. From turning on the device to tuning your instrument, setting the metronome tempo, adjusting metronome settings, utilizing the tuning fork, utilizing the memory function, and adjusting the screen brightness, you now have a deep understanding of how to maximize the potential of this remarkable device.
By using the Chromatic Tuner Metronome 92-D, you can ensure that your instrument is in perfect tune, develop a solid sense of rhythm and timing, improve your ear for pitch, and customize your practice sessions to suit your specific needs. Whether you are a beginner, intermediate, or advanced musician, this tool will undoubtedly become an invaluable asset in your musical journey.
Remember to consult the user manual for your specific model of the Chromatic Tuner Metronome 92-D for further guidance and to explore any additional features it may offer. Regularly practice and rely on the device to enhance your skills, refine your musicality, and bring out the best in your performances.
Now, equip yourself with the Chromatic Tuner Metronome 92-D, embrace the precision of tuning, the rhythm of the beat, and let your music soar to new heights. Happy playing!