Home>Production & Technology>MIDI>How To Export MIDI File From Reaper

MIDI
How To Export MIDI File From Reaper
Modified: February 22, 2024
Learn how to export MIDI files from Reaper with these simple steps. Follow our guide to easily save and share your MIDI creations.
(Many of the links in this article redirect to a specific reviewed product. Your purchase of these products through affiliate links helps to generate commission for AudioLover.com, at no extra cost. Learn more)
Table of Contents
Introduction
Exporting MIDI files from a digital audio workstation (DAW) like Reaper can be a valuable skill for musicians, producers, and composers. MIDI (Musical Instrument Digital Interface) files contain musical data, such as notes, velocity, and control changes, allowing for seamless integration with other music production software and hardware. Whether you're collaborating with other musicians, preparing stems for mixing, or archiving your compositions, knowing how to export MIDI files from Reaper can streamline your workflow and expand your creative possibilities.
In this comprehensive guide, you will learn how to export MIDI files from Reaper in a few simple steps. By following these instructions, you can ensure that your musical ideas are accurately preserved and easily transferable to other platforms. Whether you're a seasoned Reaper user or just getting started with the software, mastering the art of exporting MIDI files will empower you to share your music with the world and collaborate with other artists across different platforms.
Without further ado, let's delve into the process of exporting MIDI files from Reaper and unlock the full potential of your musical creations.
Step 1: Open the project in Reaper
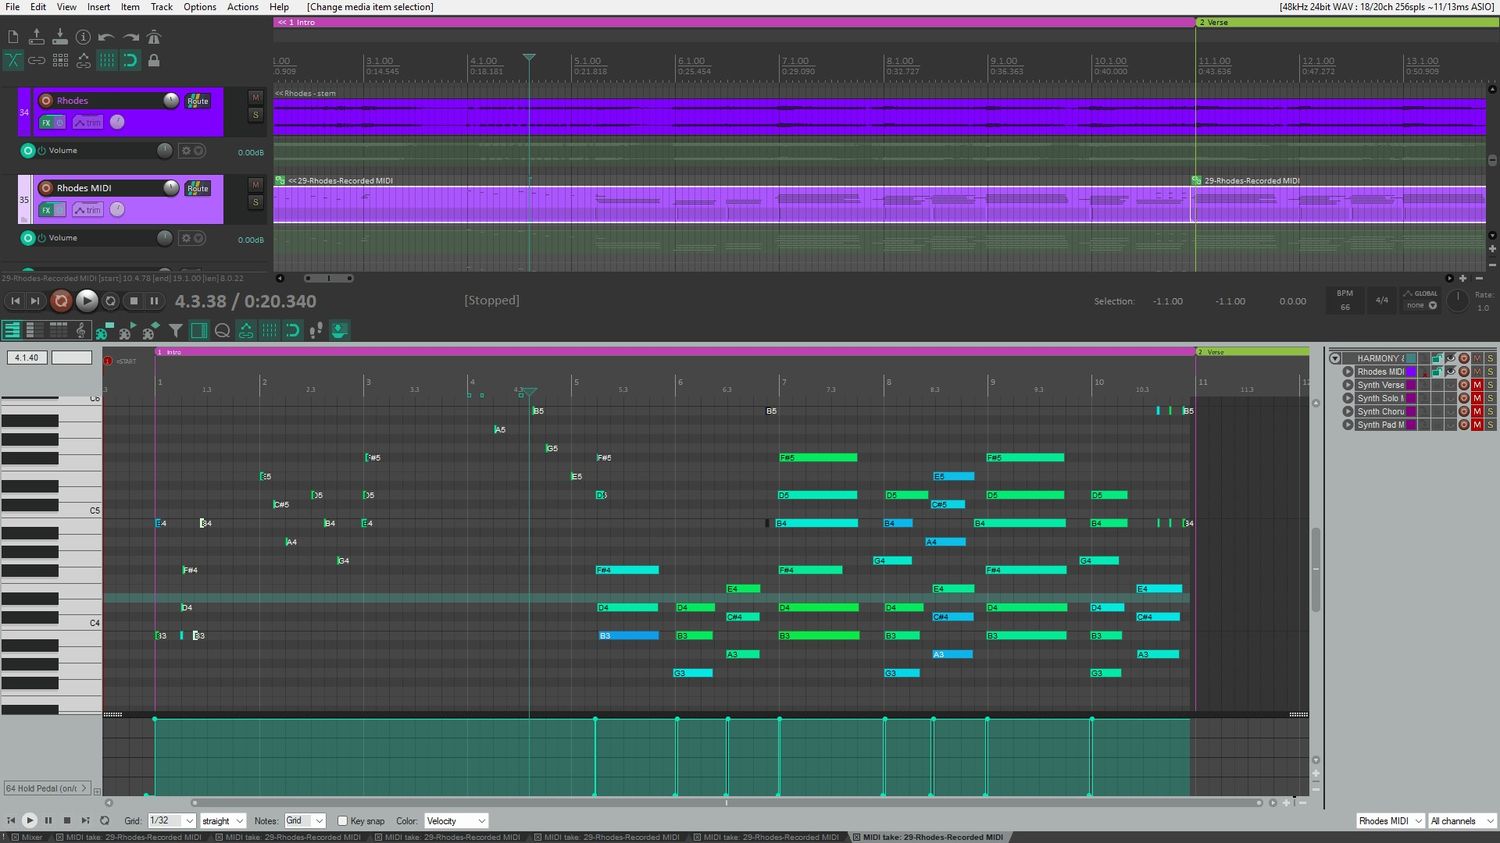
Before exporting a MIDI file from Reaper, the first step is to open the project containing the musical arrangement or composition you intend to export. Launch Reaper and navigate to the "File" menu at the top left corner of the interface. From the dropdown menu, select "Open project" to access the project you wish to work with.
Alternatively, if you have been working on the project recently, you can use the "Recent Projects" list to quickly locate and open the desired project. Once the project is opened, you will be presented with the familiar interface of Reaper, showcasing the tracks, timeline, and various editing tools.
It's important to ensure that all the necessary MIDI tracks and musical elements are loaded and properly arranged within the project before proceeding to the next steps. This includes verifying that the MIDI data, such as notes, tempo, and other musical events, are accurately represented in the project timeline.
If you are working with multiple tracks or layers of MIDI data, take a moment to review the arrangement and make any necessary adjustments to ensure that the project is ready for export. This may involve organizing the tracks, setting the desired tempo, and confirming that all musical elements are positioned correctly within the project timeline.
By carefully preparing the project before exporting MIDI files, you can avoid potential issues and ensure that the exported MIDI data accurately reflects your musical intentions. Once you have confirmed that the project is set up as desired, you are ready to proceed to the next step of selecting the tracks to export.
With the project open and the musical elements in place, you are now poised to harness the full potential of Reaper's export capabilities to create MIDI files that faithfully capture your creative vision.
Step 2: Select the tracks to export
Once your project is open in Reaper, the next crucial step in exporting MIDI files is to select the specific tracks containing the MIDI data you wish to export. This process allows you to isolate and extract the musical elements that are essential for your intended use, whether it's sharing individual parts with collaborators, archiving specific instrument tracks, or preparing MIDI stems for further processing.
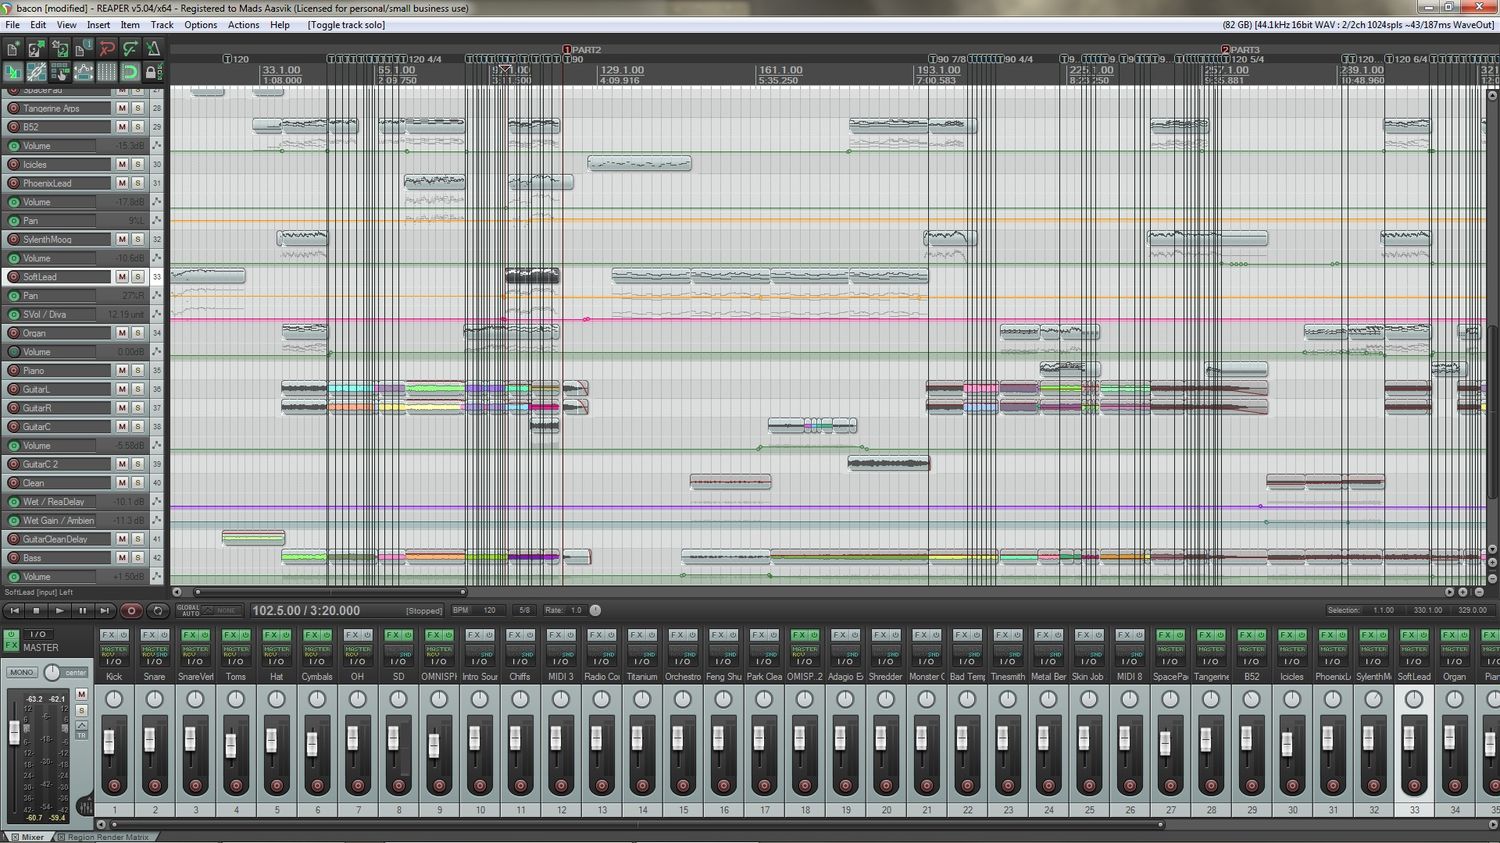
To begin, navigate to the track control panel within Reaper, where you will find a list of all the tracks included in your project. Each track represents a distinct musical element, such as a virtual instrument, MIDI recording, or imported MIDI file. Take a moment to identify the tracks containing the MIDI data you want to export, as this will determine the content of the MIDI files you create.
Reaper provides a straightforward method for selecting the tracks to export. Simply click on the track name or control panel of each track you wish to include in the export process while holding down the Ctrl key (Cmd on Mac) to make multiple selections. This intuitive approach allows you to choose individual tracks or a combination of tracks based on your specific requirements.
As you make your selections, pay close attention to the visual feedback provided by Reaper, which highlights the active tracks and confirms your choices. This visual cue ensures that you are accurately selecting the desired tracks and helps prevent any accidental omissions or inclusions.
Furthermore, Reaper offers the flexibility to select non-contiguous tracks by holding down the Ctrl key (Cmd on Mac) and clicking on the desired tracks individually. This feature is particularly useful when exporting non-adjacent tracks or when creating MIDI files from specific sections of your project.
By carefully selecting the tracks to export, you can tailor the MIDI files to your exact specifications, capturing the essence of your musical arrangement with precision and clarity. Whether you are extracting the melodies of a virtual piano, the rhythmic patterns of a drum track, or the expressive phrases of a synthesizer, the ability to selectively choose tracks empowers you to customize the content of your MIDI files according to your creative vision.
With the tracks selected, you are now ready to proceed to the next step of setting the time selection to define the export range, a crucial aspect of the MIDI file creation process in Reaper.
Step 3: Set the time selection
Setting the time selection is a pivotal step in the process of exporting MIDI files from Reaper. This step allows you to define the specific range of the project that will be included in the exported MIDI files, offering a level of precision and control over the content of the resulting files.
To set the time selection, navigate to the timeline or ruler area of the Reaper interface. Here, you will find the time ruler, which provides a visual representation of the project's timeline, complete with measures, beats, and time divisions. The time ruler serves as a navigational tool for locating and selecting specific segments of the project for export.
To define the time selection, click and drag the cursor across the time ruler to create a highlighted region that corresponds to the desired export range. This intuitive method allows you to precisely specify the start and end points of the time selection, ensuring that the exported MIDI files contain the exact musical passages you intend to share or utilize in other applications.
Furthermore, Reaper offers additional features to refine the time selection, such as the ability to snap the selection to grid lines or time divisions, facilitating accurate alignment with musical phrases and structural elements within the project. This grid-based approach enhances the precision of the time selection process, particularly when aligning the export range with specific musical events or transitions.
In addition to manual selection, Reaper provides shortcuts and keyboard commands to streamline the time selection process, enabling efficient navigation and adjustment of the export range. By leveraging these shortcuts, such as using keyboard modifiers to extend or contract the time selection, you can expedite the workflow and fine-tune the export range with ease.
Once the time selection is established, Reaper visually highlights the selected region on the timeline, providing a clear indication of the export range and ensuring that you have accurately defined the content of the MIDI files to be created. This visual feedback reinforces the precision of the time selection process and helps confirm that the export range aligns with your musical intentions.
By setting the time selection with care and attention to detail, you can exert precise control over the content of the exported MIDI files, ensuring that they encapsulate the specific musical passages or segments that are essential for your creative endeavors.
With the time selection in place, you are now prepared to proceed to the next step of choosing the export settings, a pivotal stage in the process of creating MIDI files from your Reaper project.
Step 4: Choose the export settings
After setting the time selection for the MIDI file export in Reaper, the next crucial step is to choose the export settings, which determine the format, naming conventions, and additional options for the exported MIDI files. By carefully configuring the export settings, you can tailor the output to meet the specific requirements of your musical projects and ensure seamless compatibility with other software and hardware platforms.
Reaper provides a comprehensive set of export settings that empower you to customize the MIDI file creation process according to your preferences. To access the export settings, navigate to the "File" menu at the top left corner of the interface and select "Export project MIDI". This action opens the export dialog, where you can fine-tune the parameters for the MIDI file export.
Within the export dialog, you will encounter a range of options and settings that influence the characteristics of the exported MIDI files. These settings encompass essential aspects such as file format, naming conventions, track inclusion, and tempo mapping, allowing you to exert precise control over the exported MIDI data.
One of the primary considerations when choosing the export settings is the file format for the MIDI files. Reaper offers the flexibility to export MIDI files in standard formats such as MIDI Type 0 and MIDI Type 1, each with its unique specifications regarding track structure and data organization. By selecting the appropriate MIDI file format, you can ensure compatibility with a wide array of music production software and hardware, facilitating seamless integration and interoperability.
In addition to the file format, the export settings in Reaper enable you to define the naming conventions for the exported MIDI files, providing the option to use track names, time stamps, and customizable prefixes to distinguish and organize the resulting files effectively. This feature is particularly useful when exporting multiple MIDI files, as it streamlines the file management process and helps maintain clarity and order within your music production projects.
Furthermore, the export settings encompass track inclusion options, allowing you to specify whether to export all selected tracks or only the tracks that contain MIDI data. This level of granularity empowers you to tailor the content of the MIDI files to your exact specifications, ensuring that the exported files encapsulate the desired musical elements without unnecessary clutter or redundancy.
Moreover, Reaper provides advanced options for tempo mapping and MIDI event filtering within the export settings, enabling you to refine the temporal characteristics and musical events included in the exported MIDI files. These options offer a heightened level of control over the exported MIDI data, allowing you to synchronize tempo information and fine-tune the content to align with your creative vision.
By carefully choosing the export settings in Reaper, you can customize the characteristics of the exported MIDI files to suit your specific requirements, ensuring that the resulting files faithfully represent your musical ideas and seamlessly integrate with your broader music production workflow. With the export settings configured to your satisfaction, you are now ready to proceed to the final step of exporting the MIDI files from Reaper, bringing your creative endeavors to fruition.
Step 5: Export the MIDI file
With the project prepared, tracks selected, and time range defined, the final step in the process of exporting MIDI files from Reaper is to execute the export action and generate the MIDI files that encapsulate your musical vision. This pivotal stage brings together all the preceding steps and culminates in the creation of MIDI files that faithfully represent the selected tracks and designated time range, ready for sharing, collaboration, or further creative exploration.
To initiate the MIDI file export, navigate to the export dialog within Reaper by accessing the "File" menu and selecting "Export project MIDI…". This action opens the export dialog, where the meticulously configured export settings, track selections, and time range are consolidated into the parameters for the MIDI file creation process.
Once inside the export dialog, review the settings and options to confirm that they align with your creative intentions. Verify the file format, naming conventions, track inclusions, and any additional settings to ensure that they accurately reflect your desired output. This attention to detail ensures that the exported MIDI files meet your specific requirements and seamlessly integrate with your broader music production ecosystem.
After confirming the export settings, proceed to execute the export action by clicking the "Export" or "OK" button within the export dialog. Reaper will then process the selected tracks and time range, converting the musical data into MIDI files based on the defined parameters. The progress of the export process is visually indicated within Reaper, providing real-time feedback on the creation of the MIDI files and confirming the successful generation of the exported content.
Once the export process is complete, the resulting MIDI files are saved to the specified location on your computer, ready for immediate use, sharing, or further manipulation. These files encapsulate the musical essence of the selected tracks within the defined time range, preserving the nuances of your compositions, performances, and arrangements in a universally compatible format.
With the MIDI files successfully exported from Reaper, you have transformed your musical ideas into portable, versatile data that can be seamlessly integrated into other music production software, hardware instruments, and collaborative workflows. Whether you're sharing individual tracks with collaborators, archiving specific musical elements, or preparing MIDI stems for mixing and mastering, the exported MIDI files represent a tangible manifestation of your creative endeavors, poised to inspire and resonate with audiences across diverse musical landscapes.
Conclusion
In conclusion, the process of exporting MIDI files from Reaper is a fundamental skill that empowers musicians, producers, and composers to share, collaborate, and integrate their musical creations across diverse platforms and workflows. By following the steps outlined in this guide, you can harness the full potential of Reaper's export capabilities and create MIDI files that faithfully represent your creative vision while ensuring seamless interoperability with other music production software and hardware.
Throughout this guide, we explored the essential steps involved in exporting MIDI files from Reaper, beginning with the process of opening the project and ensuring that the musical elements are properly arranged and prepared for export. We then delved into the crucial task of selecting the specific tracks to export, allowing for the isolation and extraction of essential musical elements from the project. Setting the time selection emerged as a pivotal step, enabling precise definition of the export range and ensuring that the exported MIDI files encapsulate the exact musical passages intended for sharing or further utilization.
The subsequent stage involved choosing the export settings within Reaper, where a range of customizable options allowed for tailoring the characteristics of the MIDI files, including file format, naming conventions, track inclusion, and tempo mapping. This level of control over the export parameters ensures that the resulting MIDI files align with the specific requirements of your music production projects and seamlessly integrate with your creative workflow.
The culmination of the process involved executing the export action within Reaper, where the meticulously configured settings and selections converged into the creation of MIDI files that faithfully represent the selected tracks and designated time range. The successful export of MIDI files from Reaper marks the transformation of musical ideas into portable, versatile data, poised to inspire and resonate across diverse musical landscapes.
By mastering the art of exporting MIDI files from Reaper, you can unlock new avenues for collaboration, sharing, and creative exploration, transcending the boundaries of individual software platforms and fostering a seamless exchange of musical ideas. Whether you're collaborating with other musicians, preparing stems for mixing and mastering, or archiving your compositions for future endeavors, the ability to export MIDI files from Reaper empowers you to share your musical creations with the world and contribute to the rich tapestry of musical expression.
In essence, the process of exporting MIDI files from Reaper represents a bridge between creativity and connectivity, enabling musicians to transcend barriers and share their musical visions with a global audience. As you continue your musical journey, may the knowledge and skills gained from this guide serve as a catalyst for boundless creativity and meaningful collaboration in the ever-evolving landscape of music production and expression.

