Home>Production & Technology>MIDI>How To Record MIDI In Reaper
MIDI
How To Record MIDI In Reaper
Modified: February 22, 2024
Learn how to record MIDI in Reaper with our step-by-step guide. Capture your musical ideas and create professional-sounding tracks with ease.
(Many of the links in this article redirect to a specific reviewed product. Your purchase of these products through affiliate links helps to generate commission for AudioLover.com, at no extra cost. Learn more)
Table of Contents
Introduction
MIDI, which stands for Musical Instrument Digital Interface, is a powerful tool for musicians, producers, and composers. It allows for the creation, recording, and manipulation of musical data in a digital format. Whether you're a seasoned professional or a budding enthusiast, understanding how to record MIDI in Reaper can significantly enhance your music production workflow.
Reaper, a versatile digital audio workstation (DAW), provides robust MIDI recording capabilities that empower users to capture their musical ideas with precision and creativity. With its user-friendly interface and extensive feature set, Reaper is a popular choice for music producers seeking a comprehensive solution for audio and MIDI production.
In this article, we will delve into the process of recording MIDI in Reaper, covering essential steps such as setting up MIDI devices, creating new MIDI items, recording MIDI notes, and editing MIDI data. By following these steps, you will gain a solid foundation in leveraging Reaper's MIDI recording functionality to bring your musical compositions to life.
Whether you're a keyboardist looking to capture a captivating piano melody, a drummer aiming to sequence dynamic drum patterns, or a composer orchestrating intricate arrangements, mastering MIDI recording in Reaper will empower you to unleash your creative potential. Let's embark on this journey to unlock the full potential of MIDI recording in Reaper and elevate your music production endeavors to new heights.
Setting up MIDI devices in Reaper
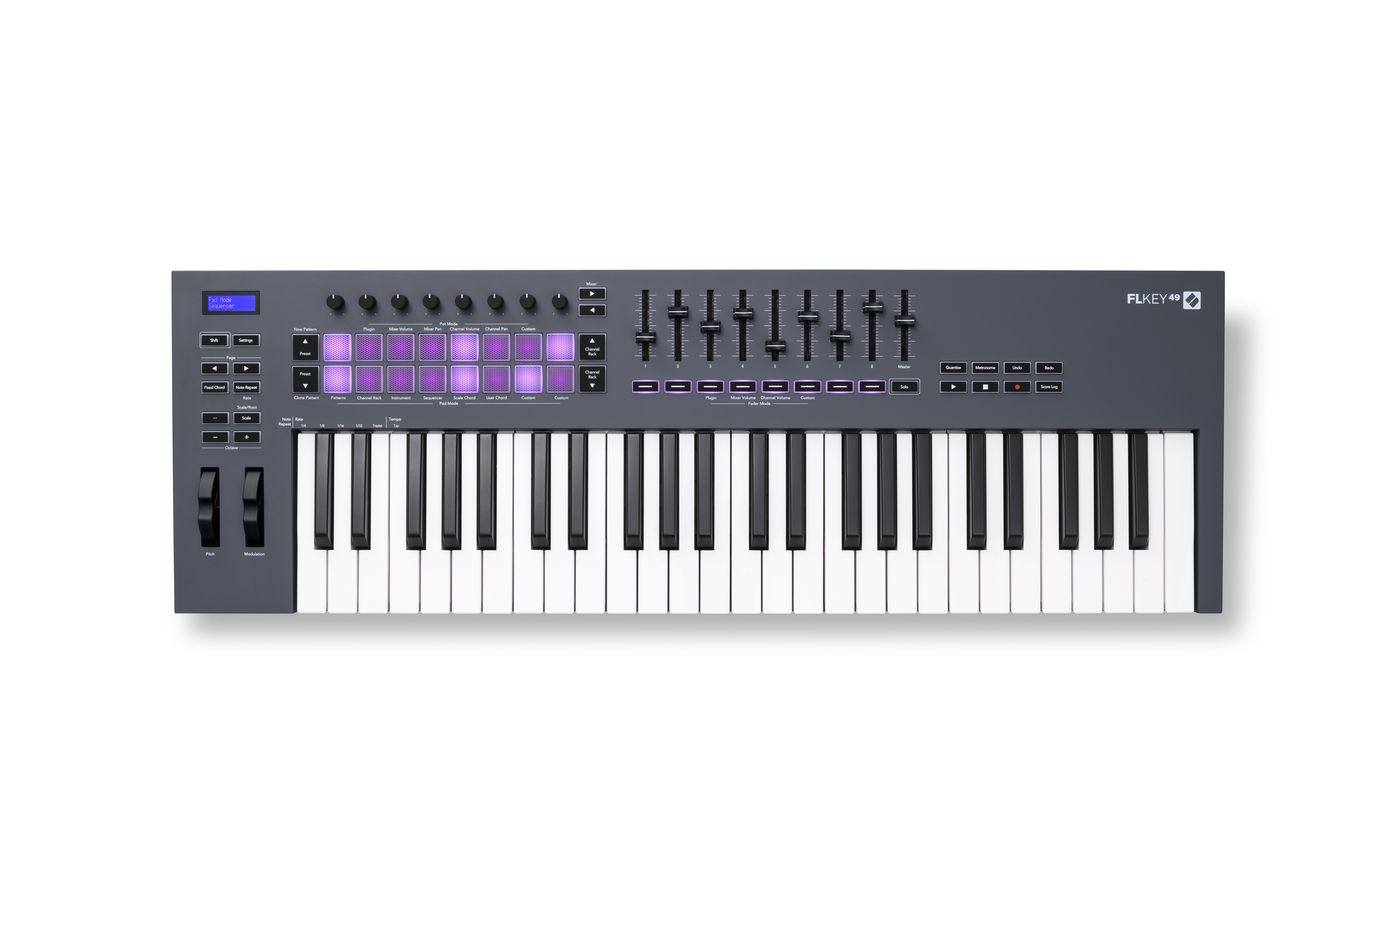
Setting up MIDI devices in Reaper is a crucial initial step to ensure seamless integration and communication between your hardware MIDI controllers and the software environment. Whether you're using a MIDI keyboard, drum pad, or other MIDI-enabled devices, configuring them within Reaper is essential for capturing and manipulating MIDI data effectively.
-
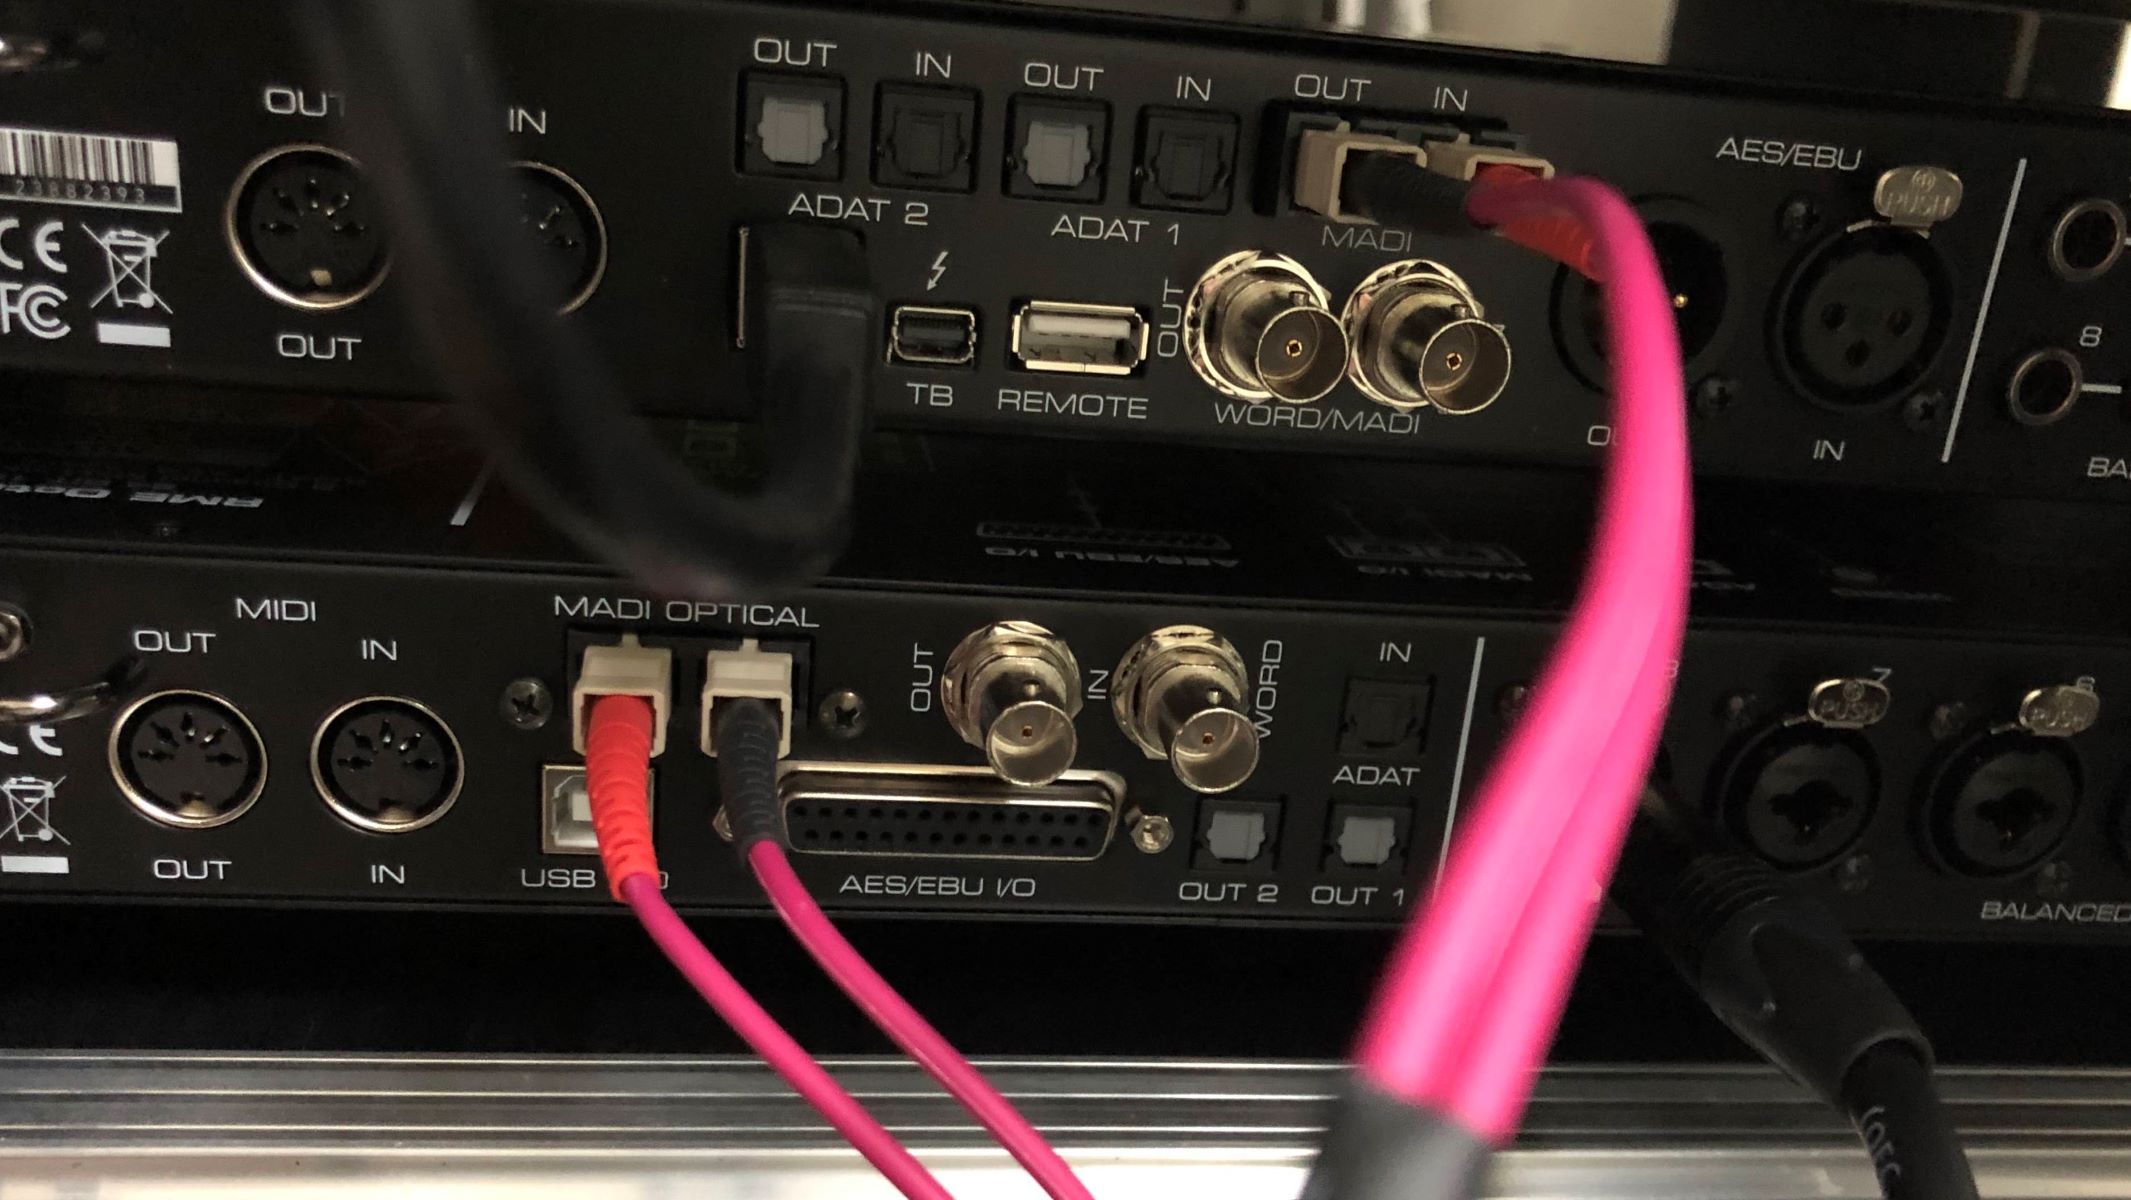
Connecting MIDI Devices: Begin by connecting your MIDI device to your computer using a USB cable or MIDI interface. Once connected, launch Reaper and navigate to the "Options" menu at the top of the interface.
-
Configuring MIDI Preferences: Within the "Options" menu, select "Preferences" and then click on "MIDI Devices" under the "Audio" section. Here, you can configure the MIDI input and output settings for your connected devices.
-
Adding MIDI Inputs: In the MIDI Devices preferences window, you can add your MIDI input devices by clicking the "Enable input from this device" option next to the respective device. This allows Reaper to recognize and receive MIDI input from your connected hardware.
-
Assigning MIDI Channels: If your MIDI device utilizes specific MIDI channels for different functions or instruments, you can assign these channels within the MIDI Devices preferences. This ensures that Reaper accurately interprets MIDI data transmitted from your device.
-
Verifying MIDI Signal: After configuring the MIDI input settings, you can verify that Reaper is receiving MIDI signal from your device by monitoring the input indicators within the software. When you play notes or trigger MIDI events on your device, you should see corresponding activity in Reaper's MIDI input indicators.
By meticulously setting up your MIDI devices in Reaper, you establish a robust foundation for capturing and manipulating MIDI data with precision and efficiency. This foundational step lays the groundwork for seamless MIDI recording and ensures that your MIDI controllers are seamlessly integrated into the music production environment provided by Reaper.
Creating a new MIDI item
In Reaper, creating a new MIDI item is a fundamental process that lays the groundwork for capturing and organizing MIDI data within your project. Whether you're looking to record a melodic passage, rhythmic pattern, or intricate chord progression, understanding how to create a new MIDI item empowers you to seamlessly integrate MIDI recordings into your compositions.
To initiate the creation of a new MIDI item, navigate to the track where you intend to record MIDI data. Once you've selected the desired track, follow these steps to create a new MIDI item:
-
Selecting the Track: Identify the track within the Reaper interface where you want to record MIDI data. This track serves as the destination for your MIDI recordings and provides a dedicated space for organizing and manipulating MIDI items.
-
Setting the Record Mode: Before creating the MIDI item, ensure that the track is armed for recording MIDI. This involves enabling the record mode for MIDI input on the selected track, allowing Reaper to capture MIDI data as you perform or input musical information.
-
Positioning the Edit Cursor: Position the edit cursor at the specific point in the timeline where you want to initiate the recording of MIDI data. This allows you to define the starting point for your MIDI recording and ensures that the captured MIDI item aligns with your intended musical arrangement.
-
Initiating MIDI Recording: With the track armed for MIDI recording and the edit cursor positioned, you can initiate the MIDI recording process by pressing the record button within the Reaper interface. As you perform on your MIDI controller or input MIDI data manually, Reaper captures the musical information and generates a new MIDI item on the selected track.
-
Naming the MIDI Item: After recording MIDI data, consider naming the newly created MIDI item to provide context and organization within your project. This naming convention can reflect the musical content, instrument source, or any other relevant details to facilitate efficient project management.
By following these steps, you can seamlessly create a new MIDI item in Reaper, capturing musical performances and MIDI input with precision and flexibility. This foundational process sets the stage for further MIDI recording and editing, empowering you to harness the full potential of MIDI within your music production endeavors.
Recording MIDI notes
Recording MIDI notes in Reaper is a pivotal step in capturing musical performances and translating them into digital data within your project. Whether you're crafting intricate melodies, dynamic drum patterns, or expressive chord progressions, the process of recording MIDI notes empowers you to preserve your musical ideas with precision and creativity.
Once you have set up your MIDI devices and created a new MIDI item within Reaper, you are ready to commence the recording of MIDI notes. Follow these steps to seamlessly capture MIDI performances and input within your project:
-
Preparing for MIDI Recording: Ensure that the track where you intend to record MIDI notes is armed for MIDI input. This involves enabling the record mode for MIDI on the selected track, allowing Reaper to capture MIDI data as you perform or input musical information.
-
Setting the Recording Parameters: Before initiating the recording process, consider adjusting the recording parameters to align with your preferences. This includes specifying the recording input source, setting the recording quantization for MIDI notes, and configuring any additional recording options based on your musical requirements.
-
Positioning the Edit Cursor: Position the edit cursor at the specific point in the timeline where you want to commence the recording of MIDI notes. This ensures that the captured MIDI performances align with your intended musical arrangement and timing within the project.
-
Initiating MIDI Recording: With the track armed for MIDI recording and the edit cursor positioned, you can initiate the MIDI recording process by pressing the record button within the Reaper interface. As you perform on your MIDI controller or input MIDI data manually, Reaper captures the musical information and generates a new MIDI item containing the recorded MIDI notes.
-
Real-time Performance and Input: During the MIDI recording process, you have the flexibility to perform in real-time using your MIDI controller, input MIDI notes via a piano roll or MIDI editor, or a combination of both methods. This versatility allows you to capture musical expressions and nuances with fluidity and precision.
-
Reviewing and Refining the Recording: After recording MIDI notes, take the opportunity to review and refine the captured performances. You can leverage Reaper's MIDI editing tools to adjust note velocities, correct timing discrepancies, and fine-tune the musical content to align with your creative vision.
By following these steps, you can effectively record MIDI notes in Reaper, preserving musical performances and input with accuracy and flexibility. This process empowers you to capture the essence of your musical ideas and seamlessly integrate them into your compositions, laying the groundwork for further MIDI editing and refinement as you continue to shape your musical arrangements.
Editing MIDI notes
Editing MIDI notes in Reaper is a transformative process that empowers you to refine, manipulate, and elevate your musical compositions with precision and creativity. Once you have recorded MIDI performances and input within your project, the ability to edit MIDI notes provides a powerful toolkit for shaping musical arrangements, correcting nuances, and infusing expressive dynamics into your compositions.
Accessing the MIDI Editor
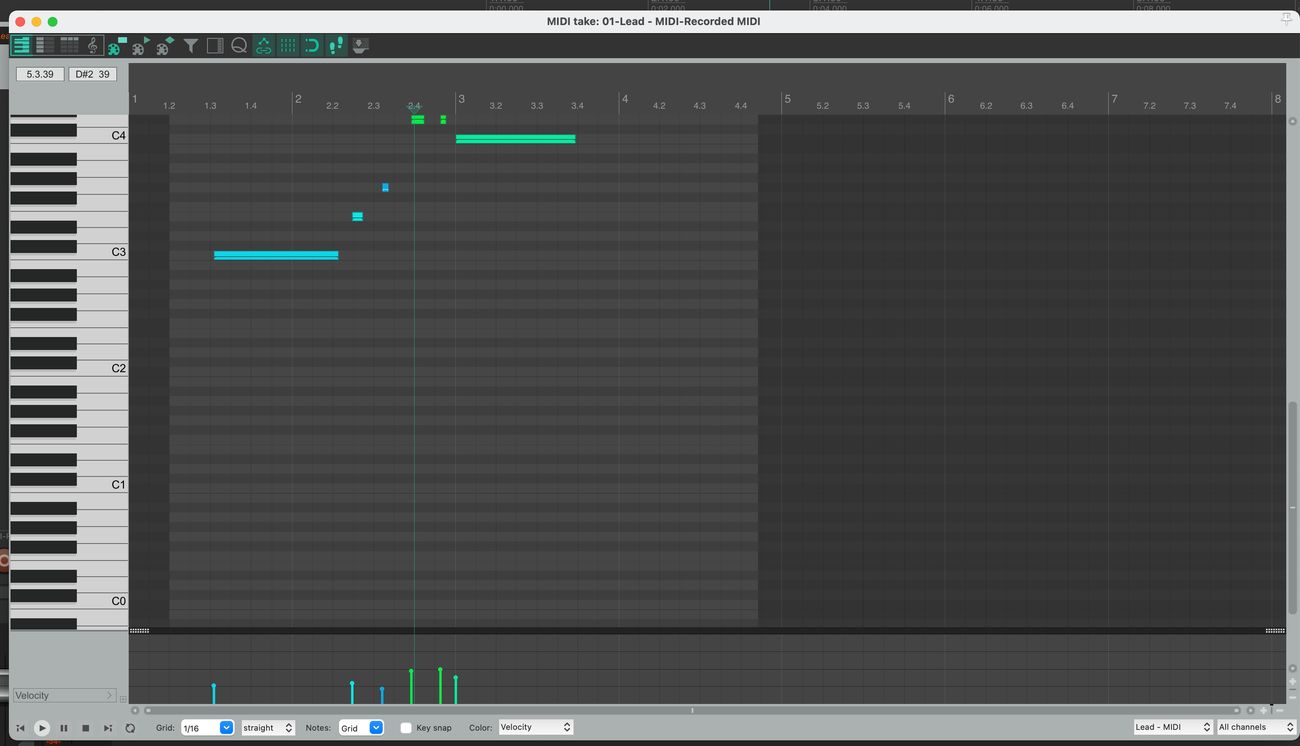
To commence the editing of MIDI notes, navigate to the MIDI item containing the recorded performances within your project. Double-clicking on the MIDI item opens the MIDI Editor, providing a dedicated workspace for visualizing and manipulating MIDI notes. The MIDI Editor interface in Reaper offers a comprehensive array of tools and functions designed to streamline the editing process and enhance your control over MIDI data.
Manipulating Note Attributes
Within the MIDI Editor, you can manipulate various attributes of MIDI notes to tailor their musical characteristics and behaviors. This includes adjusting note velocities to modulate the intensity of individual notes, altering note lengths to refine the duration of musical phrases, and modifying note pitches to create melodic variations and harmonies. By refining these note attributes, you can imbue your musical compositions with nuanced expressions and dynamics, shaping the emotional impact of the music.
Quantizing MIDI Notes
Reaper's MIDI editing capabilities extend to quantization, allowing you to align MIDI notes to a specified grid or rhythmic quantization value. This feature is invaluable for refining the timing and rhythmic precision of MIDI performances, ensuring that musical passages adhere to the desired rhythmic feel and groove. Whether you seek to tighten the rhythmic nuances of drum patterns or align melodic phrases with precision, the quantization tools in Reaper empower you to achieve cohesive musical arrangements.
MIDI Note Articulations and Expressions
Incorporating articulations and expressions into MIDI notes enhances the musical realism and emotive depth of your compositions. Reaper's MIDI editing environment provides the flexibility to introduce articulations such as legato, staccato, and accent markings, allowing you to shape the phrasing and dynamics of MIDI performances with finesse. By infusing MIDI notes with expressive articulations, you elevate the authenticity and emotive impact of the music, creating engaging and immersive musical experiences.
Advanced MIDI Editing Tools
Reaper offers an array of advanced MIDI editing tools, including note splitting, merging, and transposition, providing intricate control over MIDI note manipulation. These tools empower you to sculpt intricate musical arrangements, restructure melodic phrases, and explore creative variations within your compositions. Additionally, the MIDI Editor in Reaper supports the manipulation of MIDI controllers, enabling you to modulate parameters such as pitch bend, modulation, and expression to enrich the sonic palette of your music.
By leveraging the comprehensive MIDI editing capabilities in Reaper, you can refine, shape, and breathe life into your musical compositions with unparalleled precision and artistry. The ability to edit MIDI notes transcends traditional compositional boundaries, empowering you to actualize your creative vision and craft captivating musical experiences that resonate with depth and emotion.
Conclusion
In conclusion, mastering the art of MIDI recording and editing in Reaper opens a gateway to boundless creative possibilities for music producers, composers, and enthusiasts alike. The seamless integration of MIDI devices, coupled with the intuitive MIDI recording and editing features within Reaper, empowers users to capture, refine, and unleash their musical ideas with precision and artistry.
By meticulously setting up MIDI devices within Reaper, users establish a solid foundation for seamless communication between their hardware controllers and the software environment. This foundational step ensures that MIDI input is accurately recognized and seamlessly integrated into the music production workflow, setting the stage for expressive performances and creative exploration.
Creating new MIDI items within Reaper provides a dedicated space for organizing and manipulating MIDI data, allowing users to effortlessly capture musical performances and input with flexibility and control. The process of recording MIDI notes enables users to preserve their musical expressions, whether it's capturing evocative melodies, rhythmic intricacies, or expressive chord progressions, with seamless precision.
The transformative process of editing MIDI notes within Reaper empowers users to refine, manipulate, and elevate their musical compositions with nuanced expressions and dynamics. From adjusting note attributes to incorporating articulations and expressions, the MIDI editing capabilities in Reaper provide a comprehensive toolkit for shaping musical arrangements and infusing emotive depth into compositions.
As users navigate the rich landscape of MIDI recording and editing in Reaper, they embark on a journey of musical discovery and innovation. Whether it's crafting intricate melodies, sculpting dynamic drum patterns, or orchestrating expressive arrangements, the fusion of MIDI technology and Reaper's versatile features amplifies creative potential and propels musical endeavors to new heights.
In essence, the mastery of MIDI recording and editing in Reaper transcends traditional boundaries, empowering users to realize their creative vision and craft captivating musical experiences that resonate with depth and emotion. With its intuitive interface, robust feature set, and seamless MIDI integration, Reaper stands as a beacon of creativity, inviting music enthusiasts to explore, innovate, and bring their musical aspirations to life.