Home>Production & Technology>MIDI>How To Make Your Own Instrument For MIDI
MIDI
How To Make Your Own Instrument For MIDI
Published: February 20, 2024
Learn how to create your own MIDI instrument with our step-by-step guide. Explore the world of MIDI and unleash your creativity today.
(Many of the links in this article redirect to a specific reviewed product. Your purchase of these products through affiliate links helps to generate commission for AudioLover.com, at no extra cost. Learn more)
Table of Contents
Introduction
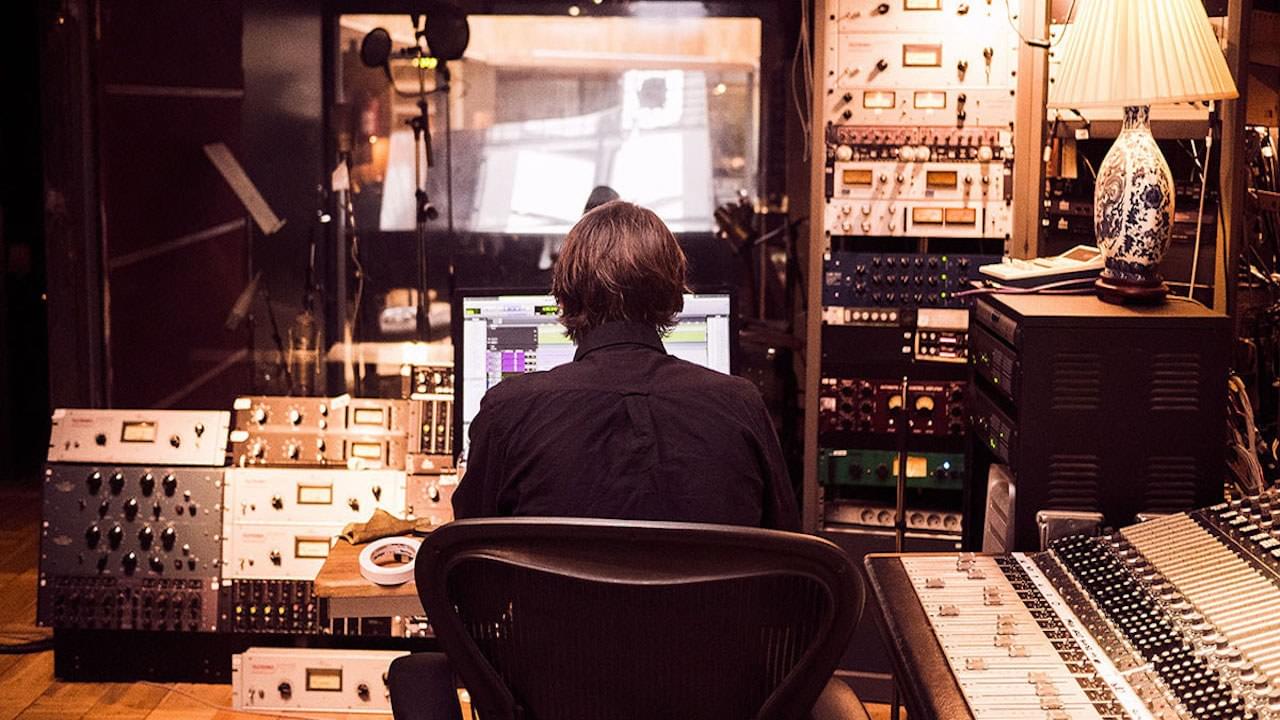
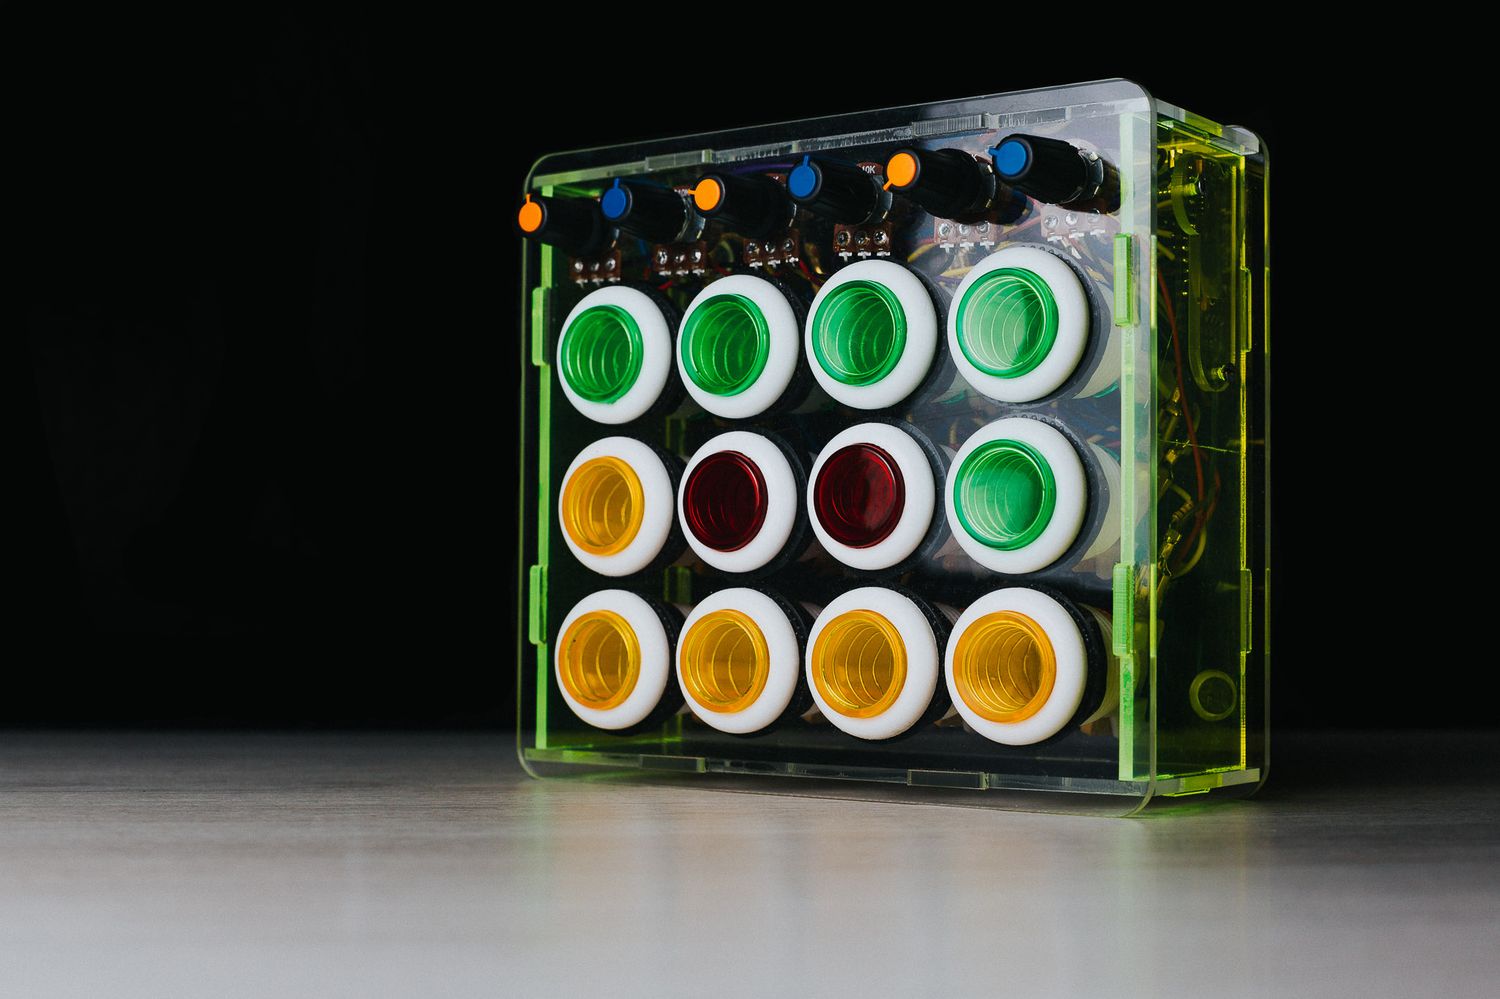
Creating your own MIDI instrument can be a rewarding and creative endeavor, allowing you to tailor the instrument to your specific needs and preferences. Whether you're a musician, a hobbyist, or a tech enthusiast, delving into the world of MIDI (Musical Instrument Digital Interface) opens up a realm of possibilities for crafting unique musical tools.
By embarking on this journey, you can design an instrument that seamlessly integrates with your existing setup, suits your playing style, and reflects your artistic vision. From electronic drum pads to custom MIDI controllers, the process of building your own MIDI instrument empowers you to unleash your creativity and bring your musical ideas to life in a tangible, hands-on manner.
Throughout this guide, we will explore the step-by-step process of creating a bespoke MIDI instrument, covering everything from selecting the right components to configuring the MIDI interface. Whether you're a seasoned DIY enthusiast or a newcomer to the world of MIDI, this comprehensive resource will equip you with the knowledge and confidence to embark on this exciting venture.
So, roll up your sleeves, unleash your creativity, and get ready to embark on an exhilarating journey of crafting your very own MIDI instrument. Whether you're a musician seeking a personalized performance tool or a tech-savvy individual eager to explore the intersection of music and technology, this guide will serve as your compass, guiding you through the intricacies of bringing your custom MIDI instrument to life.
Let's dive in and uncover the fascinating world of DIY MIDI instrument creation, where innovation and musical expression converge in a harmonious symphony of creativity and technology.
Choosing the Right Components
Selecting the appropriate components is a crucial first step in the process of crafting your own MIDI instrument. The components you choose will determine the functionality, versatility, and overall performance of your creation. Here's a detailed breakdown of the key components to consider when embarking on this exciting DIY endeavor:
1. Controller Interface:
The controller interface serves as the foundation of your MIDI instrument, enabling you to interact with and control various musical parameters. When choosing a controller interface, consider factors such as the number of keys, pads, faders, and knobs required for your specific musical needs. Whether you opt for a compact keyboard controller, a pad-based interface, or a custom-built control surface, ensure that it aligns with your musical style and performance requirements.
2. Sensory Input Devices:
Integrating sensory input devices such as pressure-sensitive pads, touch strips, or motion sensors can enhance the expressiveness and versatility of your MIDI instrument. These input devices enable nuanced control over parameters such as dynamics, pitch modulation, and effects, adding a layer of tactile interactivity to your musical performance.
3. Enclosures and Casings:
The physical enclosure of your MIDI instrument not only contributes to its aesthetic appeal but also plays a crucial role in ensuring durability and ergonomics. Whether you opt for a sleek, compact casing for portability or a robust enclosure for studio use, consider the form factor and material that best suits your instrument's intended use and environment.
4. Electronic Components:
From microcontrollers and interface modules to sensors and actuators, the electronic components form the backbone of your MIDI instrument's functionality. Depending on your technical expertise and customization requirements, you may choose to integrate off-the-shelf electronic modules or dive into the realm of circuit design and prototyping to create bespoke electronic systems tailored to your unique musical vision.
5. Connectivity Options:
Consider the connectivity options required for seamless integration with your existing music production setup. Whether you need USB, MIDI, or wireless connectivity, ensuring compatibility with your computer, synthesizers, and other MIDI-enabled devices is essential for a cohesive and integrated musical workflow.
By carefully evaluating and selecting the right components for your DIY MIDI instrument, you lay a solid foundation for an instrument that not only meets your musical needs but also reflects your creative ingenuity and technical prowess. With the components in place, you're ready to embark on the next phase of this exhilarating journey: assembling your custom MIDI instrument.
Assembling the Instrument
Assembling your custom MIDI instrument marks a pivotal phase in the journey of bringing your musical creation to life. This hands-on process involves integrating the carefully chosen components into a cohesive and functional instrument that resonates with your artistic vision. Here's a detailed walkthrough of the steps involved in assembling your DIY MIDI instrument:
1. Preparing the Workspace:
Set up a well-lit and organized workspace equipped with essential tools such as screwdrivers, soldering iron, wire cutters, and a multimeter. Ensure a clutter-free environment to facilitate a smooth assembly process.
2. Component Placement:
Lay out the components such as the controller interface, sensory input devices, electronic modules, and enclosures in a logical arrangement. Visualize the ergonomics and user interaction flow to determine the optimal placement of each component within the instrument's enclosure.
3. Mechanical Integration:
Secure the controller interface, sensory input devices, and electronic components within the enclosure using appropriate mounting hardware. Pay attention to the alignment, spacing, and accessibility of controls to ensure a user-friendly and visually appealing layout.
4. Wiring and Interconnections:
Carefully route and solder the electrical connections between the components, ensuring proper insulation and strain relief to prevent short circuits and mechanical stress. Verify the continuity and integrity of the wiring using a multimeter to guarantee reliable electrical connections.
5. Power and Signal Routing:
Integrate power supply components and route signal connections between the electronic modules, ensuring efficient power distribution and signal integrity. Adhere to best practices for noise isolation and grounding to minimize electrical interference and ensure robust performance.
6. Testing and Calibration:
Before sealing the enclosure, conduct thorough testing of the instrument's functionality, including key response, sensor sensitivity, and connectivity. Calibrate the input devices and interface controls to fine-tune their performance and responsiveness to user input.
7. Final Assembly:
Once the functionality and performance meet your expectations, proceed with the final assembly of the instrument's enclosure. Secure the casing, ensuring structural integrity and aesthetic appeal while allowing for easy access to internal components for future maintenance and modifications.
By meticulously following these steps and exercising precision and care during the assembly process, you bring your custom MIDI instrument one step closer to fruition. The assembly phase not only showcases your technical proficiency but also represents a pivotal stage in the transformation of disparate components into a unified and expressive musical tool.
With the instrument assembled, the next phase involves configuring the MIDI interface to establish seamless communication between your creation and the digital realm of music production and performance.
Configuring MIDI Interface
Configuring the MIDI interface is a critical step in harnessing the full potential of your custom MIDI instrument. By establishing seamless communication between the instrument and external MIDI-enabled devices, you pave the way for immersive musical expression and integration within digital audio workstations (DAWs) and live performance setups. Here's a detailed exploration of the essential aspects involved in configuring the MIDI interface:
-
MIDI Mapping:
Begin by mapping the physical controls and input devices of your custom MIDI instrument to specific MIDI messages and parameters within your music production software or hardware synthesizers. This mapping process involves assigning MIDI note numbers, control change (CC) messages, program change commands, and other MIDI data to the corresponding elements of your instrument, such as keys, pads, knobs, and faders. -
Software Integration:
Integrate your custom MIDI instrument with music production software or DAWs by configuring MIDI input and output settings. Ensure that the instrument is recognized as a MIDI controller within the software environment, allowing bidirectional communication for transmitting control commands and receiving feedback from the software interface. -
Control Assignments and Macros:
Leverage the flexibility of MIDI to assign specific functions and macros to the controls and input devices of your instrument. This may involve assigning parameters such as filter cutoff, resonance, envelope settings, or effects parameters to the knobs and sliders, empowering you to sculpt and manipulate sound in real time during performances or studio sessions. -
Performance Templates:
Create custom performance templates within your music production software to streamline the integration of your MIDI instrument. These templates can encapsulate predefined control mappings, instrument configurations, and signal routing setups tailored to different musical contexts and genres, allowing for quick and intuitive access to instrument settings during creative sessions. -
System Exclusive (SysEx) Integration:
Explore the realm of SysEx messages to implement advanced integration and customization of MIDI-enabled devices. SysEx messages enable deep-level configuration and control of synthesizers, drum machines, and other MIDI-equipped hardware, unlocking the potential for intricate parameter adjustments and instrument-specific optimizations. -
Latency Optimization:
Fine-tune the MIDI interface settings to minimize latency and ensure responsive interaction between your custom instrument and the connected devices. Adjust buffer sizes, MIDI clock settings, and hardware latency compensation to achieve a seamless and immediate response to user input, particularly crucial for live performance scenarios.
By meticulously configuring the MIDI interface, you harness the full expressive potential of your custom MIDI instrument, seamlessly integrating it into your musical workflow and performance setups. The configuration process not only amplifies the instrument's versatility but also empowers you to explore new frontiers of musical expression and technological innovation.
With the MIDI interface finely tuned and optimized, your custom MIDI instrument stands poised to become an extension of your musical creativity, bridging the realms of analog expression and digital precision in a harmonious symphony of innovation and artistry.
Testing and Troubleshooting
Testing and troubleshooting are integral phases in the journey of bringing your custom MIDI instrument to life. These critical steps ensure that your instrument functions as intended, delivering a seamless and expressive musical experience. Here's a detailed exploration of the essential aspects involved in testing and troubleshooting your DIY MIDI instrument:
1. Functional Testing:
Initiate the testing phase by systematically evaluating each component and feature of your MIDI instrument. Verify the responsiveness of keys, pads, knobs, and faders, ensuring consistent and accurate performance across the entire control surface. Test the sensory input devices for sensitivity and precision, gauging their ability to capture nuanced gestures and expressions.
2. Connectivity and Integration:
Test the connectivity of your MIDI instrument with external devices such as computers, synthesizers, and audio interfaces. Verify the reliability of USB, MIDI, or wireless connections, ensuring seamless communication and data exchange between your instrument and the digital music ecosystem. Integrate the instrument into your music production setup, testing its compatibility and interoperability with software and hardware components.
3. Signal Routing and Processing:
Conduct thorough testing of signal routing and processing within the MIDI instrument. Verify the transmission of MIDI messages, control data, and sensor inputs to ensure accurate interpretation and translation into musical commands. Test the signal path for latency, jitter, and signal degradation, optimizing the instrument's performance for real-time musical applications.
4. User Experience and Ergonomics:
Evaluate the user experience and ergonomics of the MIDI instrument through hands-on testing. Assess the tactile feedback, layout intuitiveness, and overall comfort of interacting with the instrument during performance and studio use. Solicit feedback from potential users to gather insights into the instrument's usability and ergonomic refinements.
5. Troubleshooting and Iterative Refinement:
Incorporate a systematic troubleshooting process to identify and address any functional or performance issues encountered during testing. Utilize diagnostic tools, oscilloscopes, and MIDI monitoring software to pinpoint and resolve potential electronic, software, or connectivity issues. Embrace an iterative refinement approach, implementing adjustments and enhancements based on testing feedback to elevate the instrument's performance and user experience.
By meticulously conducting comprehensive testing and troubleshooting, you ensure that your custom MIDI instrument embodies reliability, performance, and user satisfaction. This iterative process not only validates the instrument's functionality but also fosters a culture of continuous improvement, paving the way for a refined and resilient musical tool.
With the testing and troubleshooting phase complete, your custom MIDI instrument stands ready to embark on its musical journey, poised to empower you with boundless creative expression and technological innovation.
Conclusion
In conclusion, the process of creating your own MIDI instrument is a captivating blend of artistry, technology, and craftsmanship. From the meticulous selection of components to the hands-on assembly and fine-tuning of the MIDI interface, every step in this journey embodies a fusion of creativity and technical expertise.
As you embark on the endeavor of crafting your custom MIDI instrument, you not only delve into the realm of electronic music-making but also embark on a deeply personal and expressive journey. The instrument you create becomes a tangible manifestation of your musical vision, reflecting your unique style, preferences, and artistic aspirations.
Furthermore, the DIY approach to MIDI instrument creation empowers you to transcend the boundaries of off-the-shelf solutions, enabling you to tailor every aspect of the instrument to suit your specific needs and creative inclinations. This level of customization fosters a profound sense of ownership and connection to the instrument, amplifying the joy and satisfaction derived from its use.
Moreover, the process of building a MIDI instrument serves as a conduit for learning and skill development, allowing you to delve into the realms of electronics, programming, and music technology. The hands-on experience of assembling and configuring the instrument not only cultivates technical proficiency but also nurtures a deeper understanding of the interplay between hardware, software, and musical expression.
As you bring your custom MIDI instrument to life, it becomes more than a mere tool; it evolves into a medium for self-expression, innovation, and sonic exploration. Whether you're a performer, a producer, or a tinkerer driven by curiosity and creativity, the journey of creating your own MIDI instrument opens doors to new possibilities and sparks a sense of boundless potential.
In essence, the culmination of this journey yields a bespoke MIDI instrument that transcends its physical form, embodying the essence of your musical identity and technical ingenuity. It stands as a testament to the harmonious convergence of art and technology, ready to accompany you on your musical odyssey, amplifying your creativity and reshaping the sonic landscapes you venture to explore.