Home>Production & Technology>Sheet Music>How To Make An Oversized Sheet Music Print
Sheet Music
How To Make An Oversized Sheet Music Print
Published: December 1, 2023
Learn how to create an eye-catching oversized sheet music print with our step-by-step guide. Perfect for musicians and music enthusiasts!
(Many of the links in this article redirect to a specific reviewed product. Your purchase of these products through affiliate links helps to generate commission for AudioLover.com, at no extra cost. Learn more)
Table of Contents
Introduction
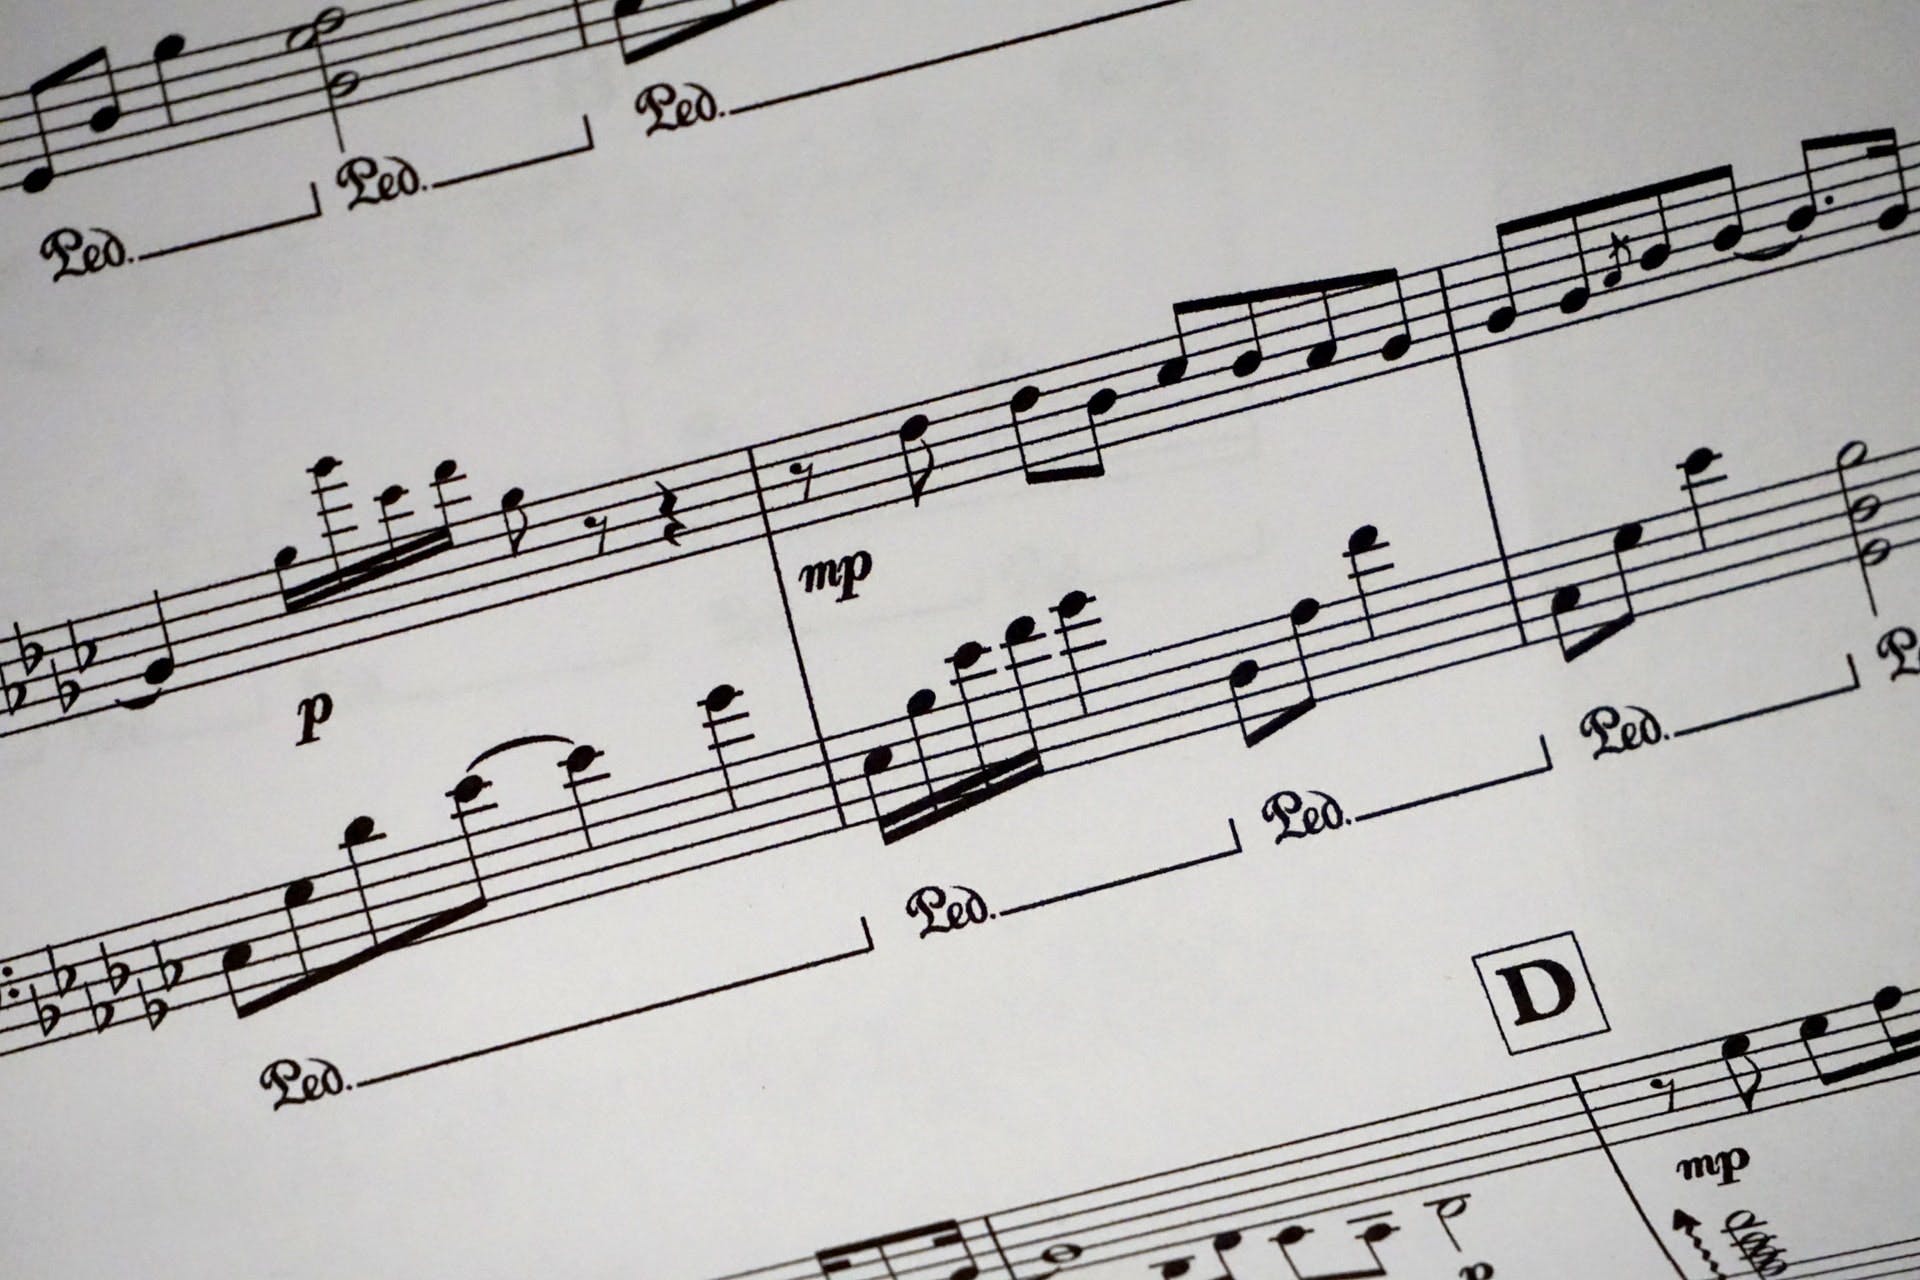
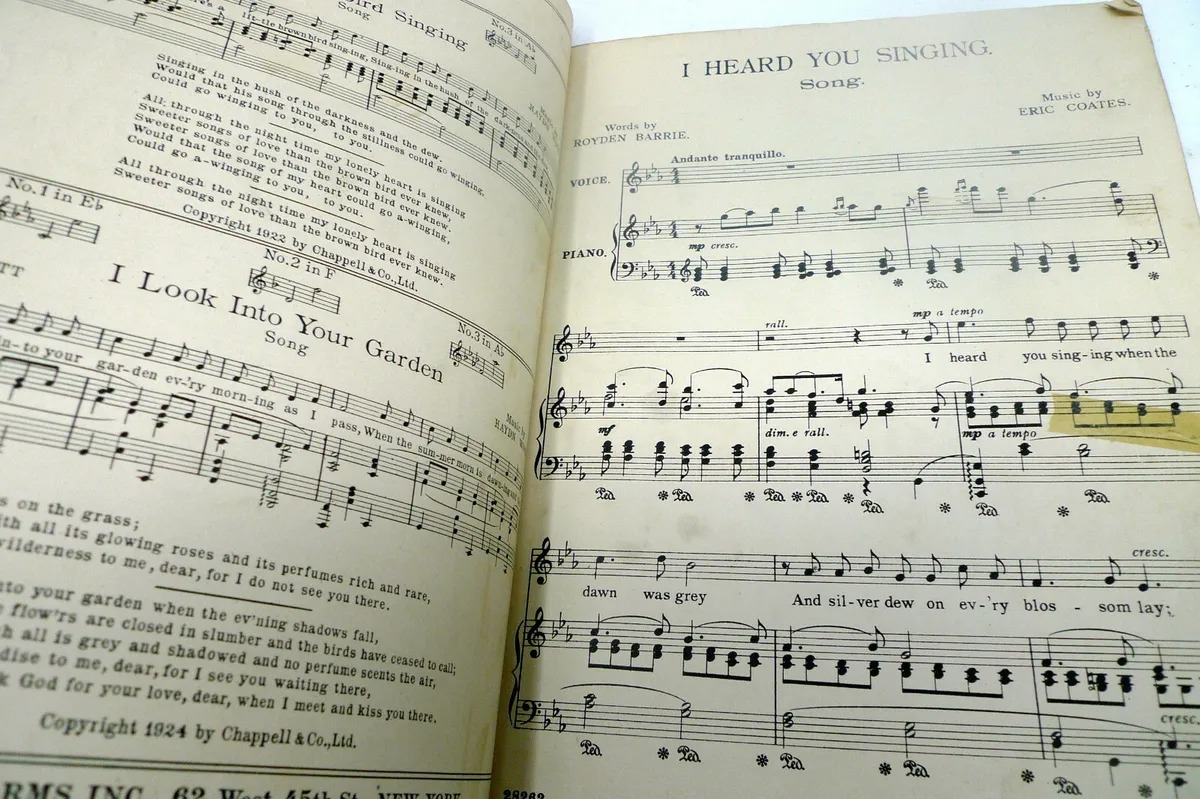
Sheet music is a valuable resource for musicians of all levels, providing a written notation of musical compositions. Whether you’re a beginner learning to play a new piece or a professional musician looking to showcase your skills, having a clear and easily readable sheet music is crucial.
However, sometimes standard-sized sheet music can be too small, making it difficult to read or follow along during a performance. This is where oversized sheet music prints come in handy. By enlarging the sheet music, you can enhance its visibility and make it easier to read from a distance.
In this article, we will guide you through the process of making an oversized sheet music print. We will cover everything from choosing the right sheet music to the final assembly, ensuring that you have a clear understanding of each step along the way. So, let’s dive in and learn how to create a large-format sheet music print that will be both functional and visually appealing.
Before we begin, it’s essential to have the necessary materials on hand. You will need a computer with graphic design software, a printer, large-format paper, scissors, and adhesive tape or glue. Additionally, make sure you have access to the digital files or physical copies of the sheet music you wish to enlarge.
Now that we have everything we need let’s move on to the first step: choosing the right sheet music.
Step 1: Choose the Sheet Music
The first step in creating an oversized sheet music print is to select the piece of music you want to enlarge. Consider the purpose and context of the print. Are you using it for personal practice or for a live performance? Are you playing a solo instrument or accompanying a group? These factors will help determine the level of detail and precision required.
Look for sheet music that is well-formatted and legible. It’s essential to choose a clean and clear copy to ensure that the enlarged version will be easily readable. If you’re using digital files, make sure they are of high resolution to prevent any loss of quality when enlarging the print.
Additionally, take into consideration the complexity of the piece. If you’re working on a complicated arrangement with multiple staves and intricate notation, you may need to carefully assess the feasibility of enlarging each element without sacrificing clarity and readability. In such cases, it might be a good idea to consult with a music engraver or graphic designer.
Furthermore, consider the copyright restrictions associated with the sheet music you’re using. It’s important to respect the intellectual property rights of composers and publishers. Ensure that you have the necessary permissions to enlarge and print the sheet music for personal use or obtain the necessary licenses if you plan on using it in a public performance.
Once you have selected the sheet music you wish to enlarge, you’re ready to move on to the next step: scaling the sheet music.
Step 2: Scale the Sheet Music
Scaling the sheet music is crucial to ensure that it fits the desired oversized format without compromising legibility. This step involves enlarging the sheet music to a size that is both visually accessible and practical for your needs.
Start by determining the desired dimensions for your oversized sheet music print. Consider factors such as the distance from which the sheet music will be viewed and the level of detail you need to see. For example, if you are printing the sheet music to be used in a live performance setting, you may want to increase the size to make it more readable from a distance.
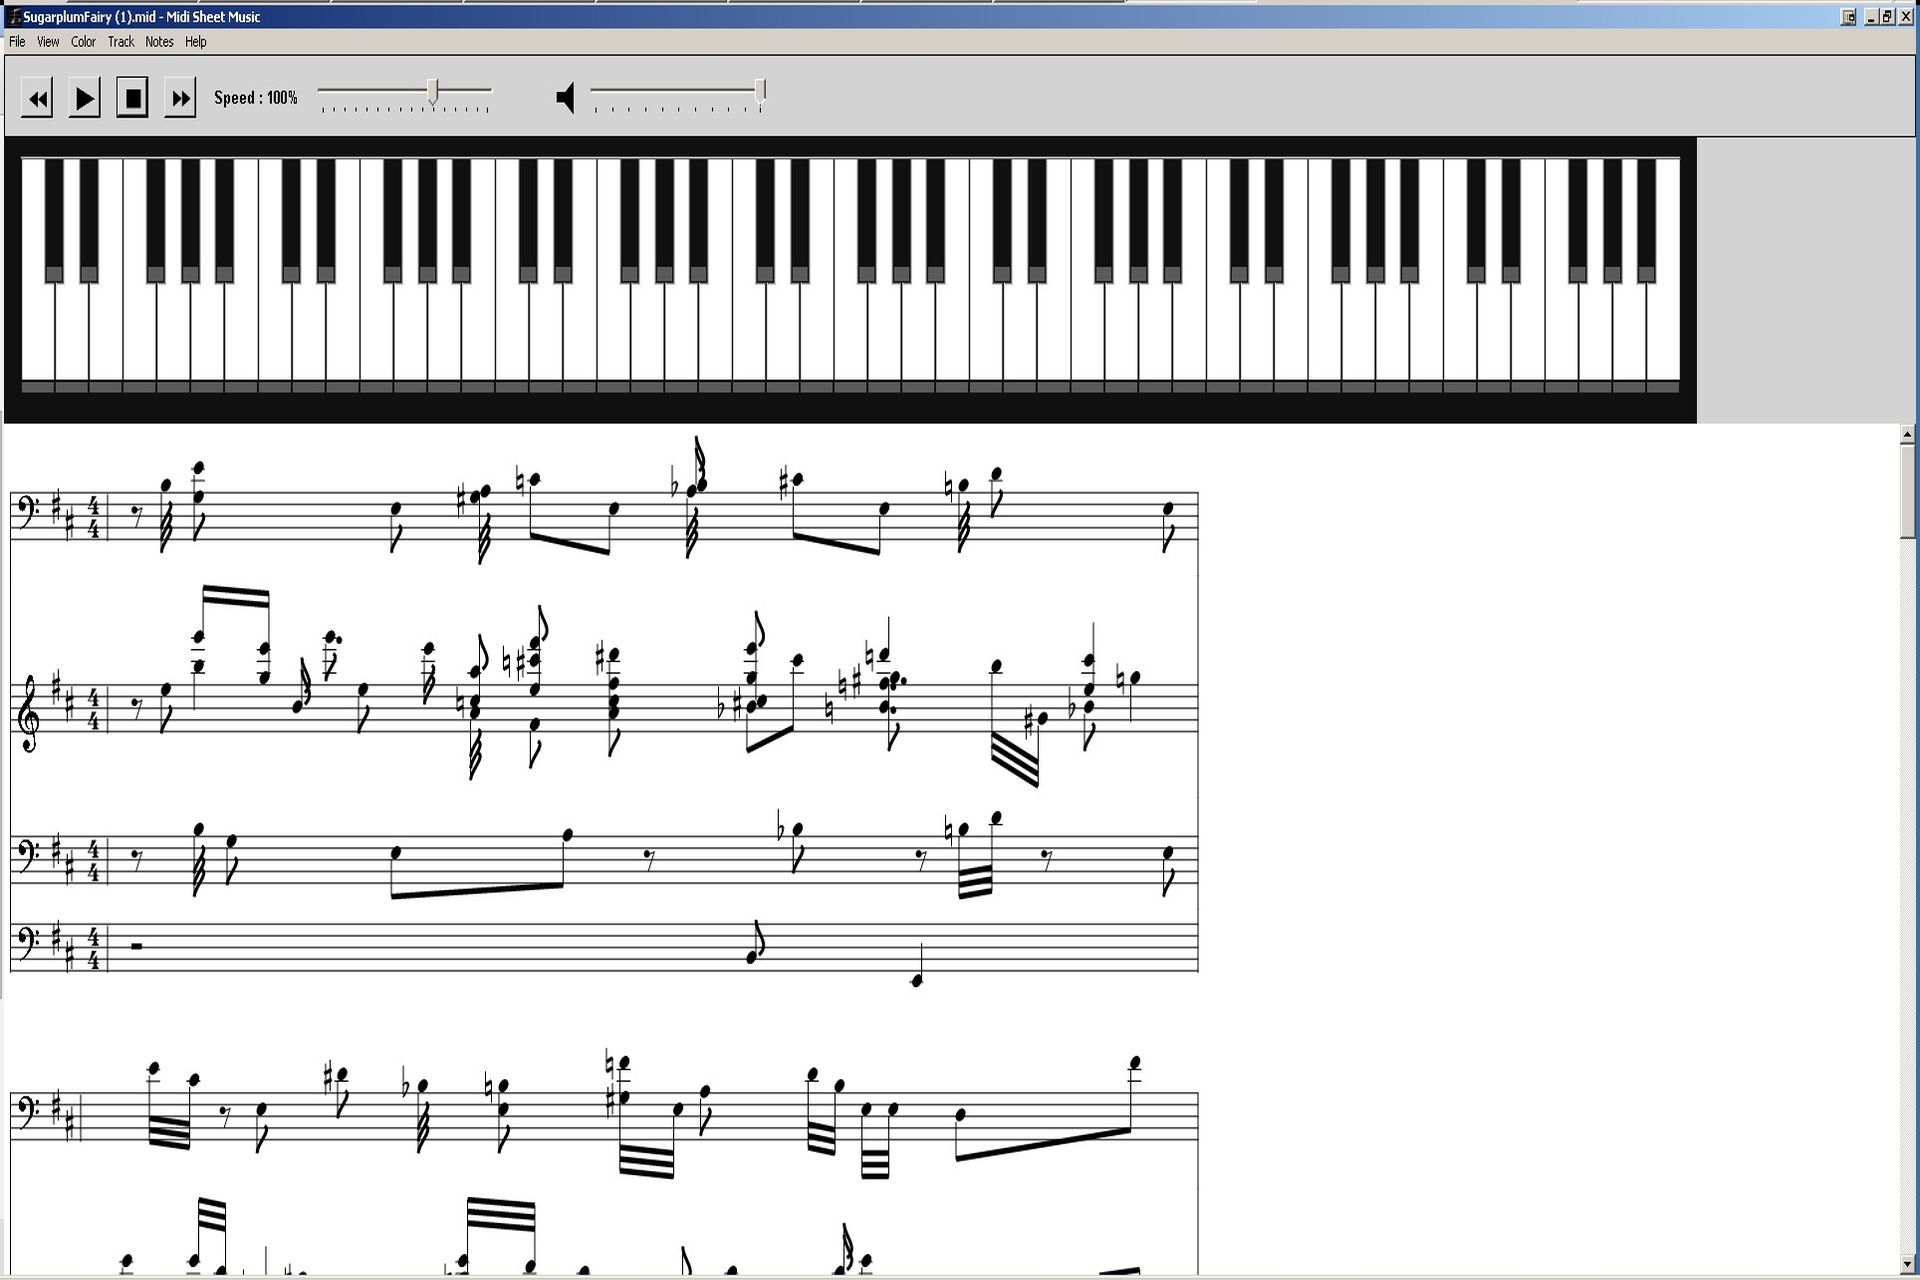
There are several ways to scale the sheet music. If you’re using digital files, most graphic design software allows you to easily adjust the size by selecting the appropriate scaling option. You can choose a percentage increase or enter specific dimensions to ensure accurate scaling. Make sure to maintain the aspect ratio to avoid distorting the sheet music.
If you’re working with physical copies of the sheet music, you can use a photocopier or a scanner with scaling capabilities. Some photocopiers have a “poster” or “enlarge” function specifically designed for this purpose. Experiment with different scaling options until you find the size that meets your requirements.
As you scale the sheet music, keep readability in mind. Pay attention to the font size, staff lines, and other elements. It’s important to strike a balance between enlarging the sheet music and maintaining its clarity. If you find that certain elements become too blurry or pixelated after scaling, consider utilizing more advanced graphic design software or consult with a professional engraver to ensure optimal results.
After scaling the sheet music, take a moment to review the enlarged version and make any necessary adjustments. Ensure that all musical symbols, notes, and annotations are still clear and legible. If you’re satisfied with the scaled version, it’s time to move on to the next step: splitting the sheet music into sections.
Step 3: Split the Sheet Music into Sections
Once you have scaled the sheet music to the desired size, the next step is to split it into sections. This is especially important for oversized prints, as it allows for easier handling and assembly.
Start by considering the overall layout of the sheet music and how it can be divided into manageable sections. Look for natural breaks in the composition, such as the end of a page or major musical phrases. These breaks will serve as reference points for splitting the sheet music.
If you’re working with digital files, graphic design software can be utilized to divide the sheet music into sections. Use tools like cropping or splitting the image to isolate each segment. Consider the orientation and layout of the sections, ensuring that they fit together seamlessly when assembled.
For physical copies of the sheet music, you can use a scanner to create digital copies before dividing them into sections using graphic design software. Alternatively, you can manually cut and trim the physical copies, ensuring that each section is clearly defined and can be easily managed during assembly.
When splitting the sheet music, it’s important to maintain proper sequencing and organization. Label each section clearly to ensure that you can easily piece them together during assembly. Consider using sequential numbering or color-coded labels to keep everything organized.
Furthermore, consider the size and dimensions of each section. Ensure that they are small enough to handle comfortably but large enough to maintain readability. If the sections are too large, it may be challenging to manage and assemble the oversized print effectively.
By splitting the sheet music into sections, you make the process of handling and managing the oversized print more manageable. This ensures that when it comes time to assemble the sheet music, each section seamlessly fits together like a puzzle. Now, we can move on to the next step: printing the sections.
Step 4: Print the Sections
With the sheet music divided into sections, it’s time to move on to printing each segment. This step involves ensuring that each section is printed accurately and with high-quality resolution to maintain readability.
Start by preparing your printer and selecting the appropriate settings. Set the paper size to match the dimensions of each section, ensuring that it aligns with the scaled sheet music. Adjust the print quality to a high resolution to ensure clarity and sharpness of the musical notation.
If you’re printing from digital files, open the graphic design software and navigate to each section. Ensure that all the necessary adjustments, such as scaling and formatting, are in place before sending the sections to the printer. Print one section at a time, making sure to label them accordingly to avoid confusion during the assembly process.
When printing physical copies of the sections, be mindful of the type of paper you use. Choose a high-quality, large-format paper that can handle the enlarged dimensions and provide sufficient durability when handling the oversized sheet music. Consider using a heavier weight paper or even a specialized music printing paper for optimal results.
As you print each section, take the time to review the output for any printing errors, such as smudges or misalignments. Make any necessary adjustments before moving on to the next section. It’s important to ensure that each print is of the highest quality, as it directly affects the legibility and usability of the oversized sheet music.
Once all the sections are printed, lay them out in the correct order, as determined during the splitting process. Take a moment to verify that all the sections align seamlessly, both vertically and horizontally. This will ensure that when assembled, the oversized sheet music print will have a cohesive and easy-to-follow layout.
With the sections successfully printed and arranged in order, we’re ready to move on to the next step: assembling the oversized sheet music print.
Step 5: Assemble the Oversized Sheet Music Print
Now that you have printed all the sections, it’s time to assemble the oversized sheet music print. This step involves carefully piecing together each section to recreate the complete composition in a larger format.
Begin by laying out the sections in the correct order, making sure that they align seamlessly. Use the labels or numbering system you implemented during the splitting process to guide you. This will help ensure that you assemble the sections in the intended sequence, maintaining the flow and structure of the sheet music.
Once the sections are laid out, determine the best method of attaching them together. Depending on the size and weight of the print, you may choose to use adhesive tape, glue, or even a large-format laminating sheet to secure the sections. Be cautious not to damage or obstruct any important musical notation during the assembly process.
When attaching the sections, take care to align them accurately. Pay attention to the staff lines, key signatures, and other crucial elements of the music to ensure that they line up correctly across the sections. This will preserve the integrity of the composition and make it easier to read and follow along.
If there are any overlaps or gaps between sections, trim and adjust them carefully to create a seamless connection. Use a ruler or straight edge to guide your trimming and ensure clean and precise edges.
Once all the sections are securely attached and aligned, give the assembled oversized sheet music print a final review. Check for any inconsistencies, smudges, or errors that may have occurred during the assembly process. Make any necessary adjustments or corrections to ensure the final print is of the highest quality.
With the oversized sheet music print successfully assembled, you’re now ready to move on to the final step: adding the finishing touches.
Step 6: Finishing Touches
Once the oversized sheet music print is assembled, you can add some finishing touches to enhance its appearance and usability.
One option is to encapsulate or laminate the sheet music print. This will provide an extra layer of protection against wear and tear, as well as moisture damage. Consider using a large-format laminating sheet or taking the print to a professional print shop for encapsulation. This step is especially important if you plan to use the sheet music for performances or rehearsals where it may be handled frequently.
You may also want to consider adding additional annotations or markings to the print. This can include fingerings, dynamic markings, or other personalized notes to aid in your performance or practice. Use a non-permanent pen or pencil to avoid damaging the sheet music and make sure your markings are clear and legible.
Furthermore, you can create a protective cover or folder to store and transport the oversized sheet music print. This will help prevent any accidental damage or bending during storage or transportation. Consider using a large envelope or a customized folder that fits the dimensions of the print, ensuring its safety and longevity.
Lastly, don’t forget to make a note of the date and any other relevant information on the sheet music print. This will help you keep track of when it was created or any modifications that were made. It can also serve as a reference point in the future if you need to recreate or modify the oversized print.
By adding these finishing touches, you can ensure that your oversized sheet music print is not only visually appealing but also practical and well-protected. It’s time to conclude our guide to making an oversized sheet music print.
Conclusion
Congratulations! You have successfully learned how to create an oversized sheet music print. By following the steps outlined in this guide, you can now enlarge sheet music to improve readability and usability.
Remember to start by choosing the right sheet music and ensuring that you have the necessary permissions or licenses for enlargement. Scale the sheet music carefully, maintaining proper readability and clarity. Split the sheet music into sections, labeling them for easy assembly.
Print each section with high-quality resolution, using the appropriate settings for your printer. Take the time to align and assemble the sections accurately, paying attention to key musical elements. Consider adding finishing touches such as laminating or encapsulating the print, adding personalized annotations, and creating a protective cover or folder.
With your oversized sheet music print complete, you can now enjoy improved visibility and legibility. Whether you’re practicing at home or performing on stage, this large-format print will make reading and following along with the music a breeze.
Remember, the process of creating an oversized sheet music print requires careful attention to detail and precision. Take your time and ensure that each step is done accurately to achieve the best results. Feel free to experiment with different sizes and layouts to find what works best for your specific needs.
Now that you have the knowledge and skills to create an oversized sheet music print, take your music playing experience to the next level. Enjoy the benefits of a clear and accessible sheet music layout, and let your musical talents shine!