Home>Production & Technology>Sound Bar>Why Is My Sony Sound Bar Not Working

Sound Bar
Why Is My Sony Sound Bar Not Working
Modified: January 22, 2024
Having trouble with your Sony sound bar? Find out why it's not working and get expert solutions to fix your audio device.
(Many of the links in this article redirect to a specific reviewed product. Your purchase of these products through affiliate links helps to generate commission for AudioLover.com, at no extra cost. Learn more)
Table of Contents
- Introduction
- Common Issues with Sony Sound Bars
- Troubleshooting Steps for Sony Sound Bar Not Working
- Check the power source
- Verify the connections
- Adjust the volume settings
- Reset the sound bar
- Update the sound bar firmware
- Check for audio output settings
- Ensure the remote control is working properly
- Conclusion
Introduction
Welcome to the world of sound bars, where immersive audio experiences meet stylish and space-saving designs. Sony sound bars have gained immense popularity among music lovers and movie enthusiasts for their exceptional sound quality and user-friendly features. However, like any electronic device, there may be times when your Sony sound bar doesn’t work as expected.
Imagine settling down for an evening of your favorite TV show or a movie night with friends, only to find that your sound bar is having issues. It can be frustrating and put a damper on your entertainment plans. But fret not! In this article, we will dive into some common issues you may encounter with your Sony sound bar and provide troubleshooting steps to get it back up and running.
Whether your sound bar is unresponsive, producing distorted audio, or not connecting to your TV or other devices, we’ll guide you through the steps to resolve these problems. So, let’s jump in and unravel the mysteries of troubleshooting your Sony sound bar!
Common Issues with Sony Sound Bars
Sony sound bars are known for their exceptional performance, but like any electronic device, they can encounter a few hiccups along the way. Here are some common issues you may come across with your Sony sound bar:
- No sound: This is perhaps one of the most frustrating issues you may encounter. You’ve turned on your sound bar, adjusted the volume, but there’s no sound coming out.
- Distorted audio: If you’re experiencing distorted or muffled audio from your sound bar, it can significantly impact your listening experience. The sound may be unclear, garbled, or full of static.
- Connection problems: Sony sound bars typically connect to your TV or other devices using HDMI, optical, or Bluetooth. Issues with connecting or pairing your sound bar to these devices can arise.
- Unresponsive controls: Your sound bar’s remote control or physical buttons may not respond when pressed. This can make it difficult to adjust settings, change inputs, or control the volume.
- Power issues: If your sound bar refuses to turn on or randomly shuts off, it can be a frustrating experience. Power-related problems can stem from issues with the power source or internal components.
- Software or firmware glitches: Just like any software-driven device, sound bars can encounter software or firmware glitches. This can cause unexpected behavior or issues such as freezing or crashing.
Now that we’ve covered the common issues, let’s move on to troubleshooting steps to get your Sony sound bar working again!
Troubleshooting Steps for Sony Sound Bar Not Working
When your Sony sound bar isn’t working as expected, it’s time to roll up your sleeves and troubleshoot the issue. Here are some steps you can take to resolve the most common problems:
- Check the power source: Ensure that your sound bar is properly plugged into a power outlet and that the power cord is securely connected. You may also want to check if there is power to the outlet by testing it with another device.
- Verify the connections: Make sure that all necessary audio cables are properly connected between your sound bar, TV, and other devices. Triple-check the HDMI, optical, or Bluetooth connections to ensure they are secure.
- Adjust the volume settings: Sometimes, the volume settings on your sound bar or connected devices can be the culprit behind no sound or low audio. Check the volume levels on your sound bar, TV, and other audio sources to ensure they are set to an audible level.
- Reset the sound bar: If your sound bar is still not functioning correctly, try performing a factory reset. Instructions for resetting your specific sound bar model can usually be found in the user manual or on the manufacturer’s website.
- Update the sound bar firmware: Visit the Sony support website and check if there are any available firmware updates for your sound bar. Updating the firmware can address compatibility issues and improve overall performance.
- Check for audio output settings: Ensure that the audio output settings on your TV or other devices are properly configured to send audio through your sound bar. You may need to select the correct audio output option from the settings menu.
- Ensure the remote control is working properly: If your sound bar is unresponsive to the remote control, try replacing its batteries or testing it to confirm it is working correctly. You can also try controlling the sound bar directly from the physical buttons on the device.
If you’ve followed these troubleshooting steps and your Sony sound bar is still not working, it’s recommended to contact customer support or seek professional assistance. They can further diagnose the issue and provide specific solutions for your sound bar model.
Remember, troubleshooting steps may vary depending on the specific model and features of your Sony sound bar. Always refer to the user manual or the manufacturer’s support resources for detailed instructions tailored to your device.
Check the power source
When your Sony sound bar is not working, the first step is to check the power source. Ensure that the sound bar is properly plugged into a working power outlet and that the power cord is securely connected on both ends. Sometimes, a loose or faulty power connection can prevent the sound bar from turning on or producing any sound.
Start by checking the power outlet itself. Try plugging another electronic device into the same outlet to confirm whether there’s power coming from it. If the other device powers on without any issues, it’s likely that the problem lies within the sound bar.
Next, inspect the power cord for any visible damage. Look for frayed or worn-out areas, loose connections, or bent pins. If you notice any issues, it’s advisable to replace the power cord with a new one that is compatible with your sound bar model.
Additionally, make sure that the power cord is properly connected to both the sound bar and the power outlet. Ensure that the connectors are firmly inserted and securely tightened. If you’re using an extension cord or surge protector, try plugging the sound bar directly into a power outlet as a test to rule out any issues with the accessories.
It’s also worth checking if there’s a power switch on the sound bar and ensuring that it is in the “on” position. Some sound bars have a power-saving mode that automatically turns them off if there’s no audio signal for a certain period. In this case, try playing some audio content to wake up the sound bar.
If you’ve completed these steps and the sound bar still does not power on or work properly, it may indicate a more complex issue. It’s recommended to reach out to the manufacturer’s customer support or consult a professional technician for further assistance and troubleshooting.
Verify the connections
When troubleshooting a Sony sound bar that is not working, checking the connections is essential. Incorrect or loose connections can result in no sound, distorted audio, or other issues. Follow these steps to verify and ensure proper connections:
HDMI: If your sound bar has an HDMI input and output, make sure that the HDMI cables are securely connected between your sound bar, TV, and other devices. Check that the HDMI cable is inserted into the appropriate HDMI ports on each device. HDMI cables can sometimes become loose over time, so it’s worth double-checking the connections to ensure a secure fit.
Optical cable: For sound bars that use an optical cable for audio connectivity, ensure that the optical cable is correctly connected to the optical audio output on your TV or other audio source, and to the corresponding input on the sound bar. Like HDMI cables, optical cables should fit snugly into their respective ports.
Bluetooth: If you’re using Bluetooth to connect your sound bar to other devices, make sure that Bluetooth is enabled on both the sound bar and the device you’re trying to connect. Check for any interference or distance limitations that could affect the Bluetooth connection. Also, keep in mind that some sound bars require you to pair the devices before they can communicate with each other.
Analog connection: If your sound bar has analog audio inputs, such as RCA or 3.5mm aux inputs, ensure that the cables are securely connected. For RCA connections, make sure that the red and white plugs are correctly inserted into their respective audio output and input jacks.
Power off and reset: In some cases, disconnecting and reconnecting the cables can resolve connection-related issues. Start by powering off all devices connected to the sound bar, including the sound bar itself. Then, disconnect and reconnect all the cables, ensuring a secure connection. Finally, power on the devices in the proper sequence (e.g., TV, sound bar, audio source) and check if the connection issue is resolved.
If you’ve gone through these steps and the connections appear to be correct, but your sound bar is still not functioning properly, it’s recommended to consult the user manual or contact Sony customer support for further guidance. They can help troubleshoot the issue and provide specific instructions tailored to your sound bar model.
Adjust the volume settings
If you’re experiencing issues with the volume on your Sony sound bar, adjusting the volume settings can help resolve the problem. Here are some troubleshooting steps to try:
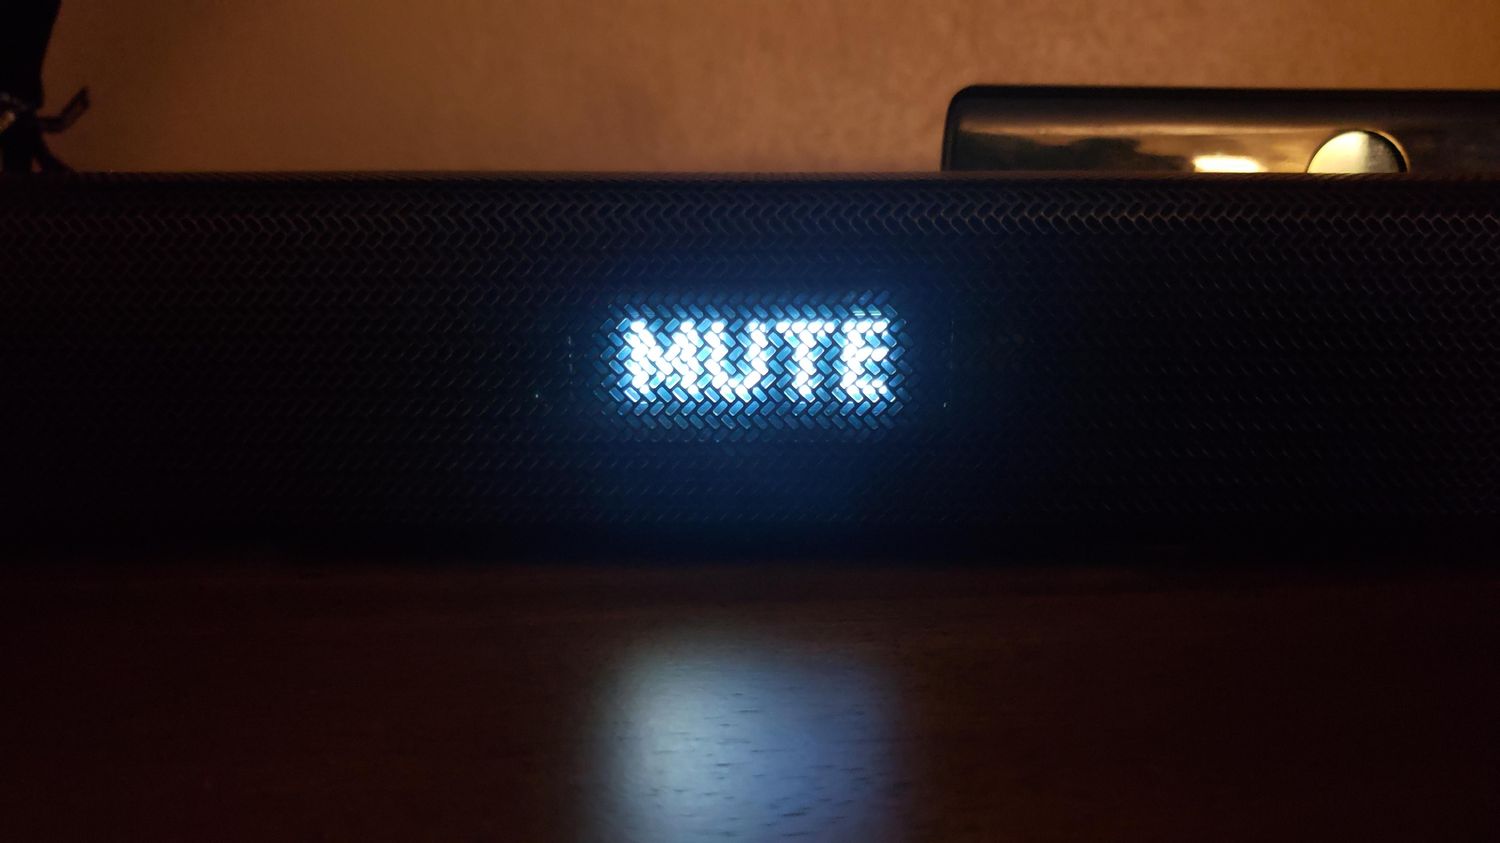
1. Sound bar volume: Make sure that the volume on your sound bar is turned up to an audible level. Locate the volume controls on the sound bar itself or use the remote control to increase the volume. Sometimes, the volume may accidentally be set too low or muted, resulting in no or very low sound.
2. TV volume: If your sound bar is connected to a TV, check the volume settings on the TV as well. Ensure that the TV volume is not muted and is set to an appropriate level. Some TVs have separate volume controls for external speakers, so verify that the audio output is correctly configured to play through the sound bar.
3. Source device volume: If you’re playing audio from a connected device such as a Blu-ray player or game console, verify that the volume on that device is turned up as well. Adjust the volume on the source device to ensure that it is not set too low.
4. Audio presets and modes: Some sound bars offer different audio presets or modes to enhance the sound quality. Check the sound bar’s settings or remote control for options like “movie mode,” “music mode,” or “bass boost.” Experiment with these settings to see if they improve the volume or audio performance.
5. Dynamic Range Control (DRC): Many sound bars have a feature called Dynamic Range Control, which helps balance loud and quiet sounds. If the volume of dialogue or quieter sounds is too low, enabling DRC can help improve their audibility. Refer to your sound bar’s user manual to locate the DRC setting and adjust it if necessary.
6. Audio source quality: Keep in mind that the quality of the audio source can also impact the volume and sound quality. If you’re experiencing low volume or distorted audio, try playing different audio sources, such as a different TV show, movie, or music track, to determine if the issue is specific to a particular source.
If adjusting the volume settings on your Sony sound bar and connected devices doesn’t resolve the issue, consider checking for firmware updates or consulting the user manual for further troubleshooting steps. It’s also advisable to reach out to Sony customer support for assistance if needed.
Reset the sound bar
If you’re encountering persistent issues with your Sony sound bar, performing a reset can often help resolve the problem. Resetting the sound bar will restore it to its default factory settings, clearing any configuration or software issues that may be causing the malfunction. Here’s how you can reset your Sony sound bar:
1. Power off the sound bar: Ensure that the sound bar is powered off. You can do this by pressing the power button on the sound bar itself or using the remote control.
2. Locate the reset button: Look for a small reset button on the back or bottom of the sound bar. It is typically a small recessed button that may require a paperclip or a similar tool to press.
3. Press and hold the reset button: Using a paperclip or similar tool, press and hold the reset button for about 10-15 seconds.
4. Release the reset button: After holding the reset button for the specified time, release it. The sound bar will now be reset to its factory settings.
5. Power on the sound bar: Once the reset is complete, power on the sound bar and check if the issues you were experiencing have been resolved.
Keep in mind that performing a factory reset will erase any personalized settings you have made on the sound bar. You’ll need to set up and configure the sound bar again according to your preferences.
If the reset doesn’t resolve the issues or if the sound bar still doesn’t work properly, it’s recommended to consult the user manual or contact Sony customer support for further assistance. They can provide specific instructions or additional troubleshooting steps for your particular sound bar model.
Update the sound bar firmware
Keeping your Sony sound bar up to date with the latest firmware can often fix bugs, improve performance, and address compatibility issues. Firmware updates provide valuable enhancements that can help resolve various problems you may encounter. Here’s how you can update the firmware on your sound bar:
1. Check for available updates: Visit the official Sony support website and search for your specific sound bar model. Look for the “Support” section and navigate to the firmware or software updates page. Check if there are any available updates for your sound bar.
2. Download the firmware: If there is a firmware update available, download it to your computer or a USB flash drive, depending on the instructions provided by Sony. Make sure to follow their guidelines and ensure that you download the correct firmware version for your sound bar model.
3. Prepare the sound bar: Power on your sound bar and ensure that it is connected to your TV or other audio sources as normal. If your sound bar has a USB port, you may be able to perform the firmware update directly from the USB flash drive. If not, follow the specific instructions provided by Sony for updating the firmware.
4. Perform the firmware update: Follow the step-by-step instructions provided by Sony to perform the firmware update. This typically involves connecting the USB flash drive to the sound bar (if applicable), navigating to the firmware update option in the sound bar’s settings menu, and selecting the update file to start the process.
5. Wait for the update to complete: During the firmware update, the sound bar may display progress indicators, such as a blinking light or a progress bar on the screen. Avoid turning off the sound bar or interrupting the update process until it is complete. The sound bar will typically automatically restart once the update is finished.
6. Verify the update: After the firmware update, double-check the sound bar’s settings menu or consult the user manual to confirm that the update was successful. It’s also a good idea to test the sound bar to ensure that any previous issues have been resolved.
If you’re unsure about performing a firmware update on your own or encounter any difficulties during the process, reach out to Sony customer support for further assistance. They can guide you through the firmware update or provide additional troubleshooting steps tailored to your sound bar model.
Check for audio output settings
If your Sony sound bar is not working properly, it’s essential to check the audio output settings on your TV or other connected devices. Incorrect audio settings can result in no sound, low volume, or audio playing through the wrong speakers. Here are some steps to ensure the audio output settings are correctly configured:
1. TV audio settings: Access the audio settings menu on your TV. Look for options related to audio output, audio format, or sound settings. Ensure that the audio output is set to the appropriate audio output source, such as HDMI ARC, optical, or Bluetooth, depending on how your sound bar is connected to the TV. Set the audio format to match the capabilities of your sound bar (e.g., stereo, surround sound).
2. Audio format compatibility: Confirm that the audio format being played by the TV or other devices is compatible with your Sony sound bar. Certain audio formats may not be supported by all sound bar models, so check the supported formats in the sound bar’s user manual. If the audio being played is not supported, the sound bar may not produce any sound.
3. Sound mode settings: Some sound bars offer different sound modes or presets, such as “cinema,” “music,” or “voice.” Experiment with these settings to find the best sound mode that suits your preferences. Adjusting the sound mode can enhance the audio experience and make the sound bar more suitable for different types of content.
4. TV volume control: Ensure that the TV volume control is set to control the sound bar’s volume. This setting allows you to adjust the sound bar’s volume using the TV’s remote control. Refer to your TV’s user manual to find the setting and ensure it is enabled.
5. External device settings: If you have devices connected to your sound bar, such as a game console or a Blu-ray player, verify that their audio output settings are properly configured. Ensure that the audio output is set to the sound bar and that the audio format matches the capabilities of your sound bar.
6. Test different audio sources: Try playing audio from different sources, such as various TV shows, movies, or music, to determine if the issue is specific to a particular source. This can help determine whether the problem lies with the audio output settings or the audio source itself.
If after checking and adjusting the audio output settings, your sound bar is still not functioning properly, consider consulting the user manual or contacting Sony customer support for further assistance. They can provide specific instructions or additional troubleshooting steps based on your sound bar model.
Ensure the remote control is working properly
If your Sony sound bar is not responding to commands from the remote control, it’s important to ensure that the remote control itself is functioning correctly. Here are some steps to help you troubleshoot and ensure the remote control is in good working condition:
1. Check the batteries: Start by checking the batteries in the remote control. Ensure that they are properly inserted and have enough power. If the batteries are low, replace them with fresh ones to see if that solves the issue. It’s also a good idea to clean the battery contacts in the remote control with a dry cloth or a cotton swab to remove any dirt or corrosion.
2. Test the remote control: Point the remote control directly at the sound bar and press various buttons while observing the remote’s infrared (IR) signal emitter through a smartphone camera or a digital camera. If you see a blinking light on the camera’s screen when pressing the buttons, it indicates that the remote control is transmitting IR signals correctly.
3. Reset the remote control: Some Sony sound bars allow you to reset the remote control. Consult the user manual or the manufacturer’s website for instructions on how to perform a remote control reset. This can help recalibrate the remote and resolve any communication issues between the remote control and the sound bar.
4. Check for obstacles: Make sure there are no physical obstructions between the remote control and the sound bar. Objects like furniture, lamps, or other devices could block the infrared signal and prevent proper communication. Clear any obstacles that may be interfering with the signal transmission.
5. Replace the remote control: If the above steps do not resolve the issue, it’s possible that the remote control itself is faulty. Consider replacing the remote control with a new one, ensuring that it is compatible with your Sony sound bar model. Contact Sony customer support or visit their online store to purchase a replacement remote control.
6. Test manual controls: In addition to using the remote control, check if the sound bar’s physical buttons and controls are functional. Use the controls on the sound bar itself to adjust the volume, change inputs, or access settings. If the manual controls work properly, it indicates that the issue is likely with the remote control itself.
If none of the above steps solve the remote control problem, it’s recommended to contact Sony customer support for further assistance. They can provide specific troubleshooting steps or suggest additional solutions based on your sound bar model.
Conclusion
Sony sound bars are fantastic devices that provide immersive audio experiences in a sleek and compact package. However, like any electronic device, they can encounter issues from time to time. In this article, we’ve explored some common problems that users may face with their Sony sound bars and provided troubleshooting steps to help resolve them.
We started by discussing the importance of checking the power source and verifying connections to ensure proper functionality. We then explored adjusting volume settings, performing a reset, updating the firmware, checking audio output settings, and ensuring the remote control is functioning correctly. These troubleshooting steps cover a wide range of issues and can assist in getting your Sony sound bar back to working order.
Remember that troubleshooting steps may vary depending on your specific Sony sound bar model. Always consult the user manual or the manufacturer’s support resources for detailed instructions tailored to your device.
If you’ve gone through the troubleshooting steps and are still facing issues with your Sony sound bar, it’s recommended to contact Sony customer support or seek professional assistance. They have a wealth of knowledge and expertise to provide further guidance and solutions to get your sound bar working as good as new.
Don’t let sound bar issues dampen your audio experience. By following the troubleshooting steps outlined in this article, you’ll be well-equipped to tackle common problems and get the most out of your Sony sound bar’s exceptional audio capabilities.

